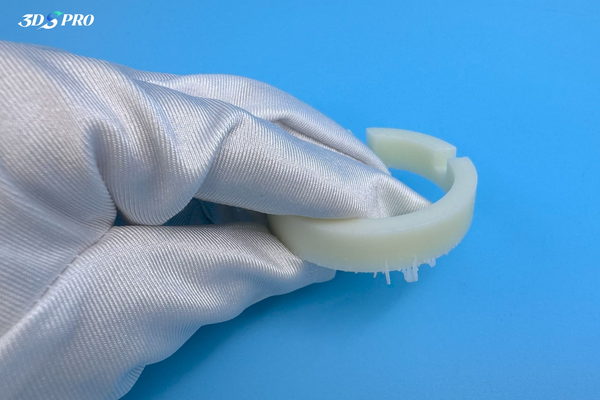
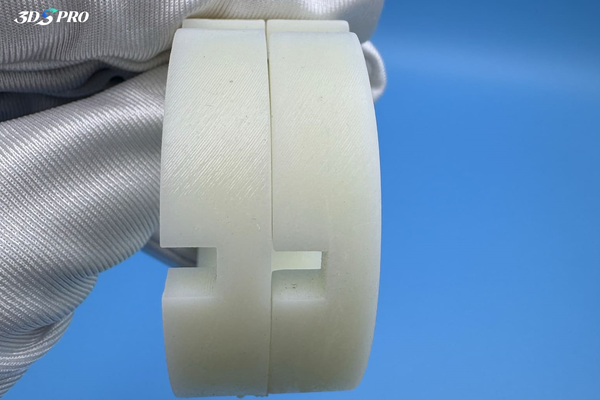
3D Printing Supports
Support structures are an essential foundation for successfully printing complex designs.
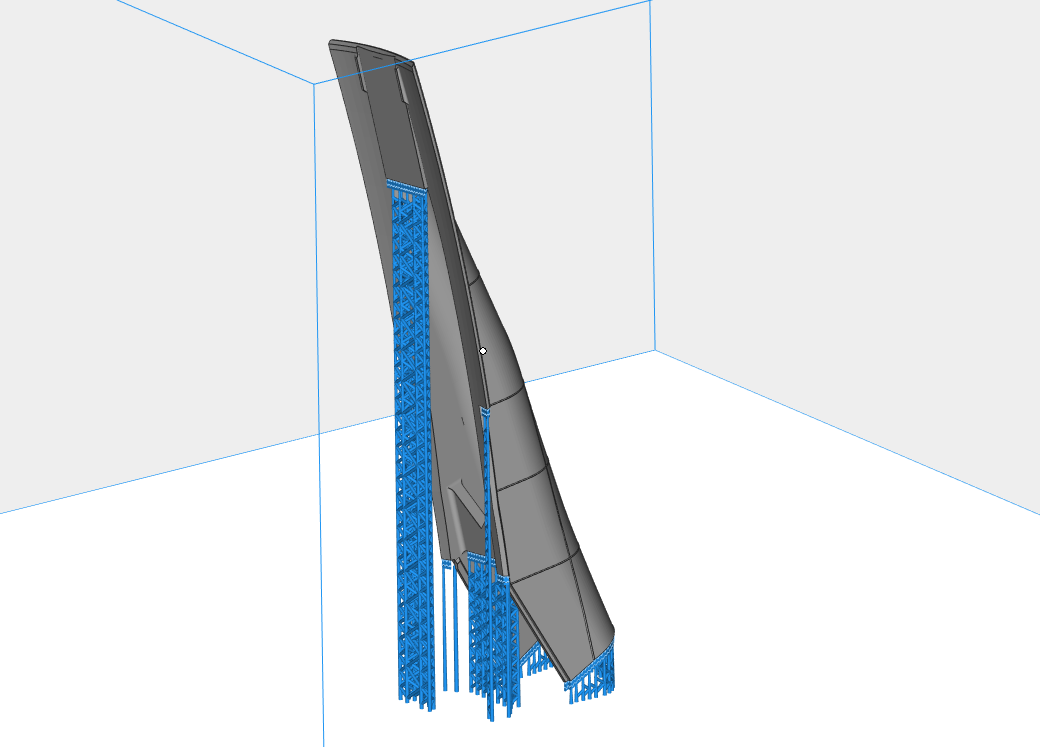
3D printing supports are temporary structures used to support overhanging features, complex geometries, and other challenging aspects of a model.
The placement and design of support structures are usually managed through 3D printing software, which analyzes the model and automatically generates the necessary supports based on the selected parameters. These supports can be removed after printing, usually manually or mechanically.
However, too much support can lead to increased material usage, longer printing times, and potential difficulties in post-processing, while insufficient support can result in print failures or poor-quality finished products.
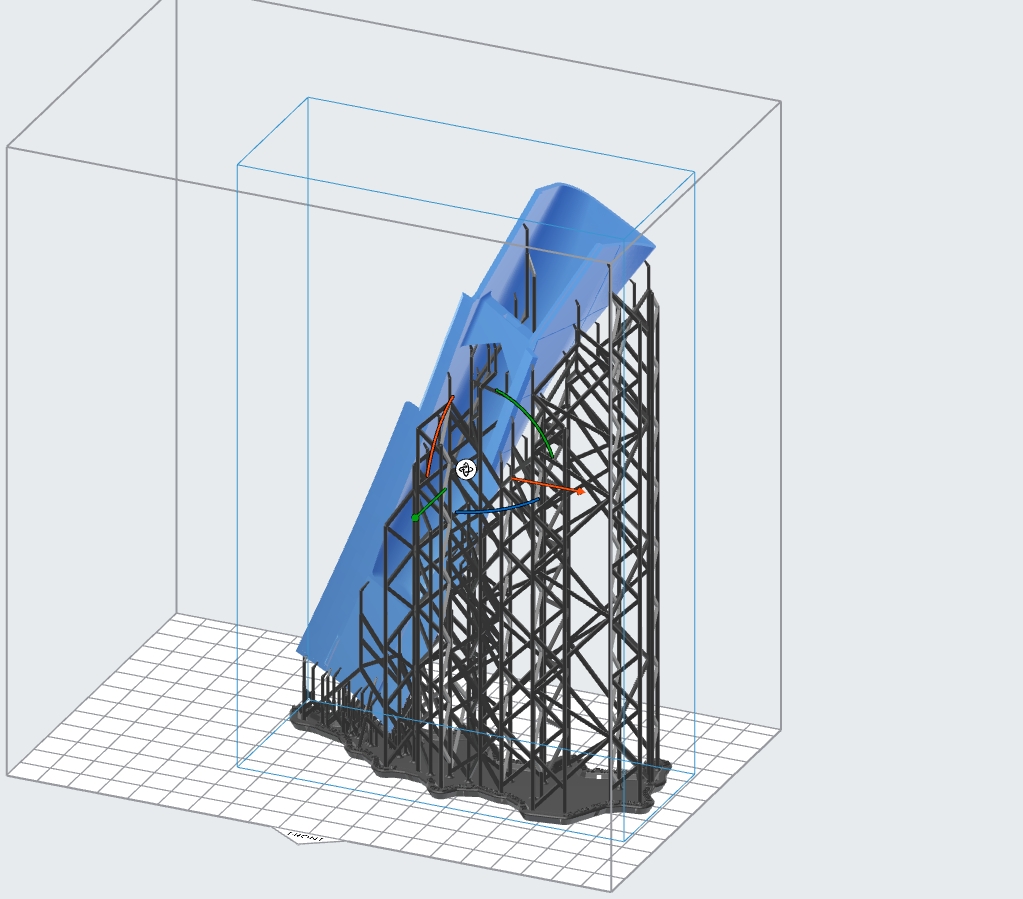
Common Structures Need Supports
Overhangs
Overhangs are features that extend outward from the main body of the model without any support beneath them. Typically, overhangs at angles greater than 45 degrees need supports to prevent sagging or collapsing during printing.
Bridges
Bridges are horizontal structures that span across open spaces between two points. Bridges usually require supports to ensure they are printed level and strong.
Thin Walls and Tall Features
Thin vertical structures or tall, slender features can become unstable during printing. Supports maintain their integrity and prevent wobbling or warping.
Internal Cavities and Complex Geometries
Models with intricate internal cavities or complex shapes may have areas that cannot be printed without additional support. Supports ensure that all parts of the model are accurately and reliably produced.
Angles and Sharp Edges
Features with sharp angles or edges can benefit from supports to maintain their definition and precision and avoid distortion or deformation.
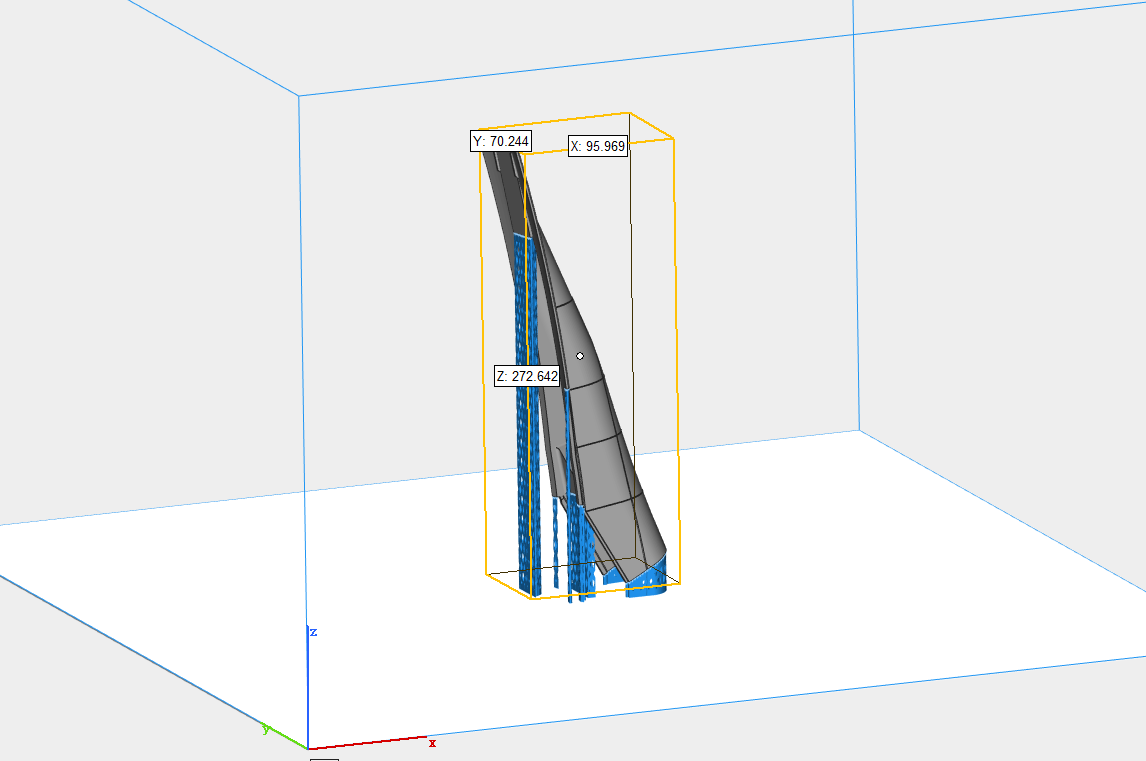
How to Add More Supports
Software and Tools to Add Supports
To effectively add more supports to your 3D models, using the right software and tools is critical to success. These programs can simplify the process and optimize support positions:
1. Cura
Cura offers both automatic and manual support generation. Users can choose from different support modes, adjust density and modify position to best suit the needs of the 3D model. In addition, Cura offers visualization tools to preview support structures before printing.
2. PrusaSlicer
PrusaSlicer includes versatile support generation options, allowing users to create custom supports with ease. The software offers various support styles, such as grid and tree supports, and enables fine-tuning of parameters like support angle and contact distance.
3. Simplify3D
Simplify3D excels in providing advanced support generation tools. It allows for customized support placement, manual editing, and the ability to add or remove supports precisely where needed. The software’s robust features ensure optimal support structures, minimizing material use and improving print quality.
4. Autodesk Meshmixer
Meshmixer provides users with the ability to generate tree supports, which are particularly useful for complex models. The software’s intuitive interface allows for easy adjustment of support settings, ensuring that supports are placed efficiently and effectively.
5. Tinkercad
While Tinkercad is more basic compared to other software, it offers essential support generation tools that are suitable for beginners. Users can generate supports automatically and make basic adjustments to improve their models’ printability.
6. Blender
Blender’s support generation features allow for both automatic and manual placement of supports. Users can customize support structures extensively, ensuring that even the most complex models are adequately supported during printing.
Tips to Optimize Supports
1. Analyze the Model
Before generating supports, thoroughly analyze your model to identify areas that require additional stability. Focus on overhangs, bridges, and intricate geometries that need support to print correctly.
2. Adjust Support Settings
Use your slicing software's support settings to fine-tune support structures. Adjust parameters like support density, pattern, and contact z-distance to optimize the balance between stability and material usage. Lower density supports can reduce material use, while higher densities can provide better stability for complex prints.
3. Use Custom Supports
Manually add supports only where necessary to minimize material usage and ease post-processing. Custom supports allow for more precise placement, ensuring that only critical areas are supported.
4. Optimize Support Patterns
Choose the right support pattern for your print. Grid and tree supports offer different advantages; grid supports are robust and easy to remove, while tree supports provide stability with minimal contact points, reducing the risk of damaging the print during removal.
5. Angle the Model
Adjust the orientation of your model to reduce the number of supports required. Printing angles greater than 45 degrees typically need support; by orienting your model strategically, you can minimize overhangs and thus reduce the need for supports.
6. Minimize Contact Points
Reduce the size and number of contact points between the supports and the model to make support removal easier and minimize the risk of damaging the print. Adjust the support interface settings to achieve this.
7. Utilize Breakaway and Dissolvable Supports
If your printer supports it, consider using breakaway or dissolvable supports. These types of supports are easier to remove and can help maintain the surface quality of your print. Breakaway supports are manually removed, while dissolvable supports can be dissolved in water or a specific solvent.
8. Preview and Test
Use the preview feature in your slicing software to visualize the support structures before printing. Make any necessary adjustments based on the preview to ensure the supports are optimally placed. Running test prints can also help identify potential issues with support placement.
9. Post-Processing Care
Carefully remove supports after printing using appropriate tools, such as pliers, cutters, or dedicated support removal tools. Take your time to ensure that the supports are removed cleanly without damaging the print. Smoothing remaining marks or imperfections can enhance the final appearance.
Need more help from our experts?
At 3DSPRO, our team of dedicated engineers is here to help you every step of the way with your 3D printing project. Whether you are facing challenges with support structures, need advice on optimizing your prints, or need guidance on choosing the right materials and techniques, our experienced professionals are ready to assist you.
For personalized help and advice, please don’t hesitate to contact us. We are committed to your success and are here to provide you with the support you need.
Ready to get started? Upload Your 3D Models Here >>


