Understanding STL Files
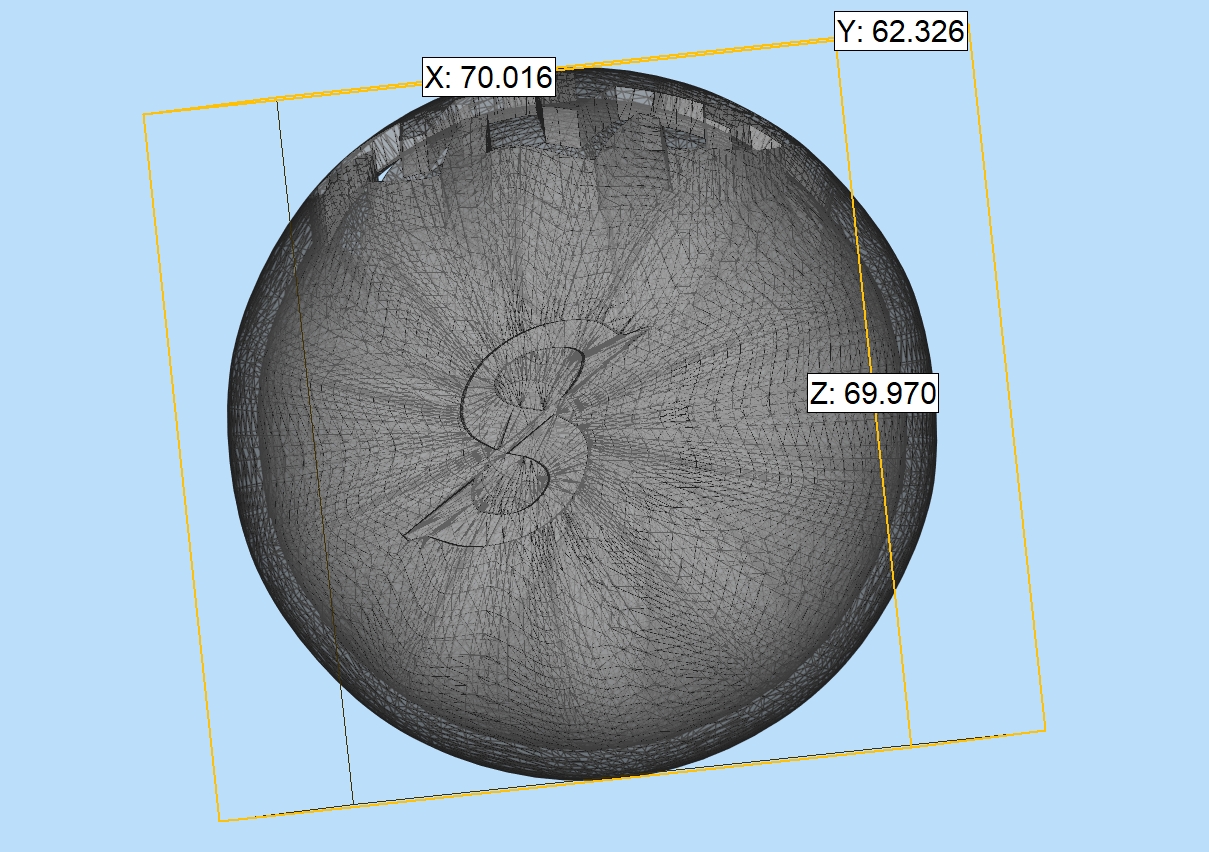
STL files, standing for "stereolithography" or "Standard Tessellation Language," are one of the most common file formats used in 3D printing. STL files represent 3D objects by breaking down their surfaces into a series of interconnected triangles.
An STL file contains only the geometry of a 3D model without any color, texture, or other attributes.
When working with STL files, you'll need to use reliable software tools for viewing, editing, and repairing the files because issues such as non-manifold edges, holes, and intersecting triangles can lead to printing problems, including reversed prints.
Reasons of STL Files Printing in Reverse
Mirroring in Slicer Software
One of the most common reasons for STL files printing in reverse is the mirror setting in your slicing software. Slicer software, such as Cura, PrusaSlicer, or Simplify3D, will convert your 3D model into a series of layers that your printer can read. During this process, if the mirror option is enabled, it can flip the model along the specified axis and cause reverse printing. Mirroring can be intentional for a specific design, or it can be an unintentional default. To avoid this, double-check the mirror settings in your slicing software before starting to print.
Incorrect Orientation
Incorrect model orientation is another common problem. When preparing an STL file for printing, it is critical to ensure that the model is oriented correctly in your slicing software. The default orientation of the model may not match the intended printing orientation and lead the model to print in reverse or upside down. Reviewing and adjusting the orientation in your slicing software can prevent this problem. Besides, pay attention to the axes and make sure the model is properly aligned with the printer's build platform.
File Import Issues
File import issues can also cause STL files to print in reverse. When you import STL files from different CAD software or repositories, the file's orientation data may be interpreted differently. Some software may handle the coordinate system differently. So, it is critical to ensure coordinate system consistency between the design software and the slicing software.
Repair STL Files
Model Cleanup
Model cleanup is the first step in repairing STL files to ensure successful a 3D print. You'll need to remove any unnecessary details, errors, or artifacts in the 3D model, including deleting redundant vertices, fixing holes, and smoothing out surfaces. Tools such as Autodesk Meshmixer, Netfabb, or Blender are helpful. Proper cleanup keeps the model as simple and error-free as possible, reducing the possibility of printing problems.
Mesh Simplification
Mesh simplification means reducing the number of polygons in the STL file without significantly compromising the detail and quality of the model. It is a crucial step for handling large and complex models that may be too detailed for efficient printing. By simplifying the mesh, you can decrease the file size and processing time while maintaining an acceptable level of detail. Software tools such as MeshLab and Netfabb are helpful.
File Size Reduction
Reducing the file size of STL files can make the slicing process and the 3D print itself more efficient. File size can be reduced by optimizing the complexity and resolution of the model. As mentioned in the previous steps, simplifying the mesh and removing unnecessary details are key strategies. Additionally, you can use file compression tools designed specifically for 3D models to further reduce file size while retaining necessary details.
Ensuring Watertight Models
A watertight model, or manifold model, means that the 3D model has no holes, gaps, or intersecting faces. Ensuring your STL file is watertight is critical to avoid print failures. Software tools like Netfabb, Meshmixer, and Magics can help detect and repair non-manifold edges and holes.
Orientation Optimization
Properly orienting your model in the slicer software can significantly impact the quality and efficiency of the print. Consider factors such as the printer's build volume, the model's geometry, and the direction of layers when orienting your model. Slicer software often provides visualization tools to help you find the best orientation for your specific print.
Scaling and Sizing
Scaling and sizing the model to fit within the printer's build volume is helpful as well. You can adjust the dimensions of the 3D model. Be mindful of the aspect ratio and proportions to maintain the integrity of the design. Slicer software allows you to scale the model up or down.
Export Settings
Choosing the right export settings for your STL file can affect the quality and success of your print. When exporting the model from your CAD software, ensure that the resolution is appropriate for your printer's capabilities. High-resolution settings provide more detail but can increase file size and processing time, while lower resolutions can simplify the model at the cost of detail.