The FlashForge Adventurer 3 Pro integrates with FlashPrint 5, a proprietary slicer that supports STL, OBJ, FPP and 3MF files and offers easy‑to‑use UI features like auto‑supports and undo/redo. Users also often pair it with third‑party slicers—Orca Slicer (which has an AD3 profile), Ultimaker Cura, PrusaSlicer, or Simplify3D (which broadly supports FlashForge printers) to unlock adaptive layer heights, arc support, and more sophisticated infill/retreat routines.
FlashPrint 5: The Default Slicer
FlashPrint 5 is FlashForge’s in‑house slicing software, preinstalled on the Adventurer 3 Pro, featuring support for STL, OBJ, FPP, and 3MF file formats. Its intuitive UI offers one‑click auto‑supports, raft and brim toggles, and a full undo/redo history via Ctrl + Z. FlashPrint also enables remote management over USB, Wi‑Fi, or Ethernet, with live‑feed camera monitoring on AD3 Pro 2 models for real‑time print observation. While FlashPrint excels at ease of use, it lacks advanced slicing features like adaptive layer height, customizable path width, and true arc support, which can limit print quality optimizations for complex geometries. Regular firmware updates and staying on the latest FlashPrint version are key to unlocking incremental UI and performance improvements.
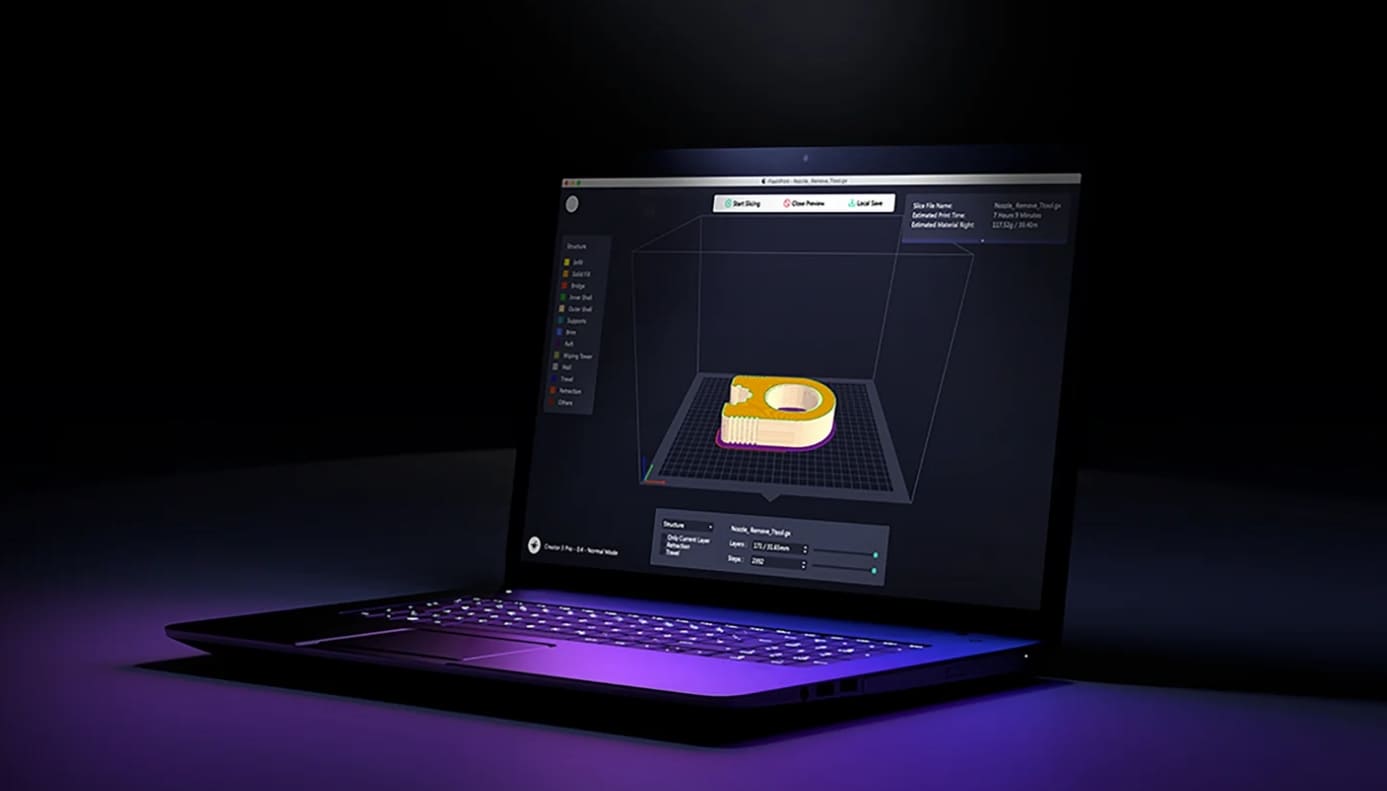
Image Source: FlashForge
Third‑Party Slicer Options
Many users expand their workflow with alternative slicers that offer deeper customization:
• Orca Slicer: The Adventurer 3 series profile is maintained on GitHub, now merged into the main OrcaSlicer codebase. Orca provides a streamlined setup with FlashPrint‑style fan and temperature control, while adding adaptive layer heights and experimental infill patterns.
• Ultimaker Cura: FlashForge publishes a Cura setup PDF outlining how to add the Adventurer printer under Settings → Printer → Add Printer, then selecting Flashforge and entering machine specs. Cura’s vibrant community contributes optimized AD3 profiles, and the open‑source engine supports plugins for automatic profile updates.
• Simplify3D: As a premium option, Simplify3D boasts compatibility with more printers than nearly any other slicer. Its customizable support generators, sequential printing, and detailed print previews appeal to professionals willing to pay for advanced toolsets. However, many hobbyists find it overkill for the Adventurer 3 Pro’s build volume and use cases.
• PrusaSlicer: Though not officially supported, you can configure a FlashForge‑style printer in PrusaSlicer and export G‑code, then convert to .gx if needed. Community bundles and scripts exist to translate PrusaSlicer’s output into the format expected by FlashPrint.
Compatibility and System Requirements
Ensure your hardware and software align for smooth operation:
System Requirements
• OS: Windows 10/11, macOS 10.15+, or Linux (64-bit).
• RAM: Minimum 4 GB (8 GB recommended).
• Storage: 500 MB free space.
• GPU: A Dedicated graphics card is advised for complex models.
Printer Firmware
• The Adventure 3 Pro runs on FlashForge’s proprietary firmware. Third-party slicers require manual G-code setup.
• Update firmware via FlashPrint 5 to avoid compatibility issues.
Best Practices and Tips
|
Tip Category |
Action |
Details |
|
Calibration |
Level bed & tune Z‑offset |
Perform the 9‑point bed leveling using a sheet of paper or 0.25 mm feeler gauge, then print a grid of small cubes and adjust Z‑offset until all first layers look uniform. |
|
Material Profiles |
Use manufacturer‑recommended temps |
For PLA print at 200 °C with 60 °C bed, ABS at 230 °C/90 °C, TPU at 220 °C/50 °C; keep print speed between 40–60 mm/s for balanced quality and speed. |
|
Support Settings |
Optimize support parameters |
In FlashPrint start with a 45° overhang threshold; in Cura/Orca tweak support Z‑distance and use linear supports for large areas to minimize scarring. |
|
Firmware & Software Updates |
Stay current on firmware and FlashPrint |
Check FlashForge’s download center monthly for the latest Adventurer 3 Pro firmware (e.g., v1.2.7+) and update FlashPrint to get new features and bug fixes. |
|
Network Printing |
Choose the most reliable transfer method |
First try Wi‑Fi via the printer’s touch menu; if transfers fail, switch to USB or microSD; for large files, Ethernet often yields the most stable connection. |
FAQs
Q: What file types does FlashPrint support?
A: FlashPrint 5 reads STL, OBJ, FPP, and 3MF files natively, plus G‑code, noting that .gx is FlashForge’s proprietary G‑code wrapper.
Q: Can I use Cura with the Adventurer 3 Pro?
A: Yes—add your printer via Settings → Printer → Add Printer → Flashforge, then import community profiles or enter specs manually.
Q: How do I set up Wi‑Fi printing?
A: Use the printer’s touchscreen to select Wi‑Fi settings, choose your network SSID, and enter the password; if problems persist, a YouTube walkthrough offers a visual guide.
Q: Does FlashPrint run on Linux?
A: No official builds exist, but community Flatpak packages enable Linux slicing with minor setup adjustments.
Q: My Prints Fail with a New Slicer. What’s Wrong?
Verify bed temperature, retraction distance, and filament diameter settings. Adjust incrementally.
 15
15


COMMENTS
- Be the first to share your thoughts!