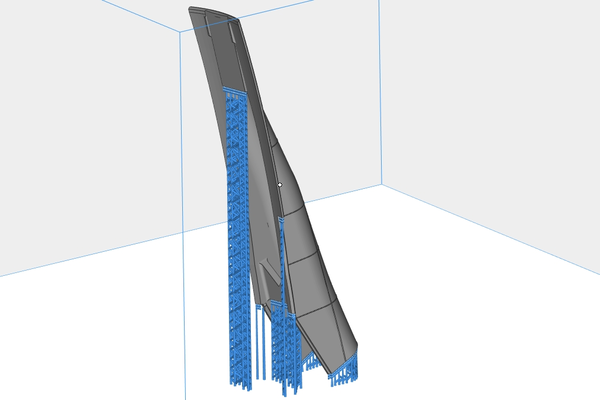
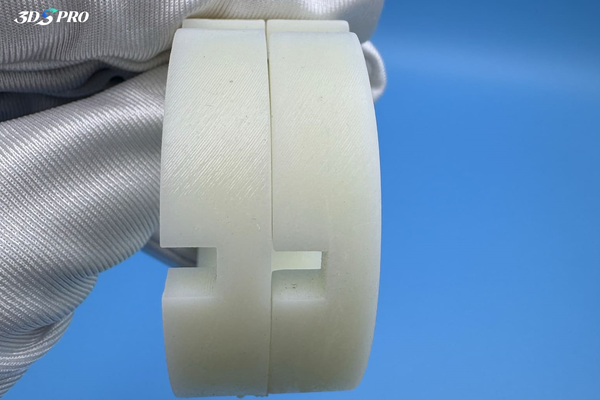
Every athlete participating in the Olympic Games relies on the support of family, friends, and their team. Similarly, in 3D printing, supports ensure that the final printed product does not warp, collapse, or deform. It seems that neither people nor objects can do without supports (except for SLS and MJF).
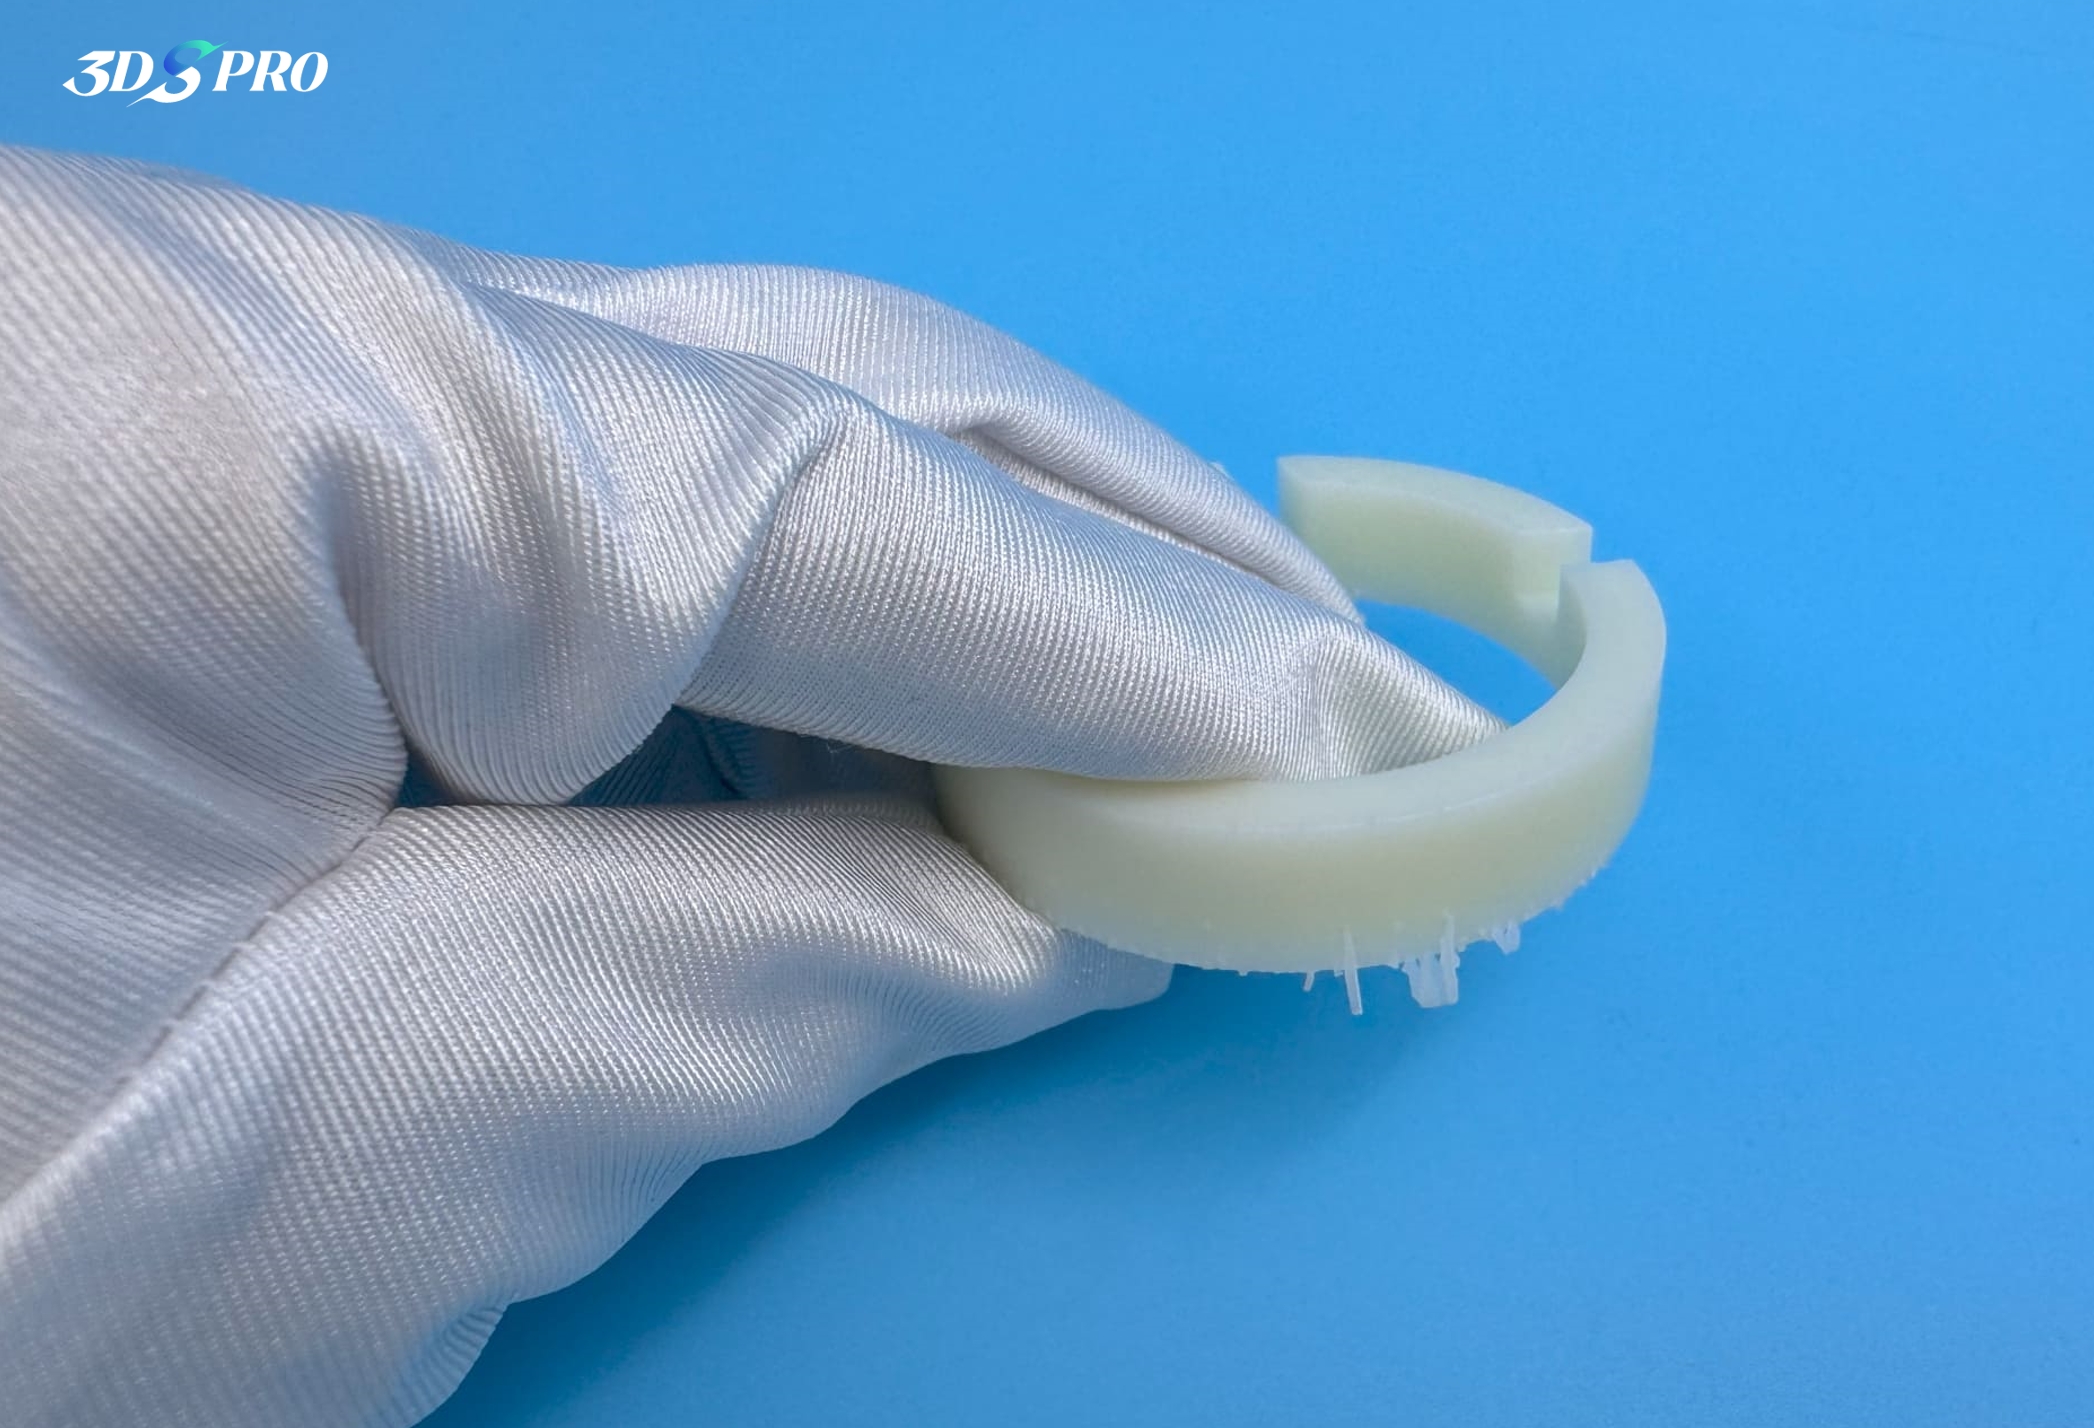
What are 3D printing supports?
3D printing supports are temporary structures used during the printing process to provide stability and reinforcement for parts of the model that have overhangs or bridges. These supports ensure that the print maintains its shape and integrity, especially in areas where the material would sag or deform due to gravity.
Types of 3D printing Supports
● Tree Supports: Tree supports have a tree-like structure with branches, using less material and printing time. They are particularly useful for complex models with many overhanging parts.
● Breakaway Supports: After printing, the breakaway supports can be easily removed by hand, leaving a relatively clean surface.
● Soluble Supports: Made from materials that are soluble in water or certain solvents, these supports are ideal for intricate designs that are difficult to remove manually.
● Grid Supports: Grid supports are simple, grid-like structures that provide strong support but are difficult to remove.
● Linear Supports: Linear supports are vertical supports that are easy to print and remove but may use more material.
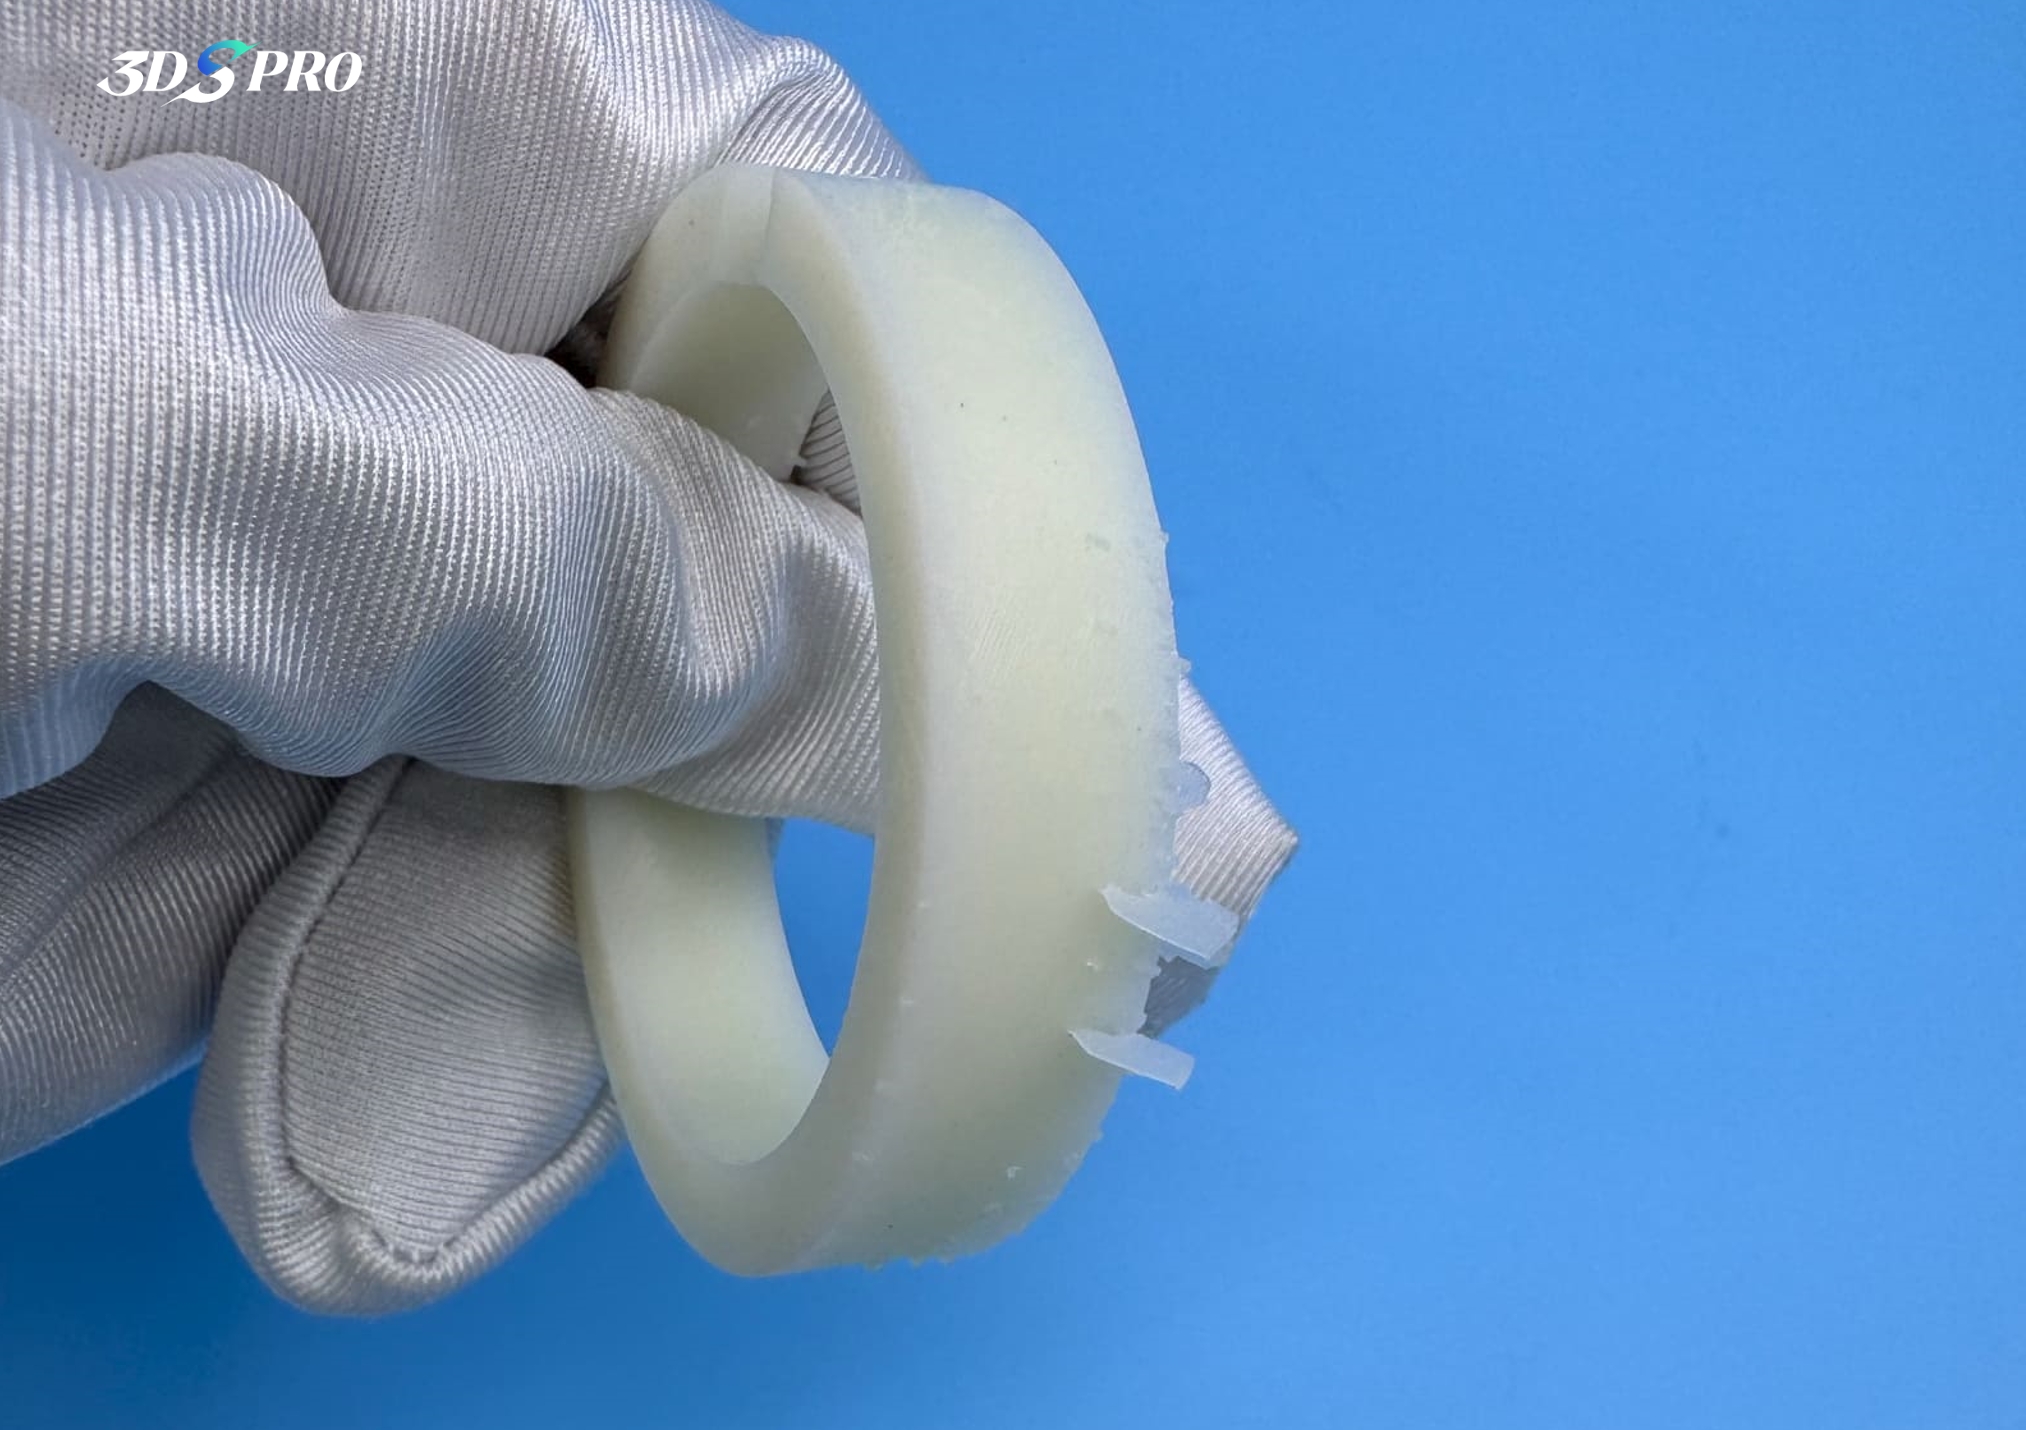
For 3D printing the Olympic Rings, we used breakaway supports, and you can see that the supports have broken off (when we lifted the Olympic Rings from the print bed).
Why do we need them?
3D printing supports provide the necessary foundation for overhanging parts of a model, preventing them from sagging or bowing during the printing process. They also help maintain the overall structural integrity of the print, especially for complex designs with intricate details.
Additionally, supports ensure that the printed object is dimensionally accurate by holding the part in place as the material cools and solidifies. By supporting overhangs and bridges, supports help achieve a smoother surface finish on the final print.
3D printing supports enable the successful printing of complex geometries. Effective use of supports can significantly improve the quality and accuracy of 3D prints.
In the process of 3D printing the Olympic rings, we used supports to reduce the space taken up in the build chamber of the SLA 3D printer.
The Process to Remove 3D Printing Supports
Manual Removal
● Flush Cutters or Pliers: Use these tools to carefully snip away the supports as close to the model’s surface as possible without damaging it.
● Tweezers: Ideal for removing small or delicate support structures in tight spaces.
● X-Acto Knife: Useful for slicing away any remaining support pieces.
● Needle Files: Smooth out any rough edges left behind after removing the supports.
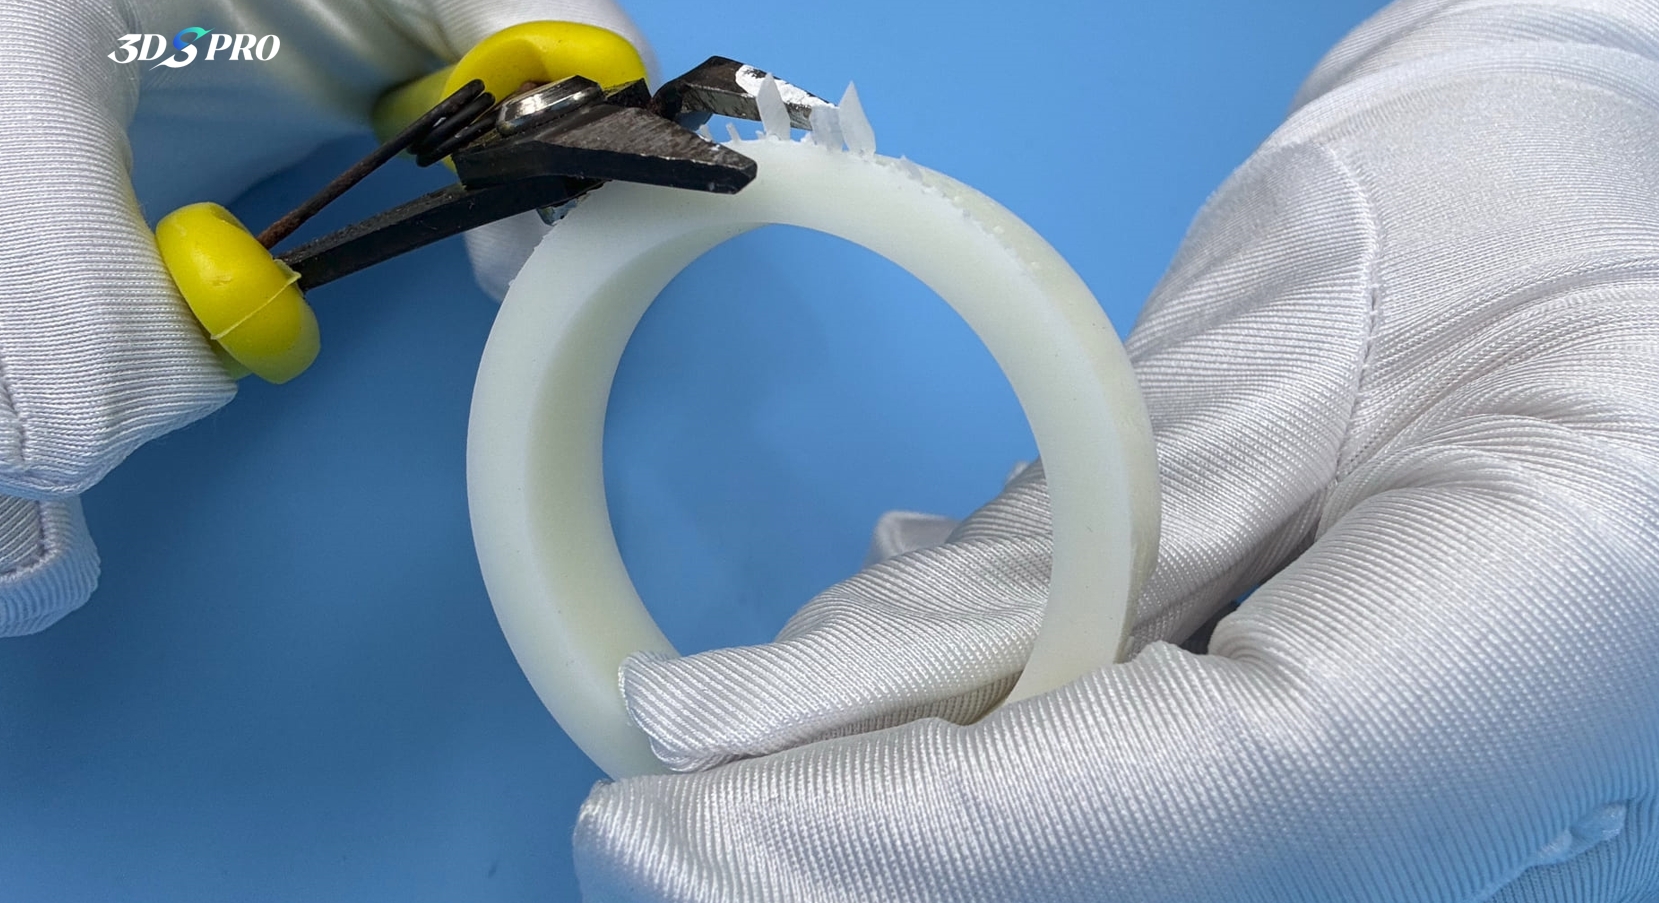
Post-Processing
● Sanding: After removing the supports, sanding can help smooth out any remaining rough areas.
● Polishing: Further enhances the surface finish after sanding.
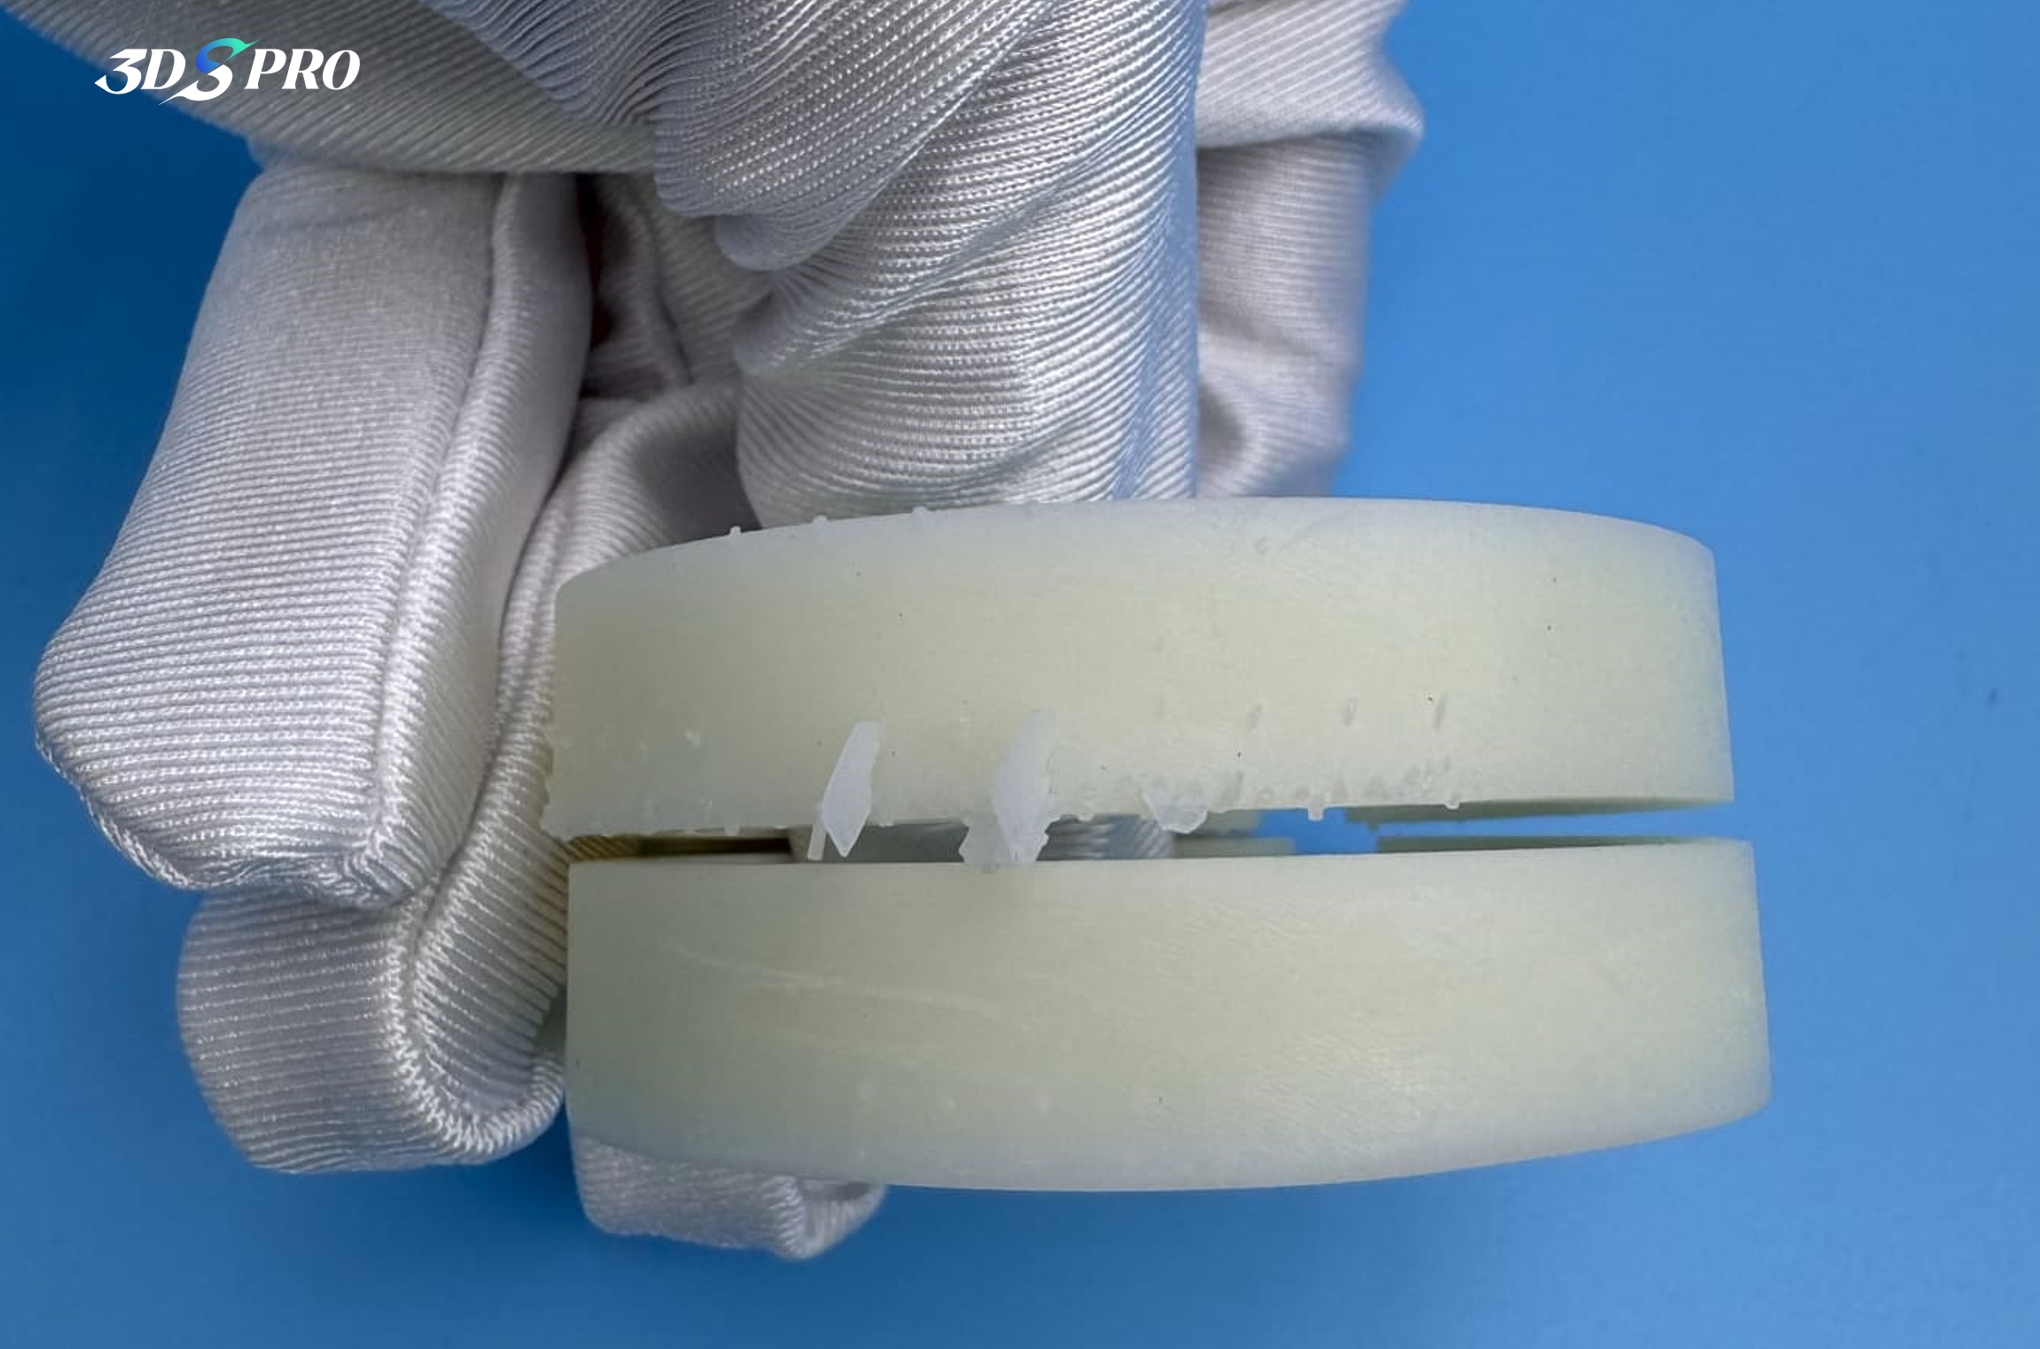
The one at the bottom was sanded.
Mechanical Tools
● Deburring Tool: Helps to round off sharp edges and remove brims or rafts.
● Rotary Tools: Can be used for more precise and faster removal of supports, especially for larger models.
Chemical Methods
● Soluble Supports: If the supports are made from a soluble material like PVA or HIPS, they can be dissolved in water or a specific solvent (e.g., Limonene for HIPS).
● Chemical Baths: Submerging the print in a chemical bath can help dissolve supports without manual intervention.
How to avoid 3D printing support structure?
Avoiding 3D printing support structures can save time, material, and effort in post-processing. Here are some strategies to help minimize or eliminate the need for supports:
Adjust 3D Model Designs
1. Optimize Part Orientation
Reorient the Model: Position the model so that overhangs are minimized. For example, printing a model on its side can reduce the need for supports.
2. Angle Adjustments
Ensure that overhangs are less than 45 degrees from the horizontal plane, as angles greater than this typically require supports.
3. Design Modifications
● Add Chamfers and Fillets: These features can replace sharp overhangs with gradual slopes, reducing the need for supports.
● Incorporate Bridges: Design bridges instead of overhangs where possible. Bridges can span gaps without needing support if they are short enough.
Segmenting the Model
1. Split the Model
Break down complex models into smaller parts that can be printed without supports and then assembled post-printing.
2. Use Advanced Slicing Techniques
● Support Blocking: Use slicer software features to block supports in specific areas where they are not needed.
● Custom Supports: Manually add supports only where necessary, optimizing their placement and reducing material usage.
Use 3DSPRO SLS or MJF 3D Printing Services
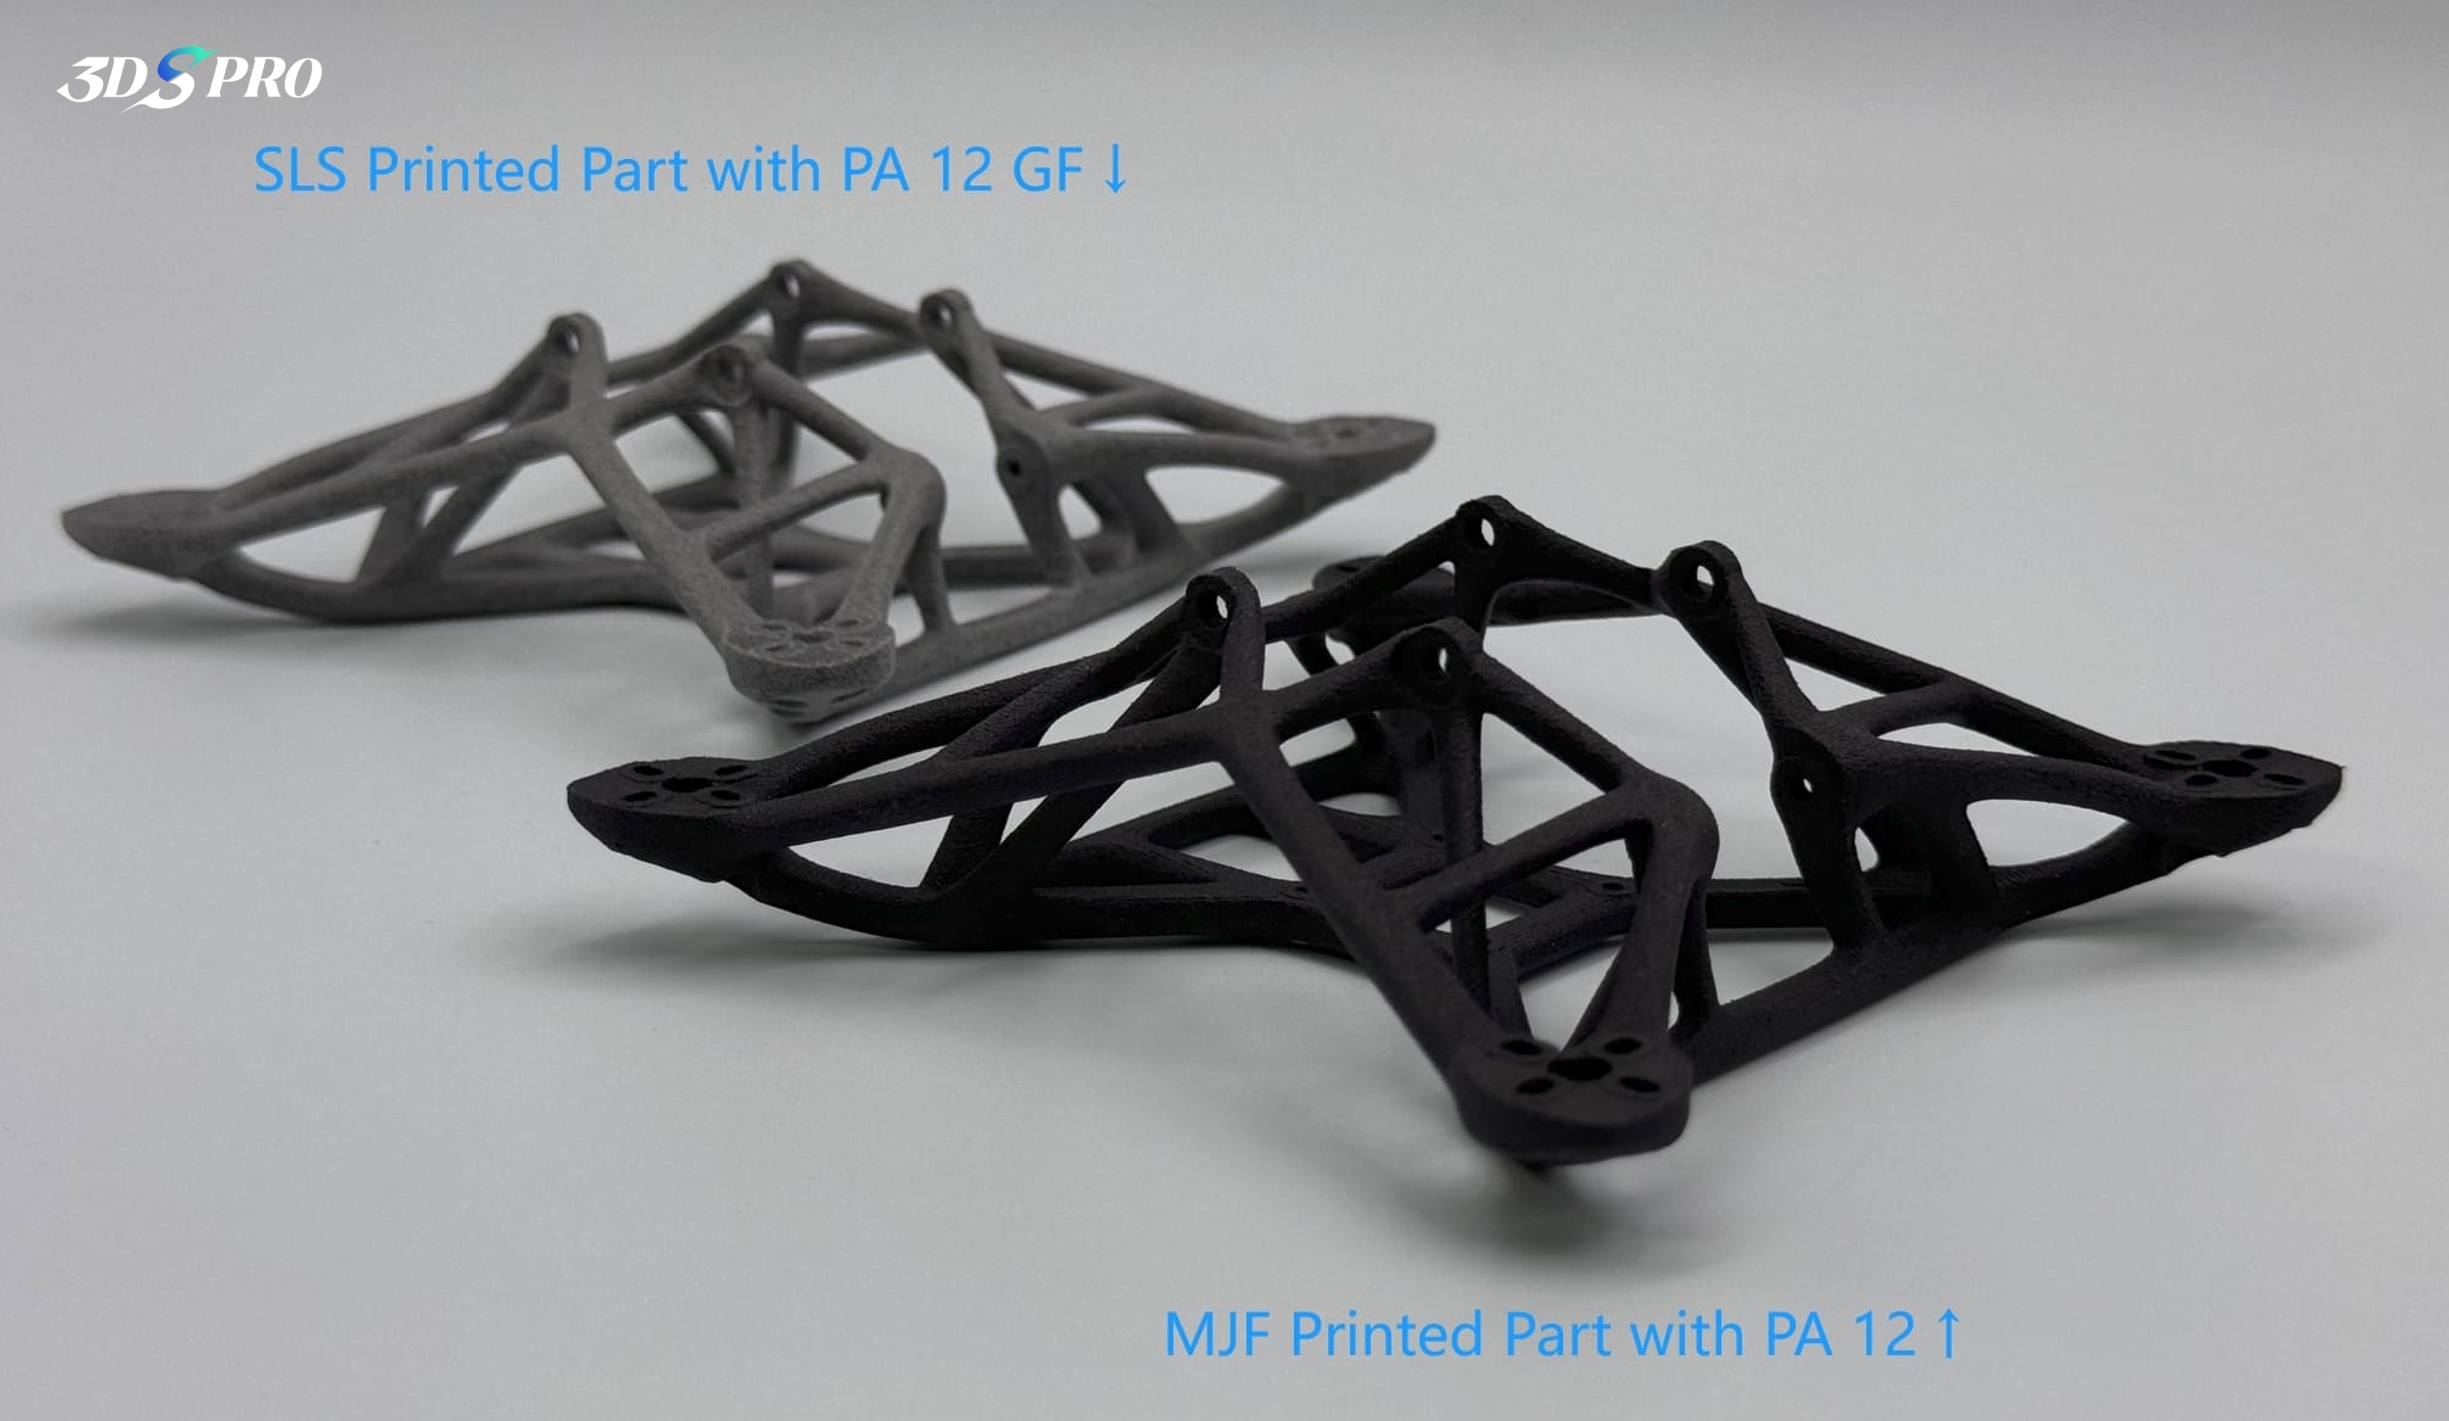
Selective Laser Sintering (SLS) and Multi Jet Fusion (MJF) 3D printing do not require support structures, as both technologies use a powder bed to support the part during the printing (fusing) process.
3DSPRO SLS Printing Service
In SLS, a laser selectively fuses powdered material layer by layer. The unfused powder surrounding the part acts as a natural support, allowing for complex geometries without the need for additional support structures. Try it HERE.
3DSPRO MJF Printing Service
MJF uses a fusing agent and heat to selectively fuse powder particles. The surrounding unfused powder provides the necessary support for overhangs and intricate details. Try it HERE.
