Comparison Table of Design Tricks
|
Trick |
Cost Impact |
Strength Impact |
Difficulty |
Best Use Case |
|
Topology optimization |
High |
High |
Medium |
Primary load-bearing components |
|
Hollowing + internal lattices |
Medium |
High |
Low–Medium |
Large bulky parts |
|
Reduce infill, increase shells |
Medium |
Medium |
Low |
Non-critical interiors |
|
Fillets, ribs, local reinforcement |
Low |
High |
Low |
Thin-walled features |
|
Part consolidation |
High |
High |
High |
Multi-piece assemblies |
|
Print orientation & support reduction |
Medium |
Medium |
Low |
Complex overhangs and surfaces |
Detailed Sections
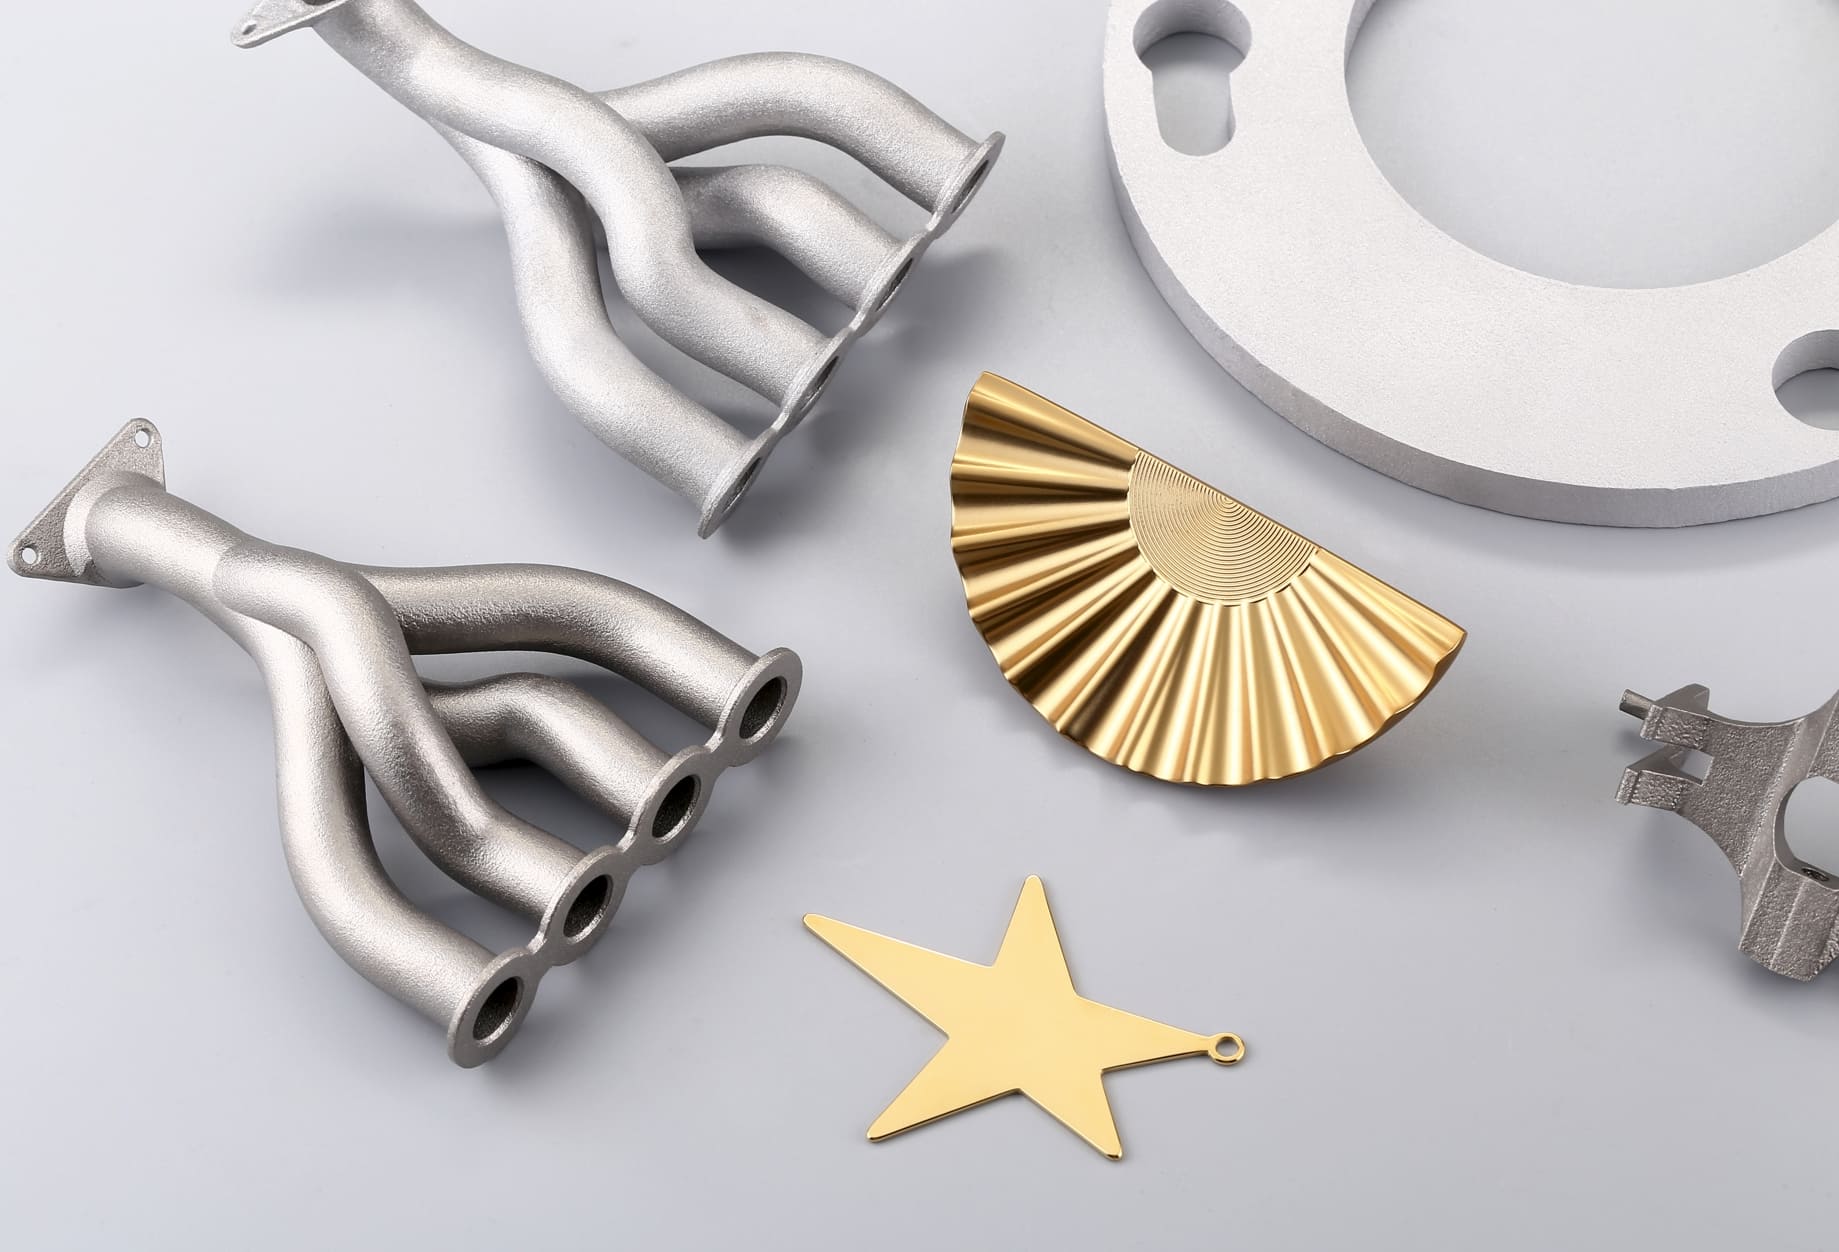
Topology Optimization
Use topology optimization to remove material where it does not carry load and keep continuous load paths. Run a coarse FEA with realistic boundary conditions, then translate the optimized envelope into manufacturable geometry (add fillets, minimum feature sizes, and printability constraints). Expect 20–60% mass reduction on many structural parts when validated correctly.
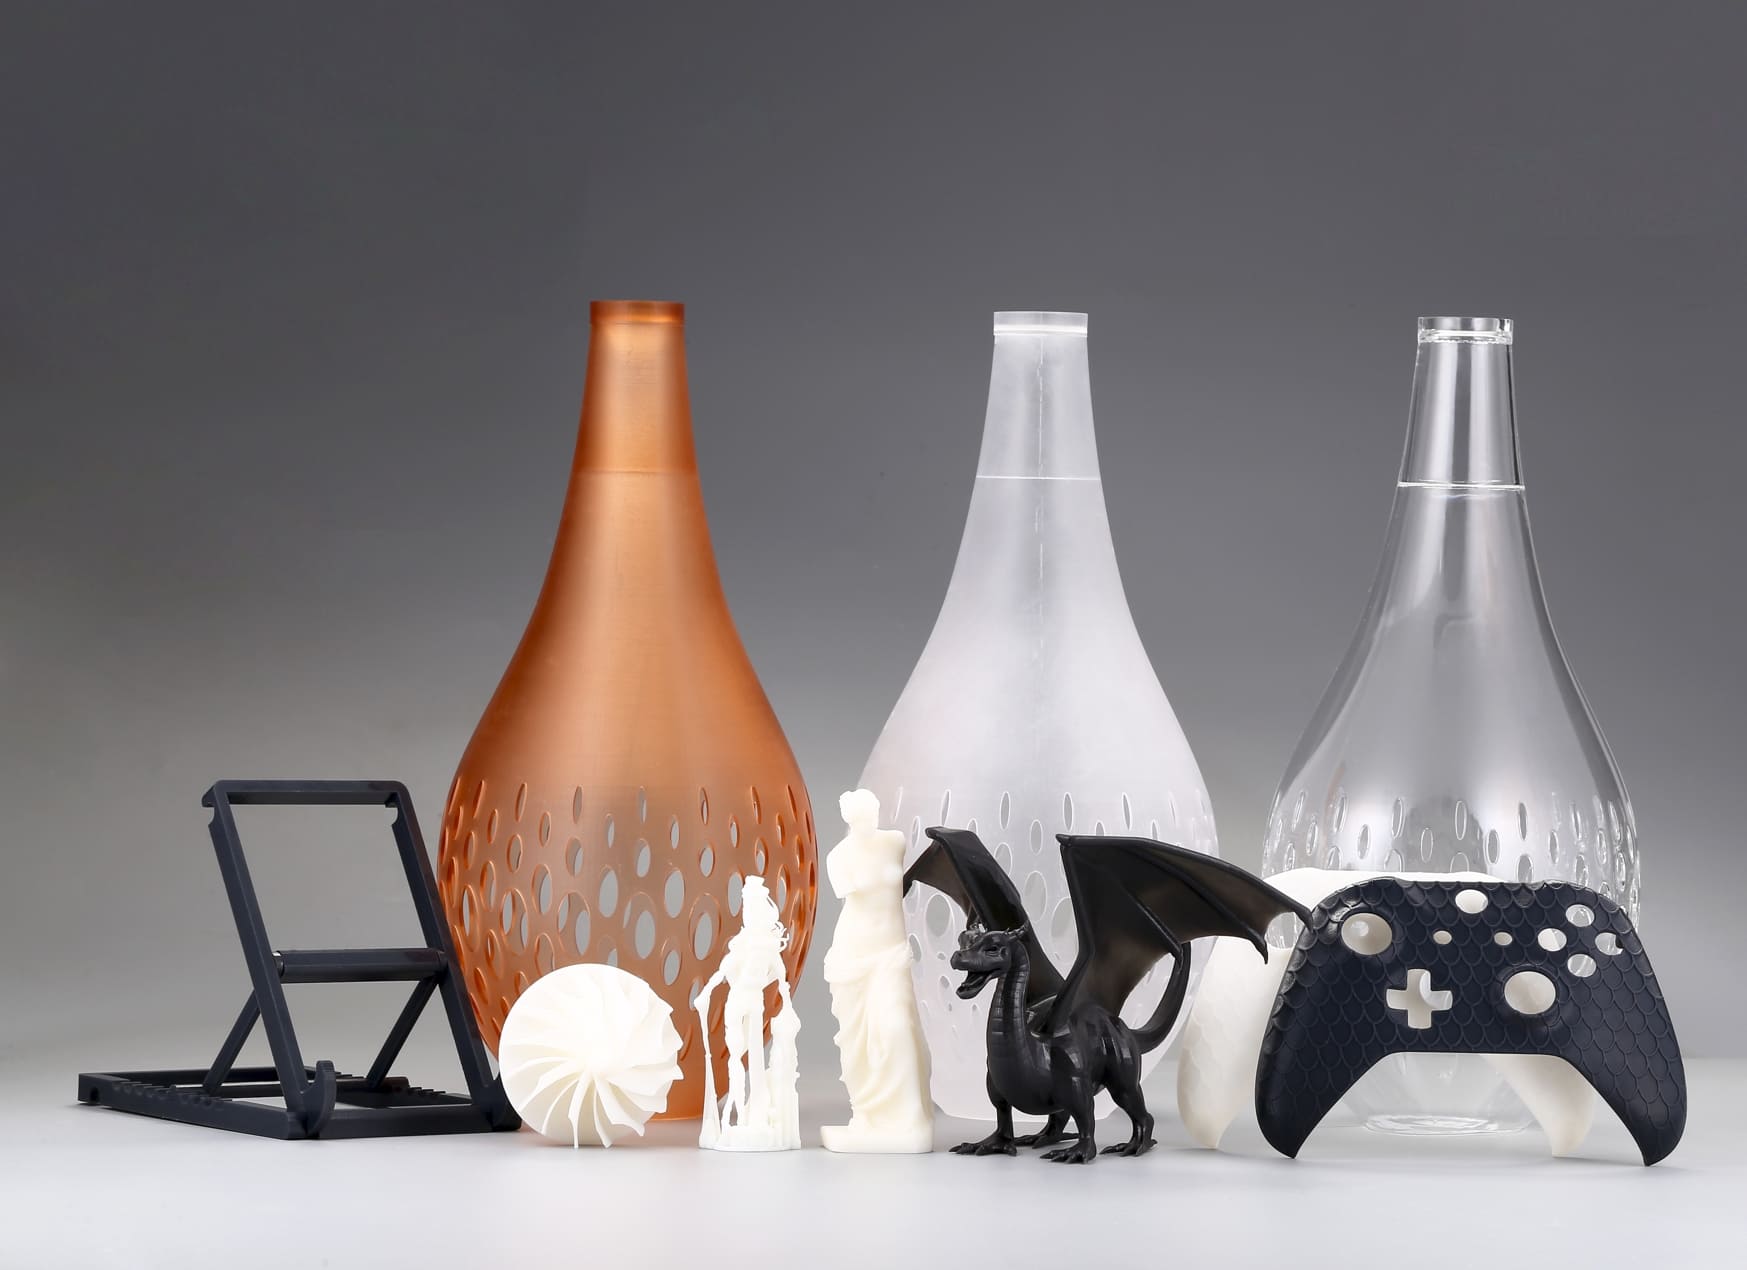
Hollowing and Internal Lattices
Hollowing reduces material volume; internal lattices (gyroid, honeycomb) maintain stiffness and distribute loads. For large volumes, combine a thin outer shell with strategic ribs to prevent buckling. Choose lattice cell size relative to wall thickness to avoid print defects and to keep post-processing minimal.
Infill Strategy and Shell Thickness
A common cost-effective pattern is lower infill density with thicker outer shells: shells carry surface loads and protect against impact, while infill provides bulk stiffness. Use anisotropic infill patterns aligned with principal stresses; for many FDM parts, 10–30% infill with 2–4 perimeter shells balances cost and strength.
Fillets, Ribs, and Local Reinforcement
Replace sharp corners with fillets to reduce stress concentrations and add ribs to stiffen thin walls. Localized reinforcement is far cheaper than global solidification, add material only where stress or buckling risk is high.
Part Consolidation and Assembly Reduction
Consolidate fastened assemblies into single printed parts where tolerances and post-processing permit. It reduces hardware cost and assembly labor but increases design complexity and may require sacrificial features or inserts.
Print Orientation and Support Minimization
Orient parts to minimize supports and layer-induced weakness. Reducing supports saves material and post-processing time; orient load-bearing features so layers are loaded in shear rather than tension when possible.

Image Source: Materialise
Risks and Trade-offs
1. Over-optimization risk: aggressive topology or thin walls can create brittle, print-sensitive geometries; validate with coupons and FEA.
2. Surface finish vs. cost: hollowing and lattice interiors may trap support or resin (SLA); design drainage and access.
3. Tolerance and assembly: consolidation can complicate tolerances and repairability; plan for inserts and serviceability.
4. Material substitution: cheaper materials may require higher infill or different print settings; always test mechanically.
Practical Checklist
• Define load cases and safety factors.
• Run a quick FEA and identify low-stress regions.
• Apply topology optimization with manufacturability constraints.
• Hollow large volumes; add ribs and drainage.
• Set shells thicker than infill; choose an infill pattern by load direction.
• Optimize orientation to reduce supports.
• Print test coupons; measure weight, print time, and mechanical performance.
FAQs
Q: How much can I save?
A: Typical part-level savings range 10–60% depending on geometry and strategy.
Q: When should I avoid hollowing?
A: Avoid for small parts with thin walls or where internal cleaning/drainage is impossible.
Q: How to validate changes?
A: Use FEA, then print standardized coupons for tensile/bend tests before full production.
 1
1