3D printing has made it easier than ever to turn ideas into real parts, but when a design involves multiple pieces that must fit together, the process becomes more demanding. Assembly parts need more than a good shape or an attractive surface. They must align properly, connect securely, and function as a complete system once assembled.
A part that looks fine on screen may still fail in real use if the fit is too tight, the joint is too weak, or the geometry makes assembly difficult. In many cases, small design decisions can determine whether a project is smooth and reliable or full of adjustments and rework.
This guide walks through the most important design considerations for 3D printed assembly parts, including fit, strength, connection methods, ease of assembly, and common mistakes to avoid. Whether you are creating prototypes, functional components, or end-use parts, these basics can help improve print results and reduce assembly problems.
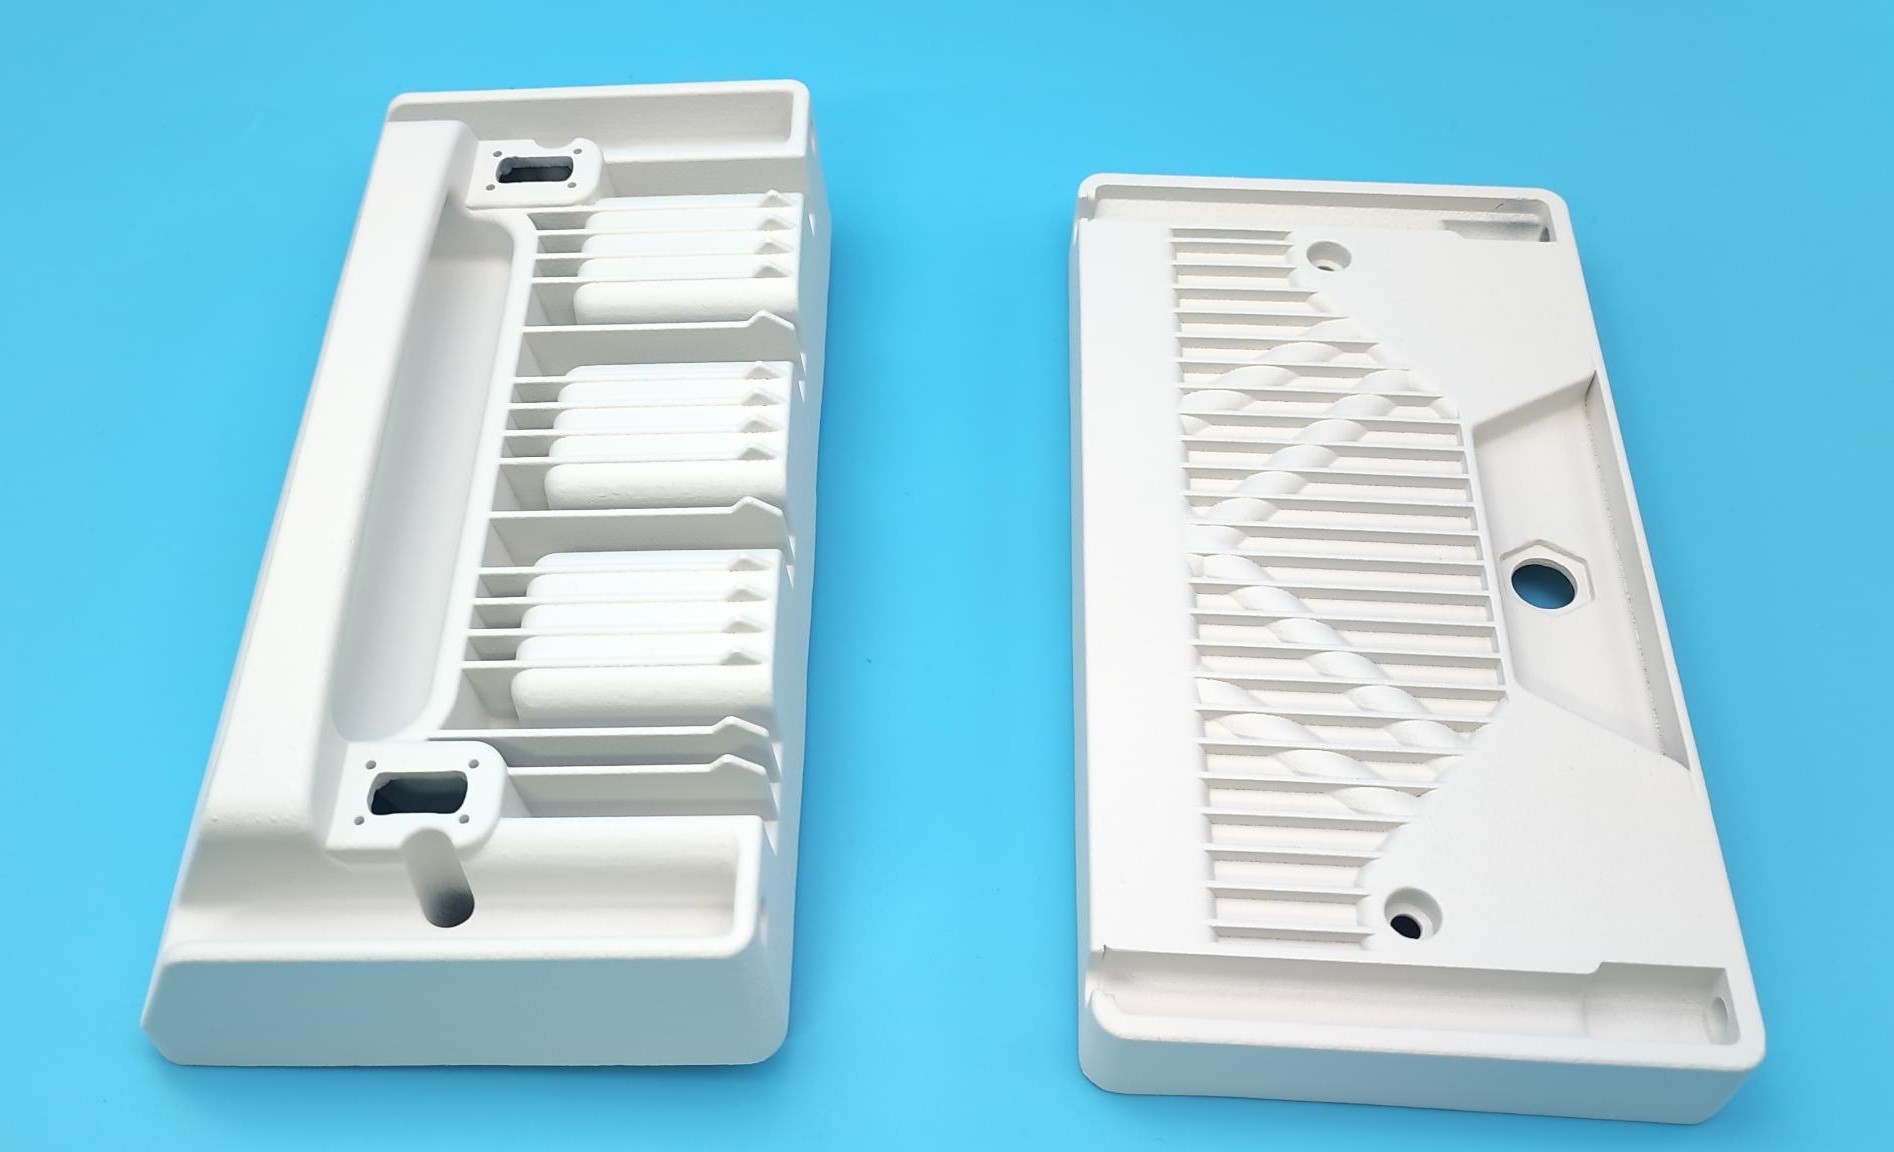
Image Copyright © 2026 3DSPRO Limited. All rights reserved.
Assembly Parts in 3D Printing
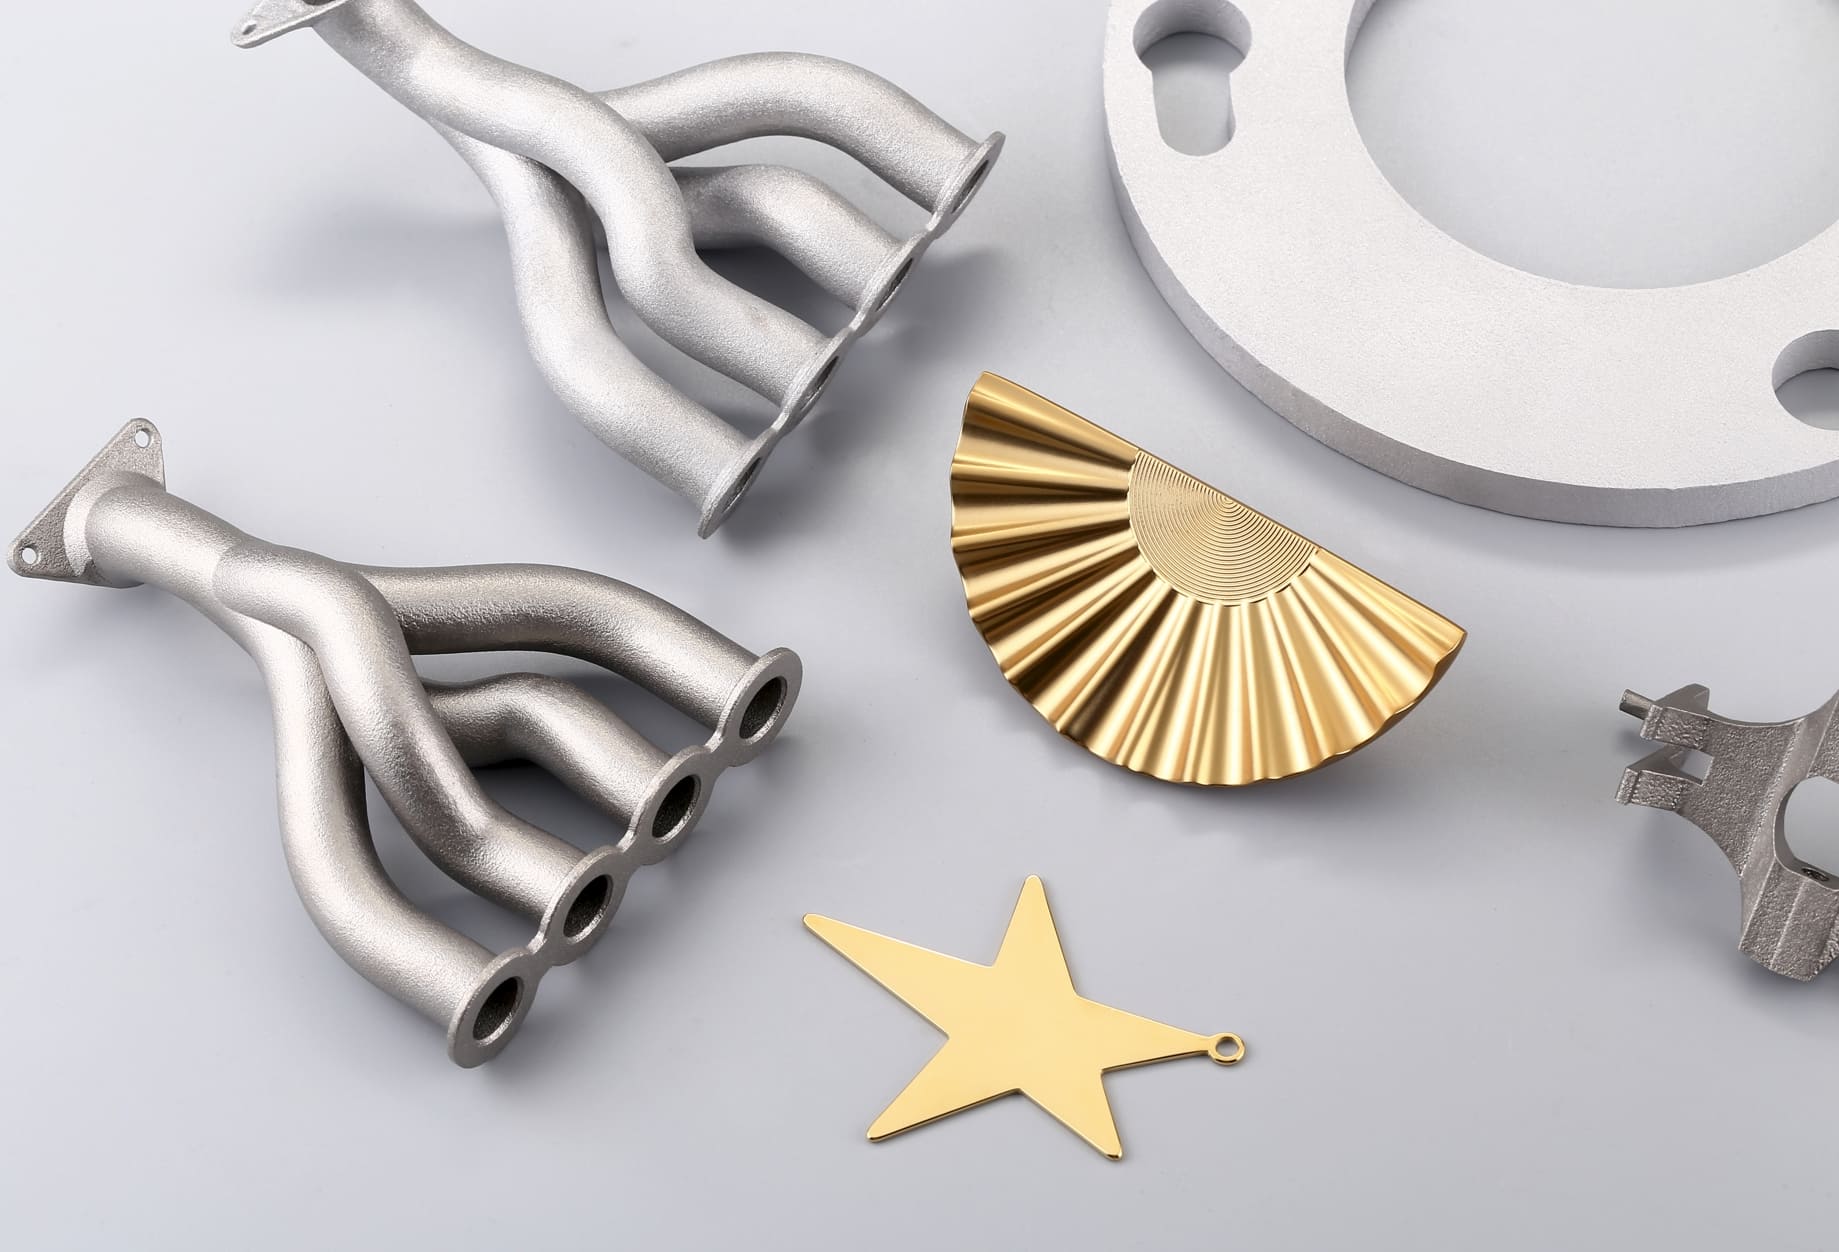
Assembly parts are components designed to work together as one product. Instead of printing a single solid object, the design is divided into multiple pieces that are joined after printing. This approach is often used when a part is too large to print in one piece, too complex for a single build, or better suited to modular construction.
Common examples include enclosures, brackets, housings, mechanical connectors, snap-fit covers, modular fixtures, and product shells. In some cases, splitting a design into separate parts also makes it easier to print, repair, or upgrade later.
However, multi-part designs introduce extra challenges. Each piece must be dimensionally accurate, and the contact points between parts must be carefully planned. A small error in one component can affect the entire assembly. For that reason, assembly parts should always be designed with fit, strength, and printing behavior in mind from the beginning.
Design for Accurate Fit
Fit is one of the most important factors in any assembly design. If the clearance is too small, parts may not fit together at all. If it is too large, the assembly may feel loose, unstable, or unprofessional. A common rule is to leave about 0.2 mm of clearance between assembly components.
A good starting point is to think about how the parts will interact after printing. Will they slide together, snap together, screw together, or overlap? Each method requires a different amount of clearance. Because 3D printed parts may shrink slightly, warp, or vary depending on material and process, it is usually best not to design parts with zero tolerance.
Material choice also affects fit. Some materials are more stable and precise, while others may change shape more during printing or cooling. Surface finish matters too. Rough mating surfaces can create friction, making parts feel tighter than intended. If the assembly includes moving or press-fit components, testing a prototype is especially valuable.
Improve Strength in Assembly Areas
Assembly points are often the most stressed areas in a part. These are the places where force is transferred, where parts lock together, or where repeated movement happens. If these zones are weak, the entire product can fail even if the rest of the part prints well.
To improve strength, reinforce areas around holes, clips, joints, and tabs. Avoid thin walls where load is concentrated, and use smoother transitions instead of sharp corners whenever possible. Sharp internal corners can create stress concentration, which may lead to cracking over time.
If the part will be opened, closed, snapped, or removed repeatedly, design for fatigue resistance as well as initial strength. A connection that works once may not survive repeated use unless it has enough flexibility and material thickness. In some cases, it is better to slightly enlarge a joint or add a support rib than to rely on a narrow feature that looks clean but is too fragile.
Choose the Right Connection Method
The right connection method depends on the part’s function, assembly frequency, and required strength. There is no single best option for every project.
Snap fits are useful for fast assembly and clean product design, especially when the parts need to be closed without tools. They work well for lightweight housings and covers, but they must be designed carefully to avoid breakage.
Screws and threaded inserts are a better choice when the assembly needs to be opened and closed multiple times or when a stronger mechanical connection is required. They add reliability, though they also require more design space and careful hole planning.
Pins, latches, and interlocking features are useful when alignment is important. These features help parts locate correctly before final fastening. Adhesive bonding can also be effective for permanent assemblies, especially when a seamless look is preferred. However, bonded parts are harder to repair or disassemble later.
The best assemblies often combine methods. For example, a part may use locating pins for alignment and screws for final fastening. This improves both fit and function while reducing assembly mistakes.
Design for Easy Assembly
A good design should not only fit correctly, but it should also be easy to put together. If assembly requires too much force, too many steps, or too much guessing, production becomes slower and more error-prone.
To make assembly easier, add lead-ins, chamfers, or tapered edges that guide parts into position. These small design details help parts align naturally instead of catching on edges or requiring manual adjustment. Labeling parts or using asymmetrical features can also prevent incorrect orientation during assembly.
It is also helpful to simplify the number of assembly steps. Fewer steps mean fewer chances for mistakes. Whenever possible, design parts so they can only fit one way. This makes assembly more intuitive and improves consistency across multiple units.
For products that will be assembled by different people or in larger quantities, ease of assembly becomes even more important. A design that is simple to build is usually faster to produce and more reliable in the long run.
Avoid Common Design Mistakes
• Ignoring tolerance: Even small dimensional errors can affect fit, alignment, and assembly quality.
• Making joints too thin: Delicate connection points may look clean in CAD, but break easily in real use.
• Overcomplicating the design: Too many small features can make parts harder to print and assemble.
• Forgetting post-processing effects: Sanding, support removal, or finishing can change key mating dimensions.
• Overlooking warping and shrinkage: Large flat areas and uneven wall thickness can cause distortion.
• Skipping prototype testing: A test print helps catch fit and function issues before full production.
3D Printing Assembly Parts at 3DSPRO
At 3DSPRO, assembly part projects can benefit from a manufacturing approach that considers both design and function. A successful part is not just one that prints well, but one that fits correctly, assembles smoothly, and performs as intended in real use.
For customers developing assembly-based products, we help review the design before production begins, which includes checking tolerances, connection features, wall thickness, and material suitability. If the part involves repeated assembly, load-bearing features, or close-fitting components, early review becomes even more important.
Different projects may call for different materials and processes depending on strength, flexibility, accuracy, and surface quality. That is why assembly part design should always be matched to the printing method and end use. A good workflow starts with a solid file, confirms the important dimensions, and uses test prints when needed.
If you are developing 3D printed assembly parts, the goal is simple: make the parts fit, make them strong enough for the job, and make them easy to assemble. We can help your project move from concept to production with fewer problems and better results.
 0
0


COMMENTS
- Be the first to share your thoughts!