3D printing deformation is one of the most common reasons a printed part fails to meet expectations. A model may look perfect on screen, but once it starts printing, the final result can bend, curl, twist, shrink, or warp. In many cases, the problem is not a single mistake. It is usually the result of part geometry, material behavior, printer settings, and cooling conditions working against each other.
Understanding deformation is important because it affects both appearance and function. A slightly warped cosmetic part may still be usable, but a deformed mechanical part can fail to assemble, lose dimensional accuracy, or stop working altogether. The good news is that deformation can often be reduced with better design choices, more stable printing conditions, and a few simple process adjustments.
Deformation in 3D Printing
Deformation is any unwanted change in a printed part’s shape during or after printing. It often appears as warping at the edges, curled corners, bent walls, or a part that no longer matches the original CAD model. Some parts may shrink slightly, while others may twist or sag as layers cool unevenly.
It happens because 3D printing builds parts layer by layer. Each new layer is heated, deposited, and then cooled. If different areas cool at different speeds, the material contracts unevenly. That uneven contraction creates stress inside the part, and the stress pushes the geometry out of shape.
Deformation is especially noticeable in parts that need tight tolerances, flat mating surfaces, or precise alignment. Even a small change in shape can make assembly difficult or reduce the quality of the finished product.
Which Structures Are Most Likely to Deform
Some structures are naturally more vulnerable than others. Thin walls, for example, can flex easily because they do not have enough stiffness to resist shrinkage stress. Tall and narrow parts are also at risk because they have less surface contact with the build plate and can wobble or bend as the print grows higher.
Large flat surfaces are another common problem area. When a broad base cools unevenly, the corners often lift first. This is why warping frequently begins at the edges of a long, flat part. Sharp corners can make the issue worse because stress tends to concentrate there.
Overhangs and unsupported sections may deform as well. Without enough support underneath, softened material can sag before it fully solidifies. Hollow parts with uneven wall thickness can also distort because the thicker and thinner sections cool at different rates.
Parts with abrupt geometry changes, such as sudden thickness shifts or deep internal cavities, are more likely to develop internal stress. In general, the more uneven the shape, the more uneven the cooling and shrinkage.
Why 3D Printed Parts Deform
The main reason for deformation is thermal stress. The material is heated in the nozzle, deposited onto the build surface, and then cools down. As it cools, it shrinks. If one area shrinks faster than another, the part bends or twists.
Poor bed adhesion is another major cause. If the first layer does not stick well enough, the material can pull away from the build plate as it cools. Once the edges lift, the problem usually gets worse in later layers.
Print orientation also matters. A part printed in one direction may handle stress well, while the same model printed at a different angle may deform much more easily. This is because layer lines, support needs, and contact area all change with orientation.
Material choice plays a big role, too. Some materials are more sensitive to heat and cooling than others. For example, materials with higher shrinkage or stronger warping tendencies need tighter process control. Environmental factors matter as well. Drafts, cold rooms, and unstable chamber temperatures can cause one side of the part to cool faster than the other, increasing distortion.
How to Prevent Deformation Before Printing
Prevention begins before the print even starts. The first step is to design with deformation in mind. Avoid long unsupported spans where possible, and add fillets or chamfers to sharp corners so stress does not collect in one place. If the part has thin walls, consider increasing the thickness or adding ribs to improve stiffness.
Choose a material that matches the part’s shape and purpose. If the design is large and flat, a lower-warping material may be easier to print. If strength or heat resistance is more important, then you may need to compensate with better setup and geometry optimization.
Orientation is another important design decision. Place the part so that the largest stable surface contacts the bed, and position sensitive features in a way that reduces stress. In many cases, rotating the model slightly can improve support and reduce warping risk.
It also helps to prepare the model for real-world printing conditions. Check for uniform wall thickness, avoid unnecessary mass in one area, and think about where the part may cool unevenly. A well-prepared design is much less likely to deform later.
How to Reduce Deformation During Printing
Once printing begins, process control becomes critical. Bed adhesion should be strong enough to hold the first layer in place. A clean build plate, correct nozzle height, and properly tuned first layer can make a big difference. If needed, a brim or raft can help anchor the part and reduce edge lifting.
Temperature control is equally important. The nozzle must be hot enough for smooth extrusion, but not so hot that the part stays soft for too long. The bed should stay warm enough to reduce shrinkage at the base. For enclosed printers, keeping the chamber temperature stable can help prevent uneven cooling.
Cooling settings should also be used carefully. Too much fan too early can create sudden shrinkage, especially on materials that are prone to warping. On the other hand, insufficient cooling can cause soft layers to sag. The goal is balanced cooling, not maximum cooling.
Print speed may need adjustment as well. Slower speeds can improve layer bonding and reduce stress in difficult geometries. Supports should be added when needed, especially under overhangs and long horizontal features. Finally, avoid drafts, open windows, or cold air blowing directly onto the printer, since even small temperature changes can trigger deformation.
One of the Solutions for Thin Wall Thickness:
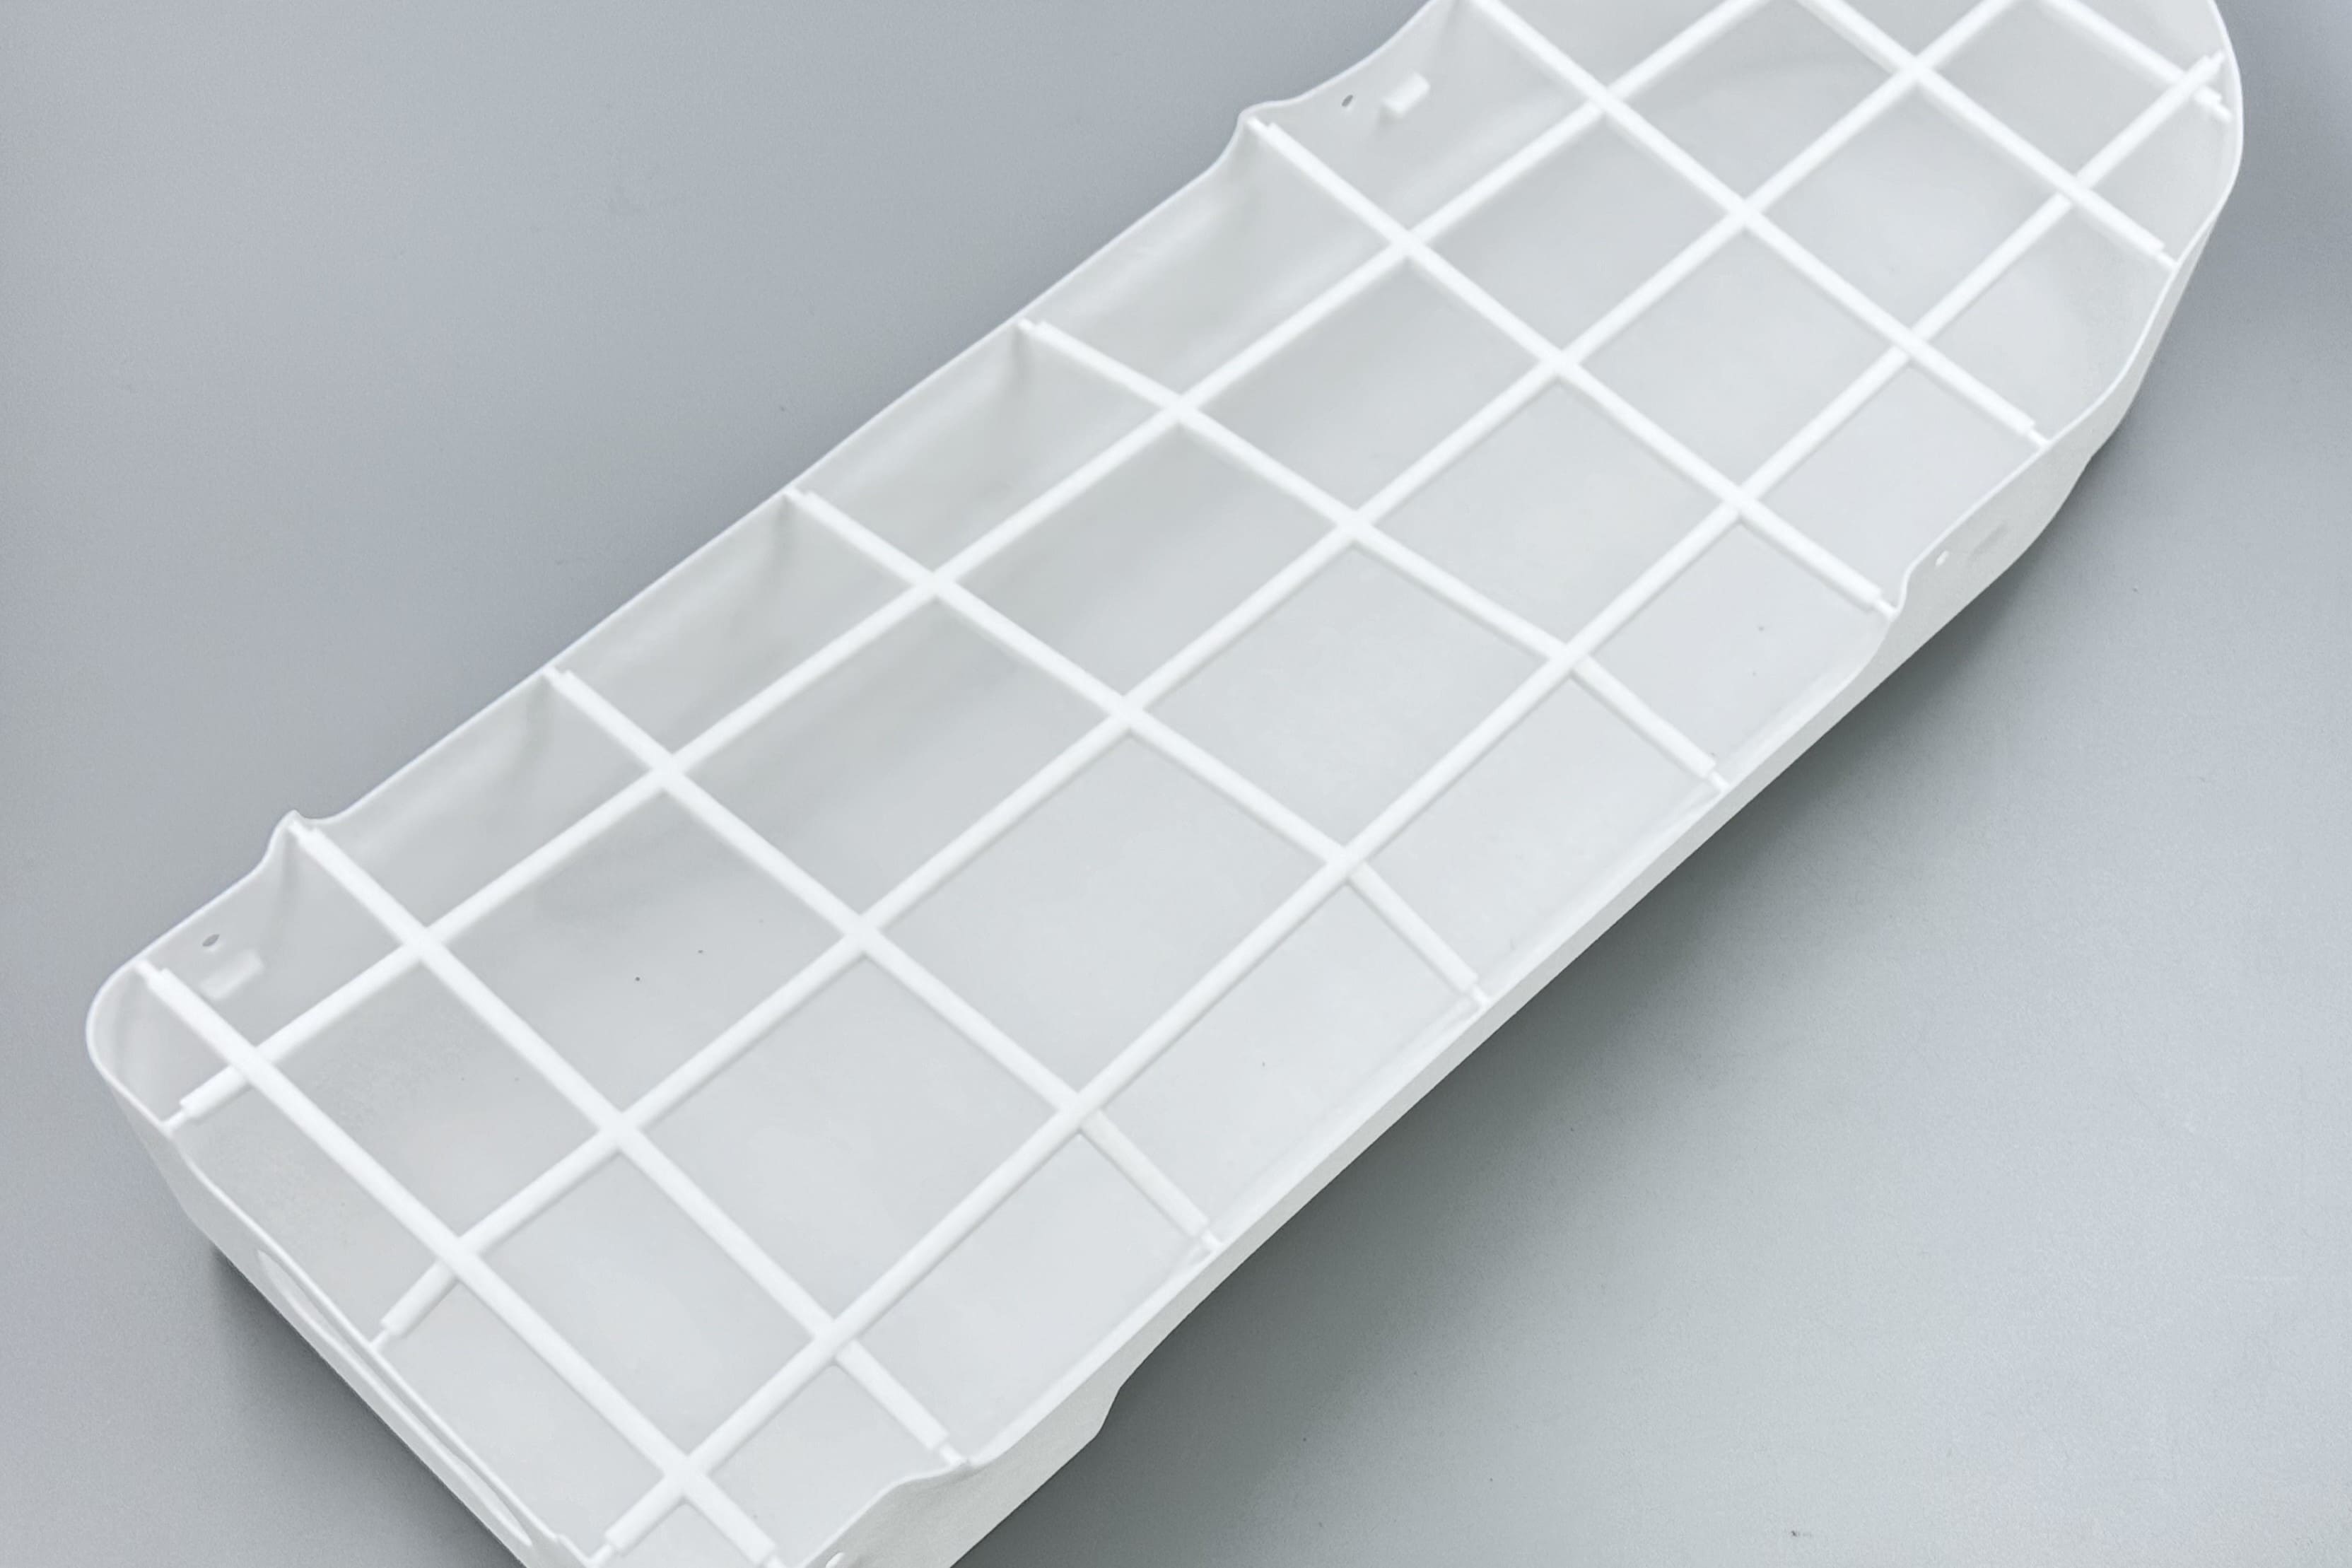
Image Copyright © 3DSPRO. All rights reserved.
How to Fix or Improve Deformation After Printing
Some deformation can be improved after printing, although prevention is always better. Minor bends may sometimes be corrected with careful heating, depending on the material. In certain cases, annealing or heat treatment can reduce internal stress, but this must be done carefully because the wrong temperature can make the part worse.
If the part only has slight shape errors, machining or surface finishing may help restore dimensional accuracy. Sanding, trimming, or light post-processing can make a warped cosmetic part more acceptable. For functional parts, however, heavy deformation usually means the design or print settings need to be changed for the next attempt.
It is also useful to document the issue. Compare the failed part with the model, note where the deformation started, and review the print orientation, temperature, and cooling settings. This makes it easier to identify the root cause and avoid repeating the same problem.
 0
0


COMMENTS
- Be the first to share your thoughts!