Method Comparison
|
Method |
Color capability |
Typical hardware |
Best for |
Tradeoff |
|
Pre‑colored resin |
Single uniform color |
Standard SLA and DLP printers |
Fast prototypes with consistent color |
Limited palette; custom colors require ordering |
|
Pigment mixing |
Tunable solid colors |
Any single‑vat resin printer |
Custom shades and short runs |
Can affect cure and mechanical properties; needs testing |
|
Multi‑resin swap |
Multi‑zone color |
Manual vat swaps or multi‑vat rigs |
Distinct color zones without painting |
Registration issues; visible seams; complex workflow |
|
Full‑color voxel printing |
Per‑voxel color gradients |
Material‑jetting and industrial systems |
Photo‑real models and CMF validation |
Very high cost; typically outsourced |
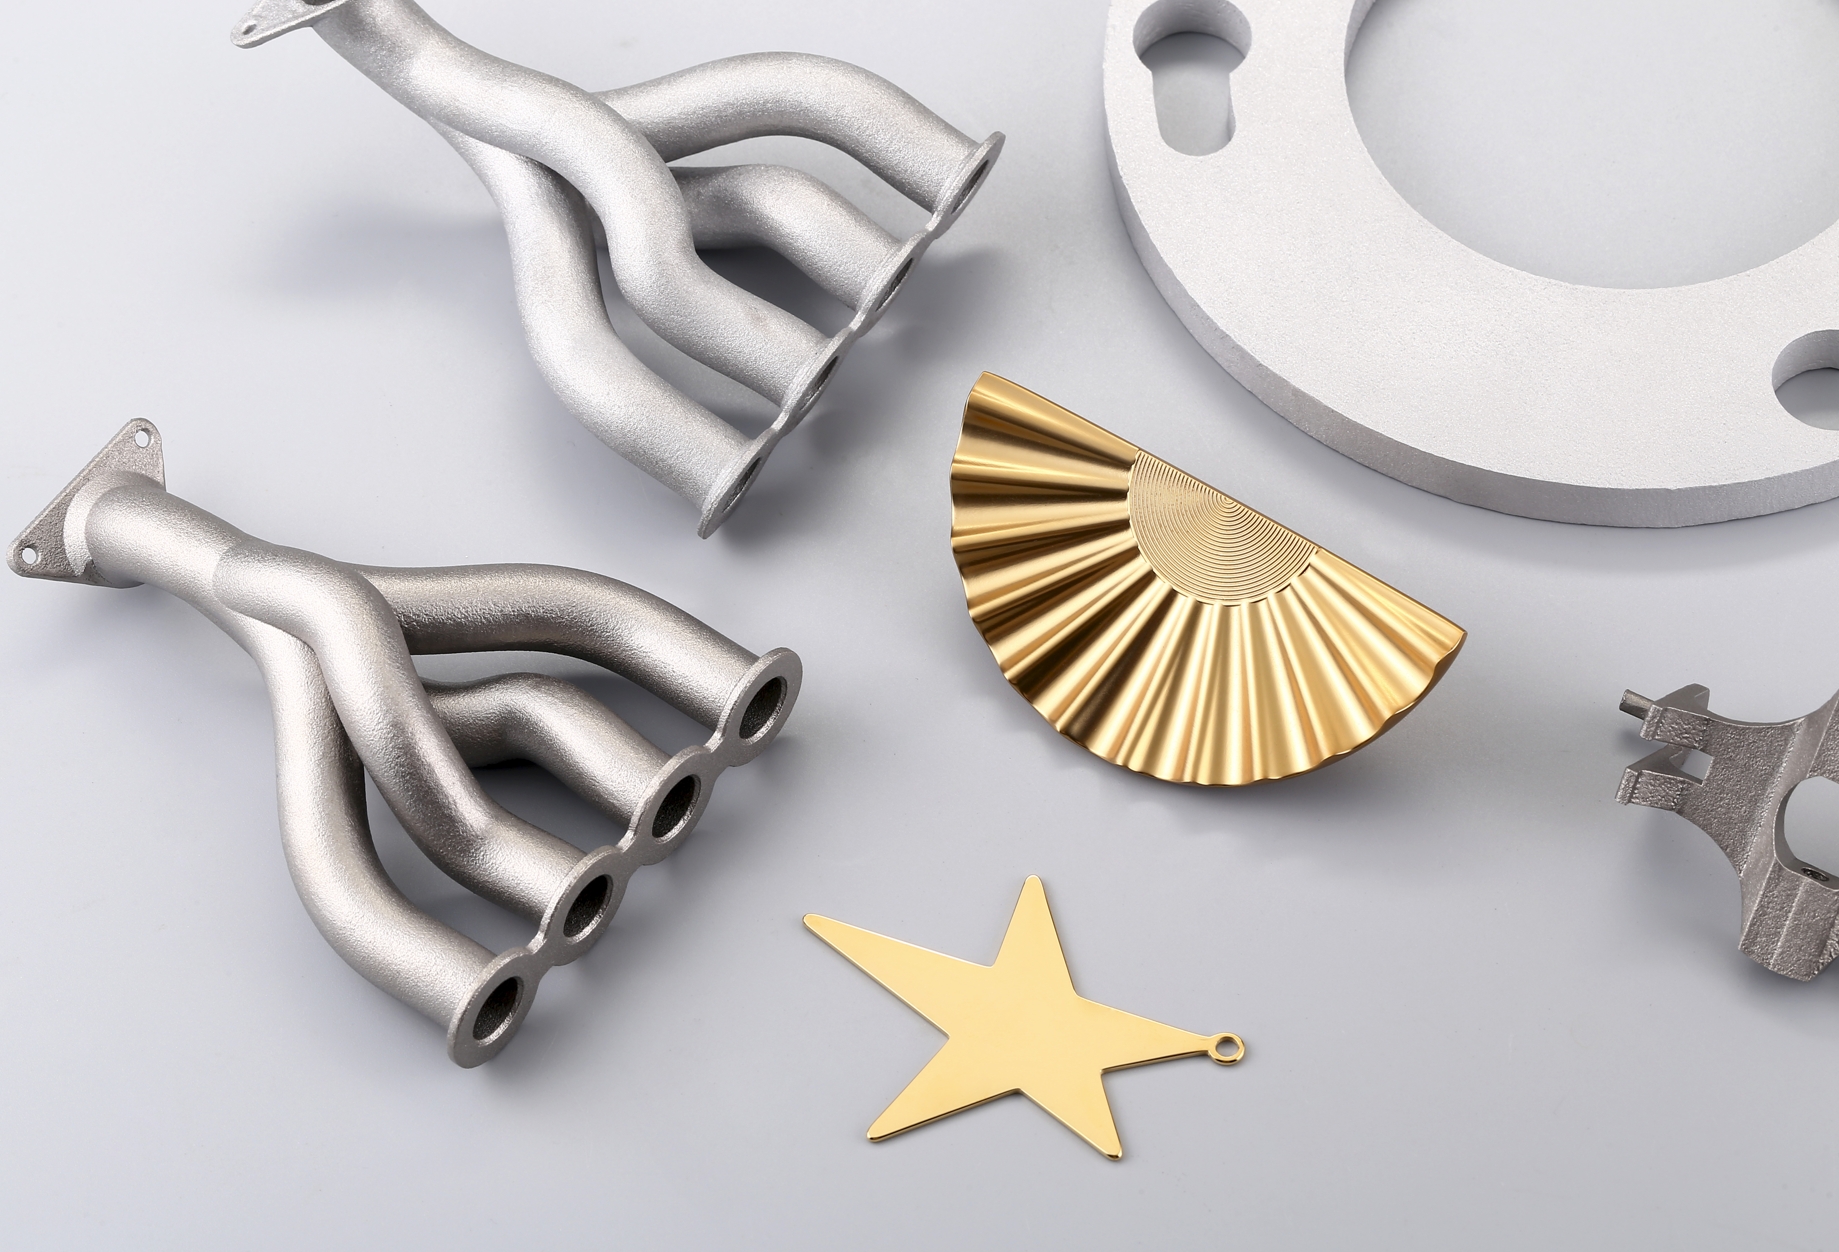
Pre Colored Resins
Pre‑colored resins are the simplest route to color in resin printing. Manufacturers blend pigments into the photopolymer at the factory to produce a stable, repeatable color that behaves predictably during printing and post‑cure. For teams that need consistent brand colors or quick visual prototypes, pre‑tinted resins remove the variability and safety concerns of in‑house mixing.
Advantages include predictable cure behavior, known mechanical properties, and reduced handling of raw pigments. Pre‑colored resins also simplify inventory and quality control. You order a batch, print, and expect the same result across parts. The main limitation is palette; off‑the‑shelf colors are finite, and custom Pantone or brand matches usually require minimum orders or working with a supplier. For product teams that value speed and repeatability, pre‑colored resin is often the first choice.
Practical tips for using pre‑colored resins:
• Store according to supplier guidance to avoid color shift from UV exposure or heat.
• Test a small print and post‑cure cycle to confirm final color, since washing and UV curing can slightly change tone.
• Document batch numbers for color traceability across iterations.
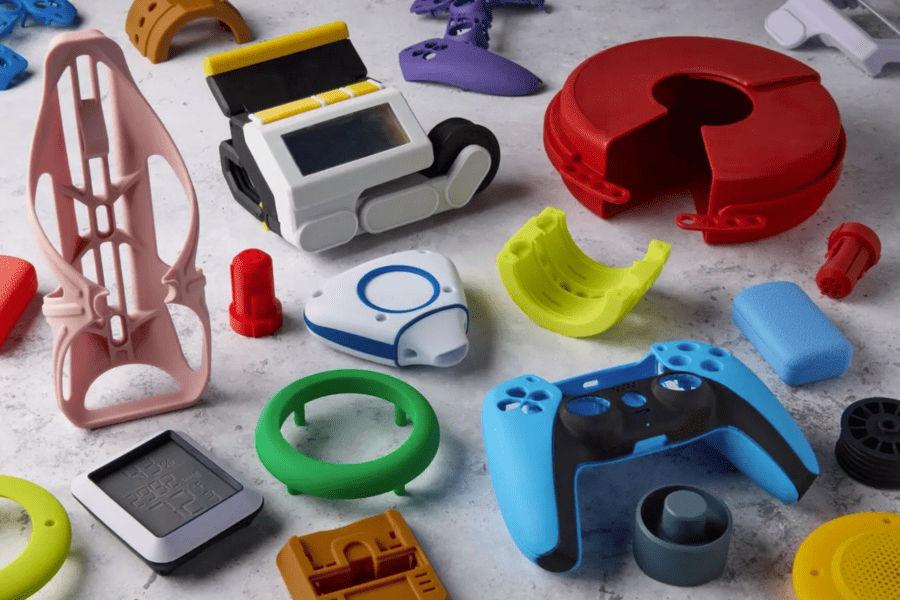
Image Source: Formlabs
Adding Pigments to Resin
Mixing pigments into clear or neutral resins gives you flexible color control without waiting for custom factory batches. This approach is attractive for small runs, rapid color iteration, and when you need a specific shade quickly. However, it requires discipline and testing because pigments and dyes interact with photoinitiators and can alter cure speed, surface finish, and mechanical strength.
Key considerations when adding pigments:
• Choose the right pigment type. Use pigments or dyes formulated for photopolymers when possible. Organic dyes give bright colors but may fade; inorganic pigments are more stable but can affect opacity.
• Control concentration. Start with low pigment loadings and increase gradually. High pigment concentrations can block UV penetration and cause undercure or brittle parts.
• Ensure dispersion. Use proper mixing tools and filtration to remove agglomerates. Poor dispersion causes streaks, clogging, and inconsistent color.
• Validate mechanically. Run tensile, flex, and cure tests on representative samples. Pigments can change part stiffness and elongation.
• Follow safety rules. Treat pigments and solvents with appropriate PPE and ventilation. Keep SDS documentation handy.
Workflow for pigment mixing:
• Prepare a small test batch and record exact ratios.
• Mix thoroughly and let the resin rest to allow trapped air to escape.
• Print a color swatch and functional test piece.
• Adjust ratio and repeat until the desired balance of color and cure is achieved.
• Scale up only after consistent results.
Multi Resin Swap
When a single part needs distinct color zones, multi‑resin swapping or printing separate color components and assembling them are practical options. There are two common approaches: print the part in sections and glue or bond them, or perform mid‑print vat swaps to change resin color during a single build.
Benefits of multi‑resin approaches:
• Sharp color boundaries without painting.
• Use of standard printers without investing in specialized hardware.
• Good for small runs where painting is too laborious or inconsistent.
Challenges and best practices:
• Registration and fixturing. When printing in sections, design interlocking features or alignment pins to ensure precise assembly.
• Seam management. Vat swaps and assembled parts can show seams. Use design features or post‑processing to hide or blend seams.
• Slicing strategy. Plan layer heights and swap points to minimize visible transitions. Some slicers support pause‑and‑resume workflows to facilitate swaps.
• Contamination control. Clean the part and vat carefully between swaps to avoid color bleed and cross‑contamination.
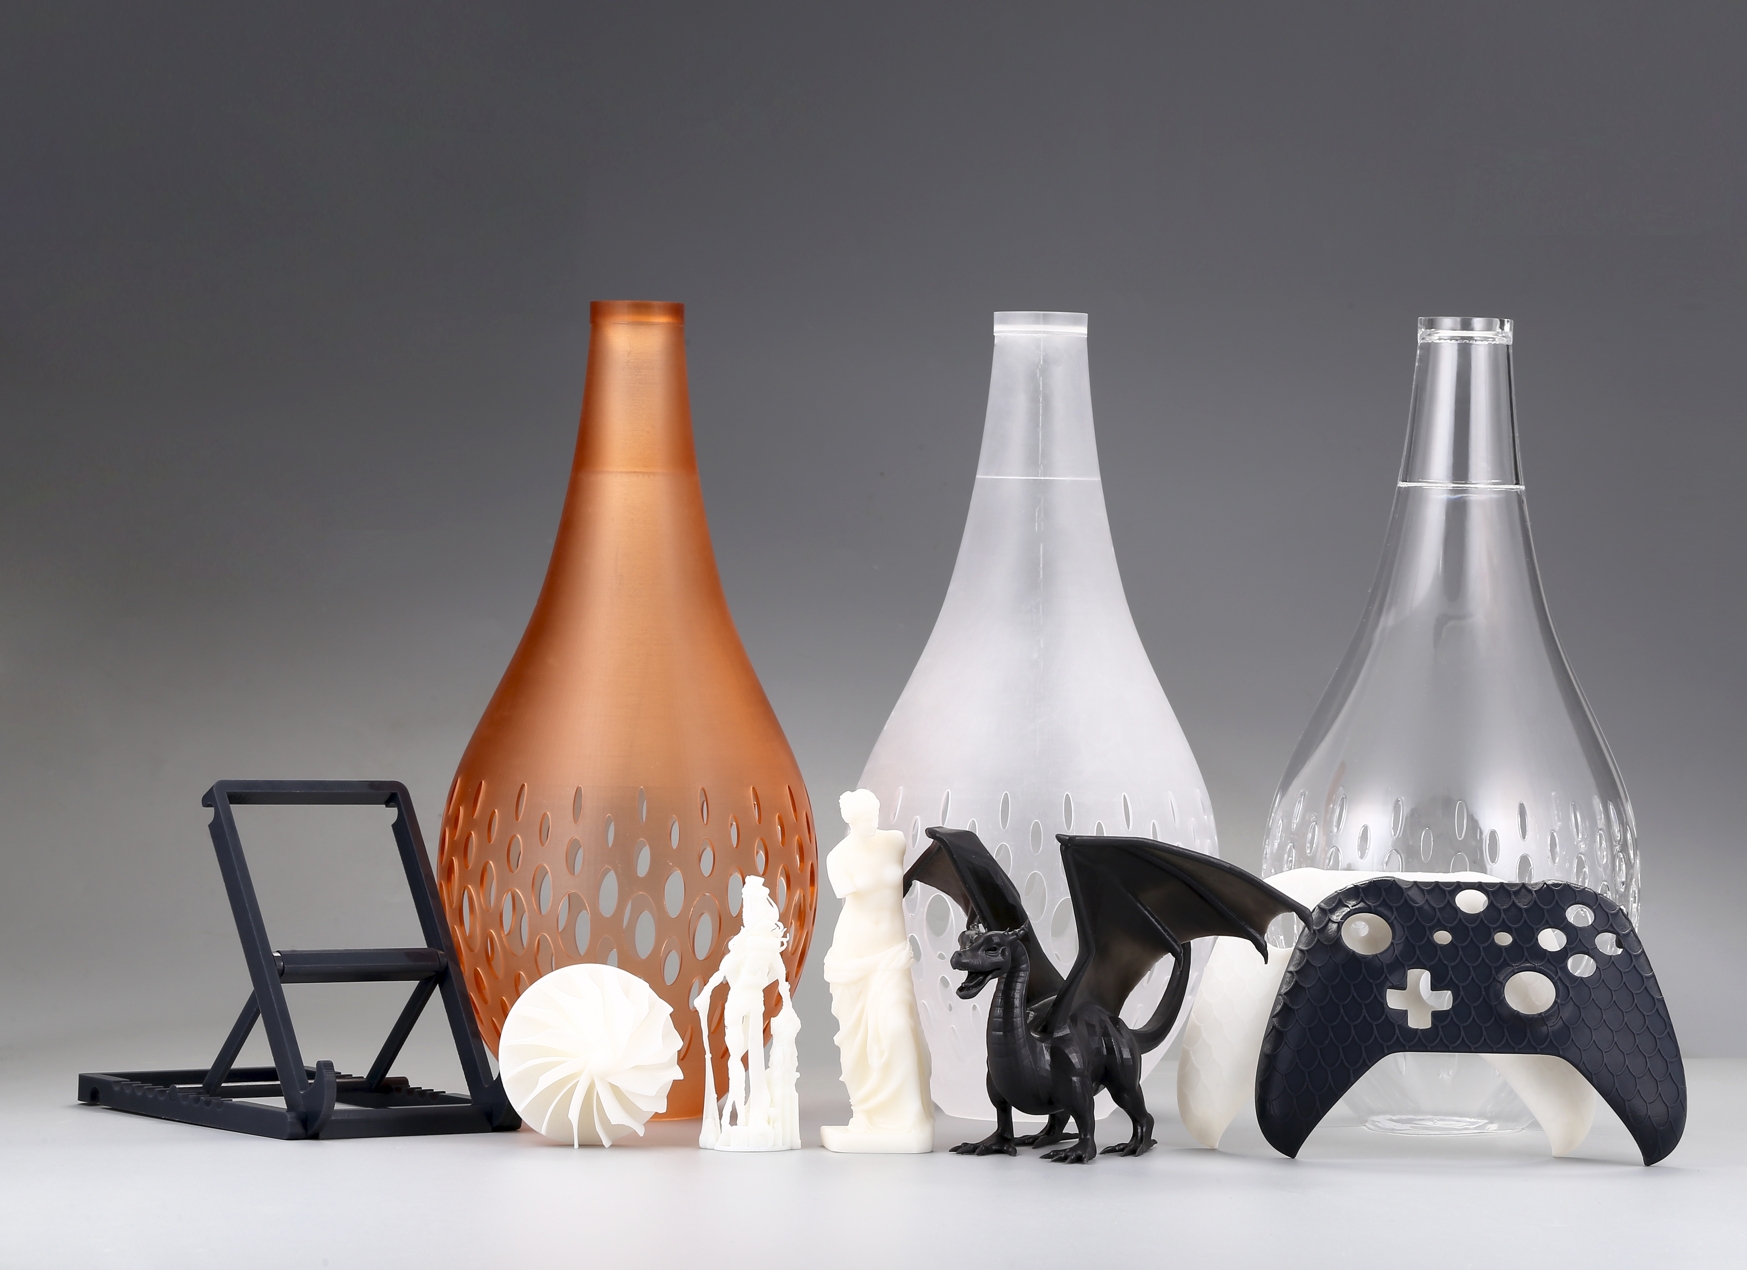
Full Color Printing
Full‑color resin printing in the strict sense is rare in desktop SLA/DLP ecosystems. True per‑voxel color requires material‑jetting or similar industrial technologies that deposit colored droplets in CMYK(W) combinations and cure them layer by layer. These systems produce photo‑real models with smooth gradients, fine color detail, and accurate CMF validation, but they are expensive and typically found in service bureaus or industrial labs.
Alternatives that approximate full color:
• Binder jet plus infiltration for powder systems that can be colored during post‑processing.
• PolyJet and material‑jetting machines that mix colored photopolymers on the fly to create continuous color transitions.
• Hybrid workflows where high‑resolution monochrome resin parts are painted or printed with decals for photographic realism.
When to choose full‑color services:
• You need photo‑real marketing models or consumer product visuals where color fidelity and surface finish are critical.
• You require per‑voxel color gradients for medical models or complex CMF validation.
• The budget supports outsourcing or purchasing industrial equipment.
 0
0


COMMENTS
- Be the first to share your thoughts!