What Does Watertight Mean?
A 3D print is considered watertight when it can hold or withstand water without leaking through its walls, seams, or micro‑gaps. In engineering terms, a watertight part prevents liquid from passing through layer lines, perimeter gaps, microscopic pores, material microstructure, and ssembly joints.
• Watertightness is not the same as water resistance.
• Water‑resistant parts can tolerate splashes or brief exposure.
• Watertight parts can contain water or withstand pressure without leaking.
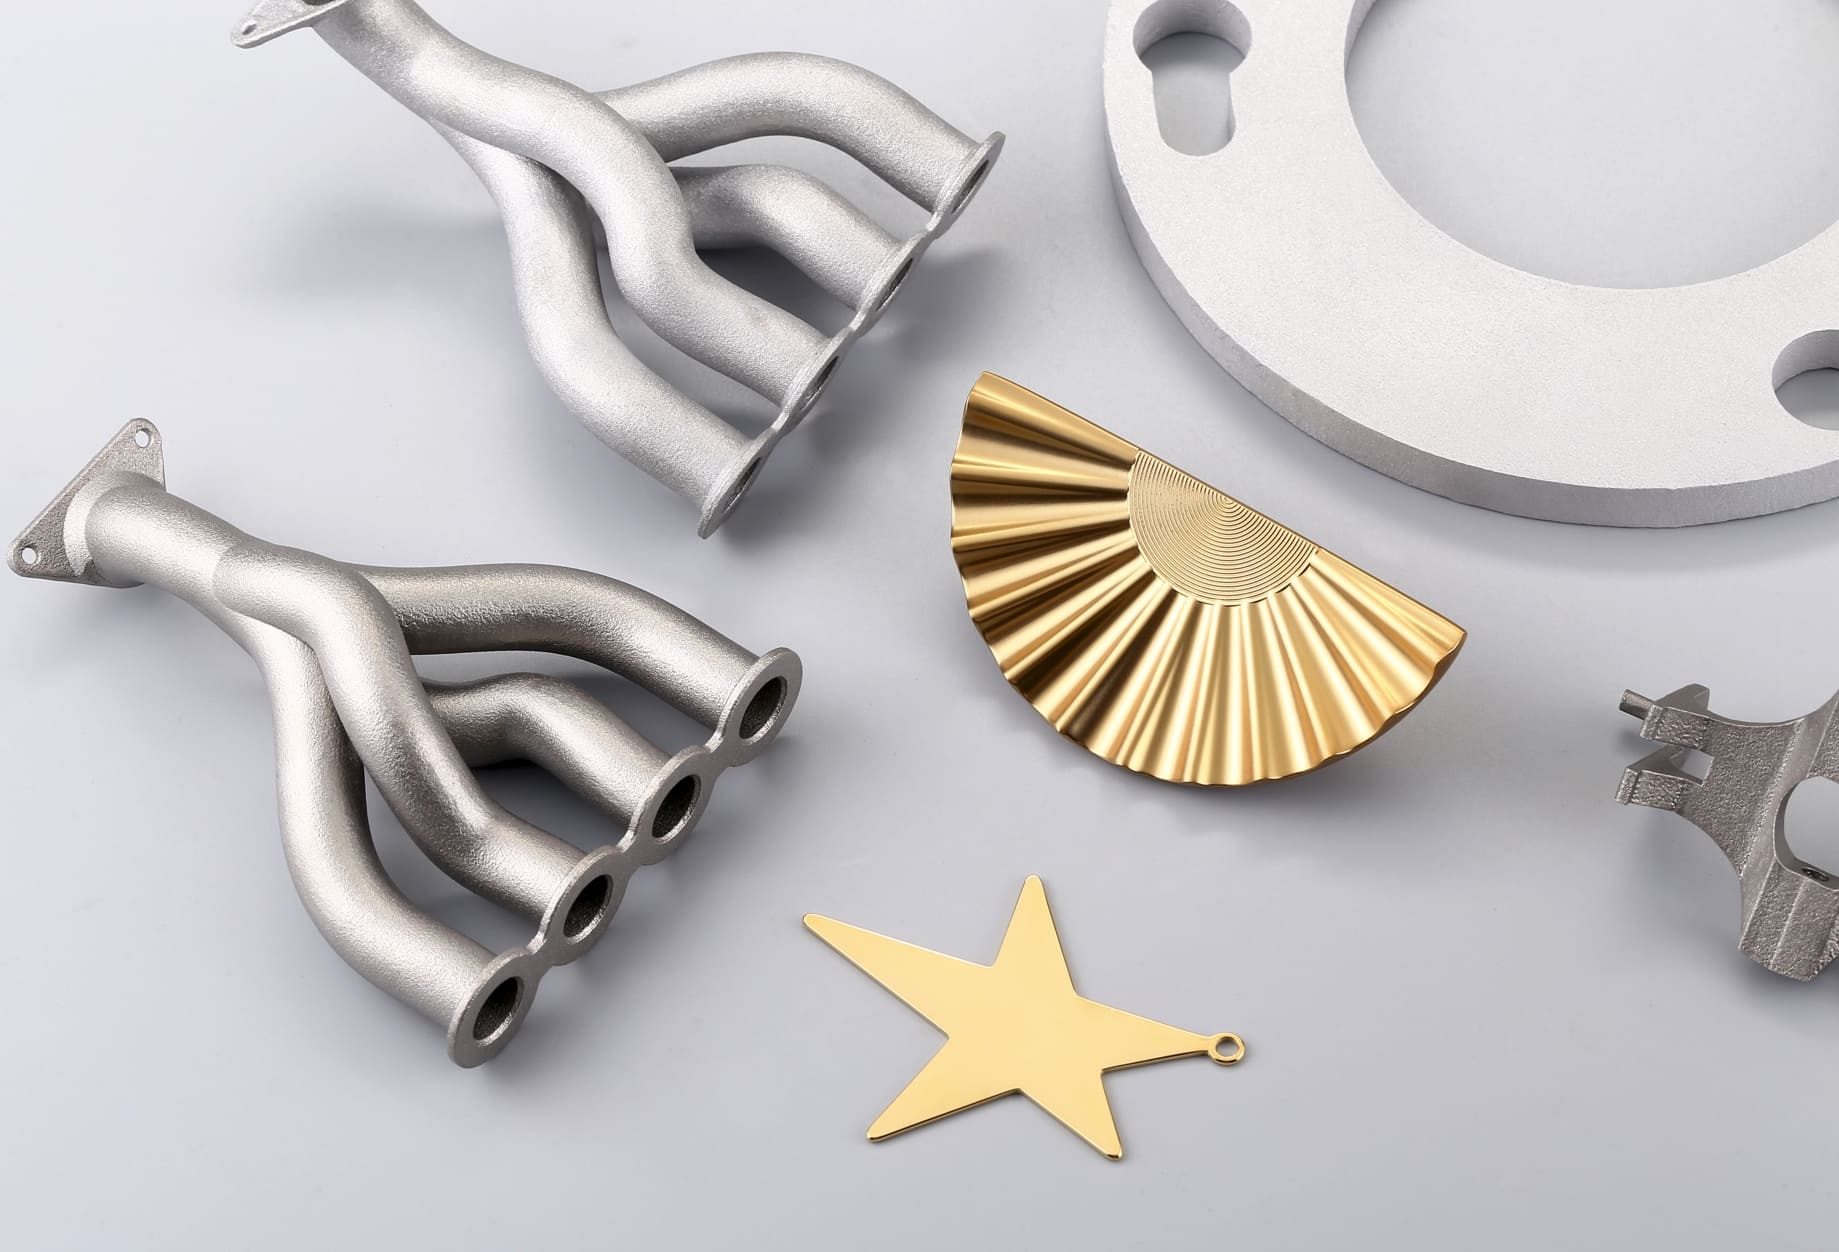
Image Source: PRUSA RESEARCH
What Is Porosity?
Porosity refers to the presence of microscopic voids or gaps within a printed part. These voids can occur:
• Between layers (poor adhesion)
• Between perimeters (under‑extrusion or insufficient walls)
• Inside infill (intentional or unintentional)
• Within the material itself (filament moisture, resin shrinkage)
Porosity is the primary reason 3D prints leak.
Types of Porosity in 3D Printing
1. Structural Porosity
Caused by slicer settings or machine calibration. Examples:
• Low flow rate
• Too few perimeters
• Sparse infill
• Low print temperature
2. Material Porosity
• Caused by the inherent properties of the filament or resin.
• Hygroscopic materials (e.g., nylon) absorb moisture
• Some resins shrink during curing, creating micro‑voids
3. Process Porosity
• Caused by environmental or mechanical factors.
• Drafts cooling layers too quickly
• Nozzle clogs
• Inconsistent extrusion
Understanding porosity is essential because watertightness is ultimately about eliminating pathways for water to escape.
Design Principles for Watertight Parts
Designing for watertightness begins long before slicing or printing. The geometry, wall thickness, and orientation of your part all influence its ability to hold water.
1. Increase Wall Thickness: Thicker walls reduce the chance of water finding a path through the part.
2. Use Rounded Internal Corners: Sharp corners concentrate stress and can create weak points where layers separate. Rounded corners distribute stress and improve sealing.
3. Avoid Thin, Flat Surfaces: Large flat areas are prone to warping and layer separation. Curved surfaces (like cylinders) naturally resist pressure and seal better.
4. Minimize Overhangs and Bridges: Unsupported areas can sag, creating gaps. For watertight parts, design with self‑supporting angles, minimal bridging and smooth transitions.
5. Consider Print Orientation: Orientation affects layer exposure to pressure; vertical orientation is better for containers because pressure pushes against continuous walls; horizontal orientation is more likely to leak because pressure pushes between layers.
6. Integrate Gaskets or O‑Ring Grooves: For multi‑part assemblies, design features that allow elastomeric seals. Even perfectly printed parts benefit from mechanical sealing.
7. Avoid Complex Internal Cavities: Hidden voids can trap air or water and complicate sealing. Simplify internal geometry when possible.
Material Choices and Their Impact
Material selection plays a major role in watertightness. Some materials naturally seal better, while others are porous or absorb moisture.
FDM Materials
|
Material |
Watertightness |
Notes |
|
PLA |
Moderate |
Easy to print but can absorb water over time. |
|
PETG |
High |
Excellent layer adhesion; good for containers. |
|
ABS |
Moderate |
Strong but prone to warping, which can create gaps. |
|
Nylon |
Low |
Highly hygroscopic; absorbs water readily. |
|
TPU |
High |
Flexible and seals well, but not ideal for rigid containers. |
|
Polycarbonate |
High |
Strong and dense but requires high temps. |
Resin Materials
Resin prints are naturally more watertight because they cure as solid masses rather than extruded lines.
• Standard resin: Good watertightness but brittle
• Tough resin: Better for functional parts
• Flexible resin: Excellent sealing but low rigidity
• Engineering resins: Best for pressure‑bearing applications
Nylon
Nylon prints are strong but inherently porous because they are sintered powder. They require sealing treatments for watertightness.
Post Processing Options
Even with perfect design and material choices, post‑processing is often necessary to achieve true watertightness.
1. Heat Treatment / Annealing
• Annealing can improve layer bonding and reduce micro‑gaps.
• PLA and PETG respond well
• Nylon and ABS require controlled environments
2. Epoxy Coating
One of the most reliable sealing methods.
Benefits:
• Creates a smooth, impermeable barrier
• Works on FDM, SLA, and SLS
• Food‑safe epoxies available
3. Resin Brushing (for FDM)
Applying UV resin to the surface and curing it creates a hard, watertight shell which is especially effective for vases and decorative containers.
Acetone vapor smoothing melts the outer layer of ABS, sealing micro‑gaps and creating a glossy finish.
5. Sealants and Sprays
Options include:
• Polyurethane spray
• Acrylic clear coat
• Silicone sealant (for joints)
• These are less durable than epoxy but useful for low‑pressure applications.
6. Welding Seams
For multi‑part assemblies, plastic welding or solvent welding can create watertight joints.
How to Test Watertightness
1. Fill Test (Basic)
The simplest method is to fill the part with water and let it sit on a dry surface. If no moisture appears after a short period, the print passes. This test is quick and effective for low‑pressure uses like vases or decorative containers.
2. Dye Penetration Test
Adding food coloring to the water makes leaks easier to spot, especially on translucent prints or complex shapes. Any colored streaks or damp spots indicate micro‑gaps that clear water might not reveal.
3. Pressure Test
For functional parts that must withstand internal pressure, seal the print, pressurize it with air, and submerge it in water. Escaping air will form bubbles, pinpointing leaks. This method closely simulates real‑world stress.
4. Vacuum Test
Placing the part in a vacuum chamber reveals porosity by drawing trapped air out through weak points. It’s particularly useful for SLA or SLS prints, where internal voids may not be visible through other tests.
5. Long‑Term Soak Test
Submerging the part for 24–72 hours shows how it behaves under prolonged exposure. Materials like PLA or nylon may swell or begin leaking over time, even if they initially appear watertight.
6. Thermal Cycling Test
Alternating between hot and cold water exposes weaknesses caused by expansion and contraction. If the part remains leak‑free after several cycles, it’s better suited for environments with temperature fluctuations.
 0
0


COMMENTS
- Be the first to share your thoughts!