Masking is one of the most deceptively simple steps in finishing. At first glance, it looks like a matter of covering a few surfaces before painting or blasting. But in practice, masking is a strategic, design‑driven process that determines whether a part meets its dimensional, functional, and aesthetic requirements. A single unprotected surface can lead to overspray, poor adhesion, dimensional drift, or even complete part failure.
For 3D printed parts, especially those with complex geometries, internal channels, or multi‑material assemblies, masking becomes even more important.
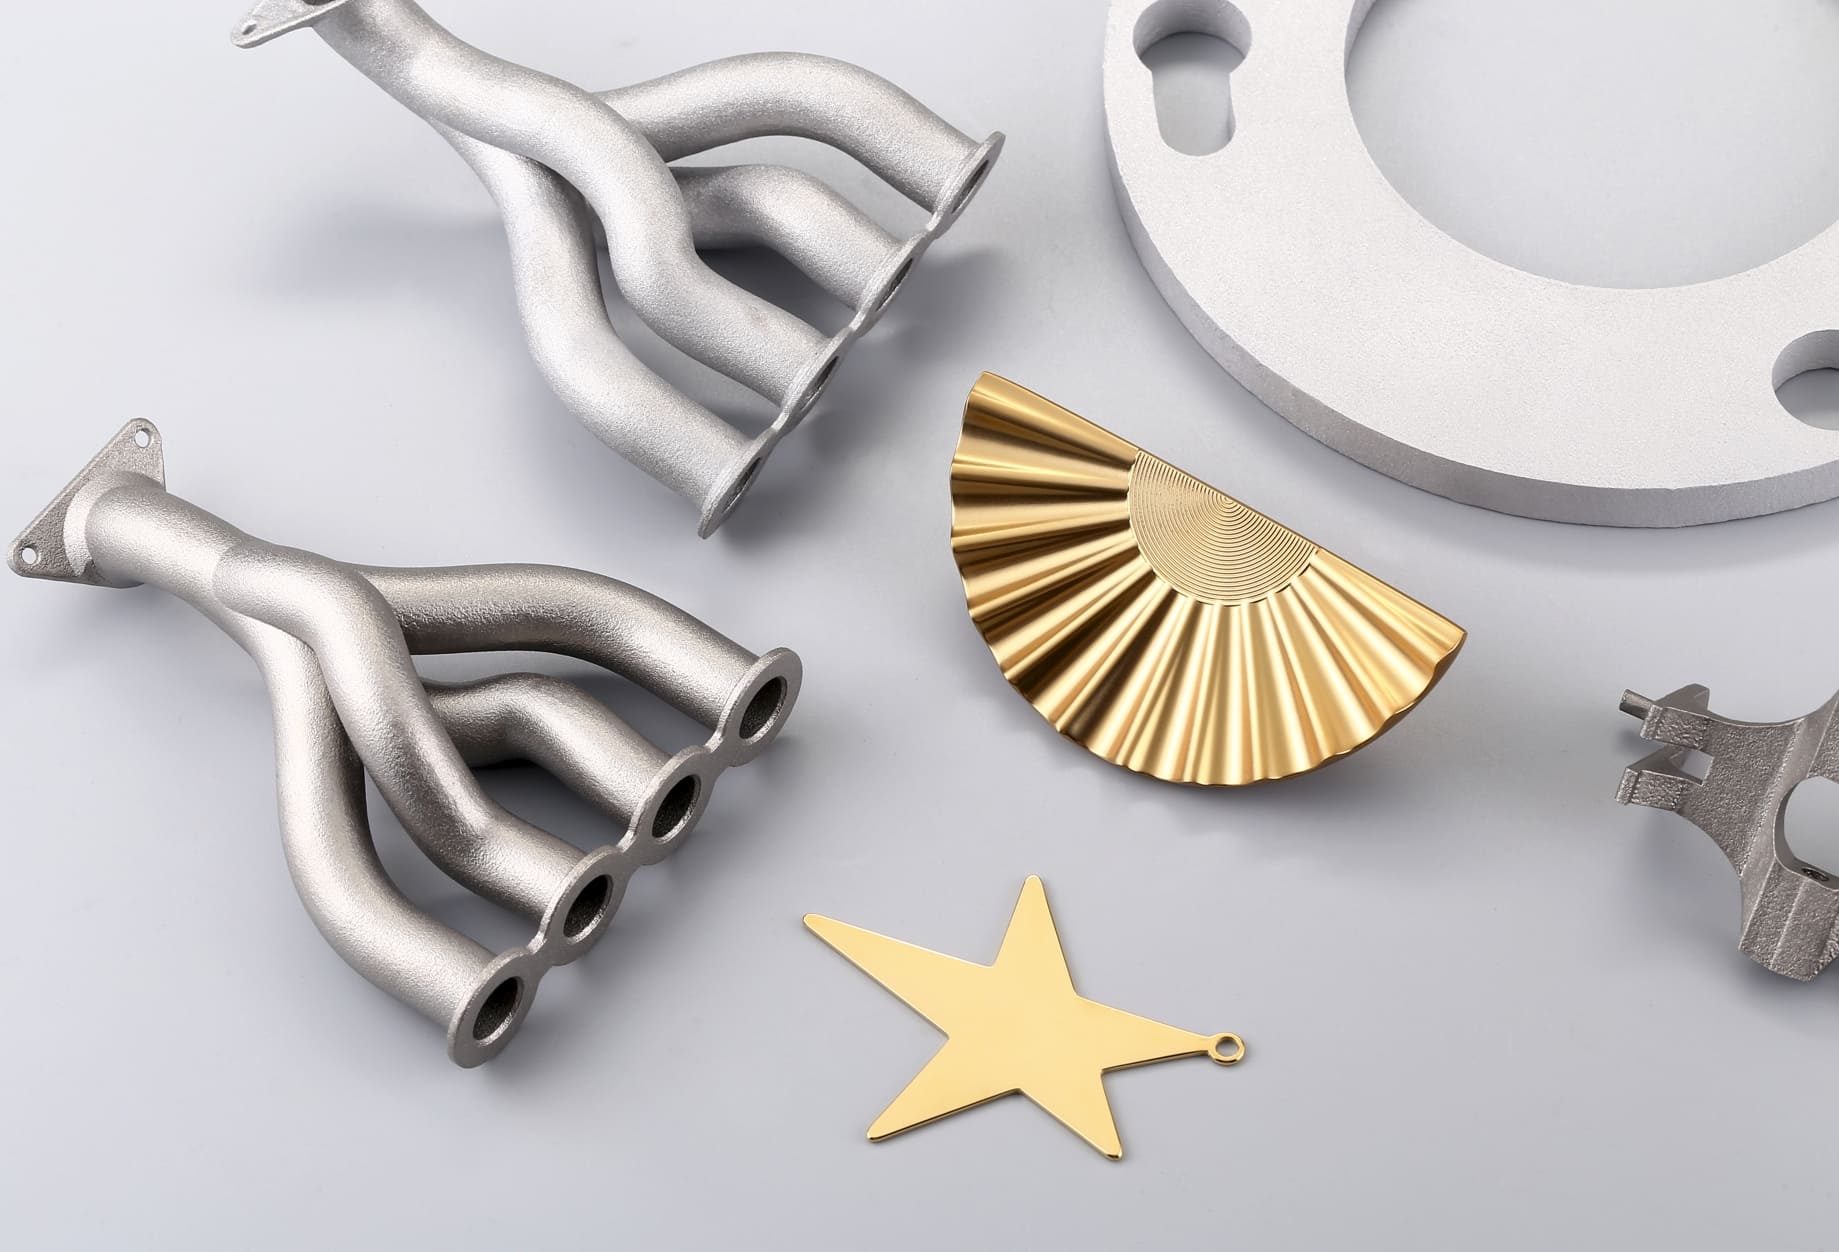
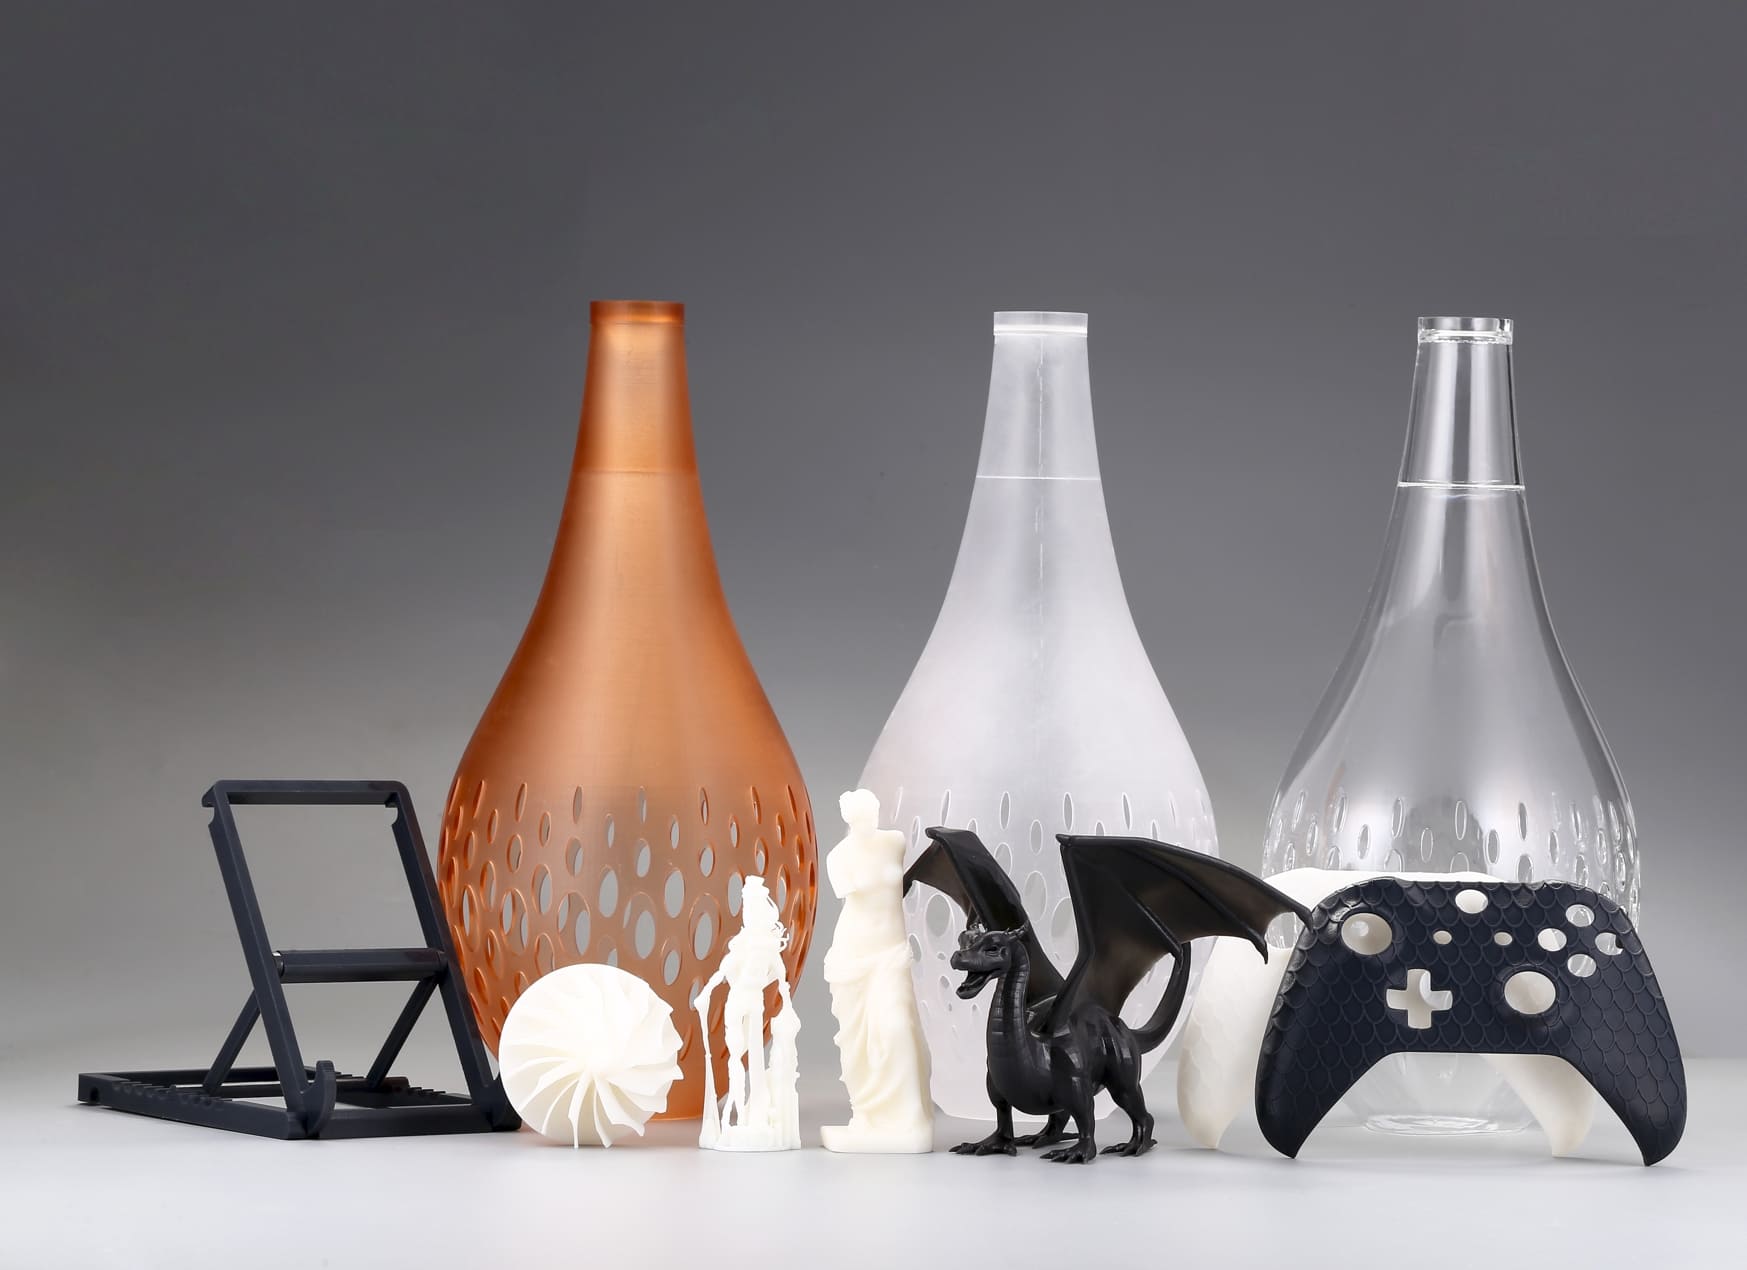
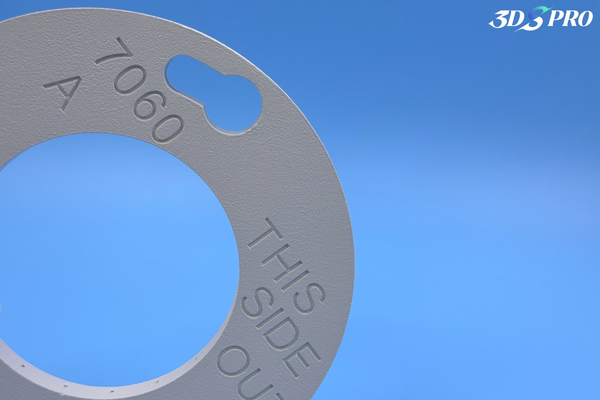
Image Copyright © 3DSPRO Limited. All rights reserved.
What Is Masking for 3D Printed Parts?
Masking is the intentional shielding of areas that must remain untouched during finishing. These protected areas may be functional, cosmetic, or tolerance‑critical, and the goal is to ensure that the finishing process affects only the surfaces you want it to.
Masking is used across a wide range of finishing steps, including:
• Electroplating and metallization
• Surface texturing or polishing
In each case, masking prevents unwanted material buildup, abrasion, or chemical exposure. For example:
• A threaded hole must remain clean to ensure proper assembly.
• A sealing surface must stay smooth and dimensionally accurate.
• A cosmetic face may need to remain uncoated for a two‑tone finish.
• An electrical contact must stay conductive during plating.
Masking is not the same as fixturing, support removal, or surface preparation. It is a selective protection strategy that ensures the finishing process enhances the part rather than compromising it.
Benefits of Masking
1. Protects Functional Surfaces
Many 3D printed parts include features that must remain dimensionally precise, masking ensures these areas remain untouched, preserving their function.
2. Improves Aesthetic Quality
Masking enables clean color separations, sharp edges, consistent coating thickness and protection of polished or textured surfaces, which is especially important for consumer products, wearables, and display prototypes.
3. Reduces Rework and Scrap
Overspray, uneven plating, or accidental abrasion can ruin a part. Masking prevents these issues, saving time and material.
4. Enhances Process Control
Masking helps standardize finishing across operators and batches. When the protected areas are clearly defined and consistently shielded, the finishing process becomes more predictable.
5. Supports Multi‑Stage Finishing
Many workflows require multiple finishing steps. Masking allows you to protect surfaces during blasting, expose only certain areas for plating, and create multi‑color or multi‑texture finishes.
Masking Methods
1. Manual Masking
Examples: tapes, films, hand‑cut stencils
Pros:
• Low cost
• Flexible
• Good for simple geometries or one‑off parts
Cons:
• Labor‑intensive
• Operator‑dependent
• Difficult to apply consistently
• Poor fit on complex shapes
• Manual masking is ideal for prototypes or simple surfaces, but becomes inefficient for production.
2. Prefabricated Masking Components
Examples: silicone caps, plugs, sleeves, high‑temp boots
Pros:
• Reusable
• Heat‑resistant
• Easy to apply
• Good for standard features (threads, holes, pins)
Cons:
• Limited shapes
• Poor fit on custom geometries
• May not seal perfectly
• These components are widely used in powder coating and painting workflows.
3. 3D Printed Masking
3D printing enables custom masking solutions that match the part’s geometry exactly.
Pros:
• Perfect fit for complex shapes
• Repeatable and consistent
• Supports high‑mix, low‑volume production
• Can combine rigid and flexible features
• Enables multi‑stage masking systems
Cons:
• Requires CAD and printing capability
• Material selection must match finishing conditions
3D printed masks are ideal for: organic shapes, internal channels, multi‑surface protection, high‑precision masking, reusable production workflows.
4. Process Integrated Masking
Sometimes the best masking strategy is to design the part so masking becomes easier or unnecessary. This approach is especially useful for high‑volume production where efficiency matters.
Examples: built‑in sacrificial surfaces, temporary protective coatings, removable films, geometry that naturally shields certain areas.
Designing for Masking
1. Identifying Critical Surfaces
The first step is recognizing which areas cannot be altered during finishing. These may be functional interfaces, cosmetic zones, or surfaces that require adhesion later. By defining these protected regions early, designers can plan masking strategies that preserve both performance and appearance without unnecessary complexity.
2. Defining Masking Boundaries
Clear boundaries make masking far more reliable. Sharp transitions, intentional edges, and well‑defined geometry help operators understand exactly where protection begins and ends. When boundaries are ambiguous, masking becomes inconsistent; when they are deliberate, the final finish looks controlled and precise.
3. Considering Operator Workflow
Masking succeeds when it fits naturally into the hands of the people applying it. A well‑designed part makes alignment intuitive, seating predictable, and removal effortless. When masks are easy to handle, even with gloves, operators work faster, make fewer mistakes, and maintain consistency across batches.
4. Material and Process Compatibility
Every finishing method places different demands on masking materials. High‑temperature processes require heat‑resistant options, chemical treatments demand materials that won’t degrade, and abrasive workflows call for durable, impact‑resistant solutions. Matching the mask material to the finishing environment ensures reliable protection throughout the process.
5. Planning for Multi‑Stage Finishing
Many parts move through several finishing steps, and masking must adapt to each one. A surface protected during blasting may need to be exposed during priming or painting. Designing for these transitions, whether through modular masks, removable inserts, or staged coverage, keeps the workflow efficient and prevents improvised fixes between steps.
Masking Across Different Finishing Processes
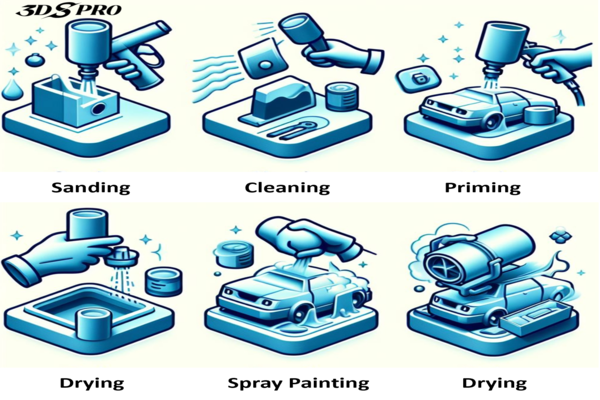
1. Painting and Coating
Painting is one of the most common finishing steps for 3D printed parts, and masking plays a major role in achieving professional results.
Challenges:
• Overspray
• Uneven edges
• Adhesion issues
Masking considerations:
• Use materials that seal tightly to prevent paint bleed
• Ensure edges are crisp for clean lines
• Consider flexible masks for organic shapes
2. Powder Coating
Powder coating produces durable finishes, but only if masking is done correctly.
Challenges:
• High temperatures (typically 150–200°C)
• Thick coating buildup
• Thread protection
Masking considerations:
• Use high‑temperature silicone or heat‑resistant 3D printed materials
• Ensure masks can withstand curing cycles
• Protect threaded or tolerance‑critical features
3. Media Blasting
Blasting is often used to smooth layer lines or prepare surfaces for coating, making masking essential for protecting sensitive areas.
Challenges:
• Abrasive impact
• Surface erosion
• Loss of detail
Masking considerations:
• Use hard, abrasion‑resistant materials
• Ensure masks cover edges fully
• Avoid thin or delicate masking features
4. Electroplating and Metallization
Plating can dramatically change the appearance and performance of a part, but only if masking is precise.
Challenges:
• Conductive vs. non‑conductive zones
• Uneven metal deposition
• Bridging across masked areas
Masking considerations:
• Use chemically resistant materials
• Ensure masks seal tightly to prevent plating creep
• Consider multi‑stage masking for selective metallization
5. Chemical Treatments
Chemical finishing is common for smoothing, etching, or preparing surfaces for coating.
Challenges:
• Acid/base exposure
• Solvent sensitivity
• Material swelling or degradation
Masking considerations:
• Choose chemically compatible materials
• Avoid masks that absorb or react with chemicals
• Ensure masks do not trap liquid against the part
 1
1


COMMENTS
- Be the first to share your thoughts!