STAY INSPIRED

Sign up for 3DSPRO Newsletter and get InSpiration with our content, news and exclusive offers.

3D Plus™ Threading

3d plus hardware solution_banner

Threading 3D Printed Parts

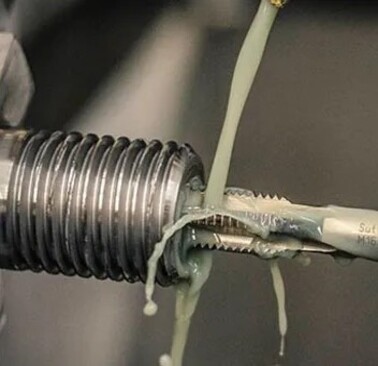
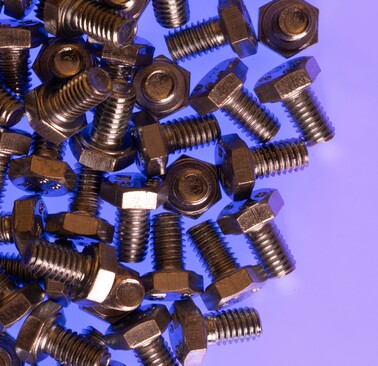
Threading creates internal or external threads to accommodate screws, bolts, or other threaded fasteners. Threading enhances the functionality and versatility of 3D printed components, allowing them to be securely assembled with other parts. By using specialized tools such as taps and dies, precise and consistent threads can be created, ensuring a tight and reliable fit.

What is threading?

Threading in 3D printing post-processing involves creating screw threads on 3D printed parts to allow them to be securely assembled with other components.

Threading can be done internally (inside a hole) or externally (on a shaft). Special tools like taps and dies are used to cut the threads precisely.

It adds functionality and structural integrity to 3D printed parts, making them suitable for mechanical and structural applications where secure connections are required.

The Advantages of Threading

1. Threading enables 3D printed parts to form tight and reliable connections with other components.

2. By allowing parts to be screwed together, threading adds practical utility and flexibility to your 3D printed designs.

3. Threaded connections can be easily assembled and disassembled.

4. Threading allows for the creation of custom-sized threads tailored to specific requirements, offering more design freedom.

Threading Process

1. Preparation: Ensure the 3D printed part is clean and free of debris. Select the appropriate tap or die based on the desired thread size and type (internal or external).

2. Drilling: If creating internal threads, drill a hole to the recommended diameter for the specific tap size. For external threads, ensure the shaft is at the correct diameter for the die.

3. Tapping (Internal Threads): Secure the part and insert the tap into the drilled hole. Apply steady pressure and rotate the tap clockwise to cut the threads. Turn the tap backward occasionally to clear cuttings and reduce stress. Use lubrication to ease the process.

4. Die Cutting (External Threads): Secure the part and fit the die onto the shaft. Apply steady pressure and rotate the die to cut the threads. Back off occasionally to clear cuttings. Lubrication helps reduce friction and heat.

5. Completion: Continue threading until the desired depth or length is achieved. Remove the tap or die and clean the threads to remove any debris.

6. Inspection: Check the threads for accuracy and consistency. Test the fit with the corresponding fastener to ensure a proper connection.

Quality Inspection Process

Check out the quality inspection process of threaded parts at 3DSPRO.

Visual Inspection
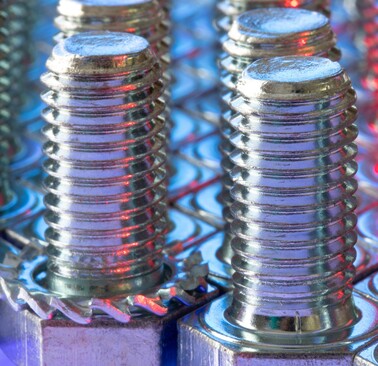
Examine the threaded areas for any visible defects such as uneven threads, burrs, or deformation. Ensure that the threads are clean, well-defined, and consistent.

Dimensional Accuracy
Use precise measuring tools like calipers and thread gauges to verify the diameter and pitch of the threads. Confirm that the threaded sections meet the required specifications and tolerances.

Thread Consistency
Check the uniformity of the threads along the entire length. Ensure that there are no interruptions or inconsistencies that could affect the fit and function of the threads.

Functional Testing
Insert the corresponding screw, bolt, or threaded fastener into the threaded holes or onto the threaded shafts to test the fit. Ensure that the fastener threads smoothly and securely without cross-threading or excessive resistance.

Load Testing
If applicable, perform load testing to assess the strength and durability of the threaded connections. Apply a controlled amount of force to ensure that the threads can withstand the required loads without stripping or failing.

Cleaning
After inspection, clean the threaded areas to remove any debris or residues left from the threading process. Use compressed air or a cleaning solution to ensure that the threads are clean and ready for assembly.

Final Inspection
Conduct a comprehensive final inspection under various lighting conditions to ensure that all quality standards and specifications have been met. Verify that the threaded 3D prints are ready for assembly and use.

FAQs

Check out the frequently asked questions of threading.

  • What is threading in 3D printing post-processing?-
    Threading involves creating internal or external screw threads in 3D printed parts, allowing them to be securely assembled with screws, bolts, or other fasteners.
  • What materials can be threaded in 3D printing?+
  • How do you choose the right tap or die size for threading 3D printed parts?+
  • Are there any challenges in threading 3D printed parts?+
  • How can you ensure a successful threading process for 3D printed parts?+

to get the paint Color Chart.

Cookie Policy

3DSPRO collect cookies on your computer to provide more personalized services to you. By using this website, you consent to the cookies we use and our Privacy Policy

Accept