High-resolution 3D prints do not happen by chance. They begin with smart design choices long before the printer starts working. A model that looks great on screen can still come out with blurry text, rounded edges, weak thin walls, or lost surface detail if it is not designed with print resolution in mind. The good news is that many of these issues can be prevented early in the design stage.
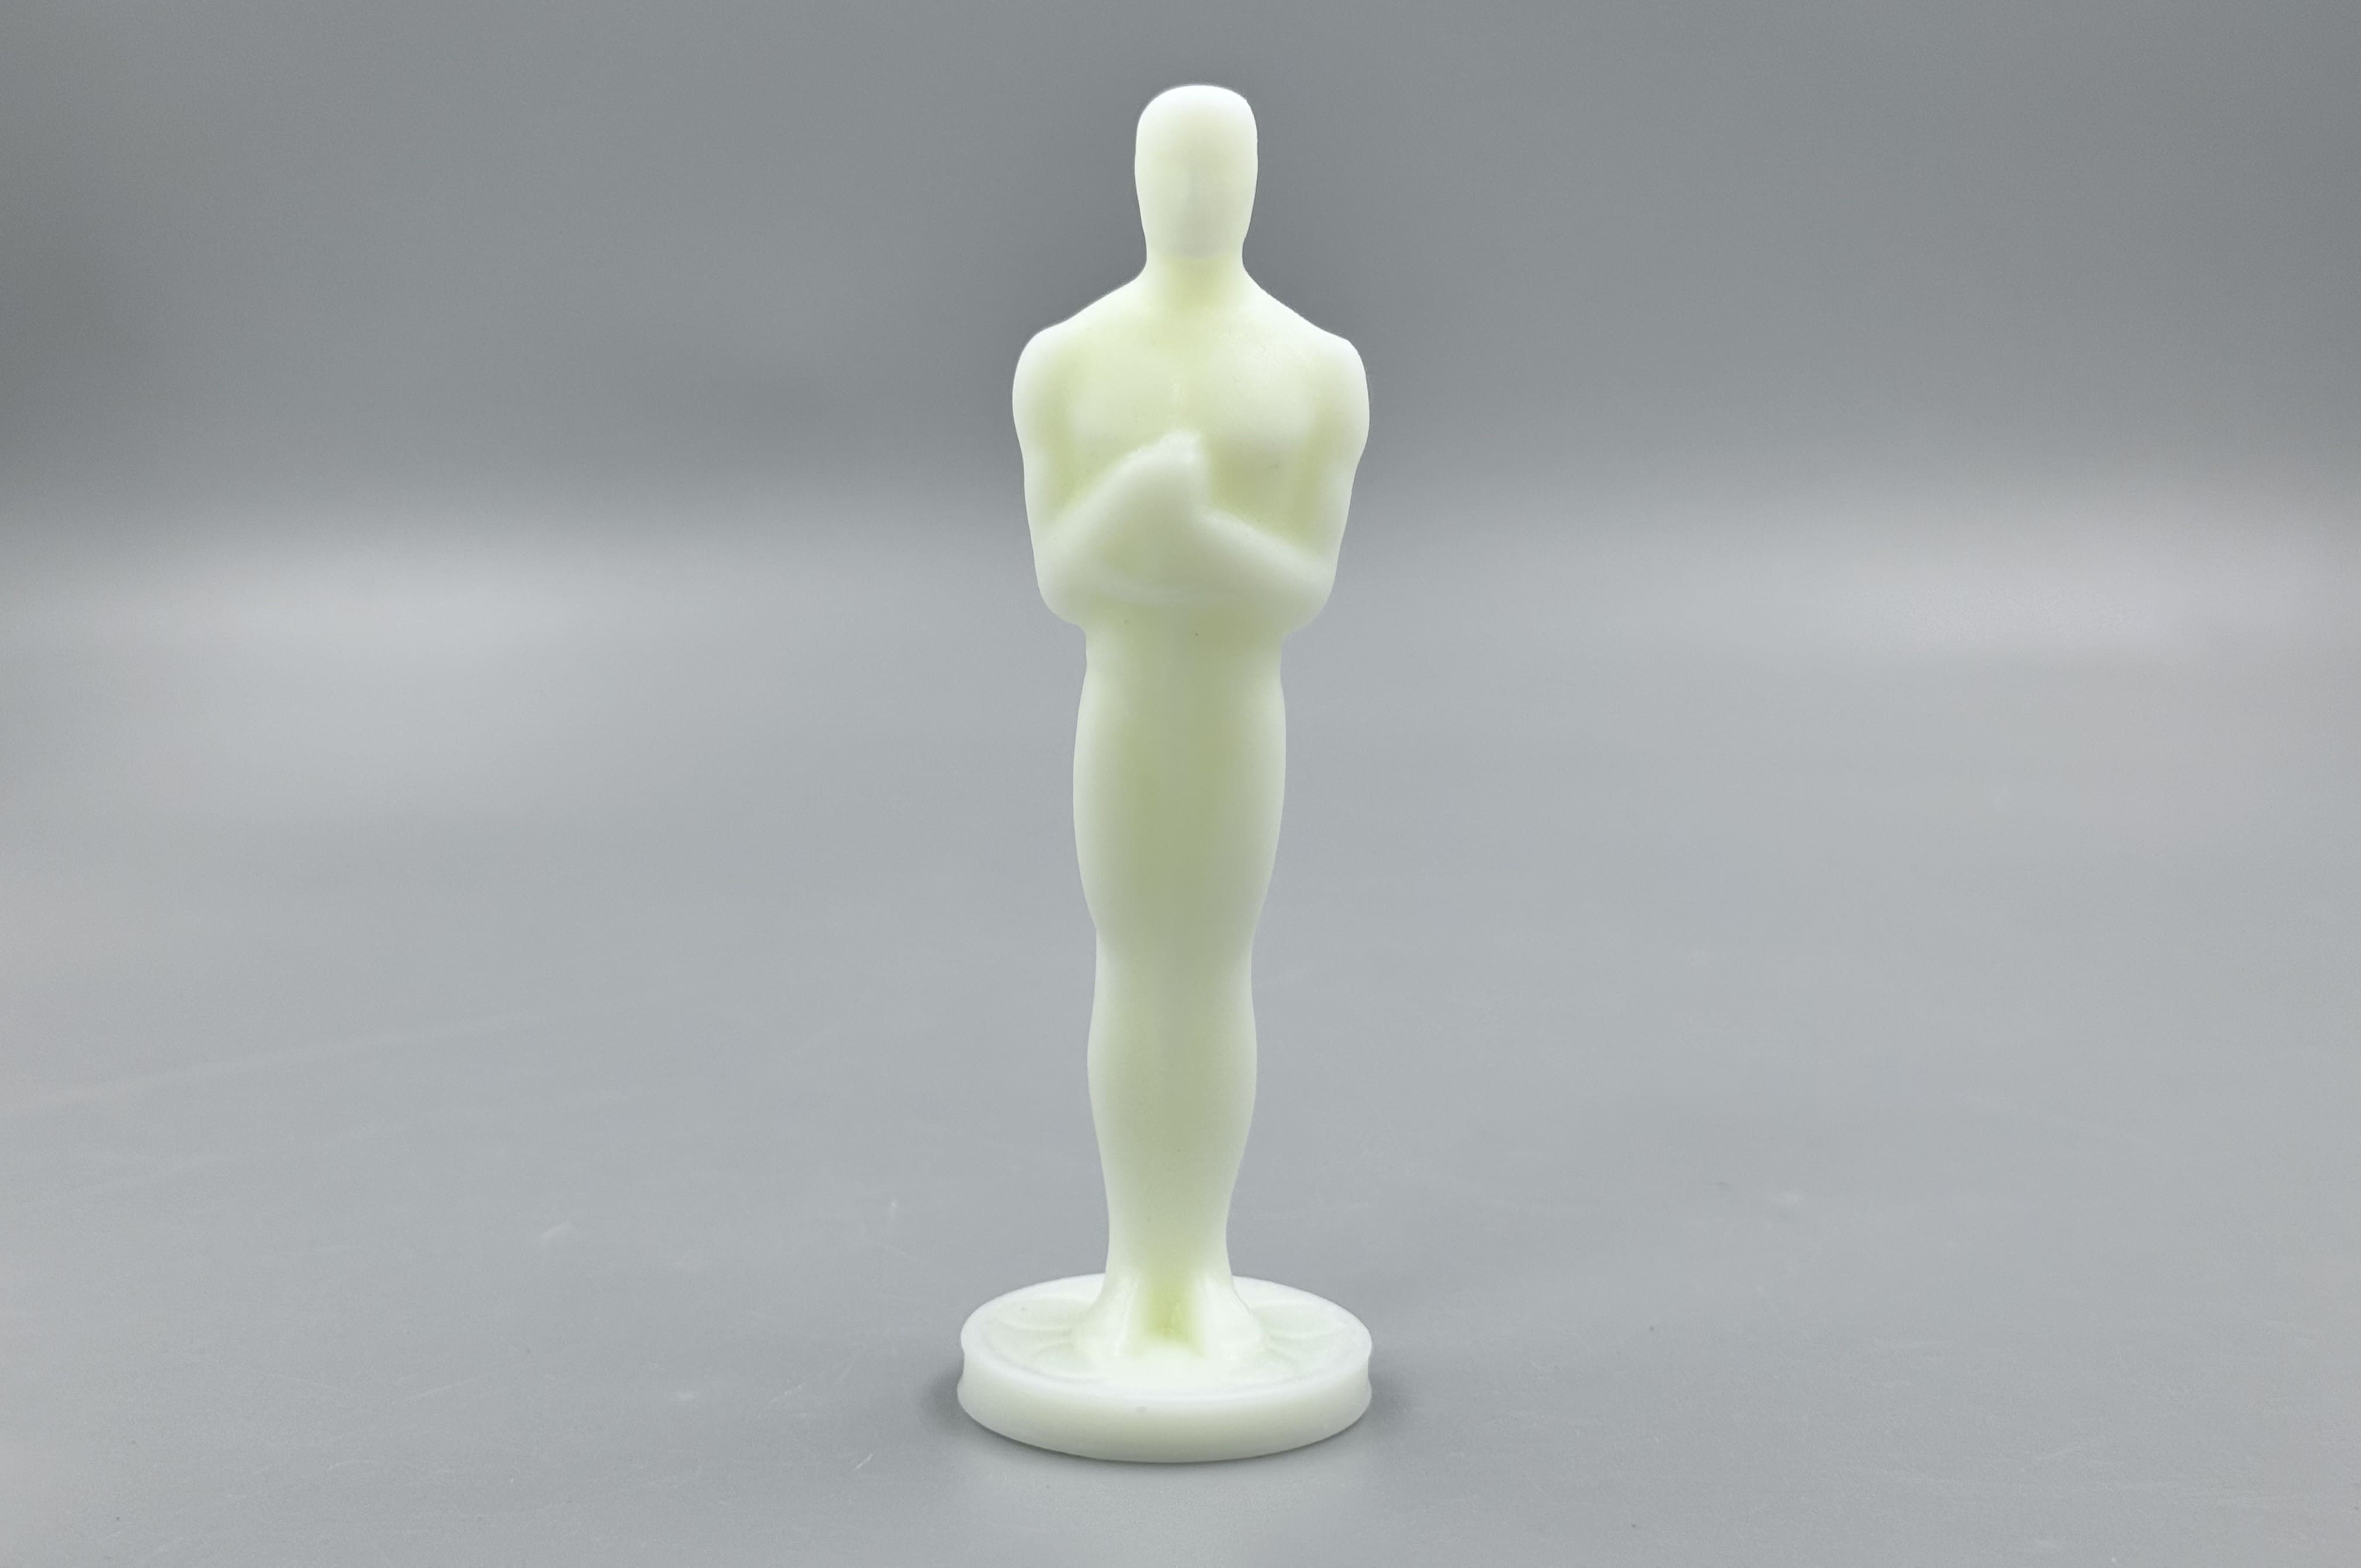
Image Copyright © 3DSPRO. All rights reserved.
What Resolution Means in 3D Printing
In 3D printing, resolution refers to how much fine detail a printer can reproduce. It is not just about making the print “look smooth.” Resolution affects how clearly the printer can form small text, sharp edges, thin features, surface curves, and tiny gaps between parts.
There are two main ways to think about resolution:
• Layer height: the vertical thickness of each printed layer. Smaller layer heights usually create smoother surfaces.
• XY resolution: the printer’s ability to reproduce fine detail across the flat surface of the model. This affects edge sharpness, tiny holes, and narrow shapes.
A model with good resolution should retain its intended form without unwanted rounding, stepping, or feature loss. That is why resolution is both a printer capability and a design problem. The better the design supports the printing process, the better the final result.
Design Choices Affect Print Resolution
A lot of print quality depends on how the model is built. Certain shapes are naturally easier to print with detail, while others tend to lose precision.
Several design choices have a direct effect on resolution:
• Very small features may disappear or fuse together.
• Sharp internal corners can become rounded or distorted.
• Thin walls may not print cleanly or may break easily.
• Complex surfaces can show visible stepping or roughness.
• Tight tolerances may fail if the printer cannot reproduce them accurately.
The printer can only work with what the model gives it. If the geometry is too fine for the process, the printed part will usually simplify those details. Designing with realistic limits in mind helps avoid disappointment later.
Design for Fine Details
If your part includes text, logos, decorative patterns, or tiny mechanical features, those elements need special care. Fine details are often the first things to fail in a 3D print.
To improve the chance of success, keep these points in mind:
• Make small text large enough to remain readable after printing.
• Avoid extremely thin lines that could blend into surrounding surfaces.
• Give embossed or engraved details enough depth to survive slicing.
• Use clear spacing between adjacent features so they do not merge.
As a general rule, details should be simplified when possible. If a pattern is too delicate to survive the printer’s nozzle size, laser spot size, or resin curing limits, it should be enlarged or redesigned. A slightly bolder feature often looks better in print than a tiny feature that becomes unclear.
For functional parts, such as snap fits, gears, or connectors, fine details should also be tested carefully. Accuracy matters just as much as appearance. A feature that is visually sharp but too fragile to use is not a successful design.
Optimize Wall Thickness and Feature Size
Wall thickness plays a major role in both print strength and visible detail. Walls that are too thin may not print consistently, while walls that are too thick can reduce detail or make the model heavier and harder to cure evenly.
A good design should balance clarity and durability. Thin features need enough material to be formed reliably, but not so much that they lose their intended shape. This is especially important for:
• Raised edges
• Hollow sections
• Small brackets
• Text and symbol details
• Delicate ornamental surfaces
Feature size matters for the same reason. If a small rib, groove, or pillar is below the practical limit of the printer, it may come out too soft or be missing altogether. Matching feature sizes to the printer’s real-world limits improves consistency.
When in doubt, make critical features a little larger than the absolute minimum. That extra margin can make a major difference in the final print.
Reduce Overhangs and Unsupported Areas
Overhangs and unsupported areas often reduce print resolution because they ask the printer to form detail in mid-air or on weak temporary structures. The result can be sagging, rough surfaces, or distorted edges.
To improve print quality:
• Use angled transitions instead of abrupt overhangs.
• Add chamfers where possible.
• Round off extreme extensions.
• Break large unsupported sections into more printable shapes.
Designing for support reduction is especially useful on visible surfaces. Supports can leave scars, marks, or texture differences that lower the appearance of detail. Even when supports are necessary, a model that needs fewer of them is usually easier to finish cleanly.
For decorative models, orienting the part so that the most important surfaces are self-supporting can make a big improvement. For functional models, the goal is to preserve both geometry and precision, even if that means redesigning certain features.
Choose the Right Orientation
Orientation affects how a model is built layer by layer, so it strongly influences resolution. The same part can look very different depending on how it is positioned on the build platform.
A good orientation can improve detail by:
• Reducing visible layer lines on important faces.
• Limiting the need for supports.
• Improving surface finish on critical areas.
• Increasing accuracy in small features.
For example, a face printed flat against the build plate may come out smoother than one printed vertically with many visible layers. On the other hand, rotating the model may protect delicate features or reduce warping.
There is always a tradeoff. The best orientation is usually the one that protects the most important details while keeping support and distortion under control. Before printing, think about which surfaces matter most and which features are most likely to lose resolution.
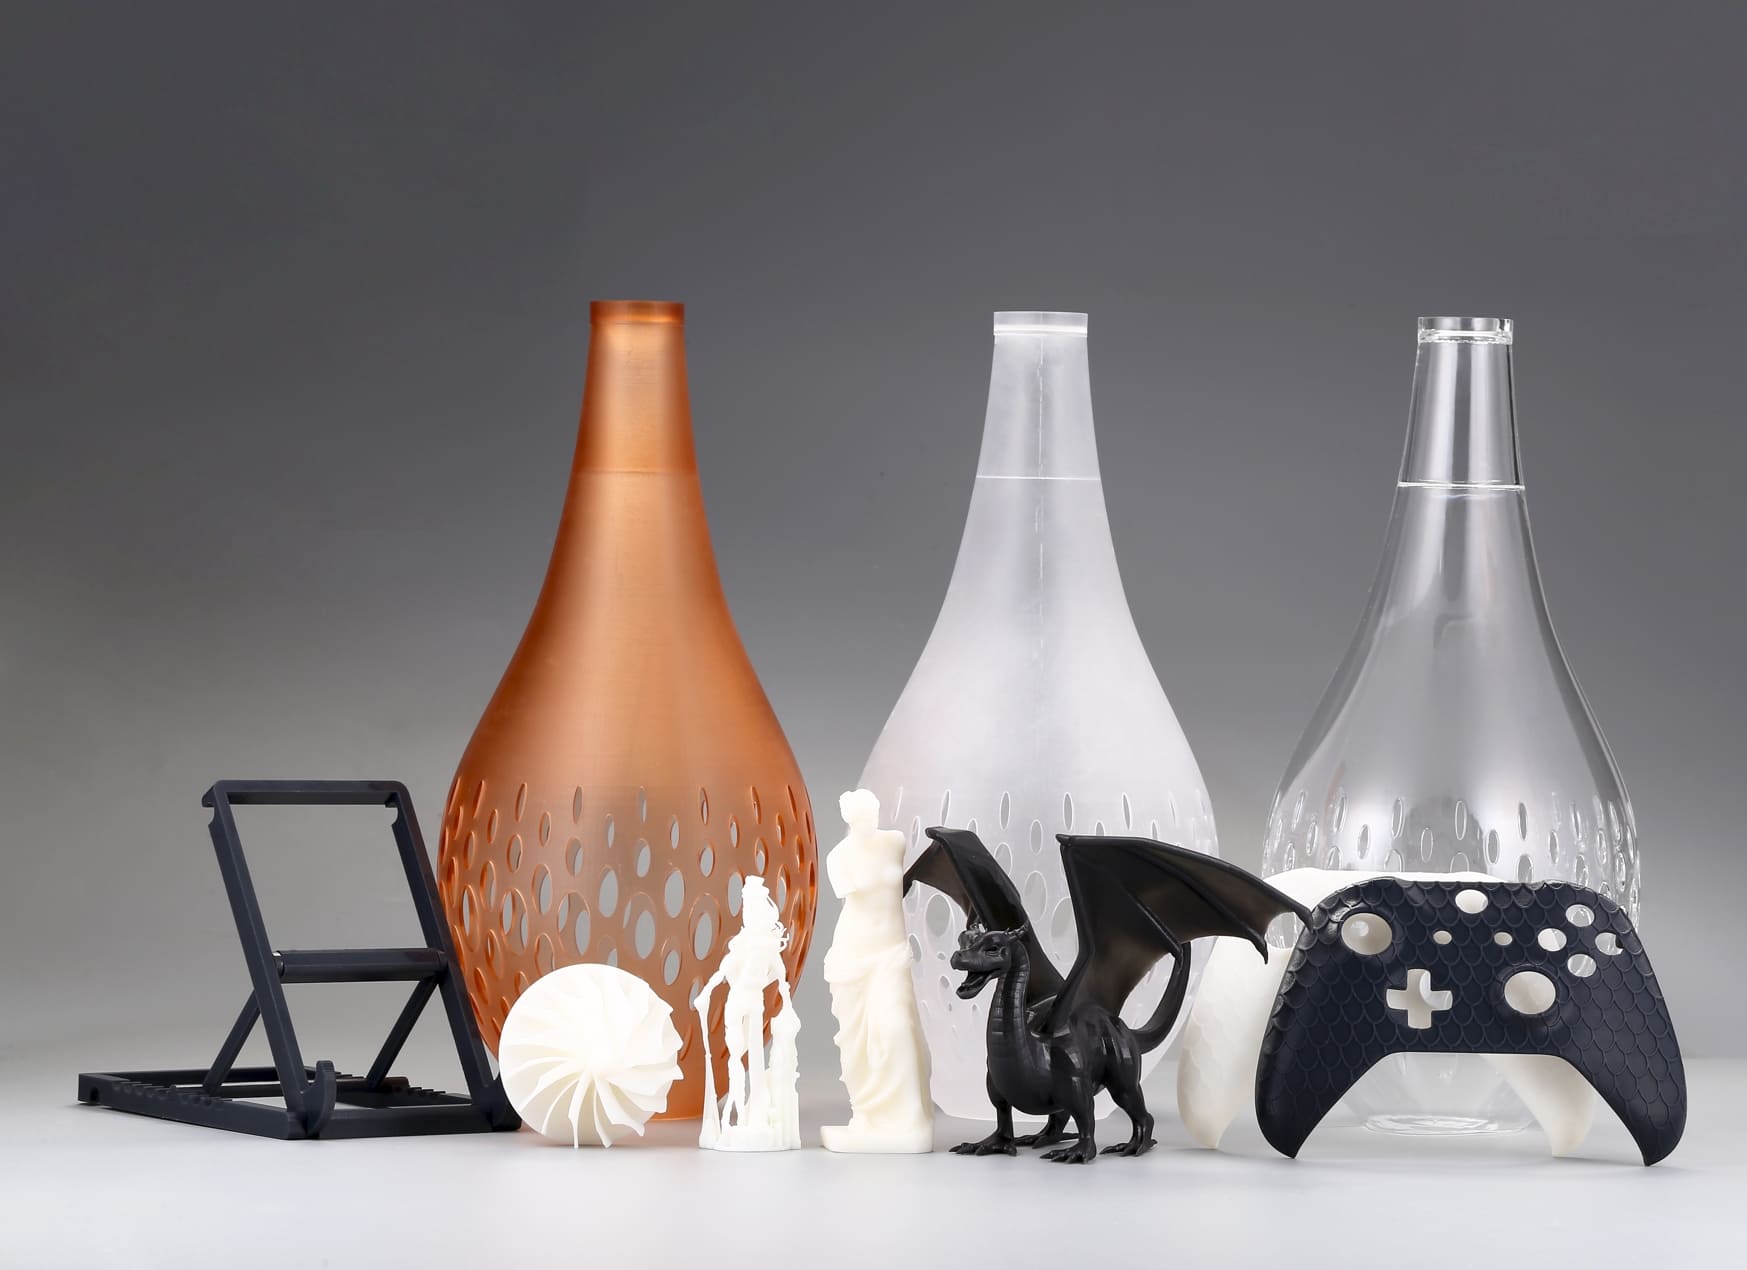
Select the Best Material and Printing Process
Not every printing process delivers the same level of detail. If resolution is a top priority, the choice of material and technology matters a great deal.
|
Printing Process |
Resolution Strengths |
Typical Use |
|
FDM |
Good for larger parts, but more visible layer lines |
Functional prototypes, general parts |
|
SLA |
Excellent surface detail and sharp features |
Miniatures, precise visual models |
|
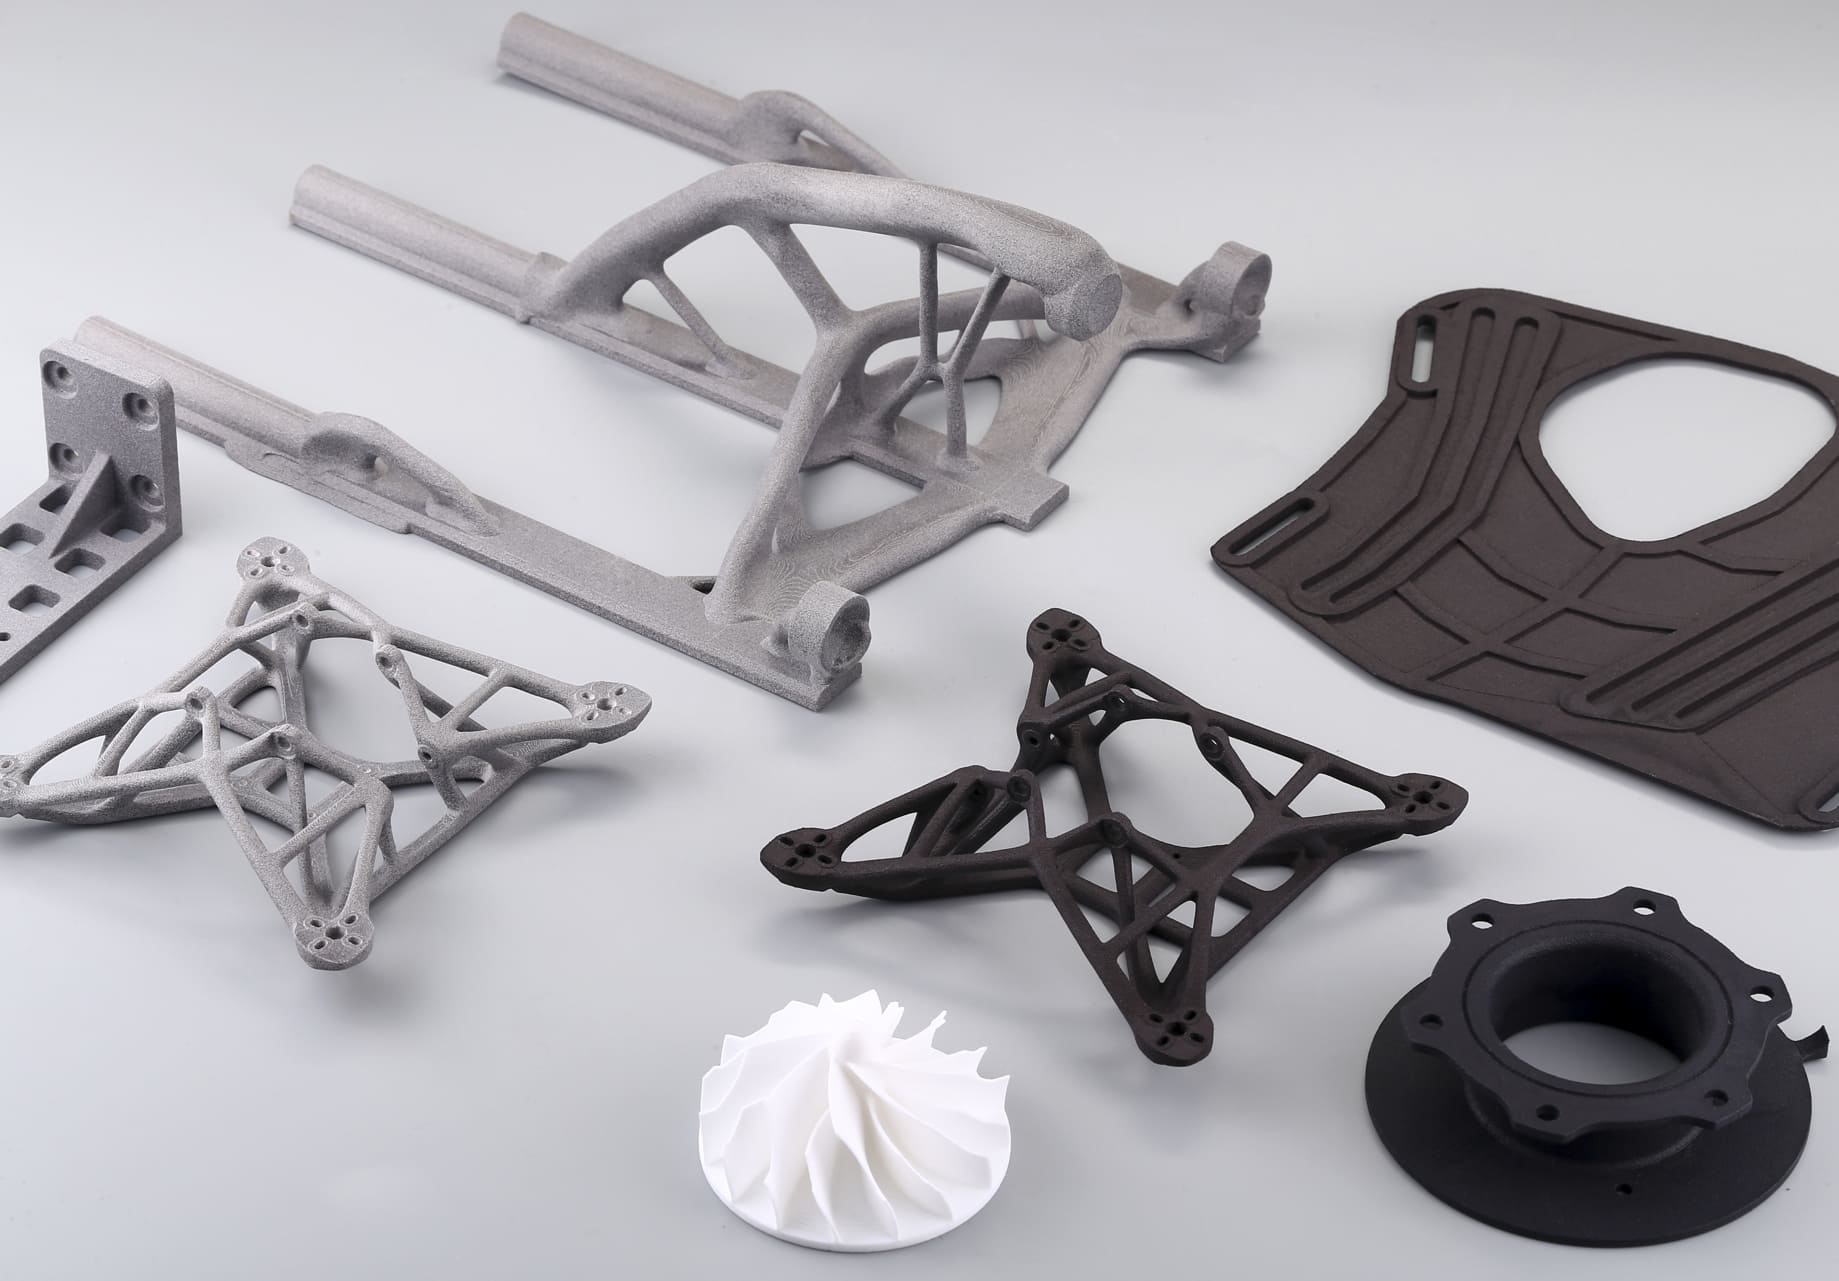
SLS |
Good detail with no support structures |
Durable parts, complex shapes |
Material also affects the final result. Some materials capture fine details more cleanly, while others shrink, warp, or blur edges more easily. A high-resolution printer will still struggle if the material is not suited to the geometry.
For small text, intricate surfaces, or highly detailed visual parts, a resin-based process such as SLA is often a better choice than FDM. For strong functional parts with more moderate detail needs, other processes may be more appropriate. The best choice depends on the balance between appearance, strength, cost, and speed.
Use Post-processing to Improve Detail
Post-processing cannot fix every design problem, but it can improve the appearance of a print and help sharpen perceived resolution.
Common post-processing methods include:
• Sanding to remove layer lines and surface roughness
• Priming to reveal imperfections before final finishing
• Polishing to increase smoothness and clarity
• Chemical smoothing for certain materials
• Painting or coating to enhance surface appearance
These steps are especially useful when the print has a good structure but needs a cleaner final look. For example, a model may already have strong detail, but visible stepping or rough transitions make it look lower in quality. Careful finishing can improve that result significantly.
Still, post-processing has limits. It cannot restore details that were never printed properly in the first place. That is why resolution should always be addressed at the design stage first, then improved through finishing if needed.
 0
0


COMMENTS
- Be the first to share your thoughts!