One of the most common challenges in 3D printing is simply size. A model may look perfect on screen, but once it is placed into a real printer, its dimensions may exceed the build volume, create weak overhangs, or lead to poor print quality. It does not mean the project has to stop. In many cases, size constraints can be solved with smart design choices, better assembly planning, and the right printing approach.
The key is not to force every part into one print. Instead, think about how the object can be broken down, redesigned, or produced in a way that fits the printer while still meeting the final functional and visual goals. Below are six practical ways to solve 3D printing size constraints.
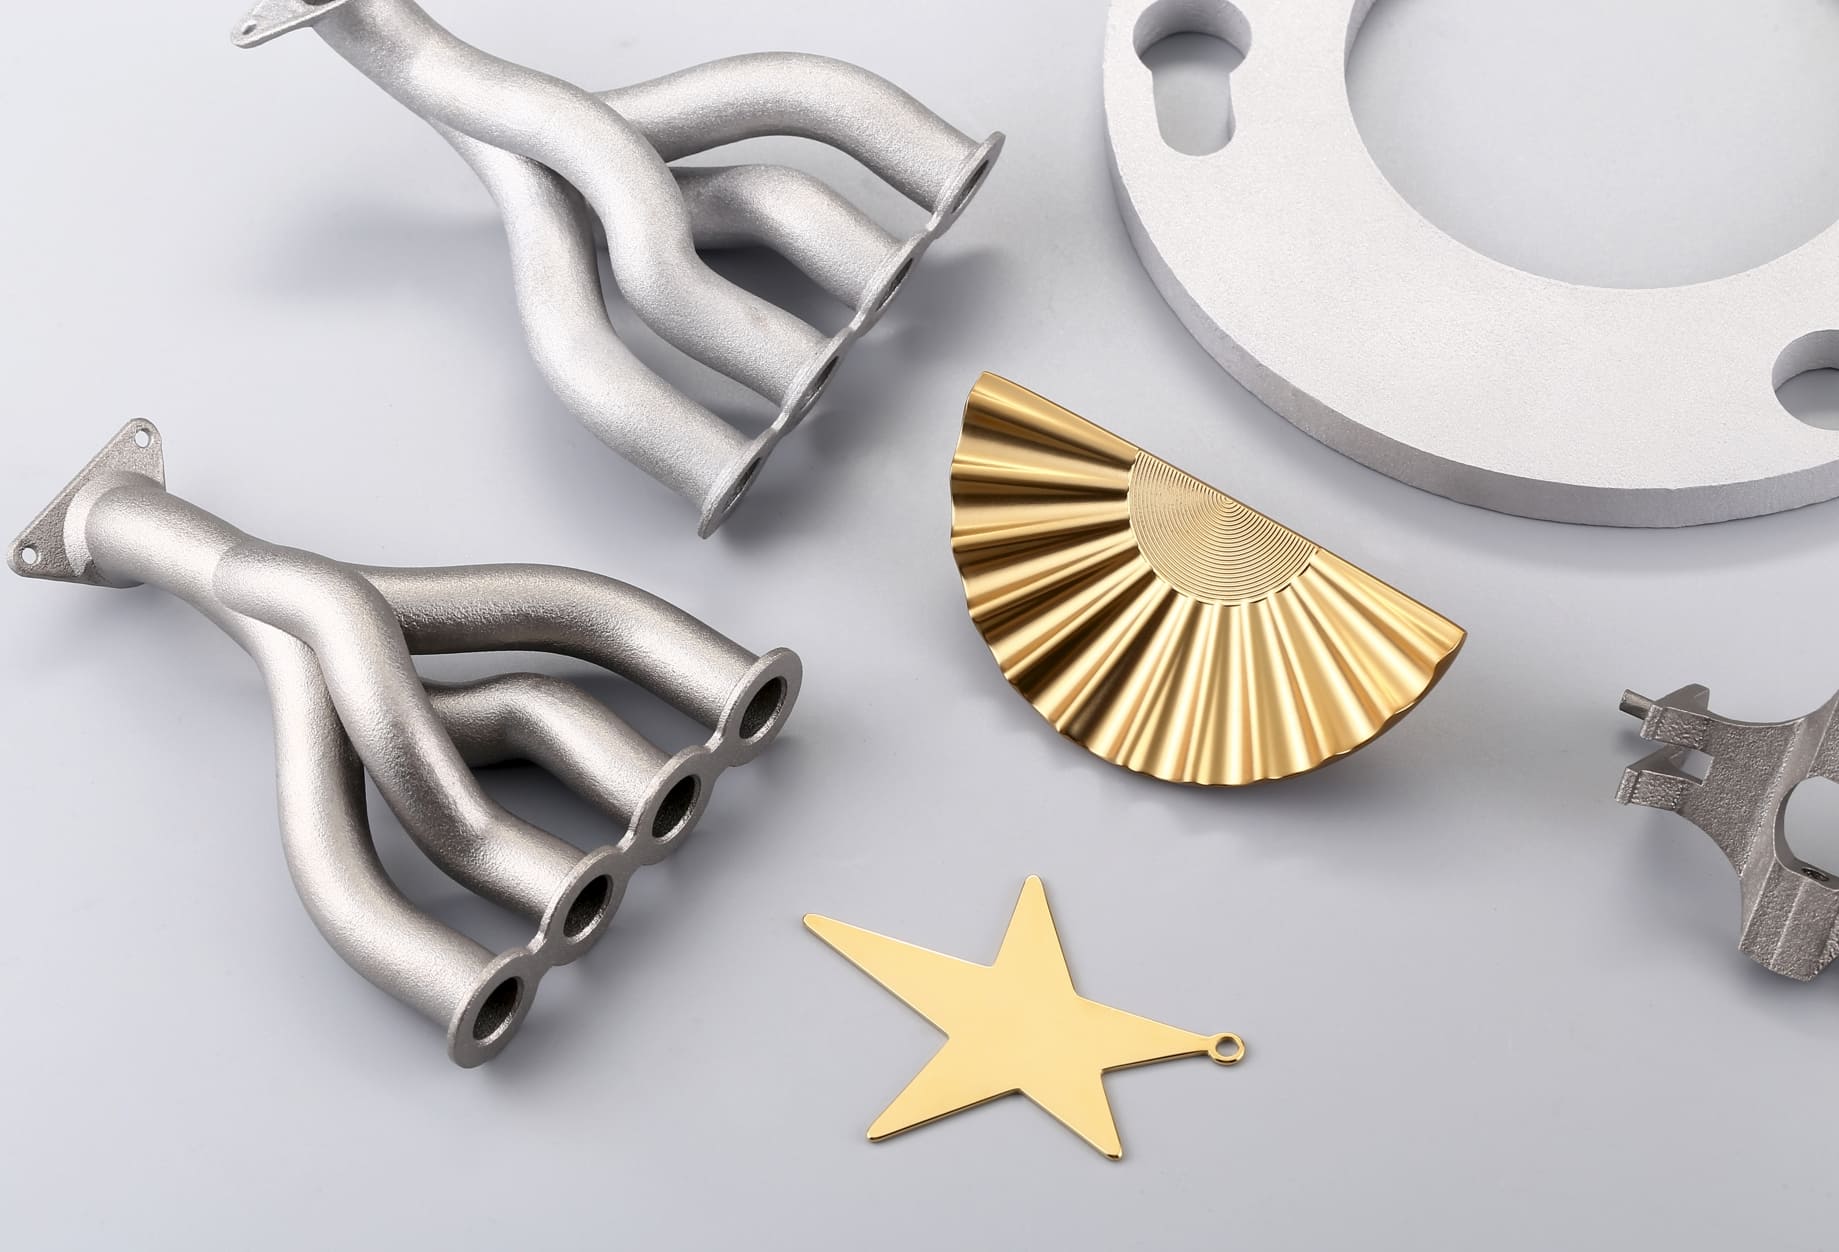
Image Source: HP
Split the Model into Smaller Sections
When a model is too large for the printer’s build volume, splitting it into smaller sections is often the most direct solution. Model splitting is especially useful for large props, mechanical housings, display pieces, and industrial parts that do not need to be printed as a single piece.
The best place to split a model depends on both geometry and function. Ideally, the split lines should follow natural boundaries in the design, such as edges, seams, corners, or hidden areas, which makes the finished part easier to assemble and less noticeable after finishing. For example, a large curved shell might be divided into left and right halves, while a complex casing might be split along a line where two surfaces already meet.
When dividing a model, it is important to think ahead about assembly. Each section should be sized so it fits comfortably within the printer’s limits, but also so that the parts can be aligned accurately later. If the model is split carelessly, you may create extra work during assembly or weaken the final structure.
Choose the Right Assembly Method
Once a model is split, the next step is choosing how the pieces will fit together. This choice affects strength, alignment, appearance, and ease of assembly. A good connection method can make a multi-part print feel almost seamless, while a poor one can lead to gaps, misalignment, or weak joints.
Common assembly methods include alignment pins, tabs and slots, adhesives, and mechanical fasteners. Alignment pins are useful when you need parts to line up precisely. Tabs and slots work well for simple, strong connections and can help users assemble the model in the correct orientation. Adhesives are often best when the joint does not need to be removed later. Mechanical fasteners, such as screws or bolts, are helpful when the part may need to be disassembled for repair or maintenance.
The right choice depends on the purpose of the model. A decorative object may only need glue, while an engineering part may require a stronger, more serviceable connection. In some cases, combining methods works best. For example, you might use alignment pins for positioning and adhesive for long-term strength.
Optimize the Part Design
Sometimes the best solution to a size problem is not just splitting the model, but redesigning it. Large parts often contain extra material, unnecessary thickness, or details that can be simplified without affecting performance. Optimizing the design can reduce the overall size, make printing easier, and lower material use.
One useful strategy is to hollow out bulky areas. Solid geometry may look strong, but it can create unnecessary weight, longer print times, and a greater risk of warping. Hollow sections can often provide enough strength while making the part more practical to print. Internal ribs or support structures can be added where extra reinforcement is needed.
Another approach is to simplify complex features. Small decorative details, deep cavities, or sharp internal corners may be difficult to print at larger scales. Replacing them with cleaner geometry can improve both printability and surface quality. In mechanical parts, it may also help to redesign the model into modular components, where each section performs a specific function.
Good design optimization means removing what is unnecessary while keeping the shape, fit, and function intact. A smaller, smarter design is often easier to print than a large, overcomplicated one.
Change the Print Orientation
Print orientation can have a big impact on whether a large part fits on the printer and how well it prints. A model may seem too large in one position, but after rotating it on the build plate, it might fit perfectly. Before splitting the model, it is worth testing different orientations to see whether the size problem can be solved more simply.
Orientation also affects strength, surface quality, and support requirements. A part printed flat may have better stability, but a tall print may better preserve a long dimension. Rotating the model can reduce the footprint on the build plate, but it may also increase the need for supports or create weaker layer lines in important load-bearing areas.
The best orientation is usually the one that balances all three factors: fit, strength, and print quality. For example, a long bracket might print better at an angle if that allows it to fit inside the build volume, while a cosmetic panel may need to be oriented for the best visible surface finish. In short, changing orientation is a simple but often overlooked way to solve size constraints before making bigger changes.
Use a Different Printing Technology or Material
If a model consistently exceeds the capacity of a standard desktop printer, another printing technology may be the better answer. Different processes offer different build volumes, strengths, and material properties. Choosing a more suitable technology can solve the size problem without forcing extreme design compromises.
For larger functional parts, industrial 3D printing systems often provide bigger build areas and better repeatability. For example, some technologies are better for large structural components, while others are better for smooth visual parts or high-detail prototypes. The right choice depends on what the part needs to do after it is printed.
Material choice also matters. Some materials are more stable than others on large prints. Flexible or high-warp materials may introduce additional challenges, especially in big parts with broad flat surfaces. More dimensionally stable materials can reduce distortion and improve accuracy across a larger print. In practice, selecting the right process and material together can often solve a size limitation that would be difficult to overcome through design alone.
Consider Post-Processing and Finishing
Post-processing is often the final step that turns a multi-part print into a polished finished product. Once the sections are assembled, careful finishing can hide seams, improve appearance, and make the model feel like a single piece.
Common finishing methods include sanding, filling gaps, surface smoothing, and painting. These steps are especially important when the part was split to fit the printer. Even a well-assembled model may show visible joints, so post-processing helps improve the final result. If the part is functional, finishing can also help remove rough edges and create a better fit between moving or mating surfaces.
Good finishing can strengthen the overall impression of the part and make multi-section printing much more practical for professional use. In product development, prototyping, or display work, the final appearance often matters just as much as printability.
 0
0


COMMENTS
- Be the first to share your thoughts!