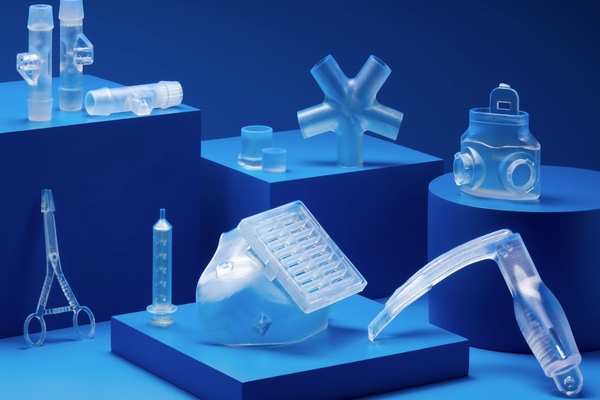
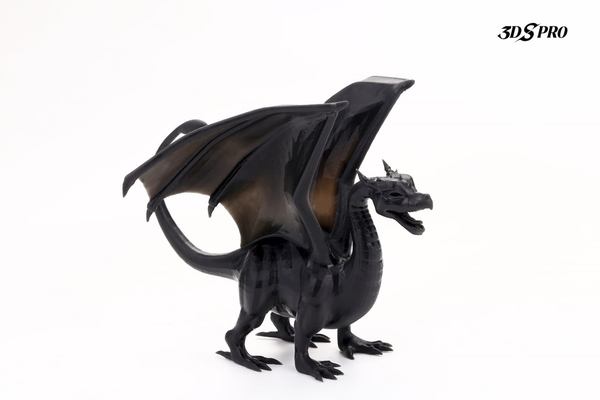
In the evolving world of additive manufacturing and 3D printing, the significance of post-processing cannot be overstated.While the printing process itself is crucial, the steps that follow play a pivotal role in determining the quality and functionality of the final product. Professional 3D printing services such as 3DSPRO understand that 3D printing post-processing is essential to elevate a print from a simple prototype to a high-quality, finished product. We know that different printing technologies requires matching post processing procedures, and in this guide, we delve into the 5 key post-processing steps, which includes support removal, cleaning and washing, UV post curing, sand blasting, and polishing, that professionals use to achieve exceptional results for resin 3D printing, mainly SLA 3D printing, aka Stereolithography.
Step 1: Support Removal
Understanding Support Structures in 3D Printing
Support structures are an integral part of all resin printed 3D printing products and parts, especially when dealing with complex shapes or overhangs. These structures serve as a temporary scaffold, ensuring the print's stability during the printing process. However, when the printing process is done, removing them is a challenging and invariably procedure. Careful removal of these supports will reveal the actual design of a final product. 3DSPRO and our suppliers always have a 3D file on our hands when removing supports to compare with the actual product to make sure no details is accidentally removed with the supports.
Techniques for Effective Support Removal
Professionals utilize a variety of 3D printing post-processing tools for support removal, ensuring that the main structure is not damaged. Techniques include gentle manual removal, using specialized tools such a s tweezers to reach intricate areas, and sometimes even dissolving soluble supports in water or other solutions. The goal is to maintain the print's integrity while achieving a smooth finish.
Step 2: Cleaning and Washing
Importance of Cleaning 3D Printed Objects
After the removal of support structures, the next critical step in resin post-processing is washing the printed objects with alcohol. This step is crucial for removing any uncured resin from the surface of the prints, thereby preventing any unwanted smell, texture, reactions or blemishes.
Best Practices in Clean and Washing
The process involves submerging or brushing the printed parts with isopropyl alcohol (IPA) or a similar solvent. Professional services ensure that the entire surface of the print is thoroughly cleaned, often using ultrasonic cleaners for a more effective wash. This not only cleans the print but also prepares it for further post-processing steps like UV curing.
Step 3: UV Post-Cure
The Role of UV Light in 3D Printing
UV post-curing is a critical step, particularly in resin post-processing. This process involves exposing the resin-printed object to ultraviolet light, which helps to strengthen and stabilize the material. The UV light catalyzes additional chemical reactions in the resin, enhancing the mechanical properties of the print.
Best Practices for UV Post-Curing
Professional 3D printing services have developed best practices for UV post-curing, which include controlling the exposure time and ensuring uniform light distribution. This not only increases the durability of the printed parts but also improves their appearance, making them more suitable for practical applications.
Step 4: Sanding
Achieving Smooth Surfaces
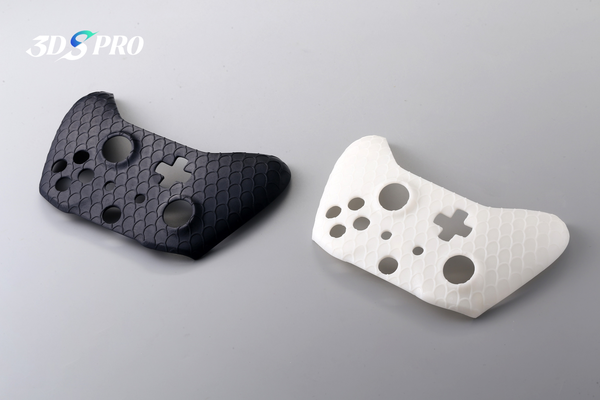
After the initial support removal stage, the surface might still be uneven because unremoved tiny support nibs/marks might still be noticable. Sanding is an effective method for smoothing and finishing 3D printed objects. This technique is particularly useful for parts that require a uniform surface texture or need to be prepared for painting. 3DSPRO provides fine sanding for products that requires painting as a 3D Plus Service.
Polishing Methods and Materials
Depending on the material and the desired finish, different sanding methods are used. The most common one is to sand a product manually with sanding paper. For parts that will be painted, a smooth, well-prepared surface is essential for a high-quality finish so people will also apply sanding paper with fine grit size and also buffing sponge.
Step 5: Sand Blasting
The Final Touch for a Professional Look
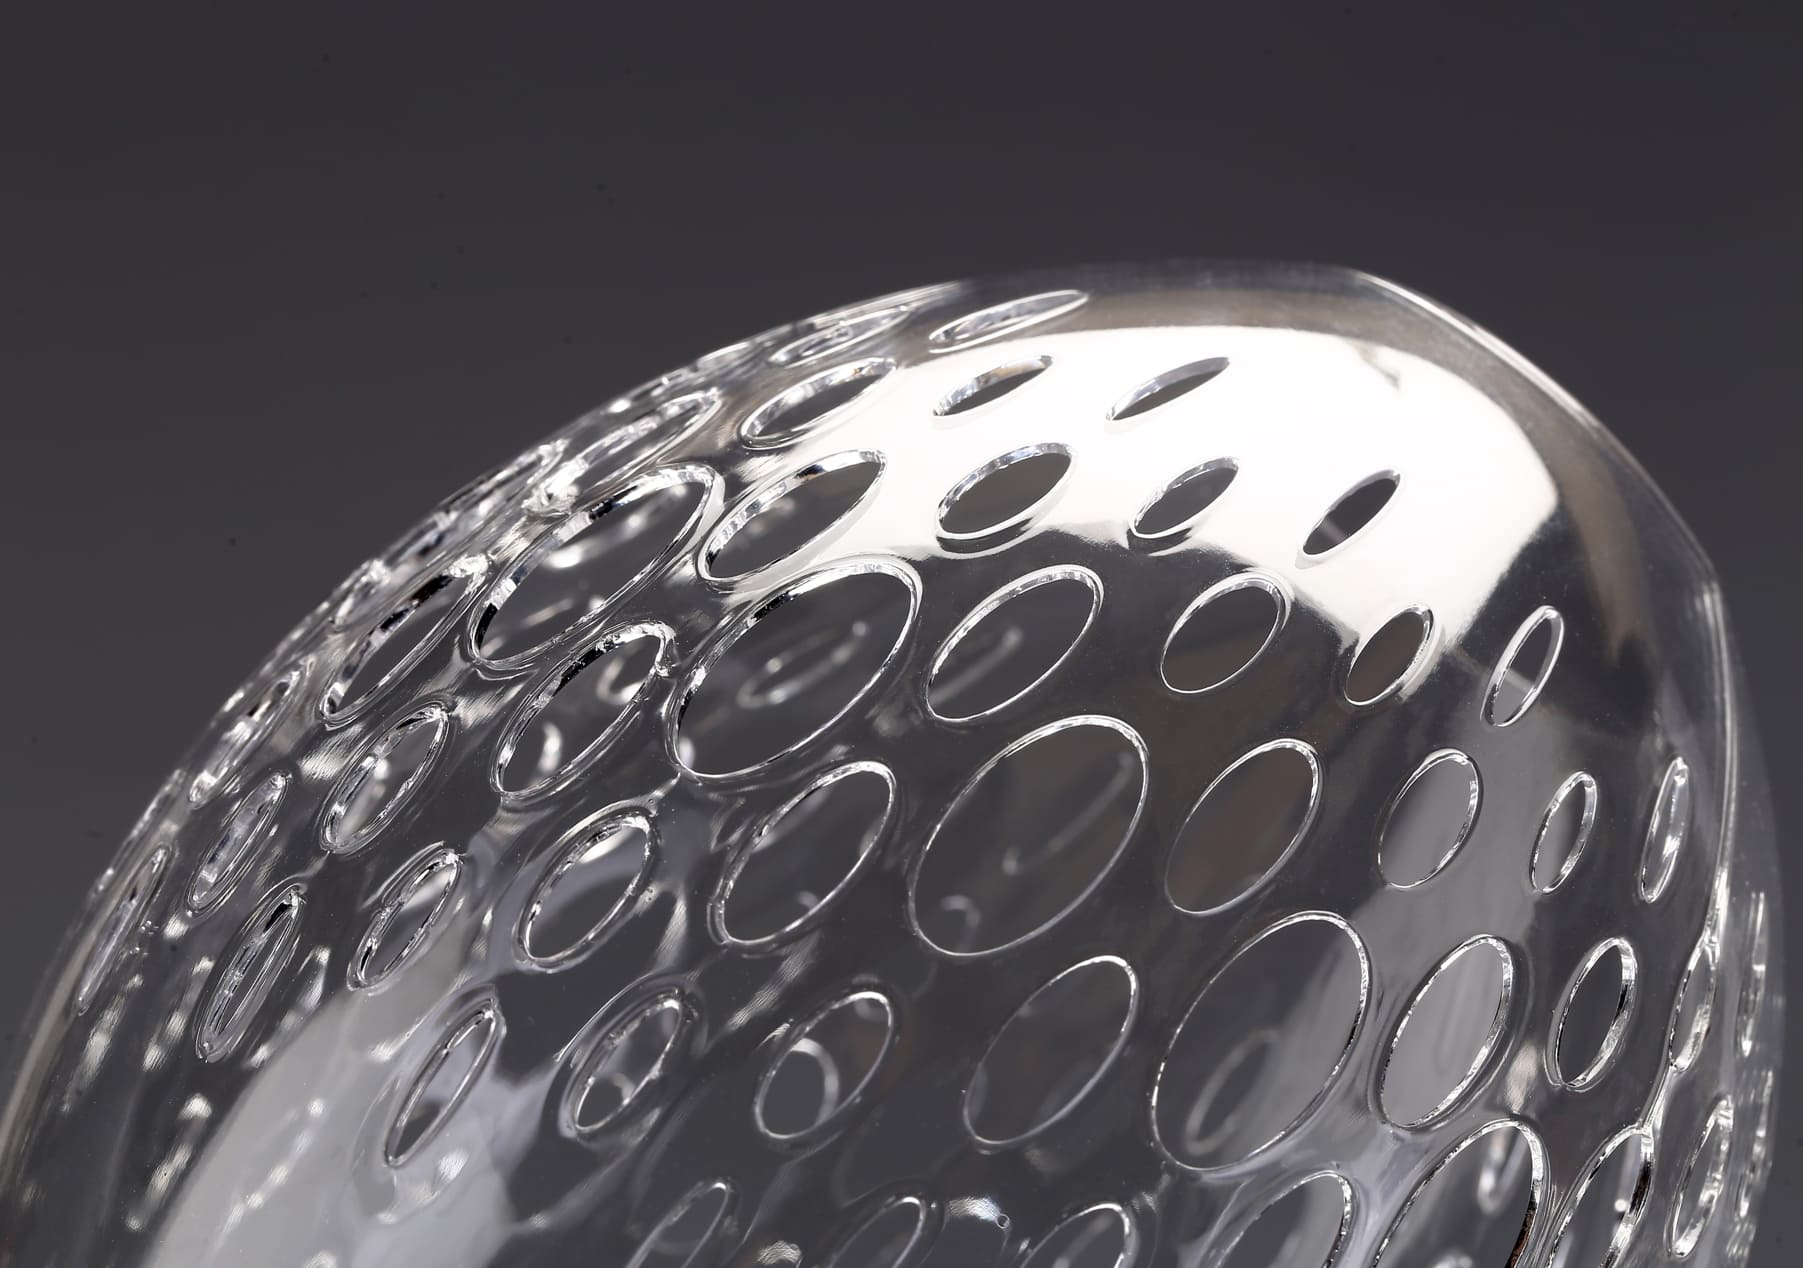
Sand blasting can remove all remaining scratches and marks that were hard to be sanded, so it is the final step in the post-processing of 3D printed parts. This process not only enhances the aesthetic appeal of the print but also contributes to its functional properties, such as smoothness. Note that this is a standard procedure that 3DSPRO applies, but it is not mandatory for all 3D printing providers. Products without proper sanding blasting may be rough and have visible scratches.
Sand Blasting Techniques
Using pressurized air to propel abrasive materials against the surface of the print, sand blasting removes any minor imperfections and support marks. Professionals choose the appropriate abrasive material and pressure settings based on the type of 3D printed material and the desired finish.
In conclusion, mastering the art of 3D printing post-processing, from support removal to UV post-curing, cleaning and washing, sand blasting, and polishing, is essential for professional 3D printing services. These steps ensure that the final product not only meets but exceeds quality expectations, showcasing the true potential of 3D printing technology and accelerating the process of innovation for everyone.
COMMENTS
- Be the first to share your thoughts!


