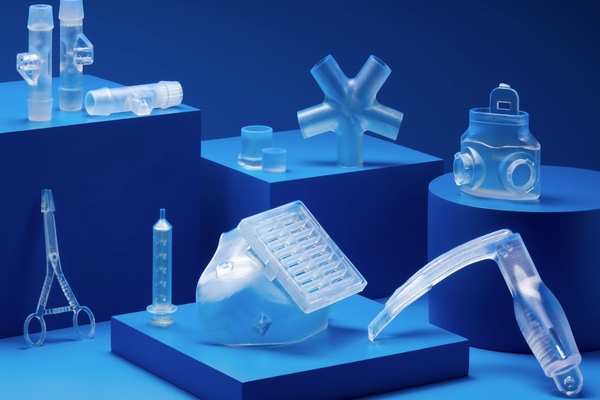
Resin 3D Prints Post-processing Guide
How to Clean Resin 3D Prints
● Safety First: Wear gloves and work in a ventilated area.
● Remove Excess Resin: Use a soft brush and isopropyl alcohol (IPA) to clean the print gently.
● Rinse Thoroughly: Dip the print in a container of IPA or water, agitate gently, and rinse.
● Dry Completely: Allow the print to air dry or use a gentle air blower.
How to Cure Resin 3D Prints
● UV Exposure: Place the print under a UV lamp or in direct sunlight until it’s no longer tacky.
● Even Curing: Rotate the print for uniform exposure to UV light.
● Water Curing: Optionally, submerge the print in water during UV exposure for an even cure.
How to Sand Resin 3D Prints
● Start with a coarse grit and progress to finer grits.
● Use wet sanding techniques to minimize dust and improve the finish.
How to Glue Resin 3D Prints
● Clean Surfaces: Ensure that the joining surfaces are free from dust and resin residue.
● Use Epoxy or Superglue: Apply a thin layer of epoxy or superglue to one surface.
● Clamp Parts Together: Press the parts firmly together and allow the glue to cure as per the manufacturer’s instructions.
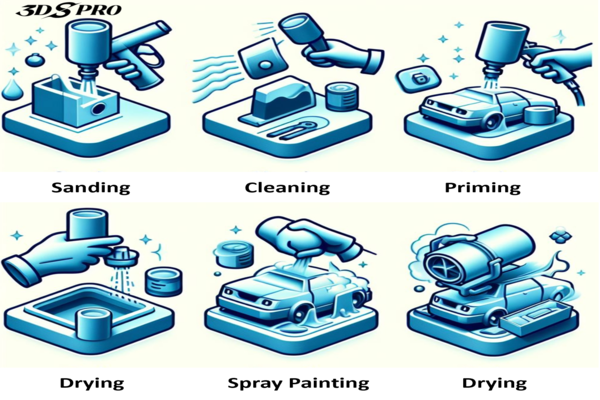
How to Paint Resin 3D Prints
● Priming: Apply a primer to help the paint adhere to the surface.
● Painting: Use acrylic paints, starting with the larger areas and then adding details.
● Sealing: Finish with a sealer to protect the paint job.
Tapping and Threading
● Design your print with holes for threads.
● Use a tap and die set to create threads in the cured resin carefully.

What 3D printing technology can create resin 3D prints?
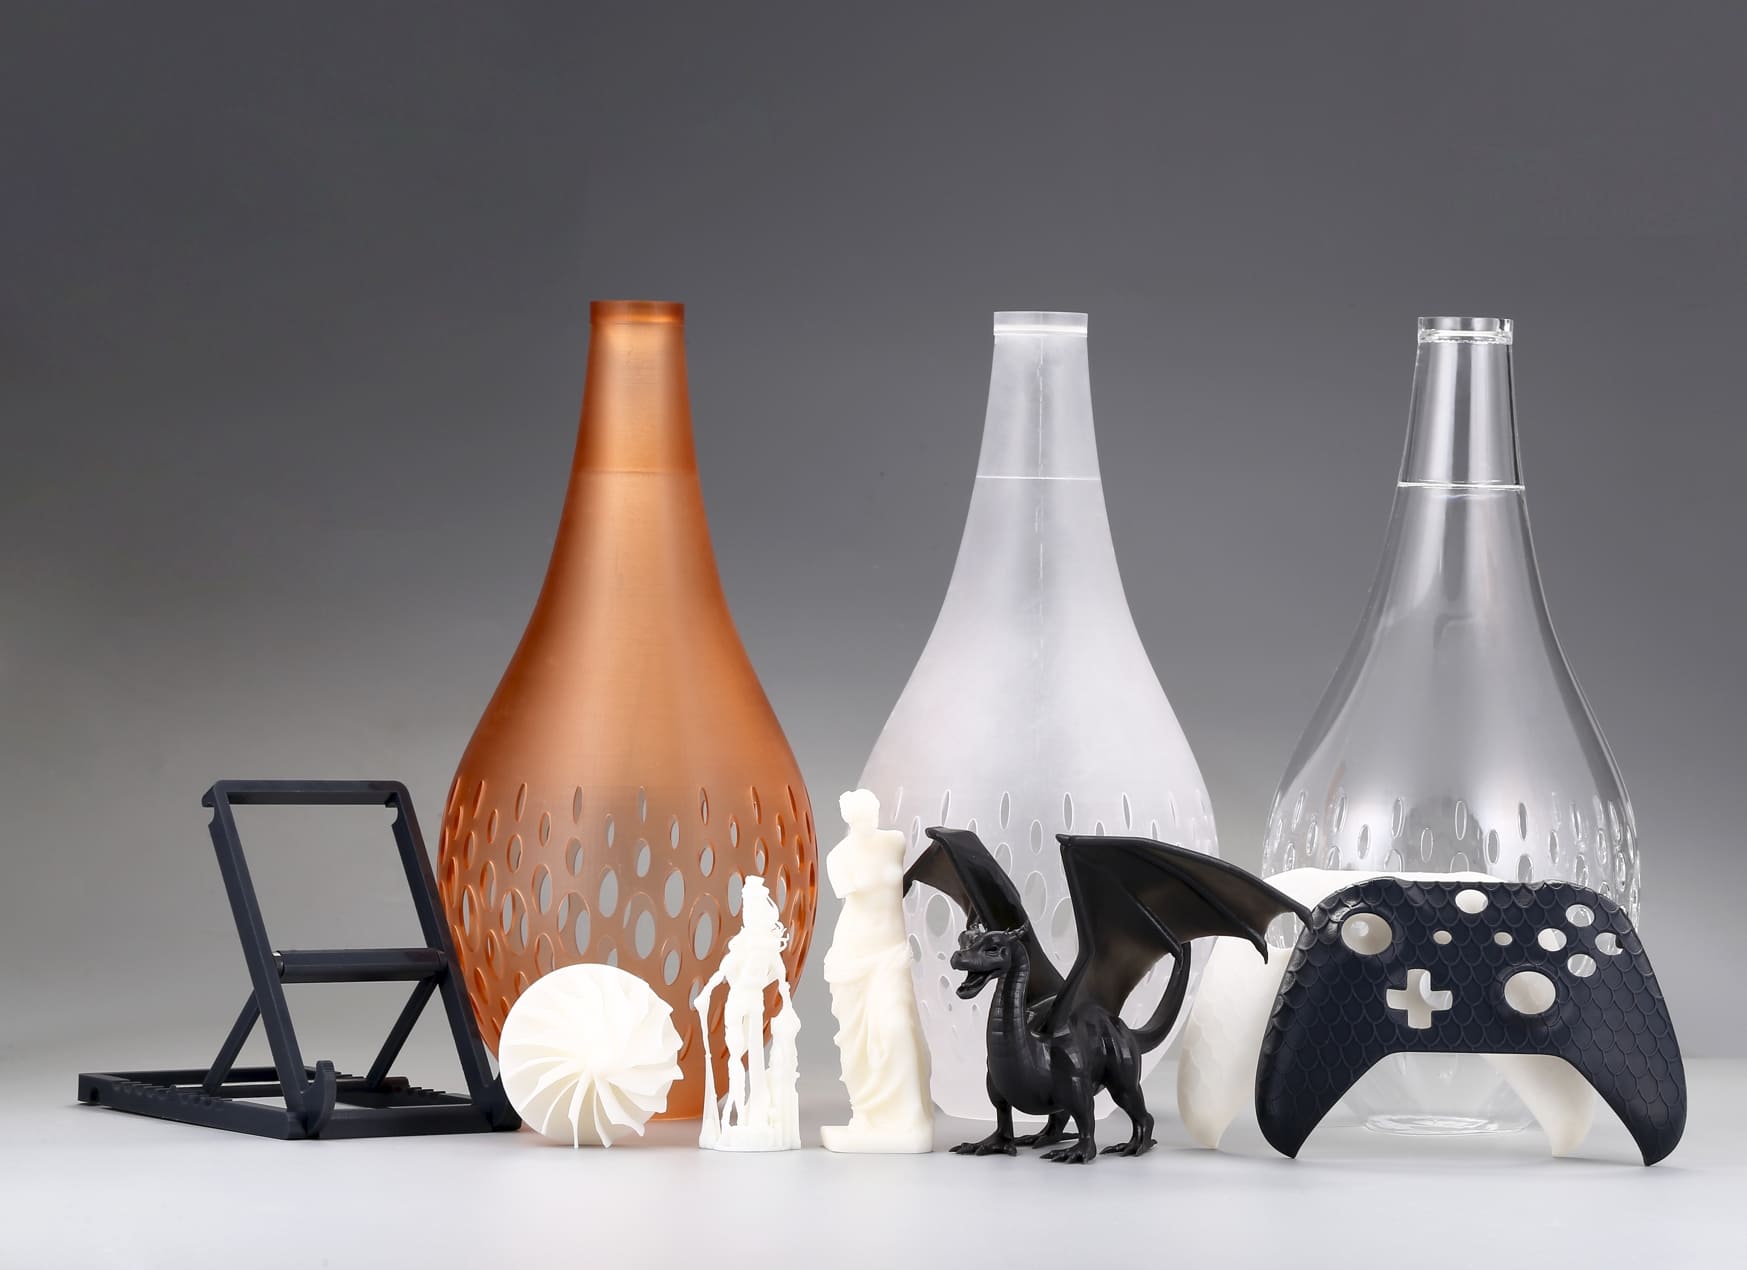
Resin 3D prints are created using 3D printing technologies that cure liquid photopolymers into solid objects. The two primary technologies capable of creating resin parts are Digital Light Processing (DLP) and Stereolithography (SLA).
DLP 3D Printing utilizes a digital projector to flash a single image of each layer across the entire platform at once. DLP printing is known for its speed, as entire layers are cured rapidly, making it a popular choice for efficient production. DLP printers employ a digital micromirror device (DMD), which is an array of microscopic mirrors that direct UV light to cure the resin in precise patterns.
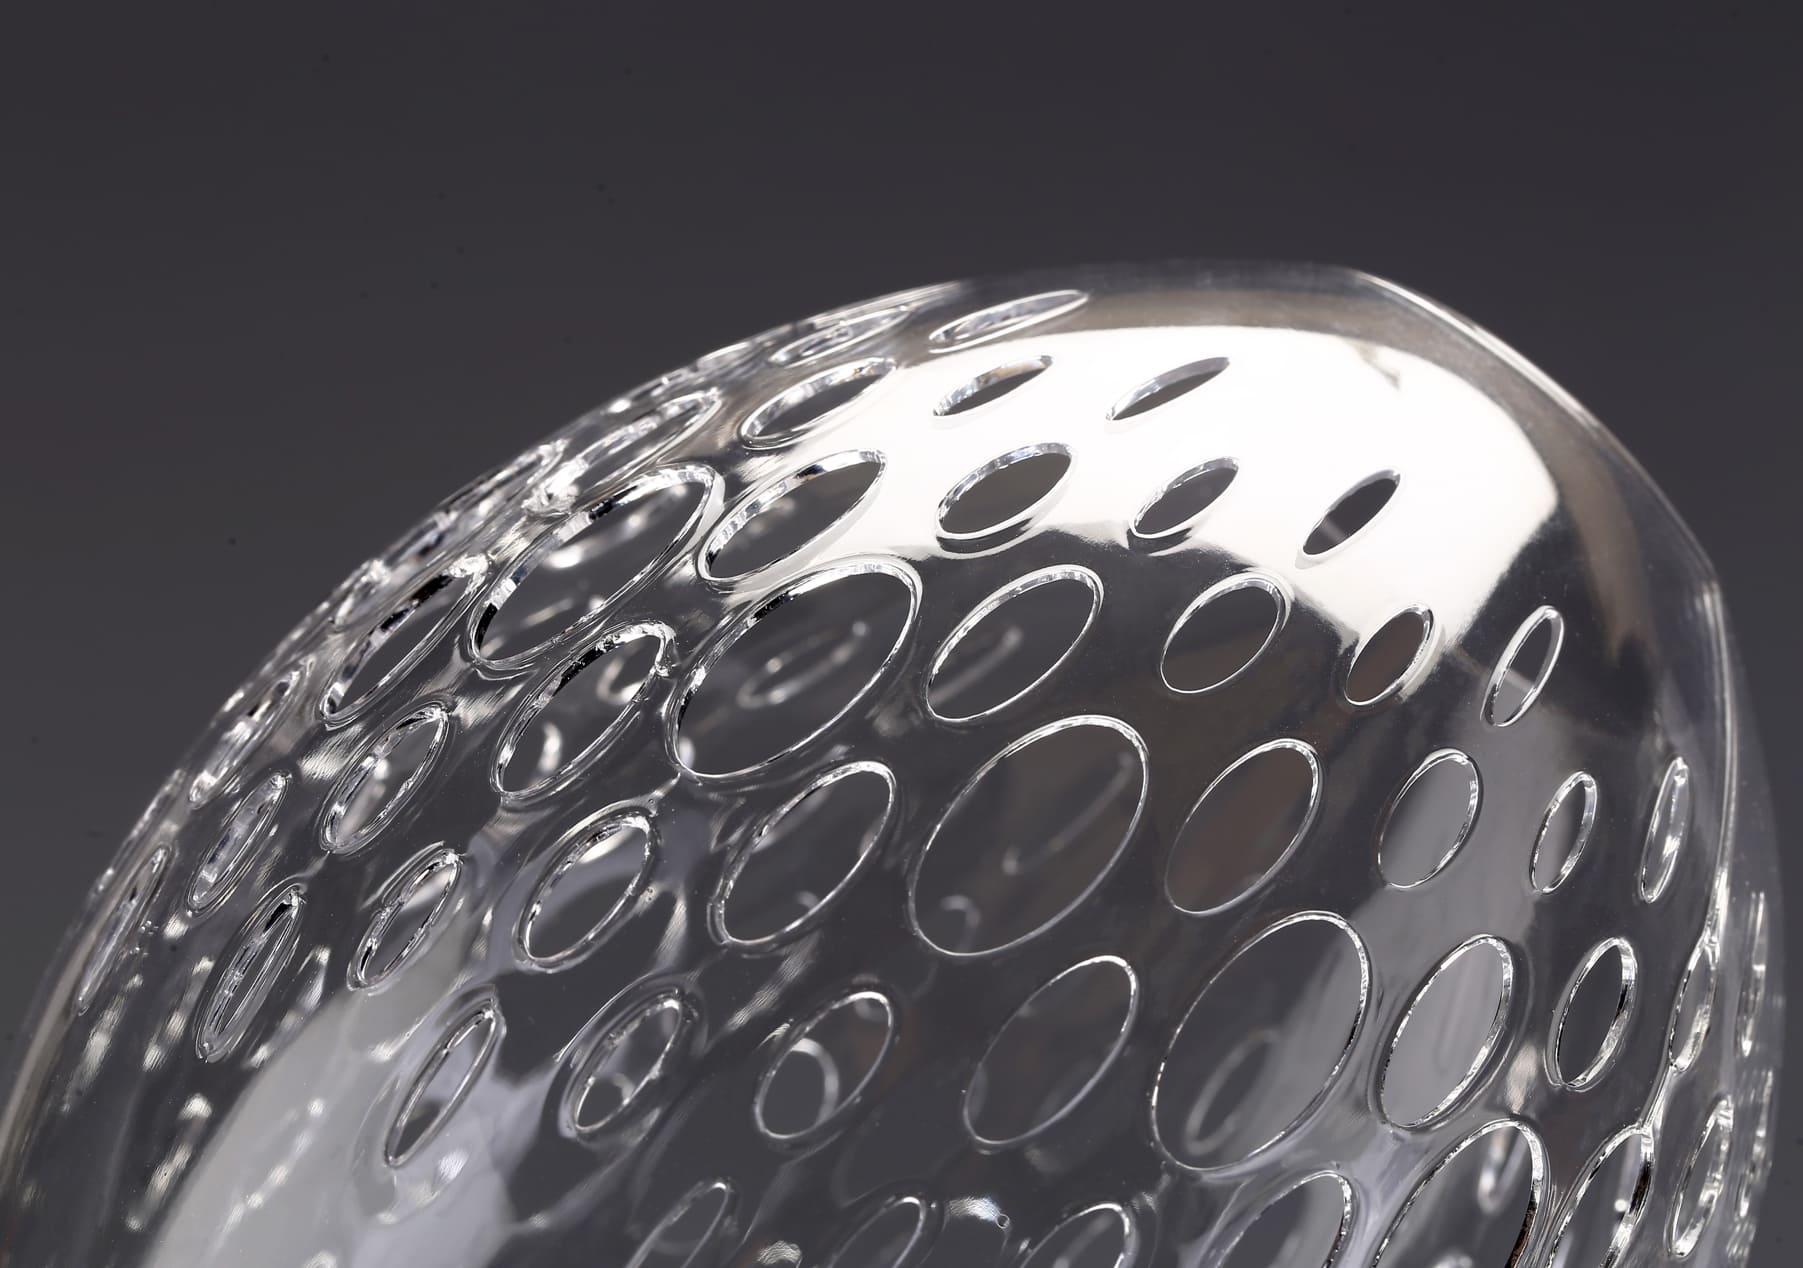
SLA 3D Printing, on the other hand, was the first 3D printing technology to be commercialized. It uses an ultraviolet laser that moves point to point across a vat of resin, curing and solidifying the material layer by layer. SLA resin part is known for its exceptional detail, smooth surface finish, and high precision.

General Mechanical Properties of Resin 3D Print
Resin 3D prints are known for their fine details and smooth finish, but they also possess distinct mechanical properties that make them suitable for various applications. These properties include:
● Heat Deformation: Resin prints can soften or warp at high temperatures.
● Tensile Strength: They can withstand pulling forces to a certain extent before breaking.
● Elongation at Break: This indicates the print’s capacity to stretch, reflecting its ductility.
● Flexibility: Some resin prints can bend slightly, which allows them to absorb impacts or stresses without fracturing.
● Hardness: The surface of resin prints can resist scratches and minor impacts, contributing to their durability.
DLP and SLA 3D Printing Services at 3DSPRO
At 3DSPRO, we specialize in delivering top-tier DLP (Digital Light Processing) and SLA (Stereolithography) 3D printing services. Our commitment is to transform your digital designs into high-quality resin 3D prints with precision and speed.
Ordering Resin 3D Prints at 3DSPRO
1. Upload Your Design: Provide us with your 3D model file in the accepted formats.
2. Select Your Technology: Choose between DLP for its rapid layer curing or SLA for intricate details and smooth finishes.
3. Material Selection: Pick from a diverse range of photopolymer resins to match your project’s requirements.
4. Customization: Choose our 3D Plus™ (post-processing) services to enhance your parts, such as fine sanding, spray painting, and tapping/threading.
5. Instant Quote: Receive an immediate cost estimation for your print job.
6. Production: Our experts will take over, ensuring your design is printed with the utmost fidelity.
7. Delivery: Your resin 3D prints will arrive swiftly, ready for any post-processing you may have in mind.
Whether you’re prototyping or looking for end-use parts, 3DSPRO provides the expertise and resources to bring your ideas to life!

 0
0


COMMENTS
- Be the first to share your thoughts!