 English
  日本語
日本語  Deutsch


Small details can make a big difference in 3D printed parts. A tiny logo can improve branding, a thin rib can add support, a small hole can allow assembly, and fine text can identify a component. But these features are also the ones most likely to fail. In 3D printing, the machine, material, and design all need to work together, and small features often sit right at the edge of what the process can handle.
When a part looks fine on screen but loses its sharp edges, tiny text, or delicate geometry after printing, the issue is usually not random. It is often caused by a mix of design limits, machine resolution, material behavior, and post-processing. Understanding these limits helps avoid wasted prints and makes it easier to design parts that actually come out the way you expect.
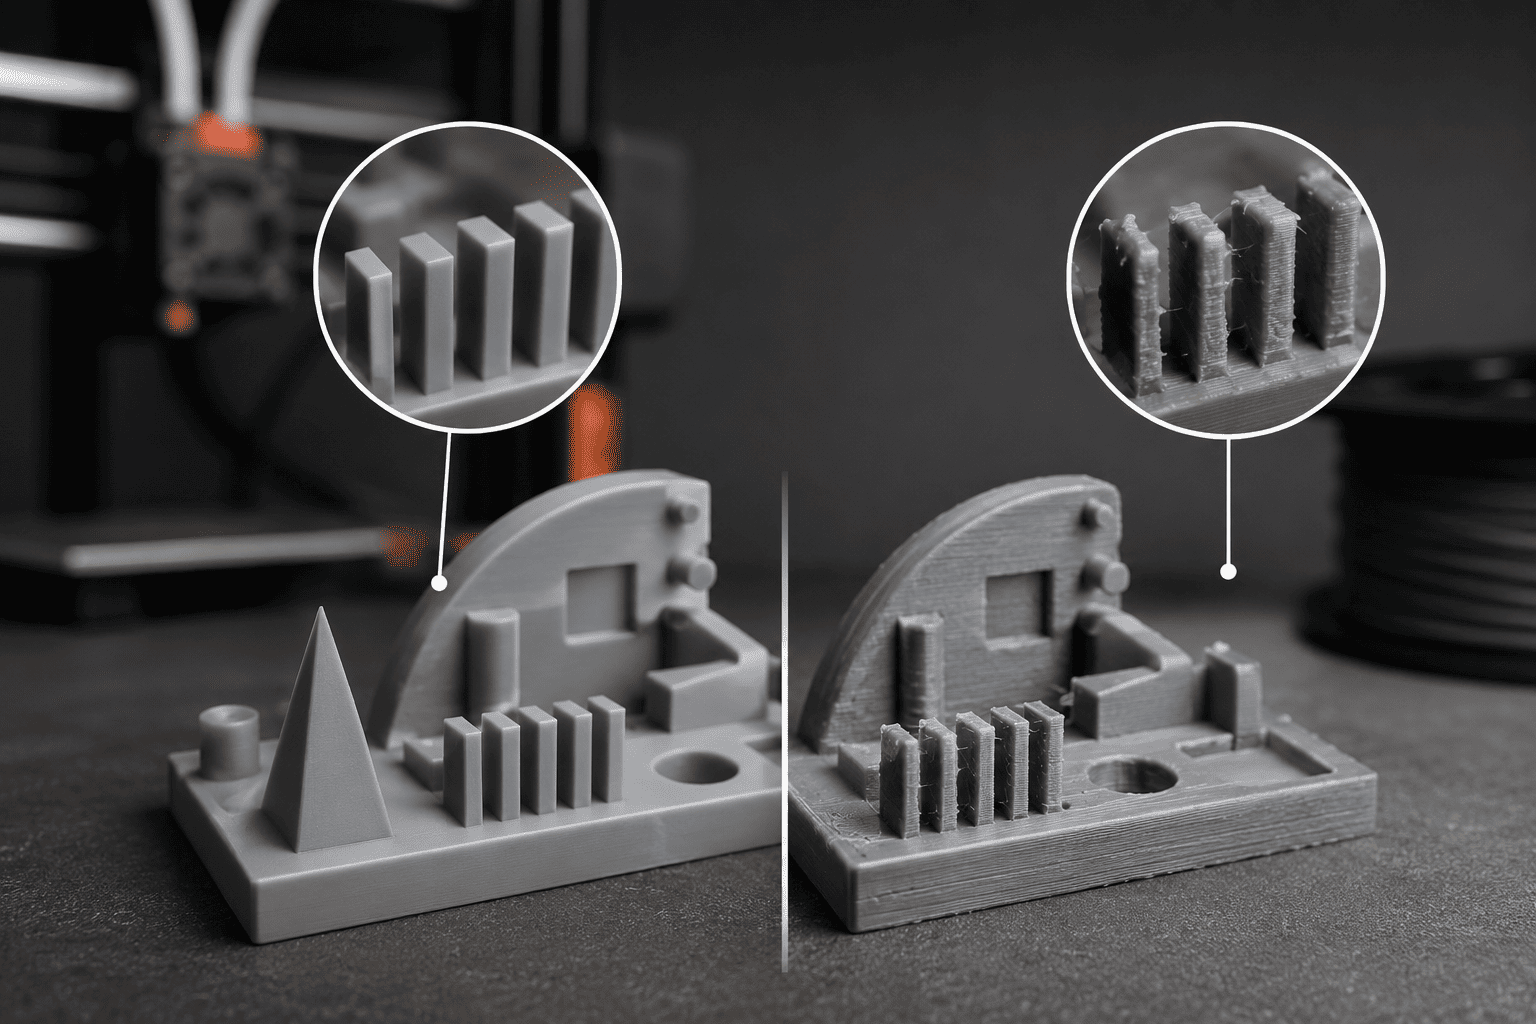
AI Generated Image
Examples of Small Details in 3D Printing
Small details are the tiny features that give a 3D printed part its function, shape, or visual finish. These features are often the first to fail when a model is too delicate for the printing process.
|
Type of Small Detail |
Example |
Function |
|
Tiny text and numbers |
Serial numbers, labels, part codes |
Helps with identification and branding |
|
Thin walls |
Lightweight housings, covers, ribs |
Affects strength and print success |
|
Small holes |
Screw holes, ventilation holes, alignment holes |
Needed for assembly and function |
|
Fine edges and corners |
Sharp corners, pointed tips, narrow tabs |
Often lose definition during printing |
|
Surface textures |
Logos, patterns, grip textures |
Important for appearance and tactile feel |
|
Delicate internal features |
Channels, slots, clips, snap-fits |
Critical for mechanical performance |
These details may look simple in CAD, but they can be difficult to reproduce accurately on a real printer. The smaller the feature, the more likely it is to blur, warp, merge, or break during printing.
Why Small Details Are Tricky to Print
The main reason small details fail is that 3D printing is always limited by physical resolution. A printer can only place material in a certain way, at a certain size, and with a certain level of accuracy. If the feature is too close to the printer’s minimum capability, it may come out distorted, rounded, fused, or incomplete.
Layer height is one of the biggest factors. Even when the printer is working well, each layer has thickness. Very fine details may end up blending into nearby surfaces if they are smaller than a single layer or too close to it. Nozzle size matters too in filament-based printing. A larger nozzle cannot reproduce very fine lines as cleanly as a smaller one.
Material behavior also plays a role. Some materials shrink slightly as they cool or cure. Others may flex, sag, or spread before they fully harden. That means a tiny protrusion or narrow wall can change shape during printing. In resin printing, small details may print more sharply than in FDM, but they can still be affected by light bleed, supports, or over-curing.
Orientation matters as well. A detail facing upward may print differently from the same detail facing sideways or downward. What looks like a simple feature in CAD may actually be a difficult overhang, bridge, or unsupported edge in the real print.
Common Reasons Small Details Fail
1. The design is too fine for the printer.
• Thin walls may be below the printer’s practical limit.
• Tiny text or narrow gaps can blur or merge together.
• Very small raised or engraved features may lose definition.
2. The print orientation is not ideal.
• Some details print well in one direction but fail in another.
• Overhangs and downward-facing features may need support.
• Small points or edges can sag or deform during printing.
3. The material is not a good match.
• Some materials shrink, warp, or soften more than others.
• Flexible materials may lose sharp detail.
• Brittle materials may capture detail well but break easily.
4. The 3D file has problems.
• Mesh errors can affect how the printer reads the model.
• Very thin geometry may not be processed correctly.
• Poorly prepared files can lead to missing or distorted features.
5. The part changes during printing or cleanup.
• Cooling, curing, or shrinking can alter fine details.
• Support removal may damage delicate edges.
• Sanding or finishing can erase small features.
How Different 3D Printing Technologies Handle Small Details
Different printing technologies handle small details in very different ways.
FDM 3D Printing
FDM is often the least precise for tiny features, especially when the details are very thin or highly intricate. It works by extruding melted filament, so the nozzle diameter and layer lines naturally limit detail quality. FDM is often a good choice for larger functional parts, but very fine text, sharp textures, and tiny holes may not print cleanly.
Resin 3D Printing
SLA, DLP, and LCD resin printing usually perform much better with small details. These technologies use light to cure liquid resin, which allows for smoother surfaces and finer geometry. They are often preferred for miniature models, jewelry prototypes, dental parts, and presentation pieces. Even so, they are not perfect. Small details can still soften if the settings are wrong or if support removal damages the surface.
SLS 3D Printing
SLS prints with powdered material and does not require supports in the same way as FDM or resin printing. This makes it useful for functional parts with complex shapes. However, very small raised details may appear less crisp because the powder and sintering process can slightly soften edges. It is strong and versatile, but not always the best option for extremely fine decorative features.
Metal 3D Printing
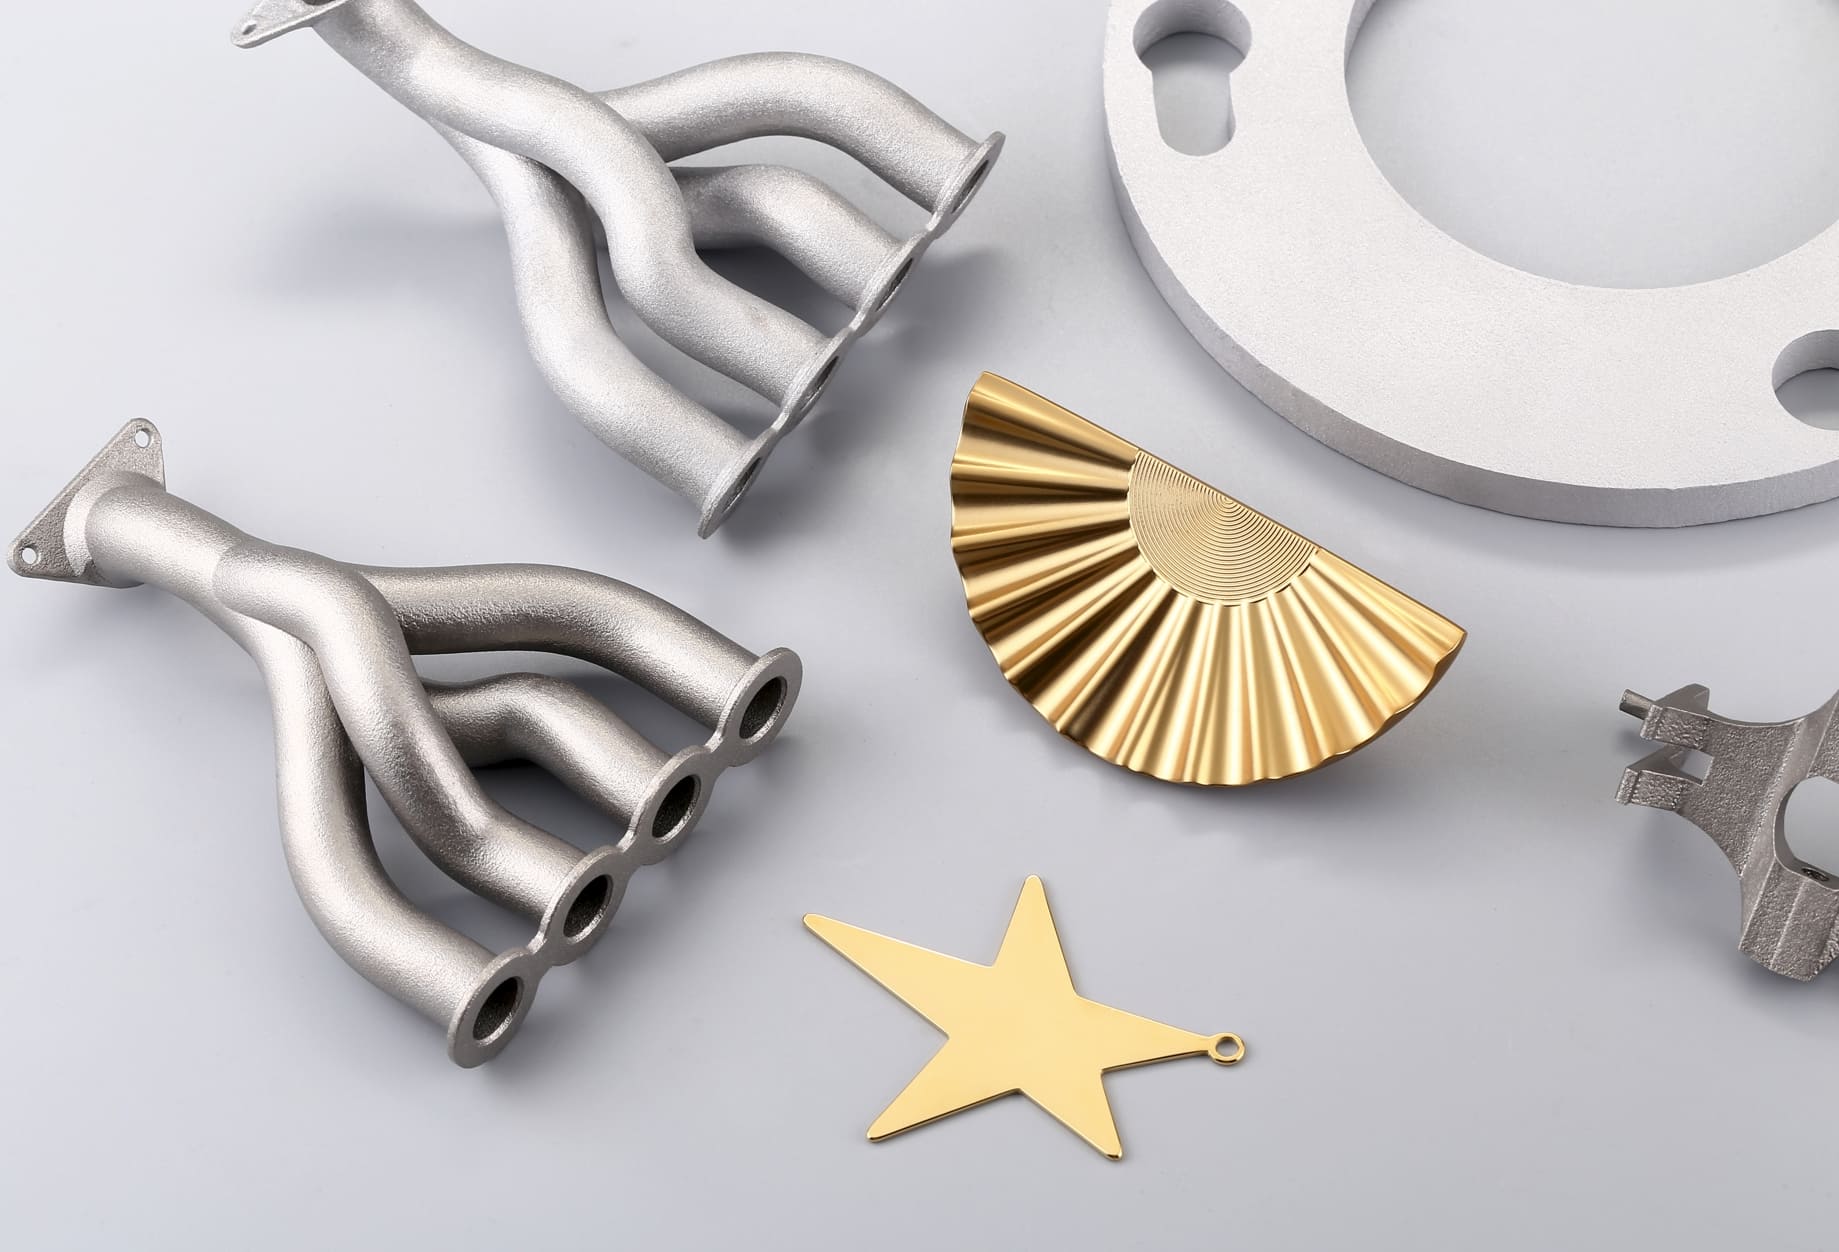
Metal 3D printing can produce detailed parts, but the process is more complex and often followed by machining or finishing. Small details may be affected by heat, support removal, or surface treatment. In many cases, metal printing is chosen for performance rather than ultra-fine surface sharpness.
How to Design Small Details That Print Better
The best way to avoid failed small details is to design them with the printing process in mind. Small changes in size, spacing, and shape can make a big difference.
|
Design Tip |
What to Do |
Why It Helps |
|
make details slightly larger. |
increase the thickness of thin walls, text, or tiny features |
larger features are easier for the printer to reproduce |
|
use bold text and deeper engraving |
avoid very thin fonts or shallow lettering |
improves readability after printing |
|
leave more space between features |
increase the gap between holes, lines, and fine elements |
prevents details from merging together |
|
soften sharp corners |
replace extreme points with small radii or rounded edges |
helps the printer form cleaner shapes |
|
design for the printing method |
match the model to FDM, resin, SLS, or metal printing |
each process has different resolution limits |
|
keep small details in protected areas |
place delicate features where they will not need heavy supports or sanding |
reduces the chance of damage during finishing |
|
test critical features first |
print a small sample or section before full production |
confirms whether the detail size is practical |
Post-Processing Can Damage Small Details
Even when a small detail prints successfully, post-processing can still ruin it.
Support removal is one of the biggest risks. Tiny features are often near support points, and pulling supports away too aggressively can chip edges or tear away surface texture. Sanding can also remove delicate text, soften corners, and erase sharp lines. A part that looked crisp straight off the printer may become much less defined after finishing.
Cleaning and curing can create problems, too. Resin parts that are over-cured may become more brittle or slightly distorted. Harsh cleaning methods can weaken narrow sections or damage fine surfaces. In some cases, repeated handling is enough to deform fragile details.
This is why post-processing should be planned alongside the design itself. If a part needs a smooth, polished finish, it may be wise to exaggerate small details slightly so they survive finishing. If the part needs readable text or precision features, those features should be placed where they will not be sanded, clipped, or exposed to aggressive cleanup.
 0
0


COMMENTS
- Be the first to share your thoughts!