Tools for Painting 3D Prints
A successful paint job starts with the right equipment. Investing in quality tools ensures consistent, professional results:
• Sandpapers and Files: Fine‑grit (400–800) sandpapers smooth layer lines; medium‑grit (200–400) helps remove support marks. Needle files refine intricate details.
• Surface Primer: A plastic‑ or metal‑specific primer promotes paint adhesion and hides small imperfections. Look for spray primers with fine atomization for even coats.
Paint Types
• Acrylic Enamel: Fast‑drying, durable, and available in matte, satin, and gloss.
• Spray Paints: Ideal for large or complex shapes; delivers uniform coverage.
• Airbrush Paints: Provide precise control and smooth gradations for high‑detail work.
Applicators
• Brushes: Synthetic brushes in sizes 00–2 for detail; 4–8 for broad coverage.
• Foam Brushes and Sponges: Great for block‑color fills and texture effects.
• Airbrush and Compressor: Delivers the most even, professional finish, especially on curved or organic surfaces.
Protective Gear
Nitrile gloves, respirator mask (rated N95 or better), and safety glasses keep you safe from solvents and particulates.
Finishing Coats
UV‑resistant clear coats (spray or brush‑on) seal and protect against scratches, moisture, and fading.
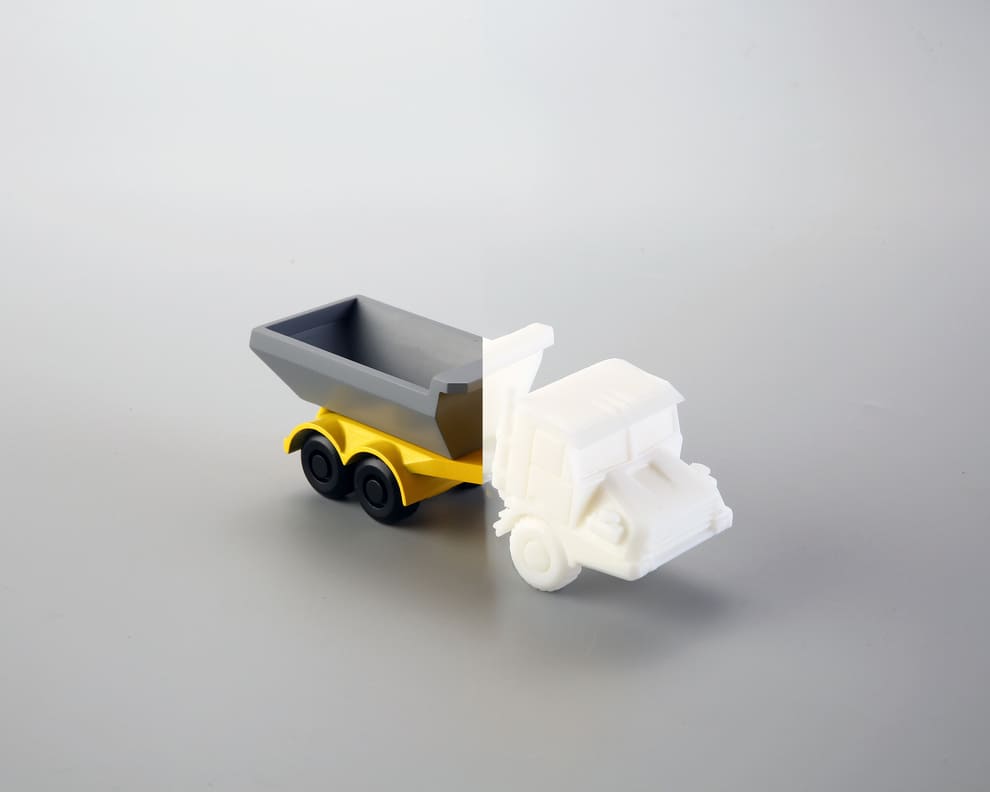
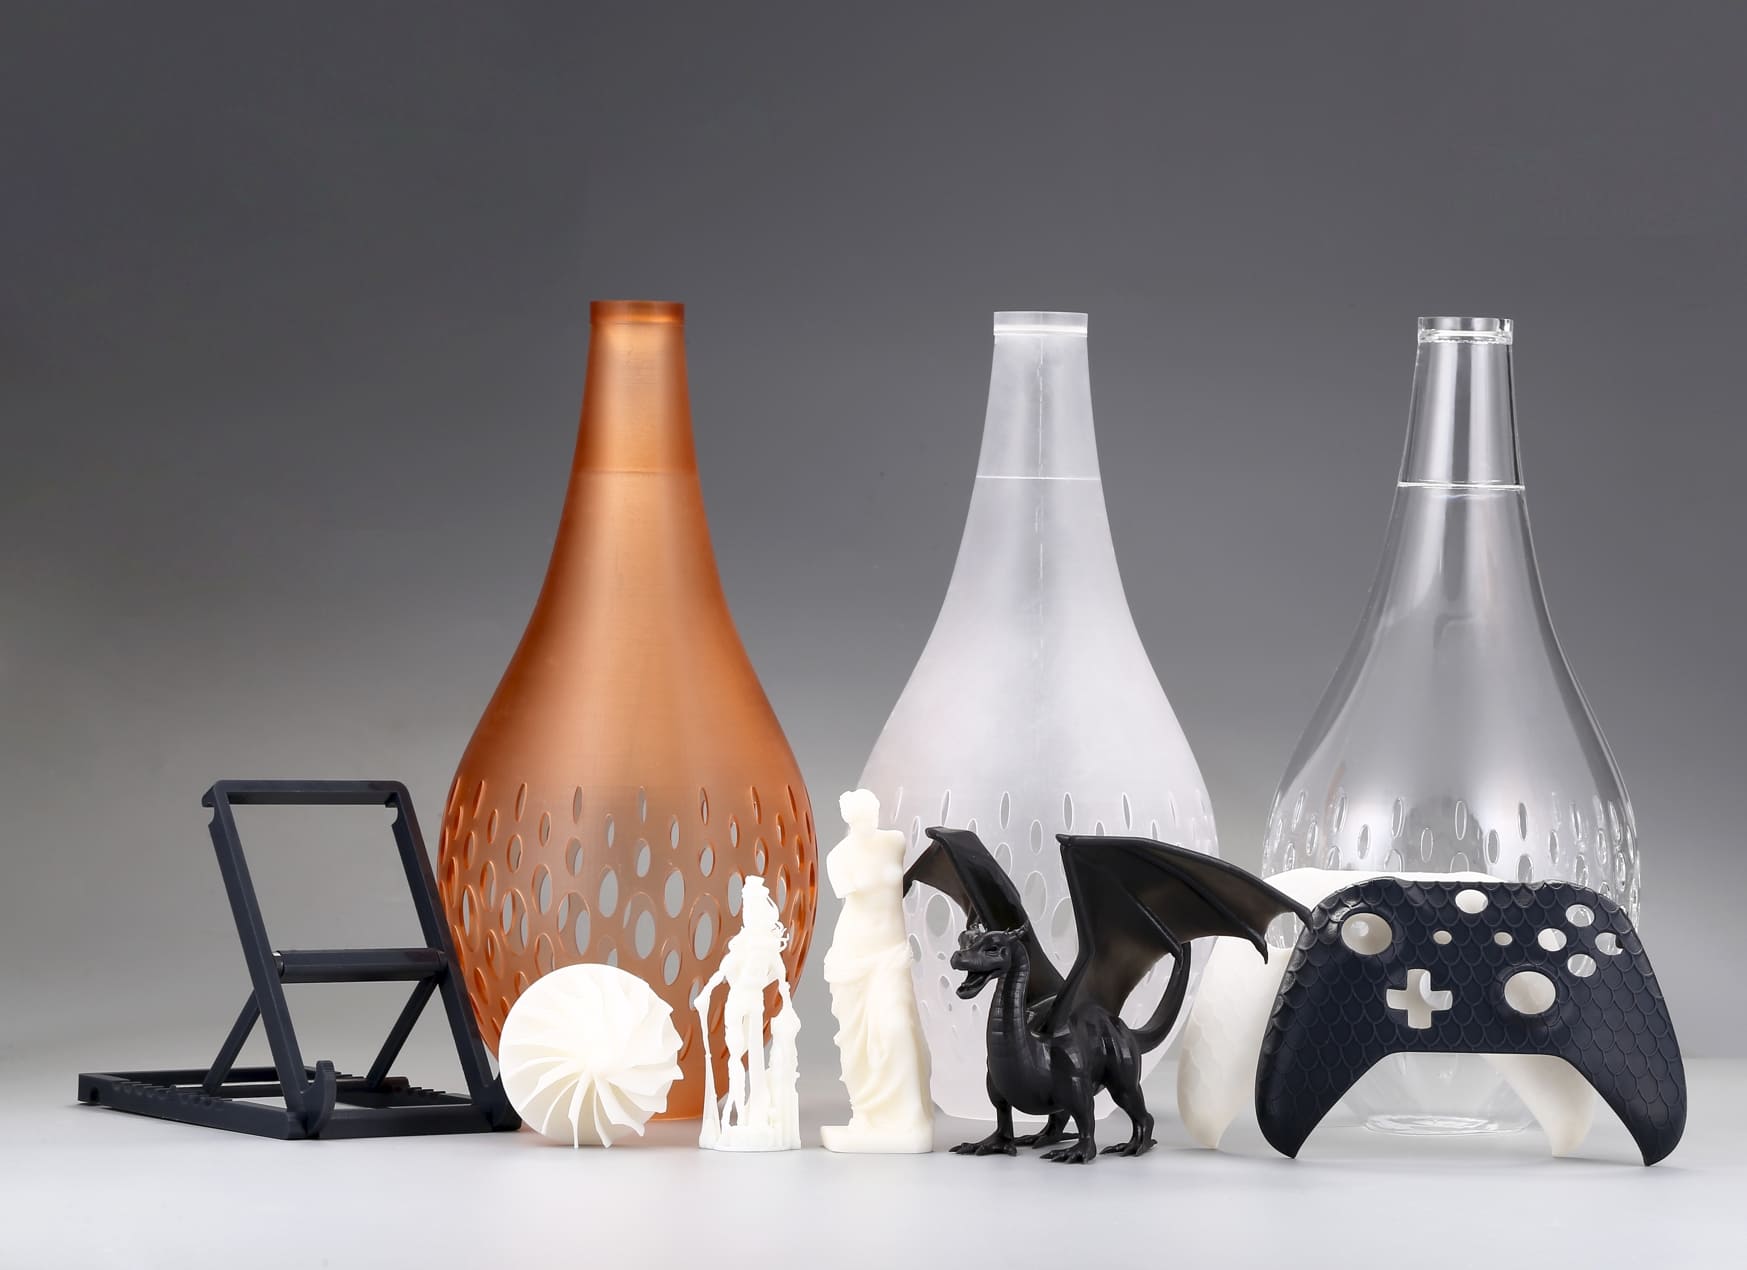
Photo Copyright © 3DSPRO. All rights reserved.
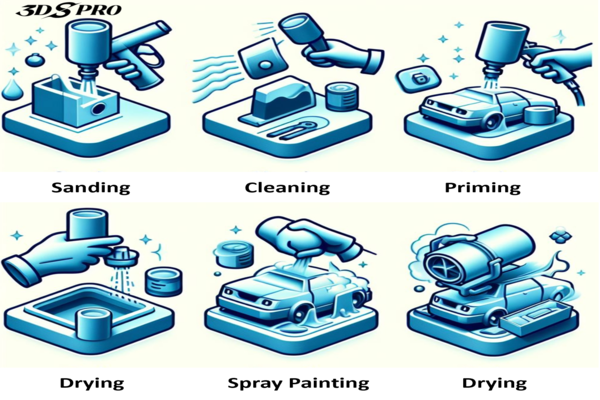
Preparing Your 3D Print for Painting
1. Support Removal and Cleaning
Carefully trim away support structures with flush cutters. Use a soft brush and isopropyl alcohol (70–90%) to remove dust, oil, and loose powder.
2. Surface Smoothing
• Sanding: Begin with 200‑grit to level deep grooves, then progress to 800‑grit for a polished surface.
• Filler and Putty: For resin and filament prints, use a nylon or epoxy putty to fill gaps and pinch points. Sand again once cured.
3. Degreasing
Wipe the entire part with a lint‑free cloth dampened in isopropyl alcohol. This step removes silicone mold release agents, skin oils, and leftover dust.
4. Masking
Use painter’s tape or liquid mask to protect areas you don’t want painted. Precision masking yields crisp lines for multi‑color designs.
5. Priming
• Application: Hold the can 8–12 inches away; spray in light, overlapping passes.
• Drying: Allow 15–20 minutes between coats; two to three thin layers usually suffice.

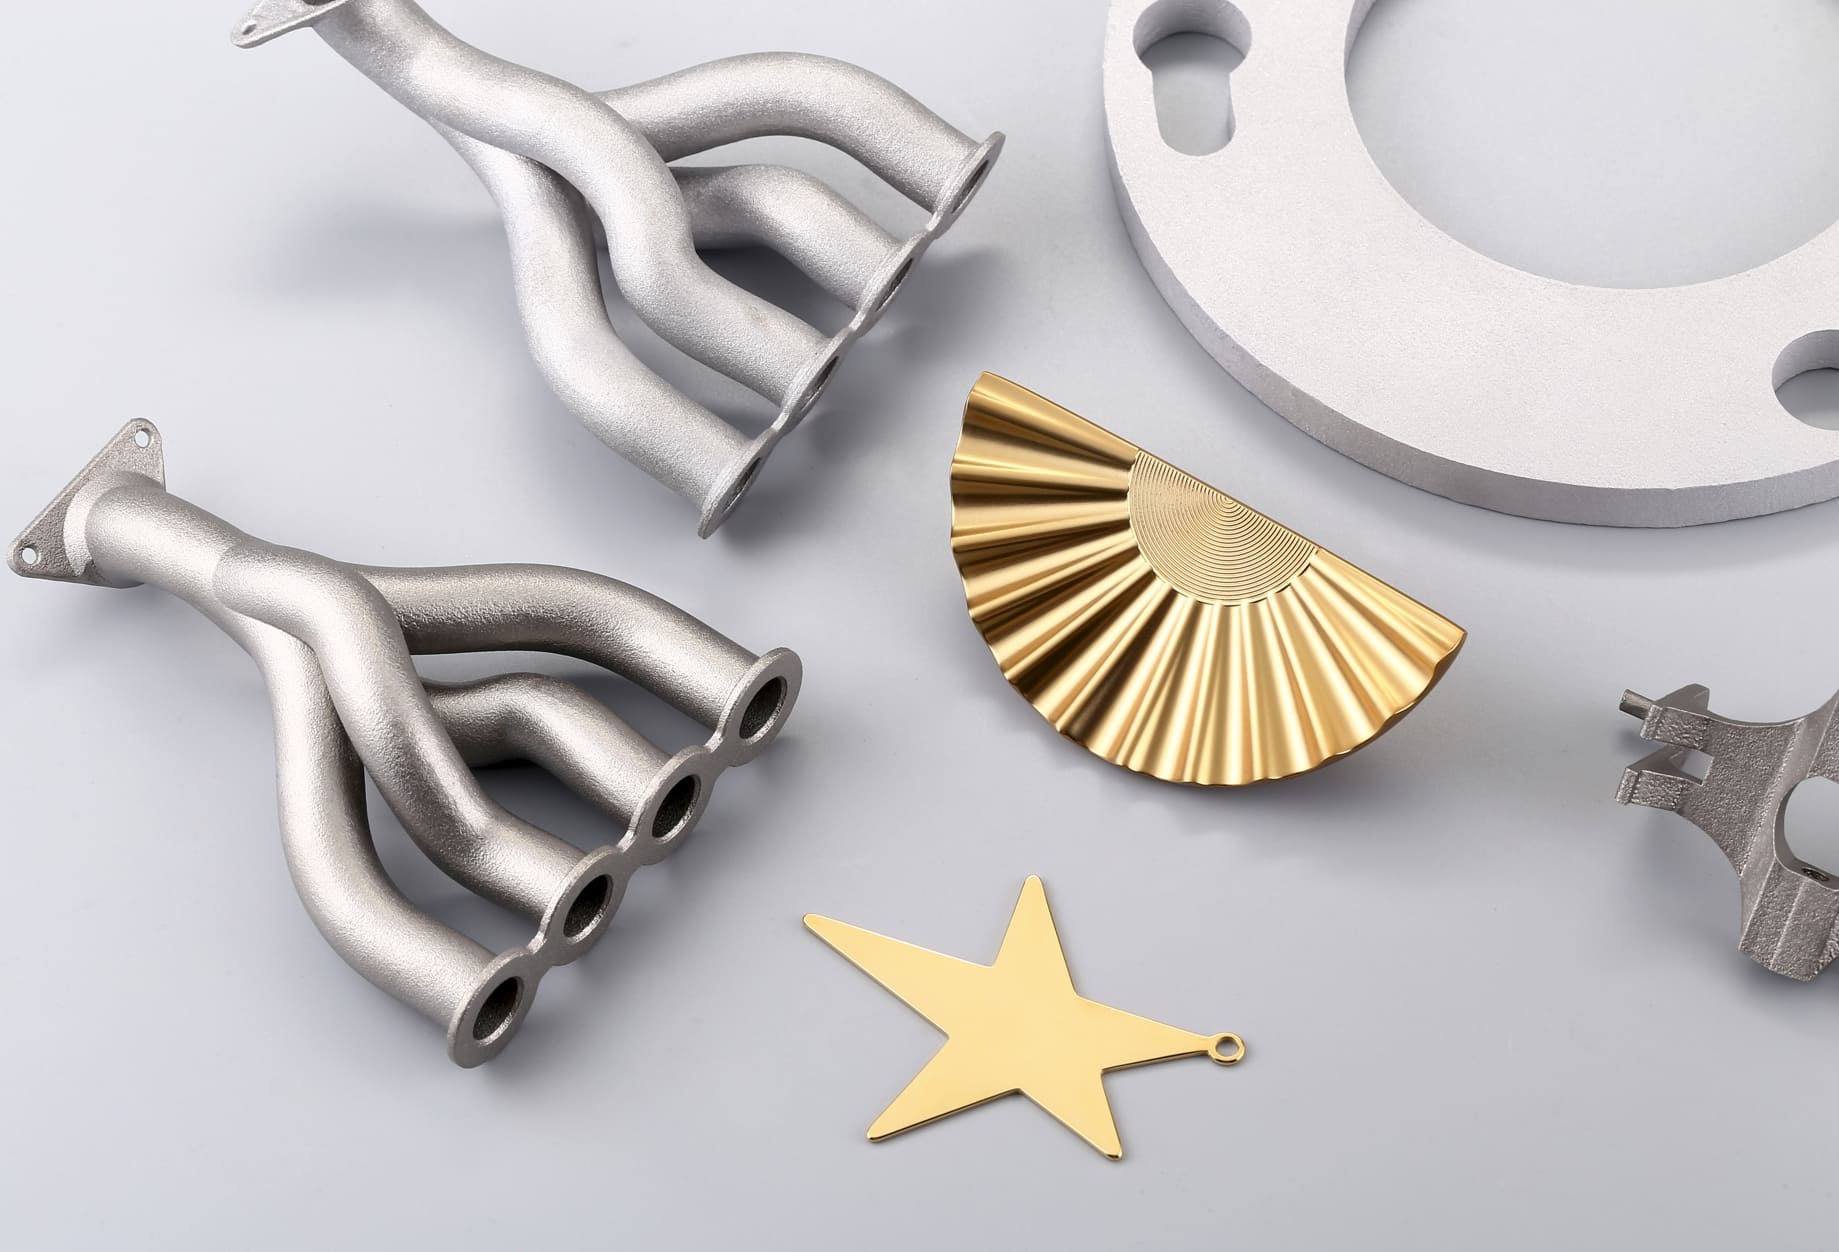
Photo Copyright © 3DSPRO. All rights reserved.
Step-by-Step Guide to Painting 3D Prints
1. Base Coat Application (First Pass)
Shake paint or primer for 2–3 minutes.
Spray or airbrush in thin, even layers—avoid drips by applying multiple passes.
Allow 10–15 minutes drying time between coats.
2. Color Build‑Up (Layering)
Start with mid‑tone base colors, then add highlights and shadows.
For brush applications, use a dry‑brushing technique: remove excess paint, then gently drag bristles across raised areas to highlight textures.
For airbrushing, adjust pressure (15–25 psi) and nozzle size (0.2–0.3 mm) to fine‑tune coverage.
3. Detail Work
Fine Brushes (Sizes 00–1): Paint edges, recessed details, or small components.
Stencils and Masking: Create geometric patterns or logos.
Weathering and Effects: Use sponges or toothpicks to dab on rust, grime, or metallic abrasion.
4. Intermediate Sealing
Apply a thin, clear coat after color work to lock in layers and provide a smooth surface for further detailing.
5. Final Topcoat
Choose matte, satin, or gloss based on the desired look.
Apply two thin coats, waiting 15 minutes between sprays.
Let cure for 24–48 hours before handling.
6. Post‑Cure Inspection
Carefully inspect under diffuse lighting to catch any missed spots or runs. Touch up as needed, then apply one last protective seal.
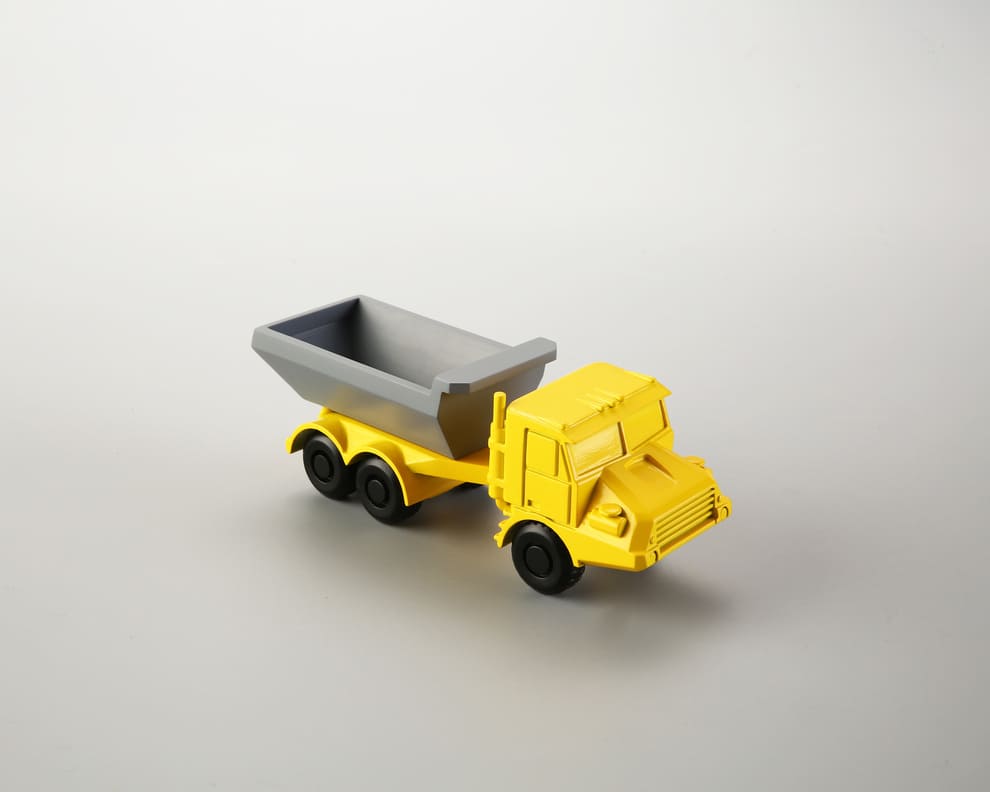
Photo Copyright © 3DSPRO. All rights reserved.
Benefits of Painted 3D Prints
• Enhanced Aesthetics: Brings designs to life with vivid colors, gradients, and textures that raw prints cannot achieve.
• Surface Protection: Paint and clear coats guard against UV degradation, abrasion, and moisture ingress, extending the part’s service life.
• Branding and Customization: Custom color schemes, logos, and patterns reinforce brand identity or provide personalized touches for end users.
• Functional Indicators: Use color‑coded zones to denote wear areas, assembly instructions, or safety warnings on industrial components.
• Value Addition: Professionally painted parts command higher market value, whether for prototypes, presentation models, or final‑use products.
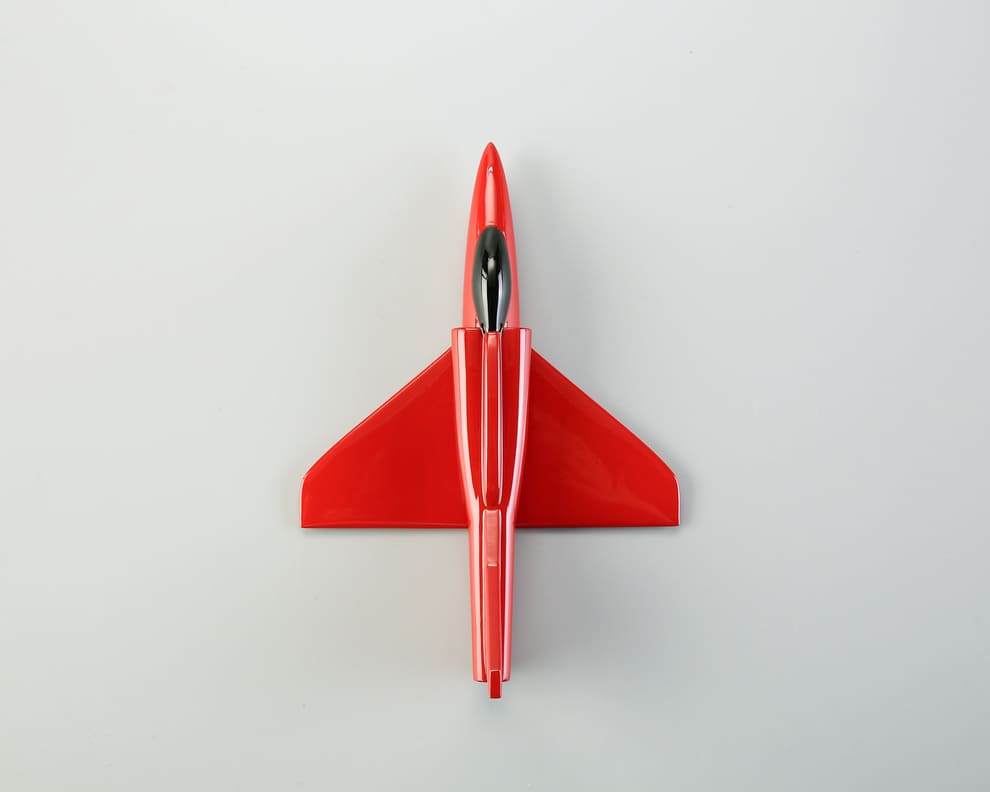
Photo Copyright © 3DSPRO. All rights reserved.
Troubleshooting Common Painting Issues
|
Issue |
Cause |
Solution |
|
Paint Runs and Sags |
Too‑thick coats or low spray distance |
Apply thinner layers; increase spray distance by 2–4 inches. |
|
Peeling/Flaking |
Inadequate priming or surface contamination |
Re‑clean surface; sand; apply appropriate primer. |
|
Uneven Coverage |
Inconsistent spray motion |
Maintain steady, overlapping strokes; use turntable for rotation. |
|
Dust Inclusions |
Painting in dusty environment |
Work in a clean booth or under a fan; wipe part before priming. |
|
Orange Peel Texture |
Improper air pressure or paint viscosity |
Adjust compressor to recommended PSI; thin paint per manufacturer. |
|
Blushing (Foggy Finish) |
High humidity during drying |
Move to low‑humidity area; allow extra drying time. |
Proactive troubleshooting and incremental adjustments save time and materials, ensuring your next paint session proceeds smoothly.
3D Prints Painting Services at 3DSPRO
For businesses or projects requiring consistent, high‑volume finishes, 3DSPRO’s 3D Plus™ Services offer turnkey surface finishing solutions:
• Materials: Resin, engineering plastics, and metal parts
• Capabilities: Single‑part prototypes to large batch runs
• Finishes: Custom color matching, matte, satin, and gloss
• Turnaround: Rapid processing with quality control at every stage
Quality Assurance
ISO‑standard clean rooms, calibrated spraying booths, and automated inspection systems ensure uniform coating thickness and adhesion.
Value‑Added Options
Primer application, multi‑stage painting, texturing, and UV‑cured clear coats for maximum durability.
Leverage 3DSPRO’s expertise to outsource your painting process and focus on design innovation. With 3D Plus™ Services, you get factory‑grade finishes without investing in equipment or personnel. Contact us today to discuss your next project and discover how our spray painting services for resin, plastic, and metal parts can bring your 3D prints to life.
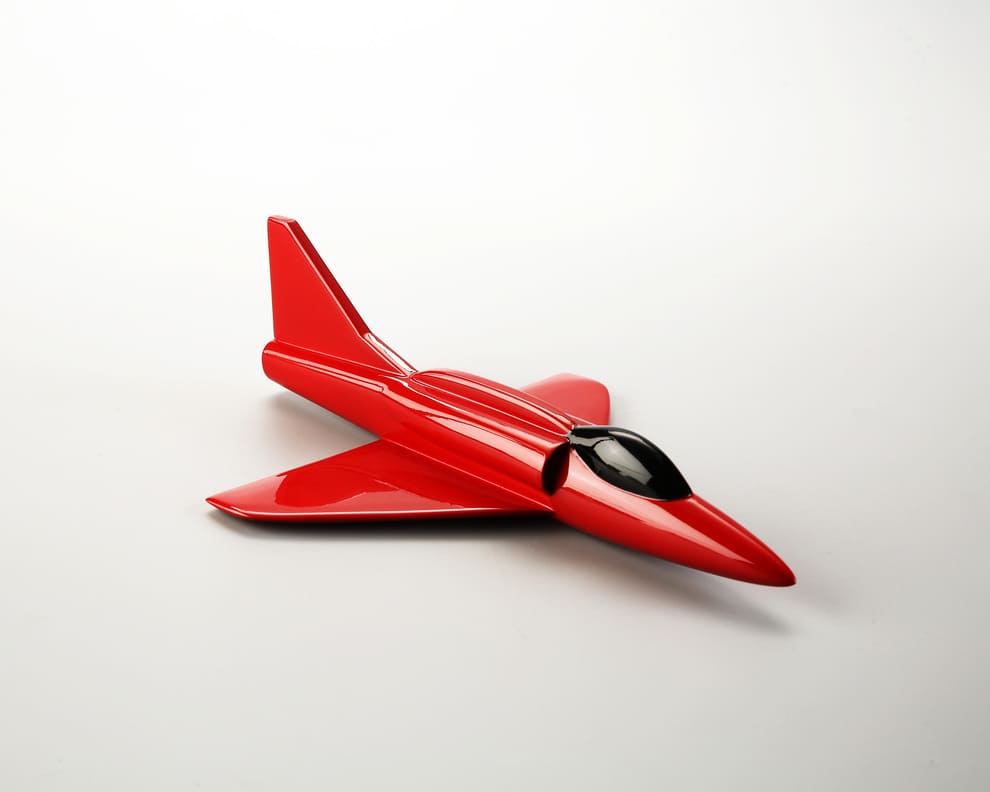
Photo Copyright © 3DSPRO. All rights reserved.
 1
1


COMMENTS
- Be the first to share your thoughts!