3D Plus™ Solutions at 3DSPRO
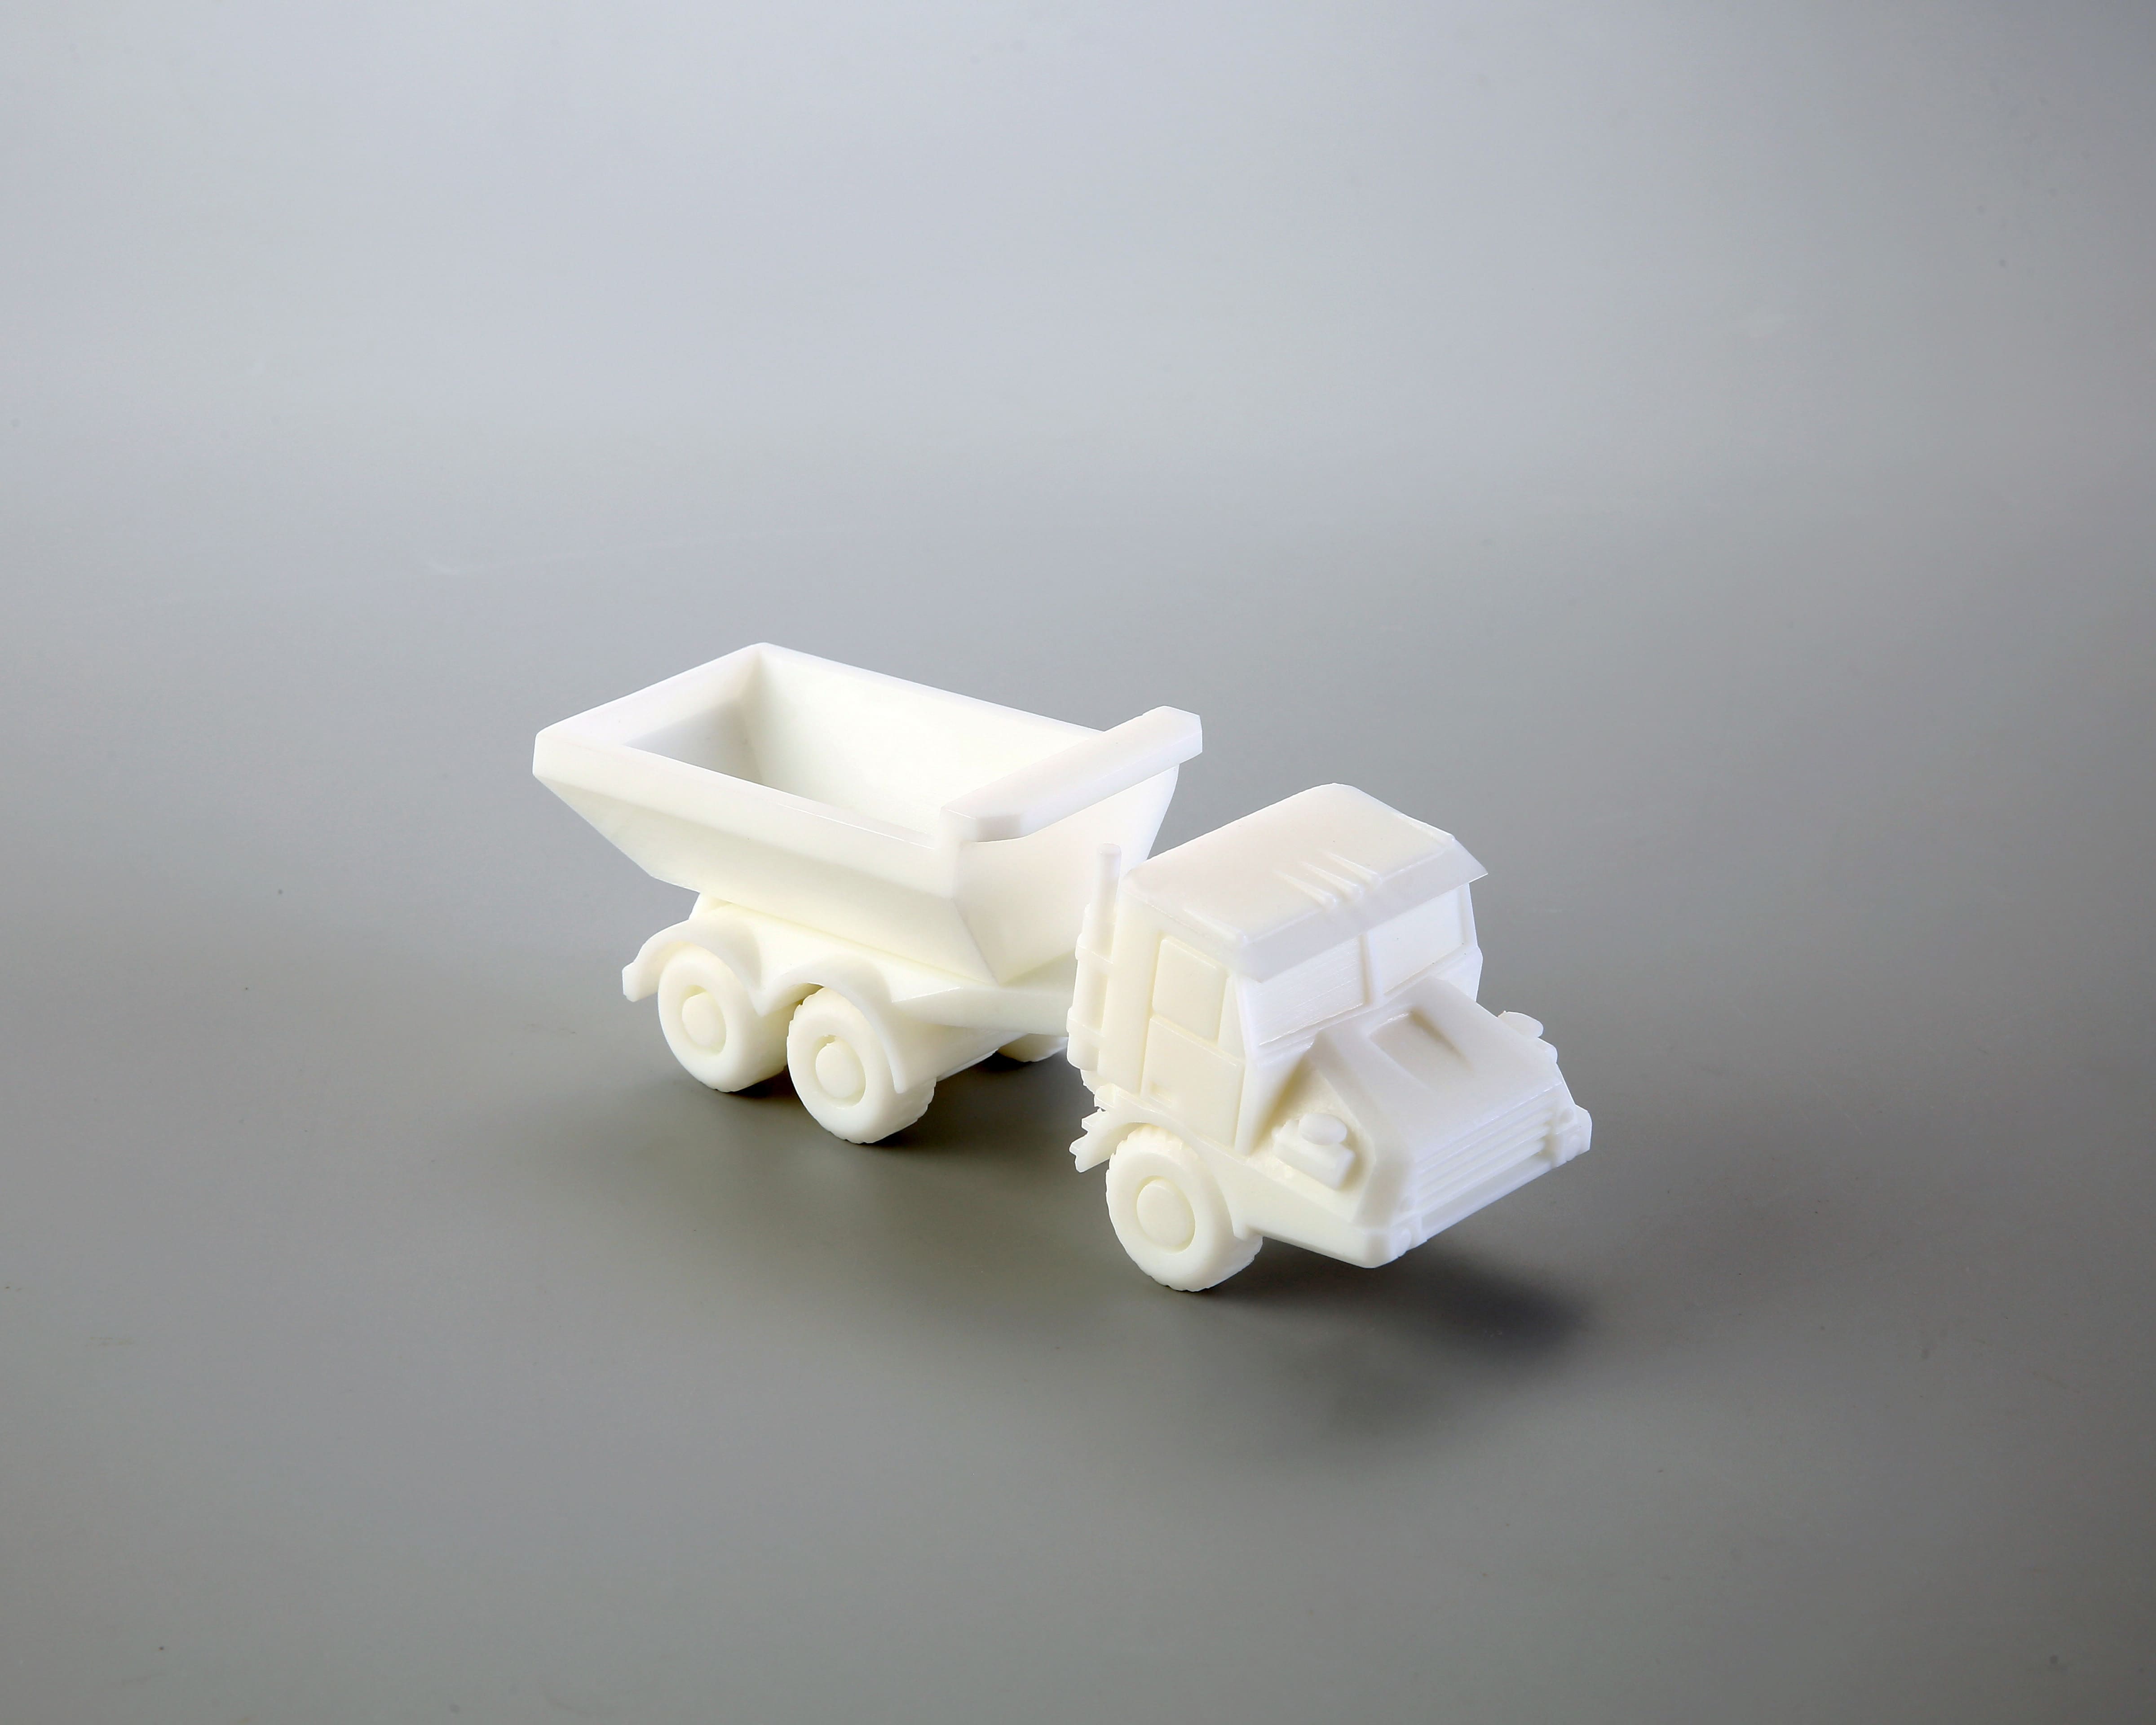
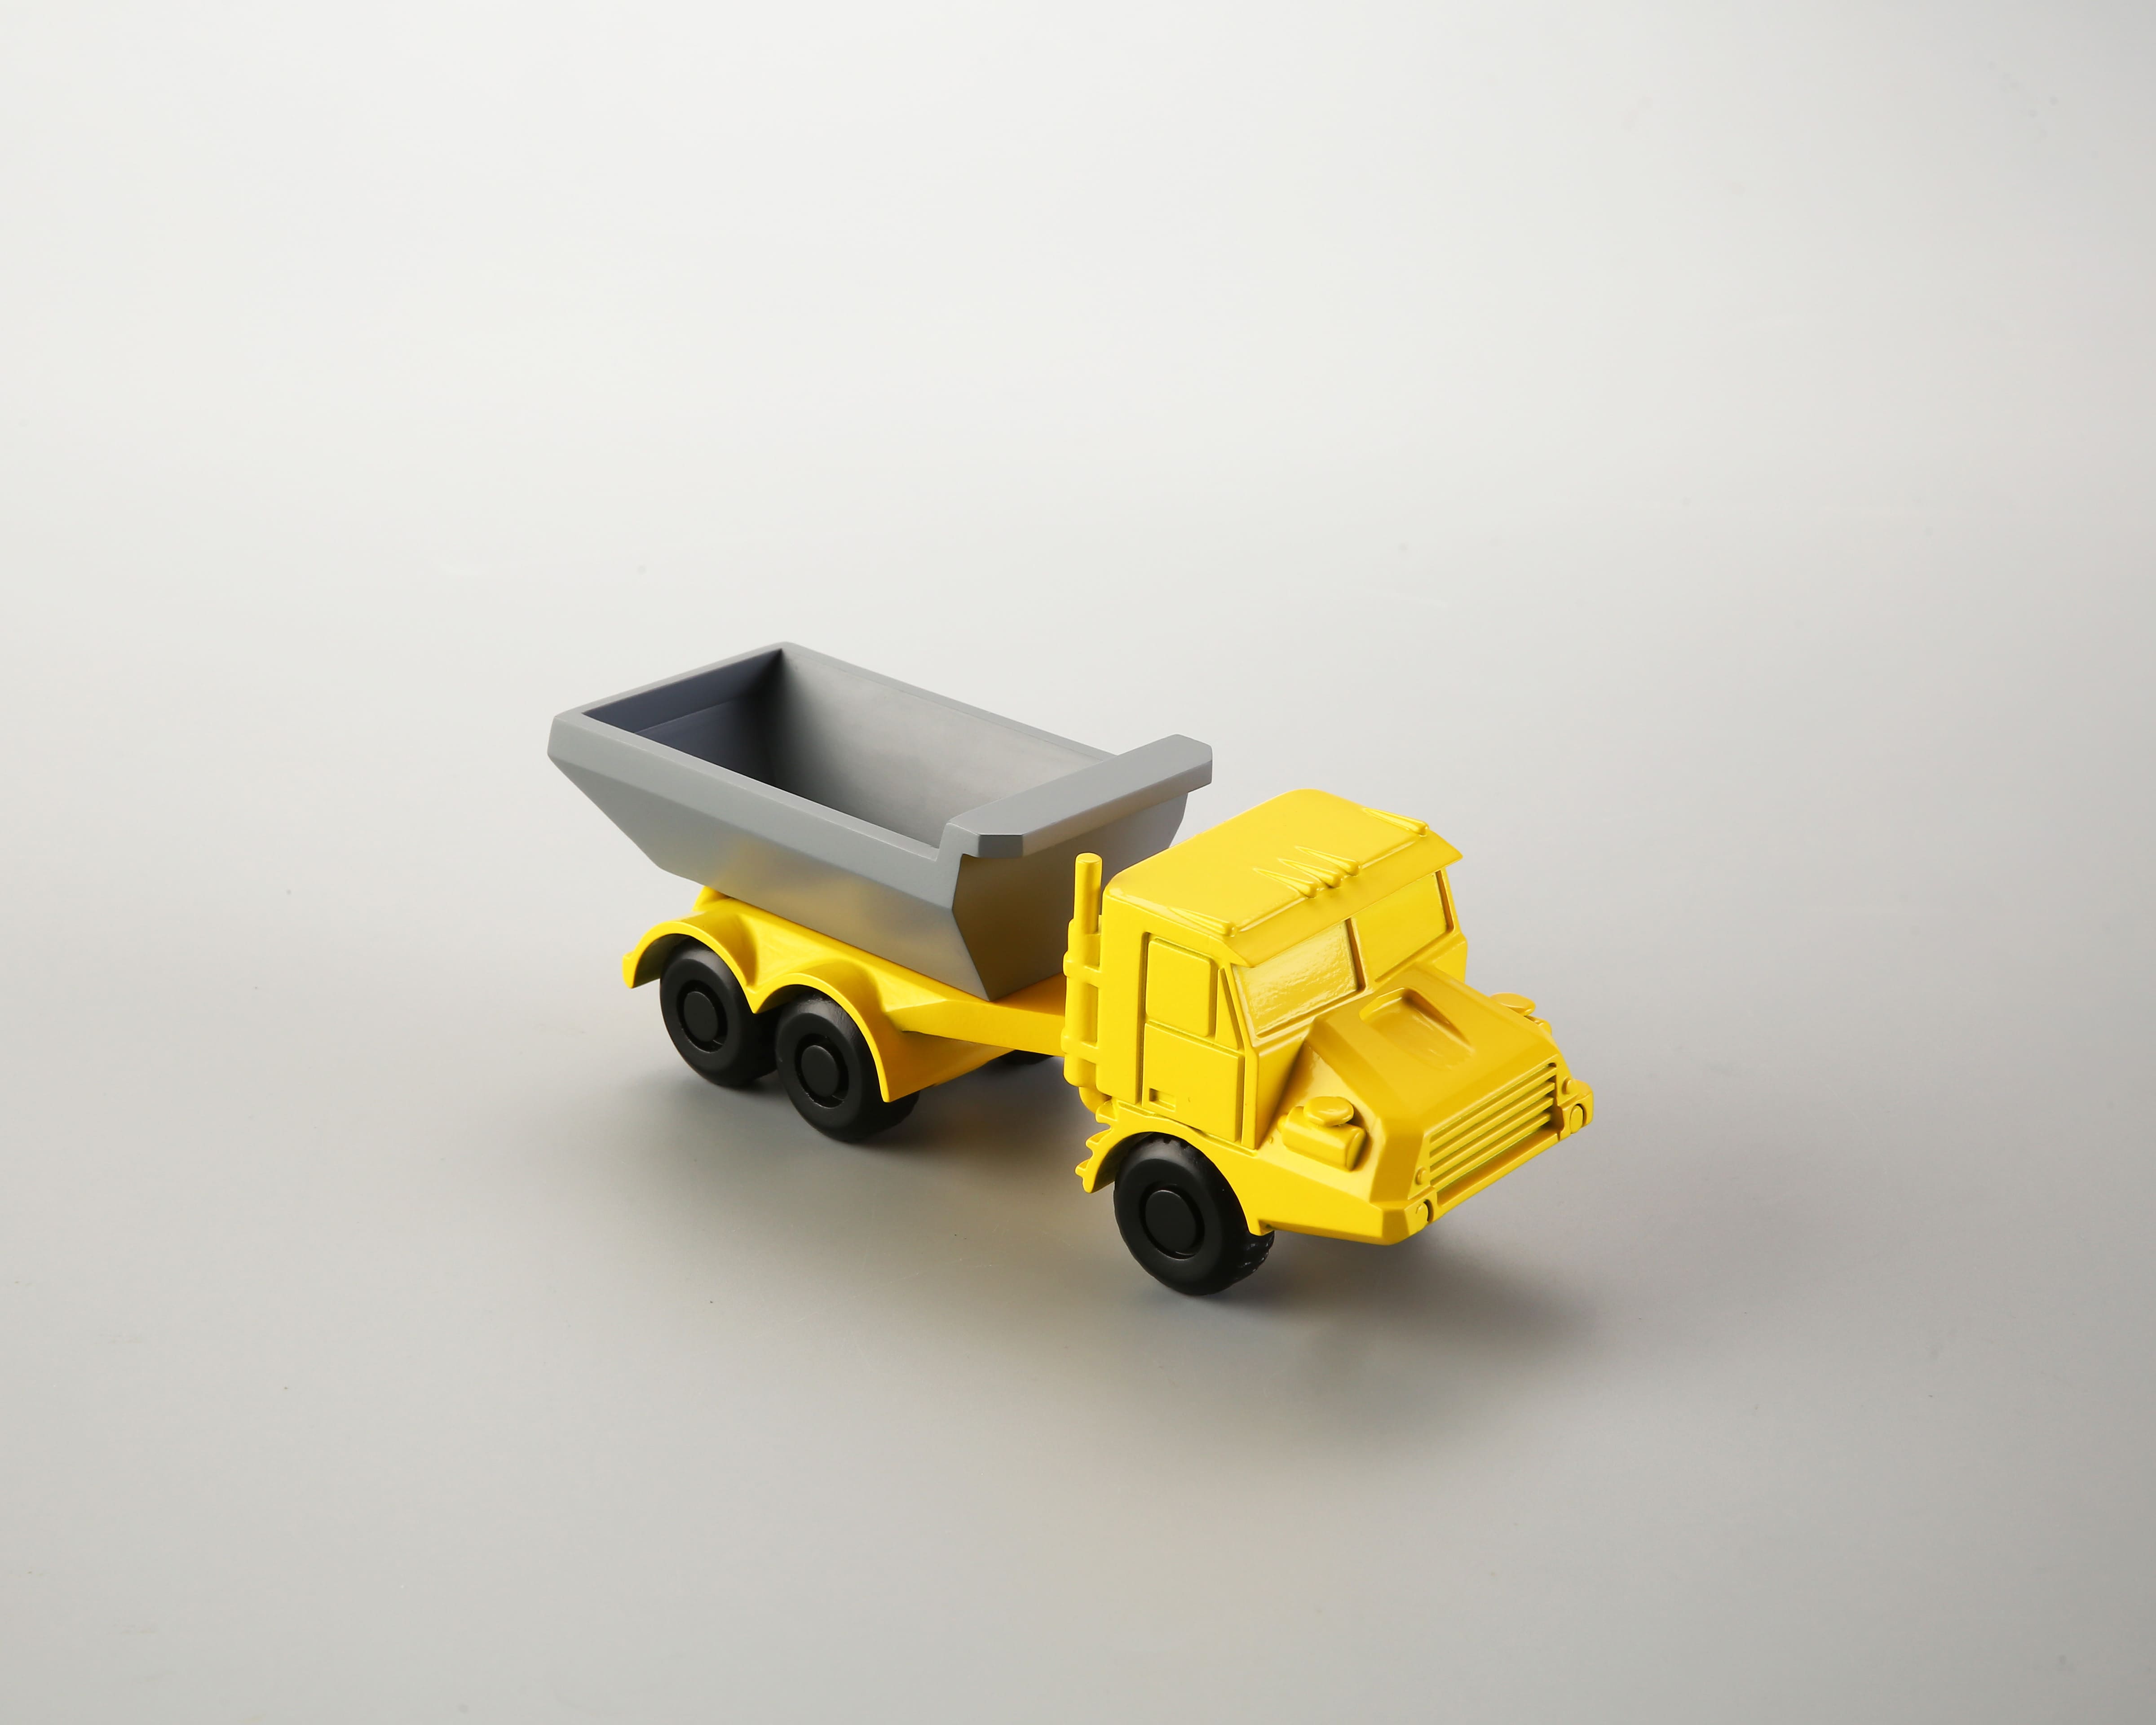
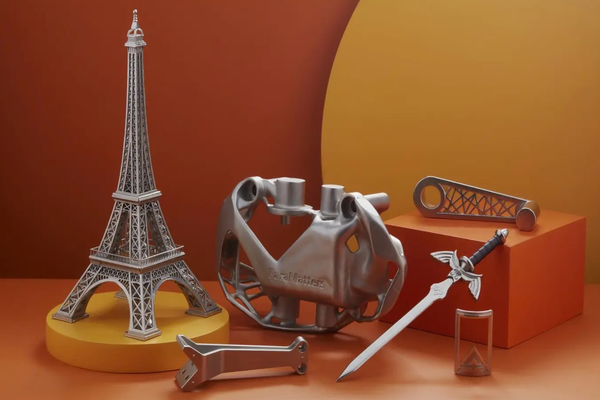
We offer 3D Plus™ solutions to take your 3D printed creations to the next level. 3D Plus™ solutions are the post-processing services to enhance, refine, and elevate your 3D printed parts to professional-grade finishes. Whether you need spray painting, fine sanding, tapping/threading, dyeing, vapor smoothing, flocking, tumbling, bead blasting, electroplating, electrocoating, fine polishing, anodizing, or more, 3DSPRO has you covered. Check out our spray painting services:
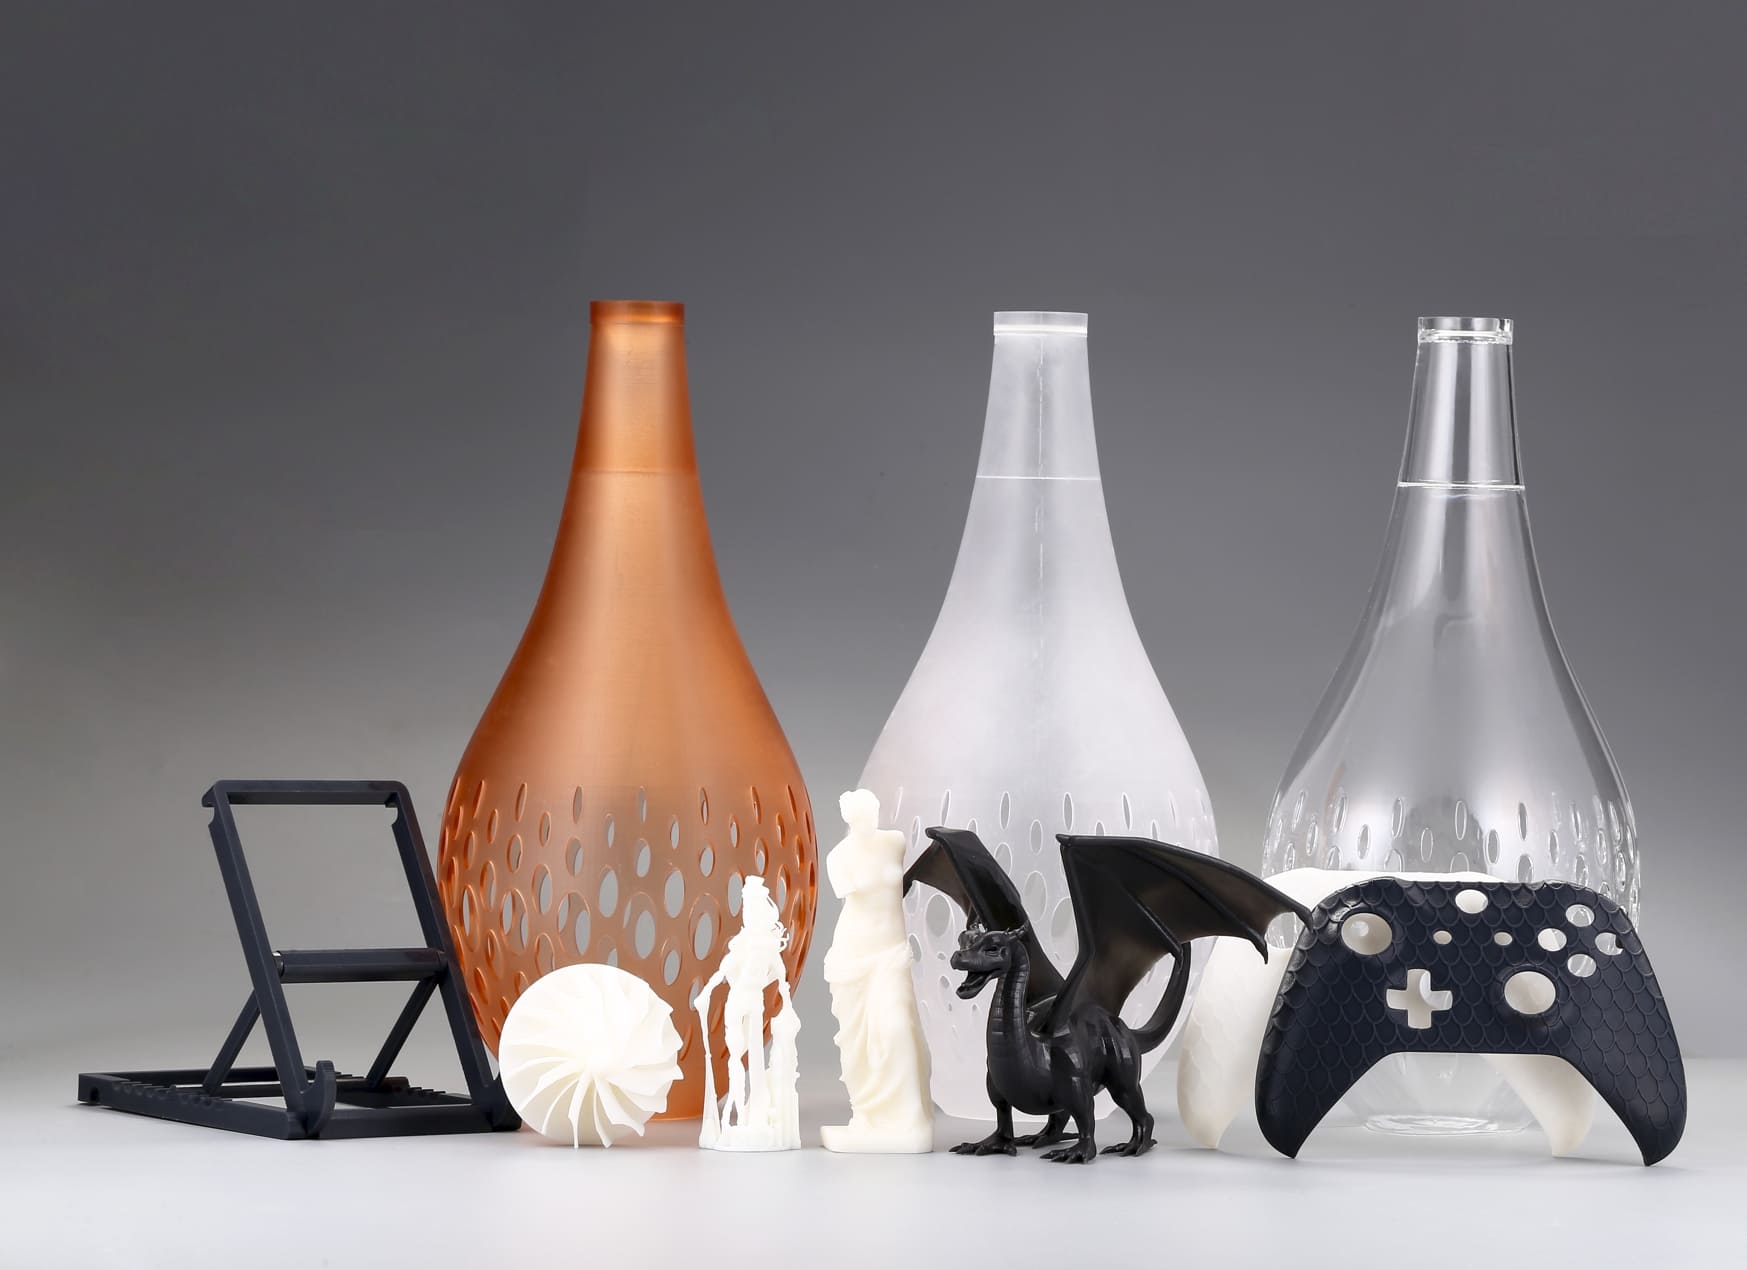
As-printed:
Spray Painted:
What is spray painting in 3D printing?
Surface finishing improves the appearance, durability, and functionality of a 3D printed part by modifying its surface properties. Spray painting is a surface finishing technique that can be applied to 3D-printed objects.
While, surface finishes can be classified into two categories: additive and subtractive. Additive finishes add a layer of material or coating to the surface of the 3D printed part, while subtractive finishes remove or modify the existing surface material. Spray painting is an additive surface finish that involves spraying a thin layer of paint or lacquer onto the surface of the 3D printed part. Spray painting can be done manually with a spray can, a spray gun, or automatically with a spray booth or robot. Spray painting can enhance the aesthetic appeal, color, gloss, and texture of the 3D printed part and protect it from corrosion, abrasion, and UV rays.
Spray Painting in 3D Printing
Spray painting for 3D printing requires some preparation and post-processing steps to ensure a smooth and even result. The 3D printed part should be cleaned, sanded, and primed before spray painting to remove any dust, dirt, or remaining supports from the surface. The spray painting process should be done in a well-ventilated area, with multiple thin coats applied at a suitable distance and angle and with enough drying time between each coat. The 3D printed part should be cured and polished after spray painting to enhance the adhesion and shine of the paint.
Spray painting is a versatile and cost-effective surface finishing technique that can be used for various types of 3D printing materials, such as plastics, metals, ceramics, and composites.
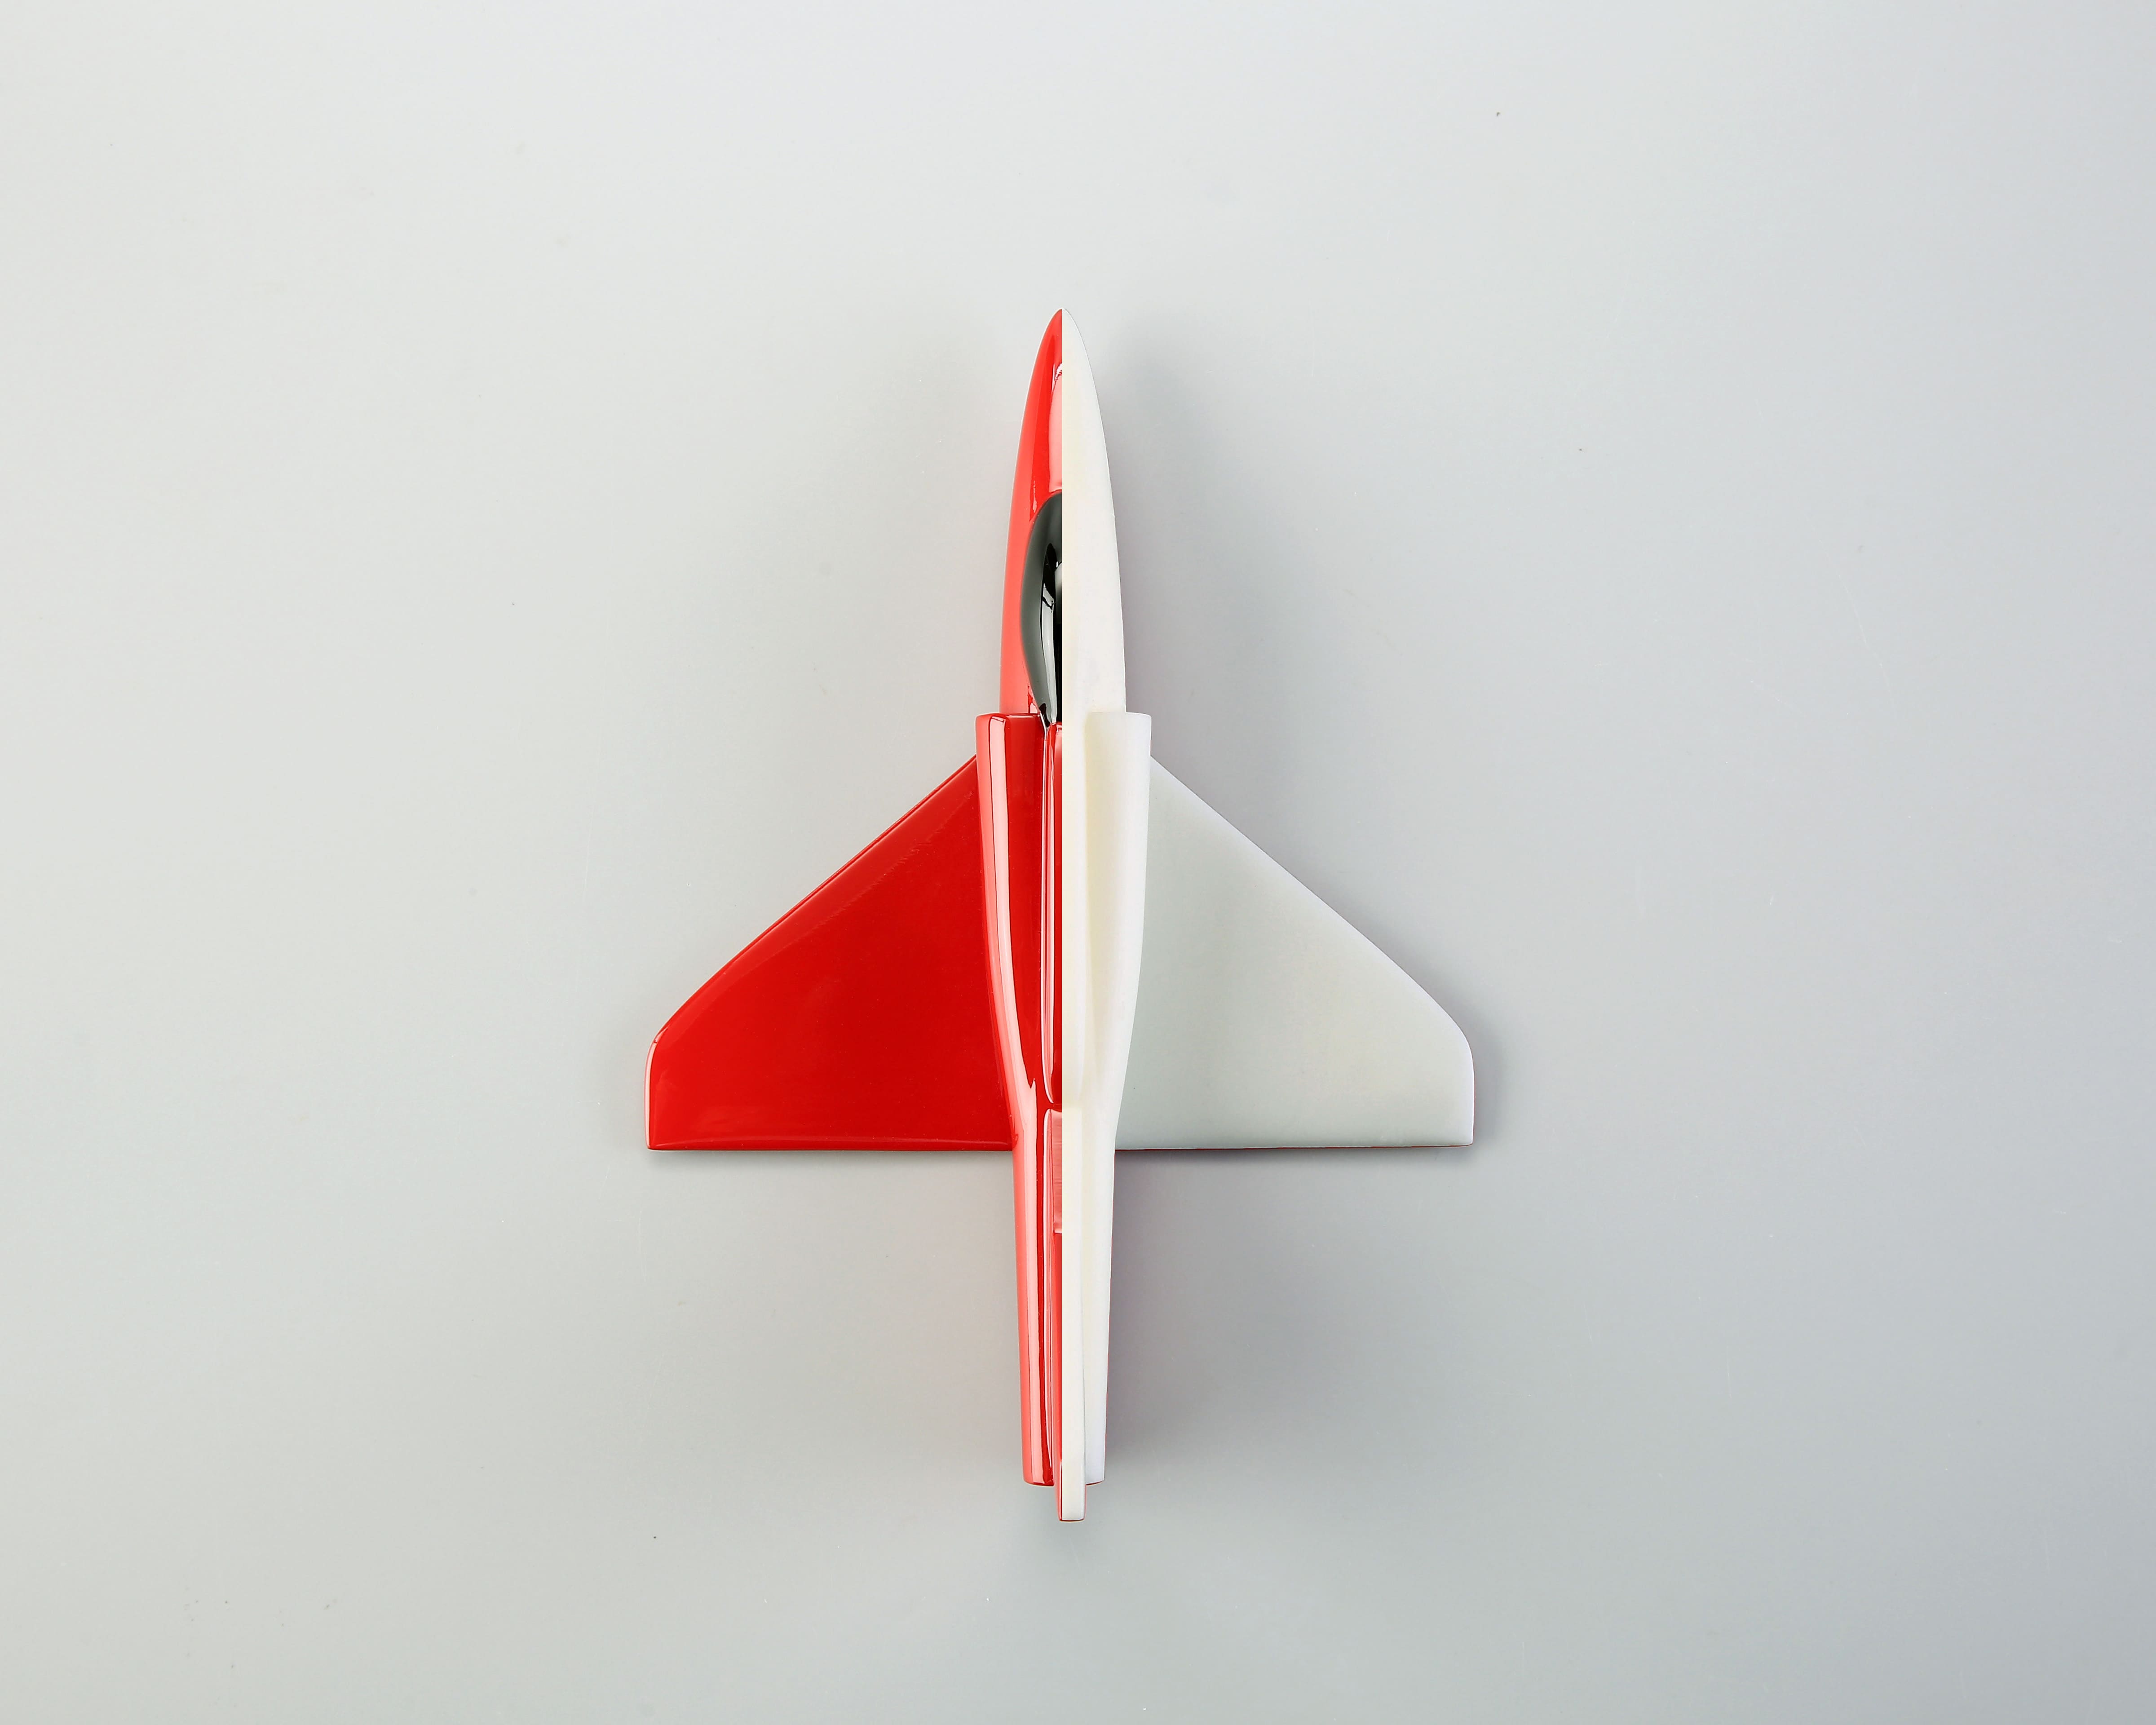
3D Printed Airplane: Painted and Raw Comparison
Types of Spray Painting Surface Finishes
Spray painting surface finishes are the final touches that can make or break the look and feel of your 3D-printed objects. There are many types of spray painting surface finishes:
1. Matte Paint Finish
Matte paint gives your 3D printed objects a smooth, flat appearance with no shine or reflection. Matte paint finish is ideal for hiding imperfections and creating a natural and realistic look. However, it can also make your objects look dull and hard to clean and maintain.
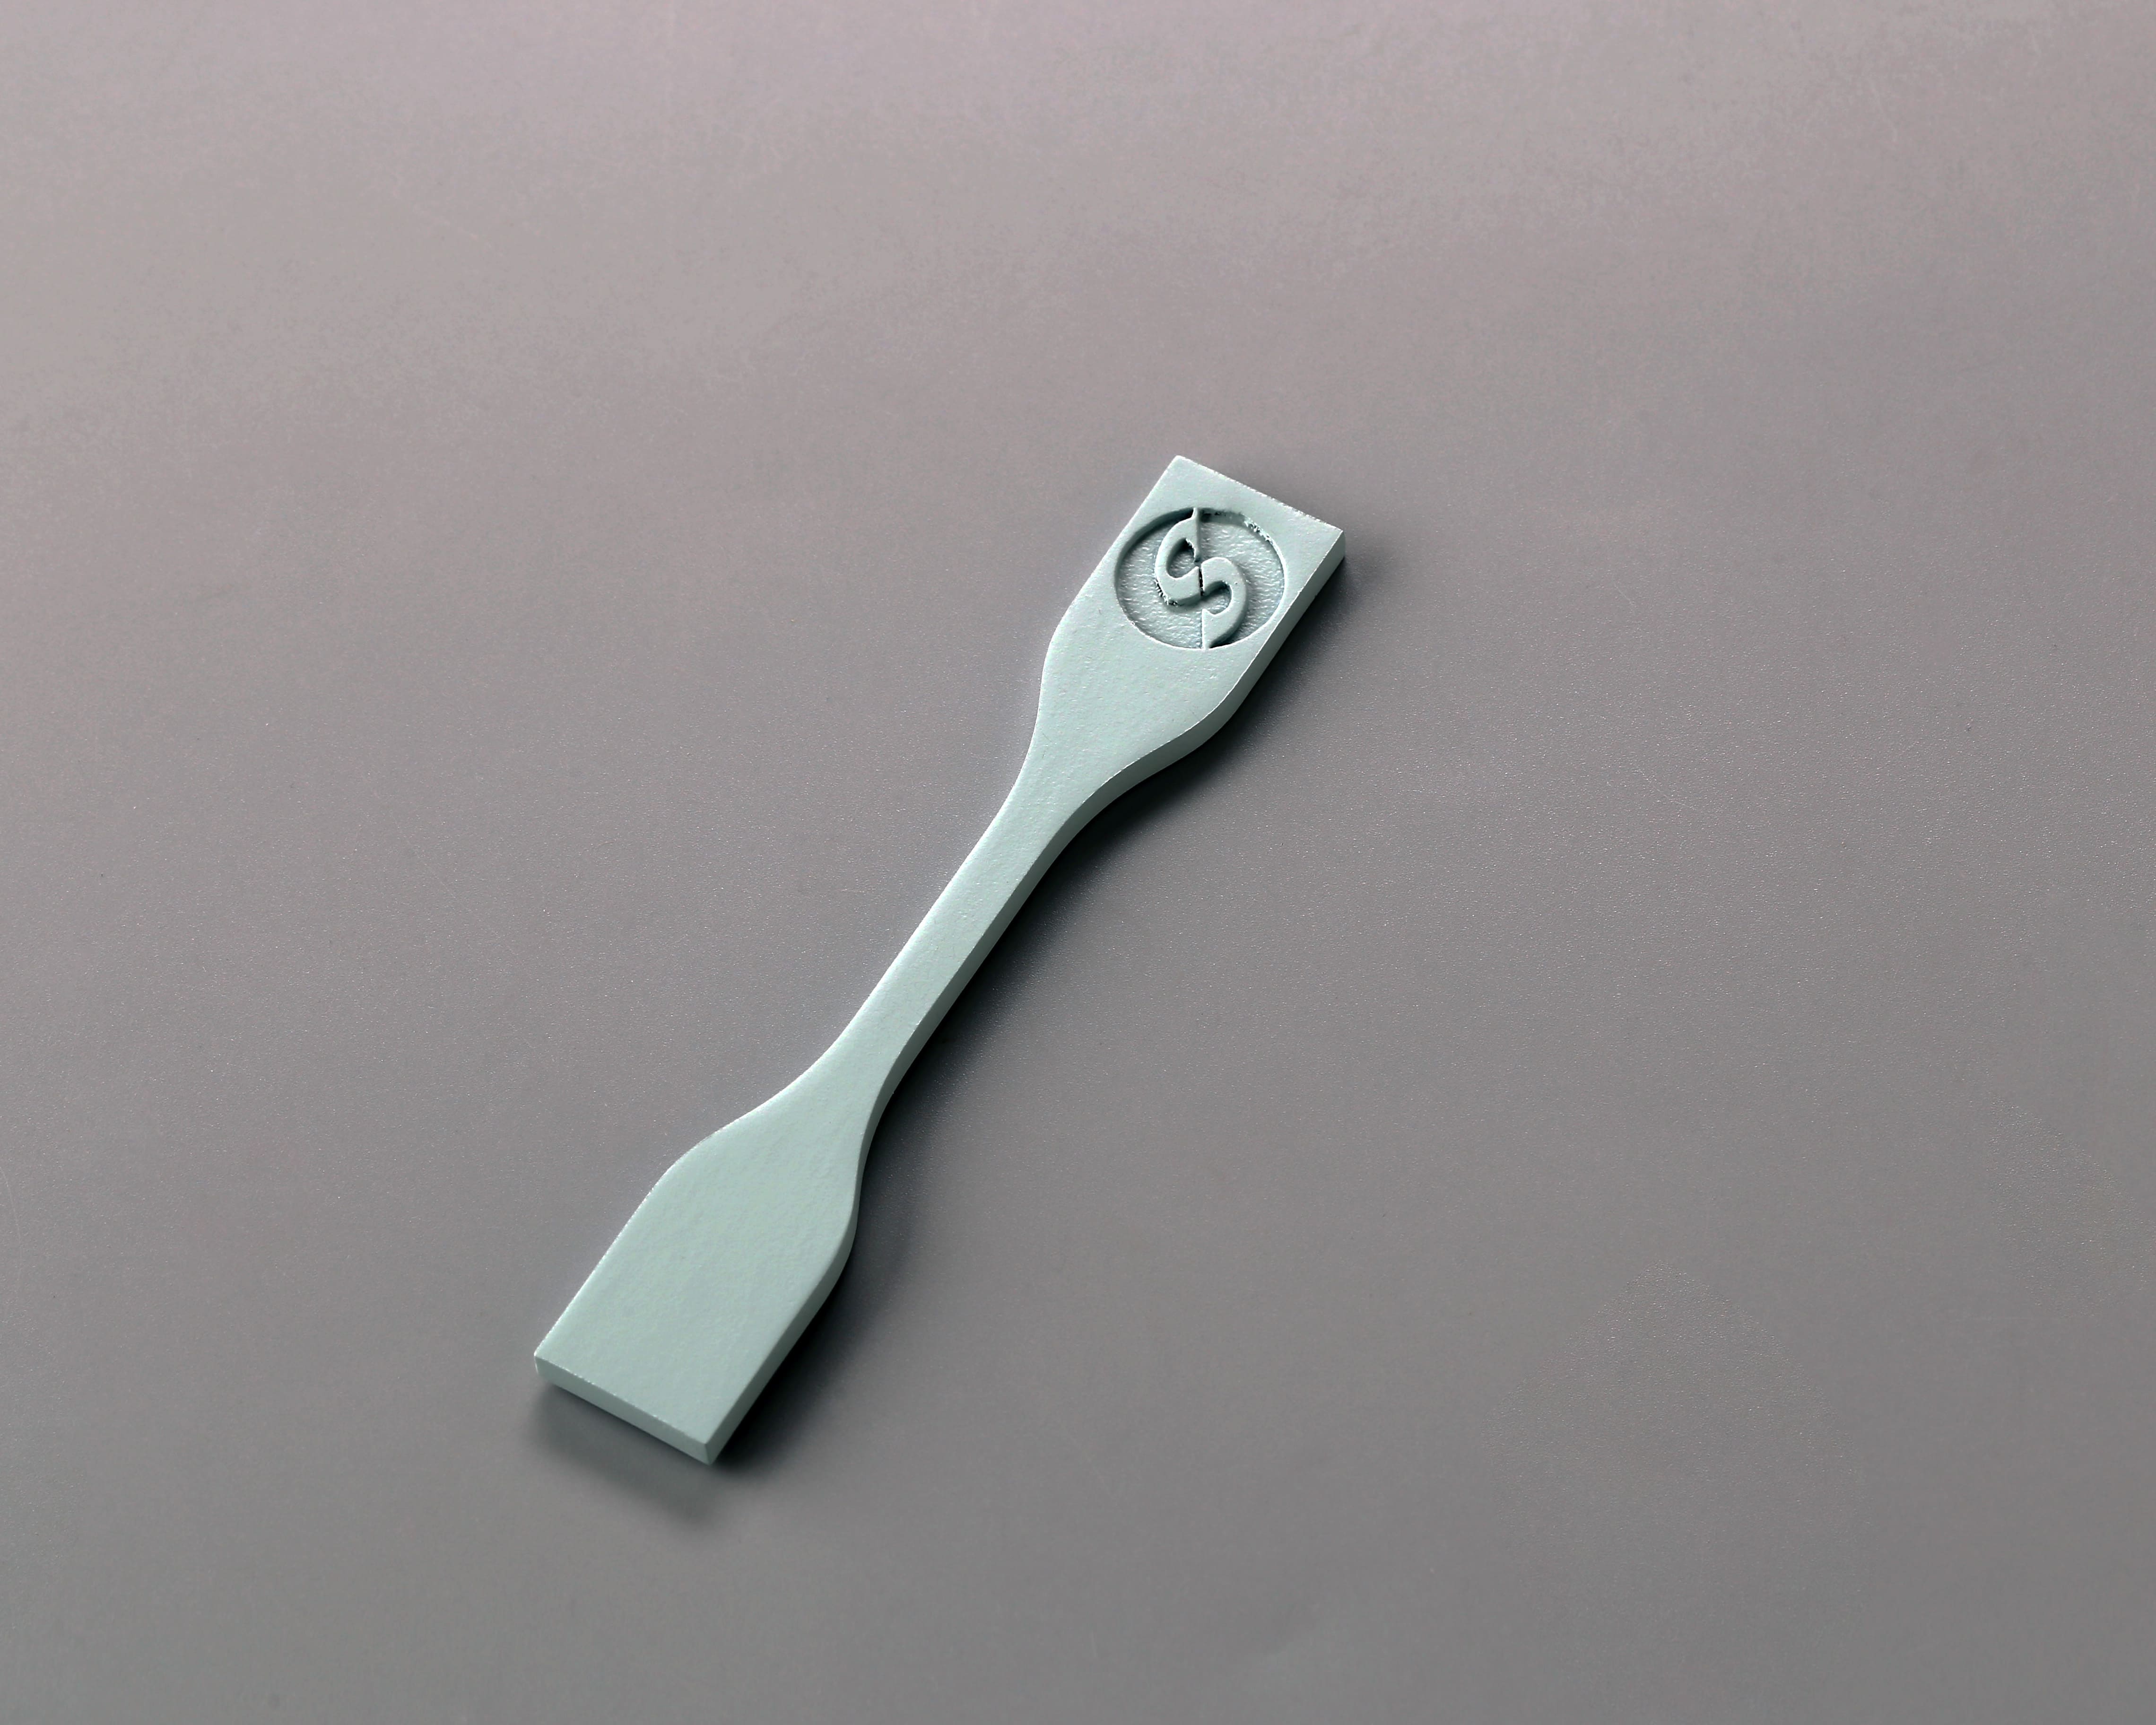
SLM Printed Sample with Matte Spray-painted Finish
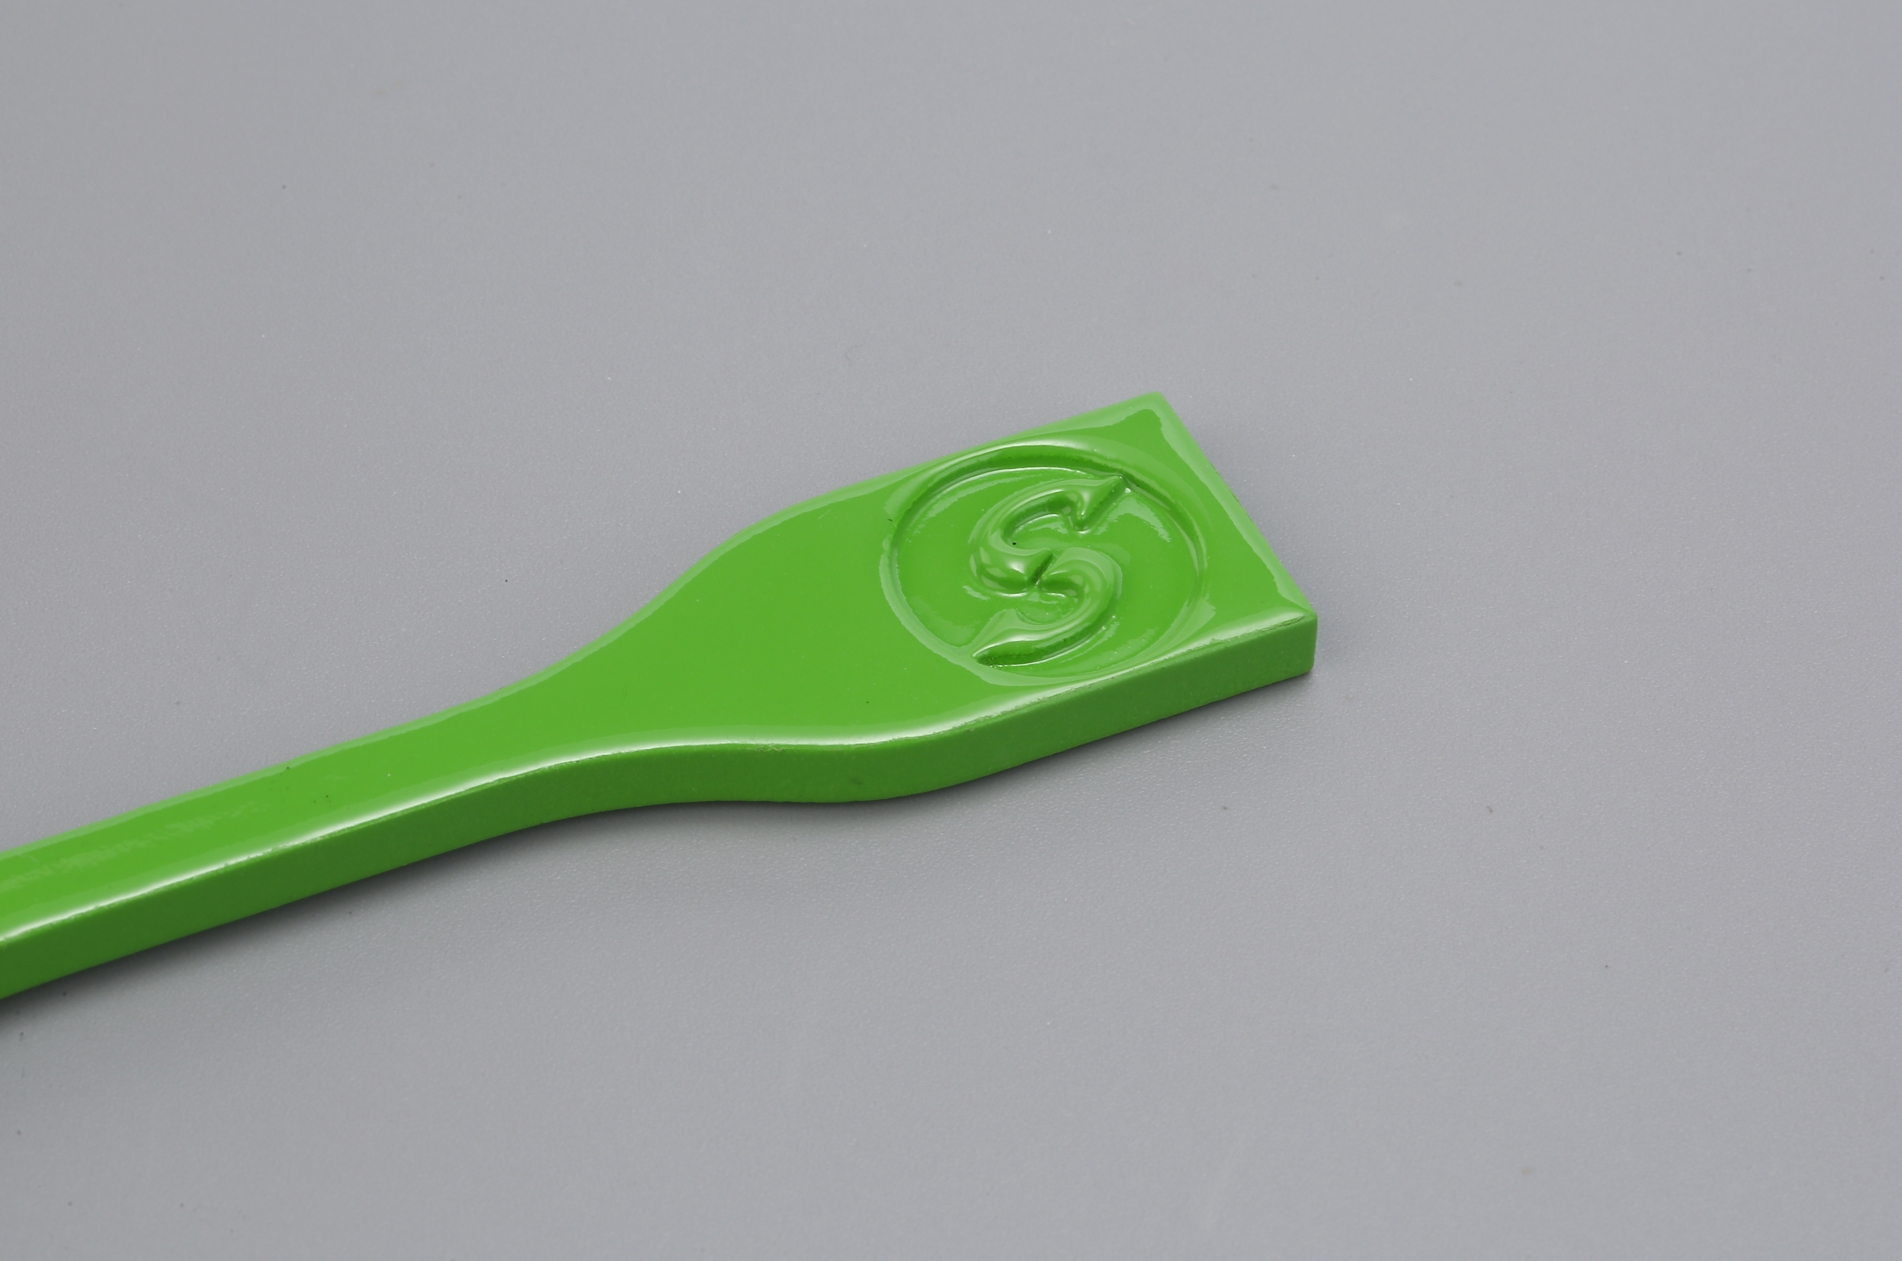
2. Gloss Paint Finish
Gloss paint gives your 3D printed objects a glossy appearance with much light reflection. Gloss paint finish enhances colors and creates a vibrant and eye-catching look. However, it can also make your objects look artificial and plastic, and it can highlight flaws and scratches.
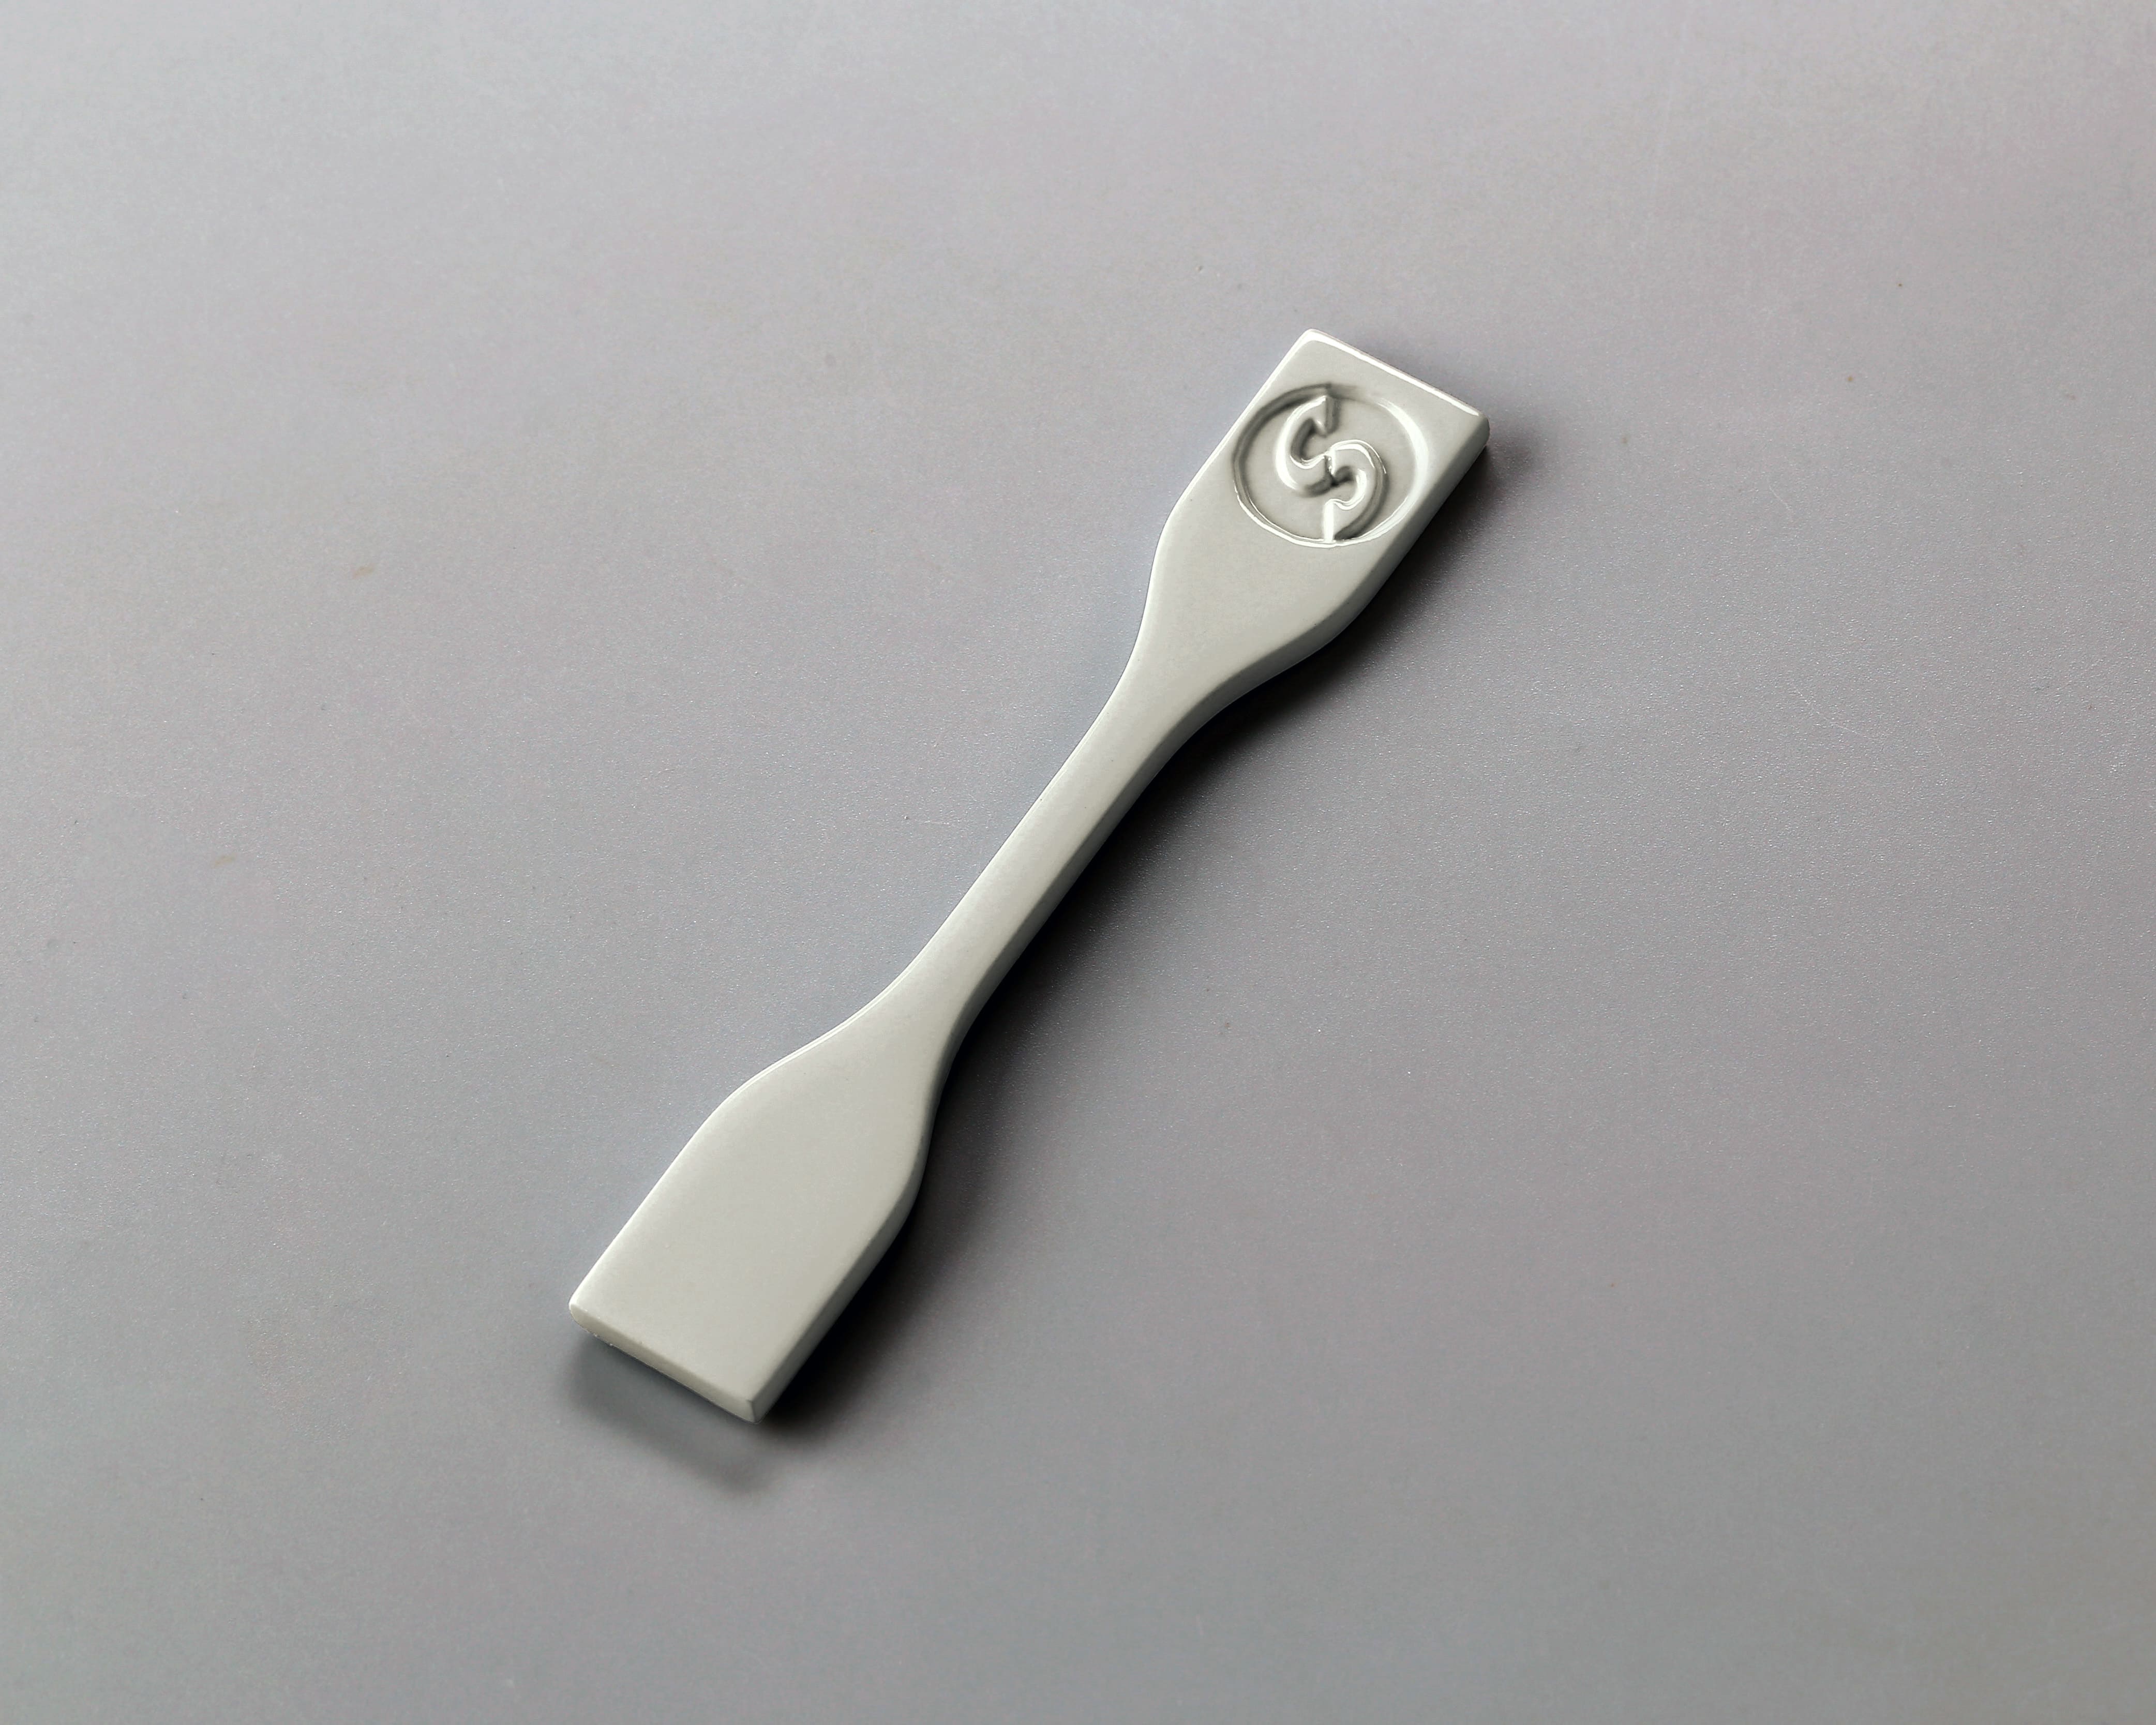
SLA Printed Sample with Gloss Spray-painted Finish
3. Satin Paint Finish
Satin Paint gives your 3D printed objects a soft, velvety appearance with moderate shine and reflection. Satin paint finish is ideal for balancing matte and gloss and giving your objects a warm and elegant look. However, satin paint finish can also make your objects look faded and washed out, making it difficult to apply evenly.
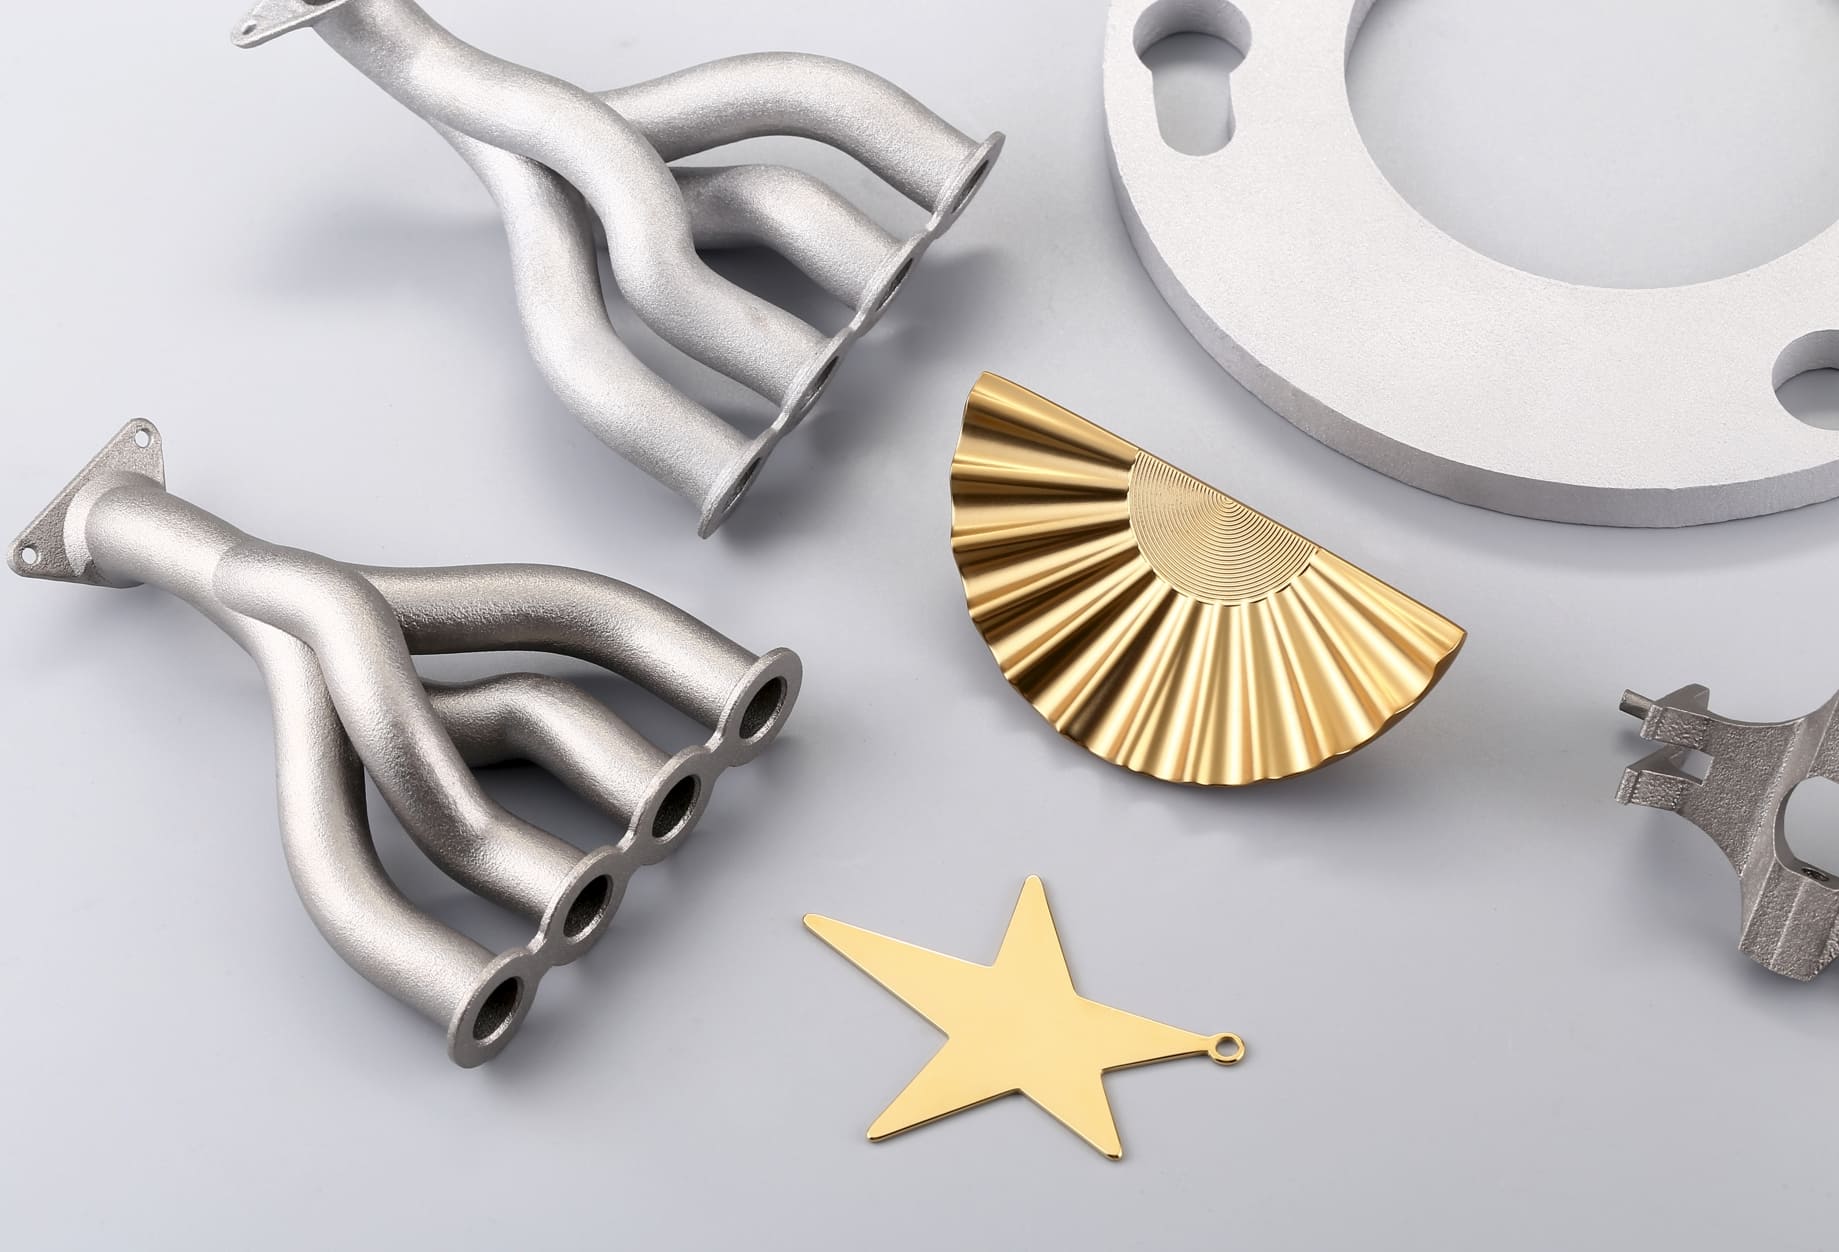
4. Metallic Paint Finish
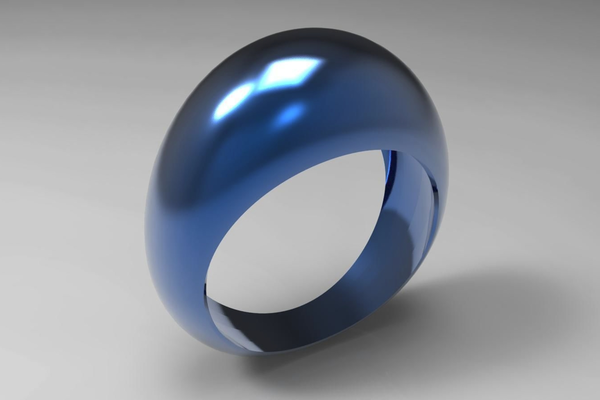
Metallic paint gives your 3D printed objects a metallic and shiny appearance with a lot of sparkle and glitter. Metallic paint finish is ideal for adding glamour and sophistication to your objects and making them stand out. However, it can also make your objects look tacky, and it can be prone to chipping and peeling.
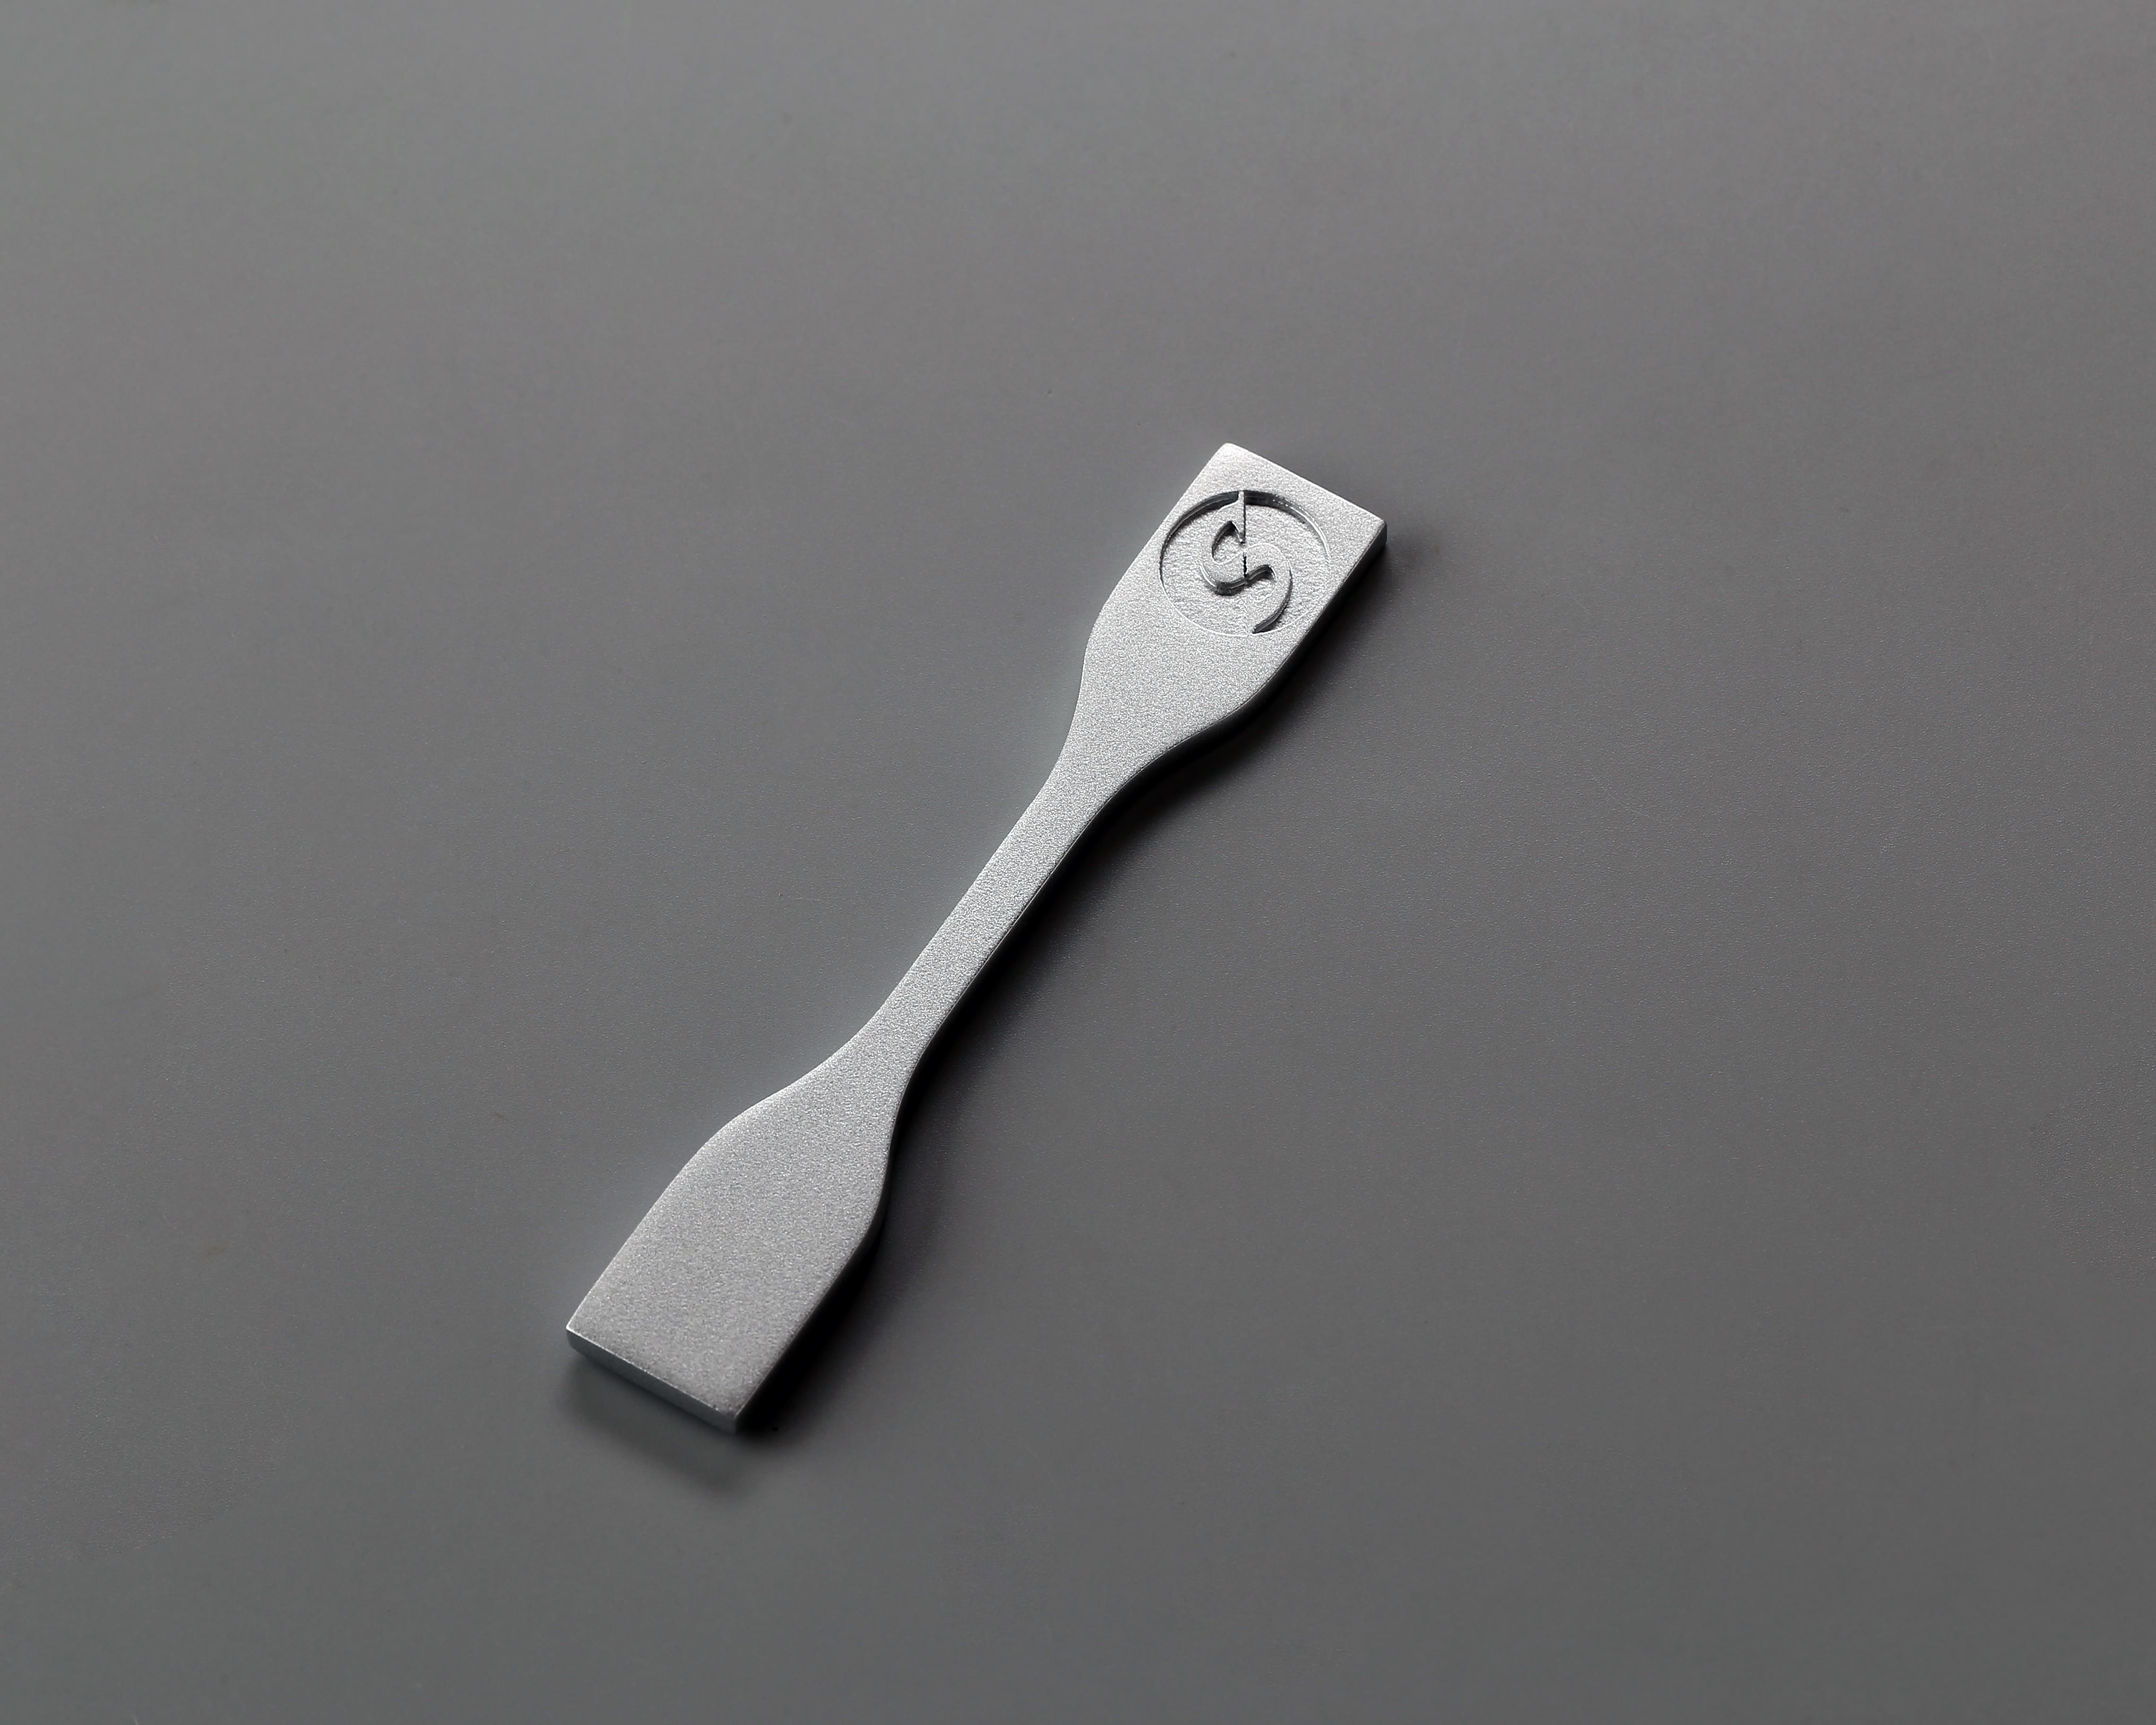
SLA Printed Sample with Metallic Spray-painted Finish
5. Leather Texture Paint Finish
Leather texture paint gives your 3D printed objects a leather-like appearance with a rough, textured surface. Leather texture paint finish is ideal for creating a unique and rustic look and adding character and personality to your objects. However, it can also make your objects look old and worn out, and it can be hard to match with other materials.
6. Rubber Paint Finish
Rubber paint gives your 3D printed objects a rubber-like appearance with a soft, flexible surface. Rubber paint finish is ideal for creating a playful look and adding grip and protection to your objects. However, it can also make your objects look childish and easily damage them by heat and chemicals.
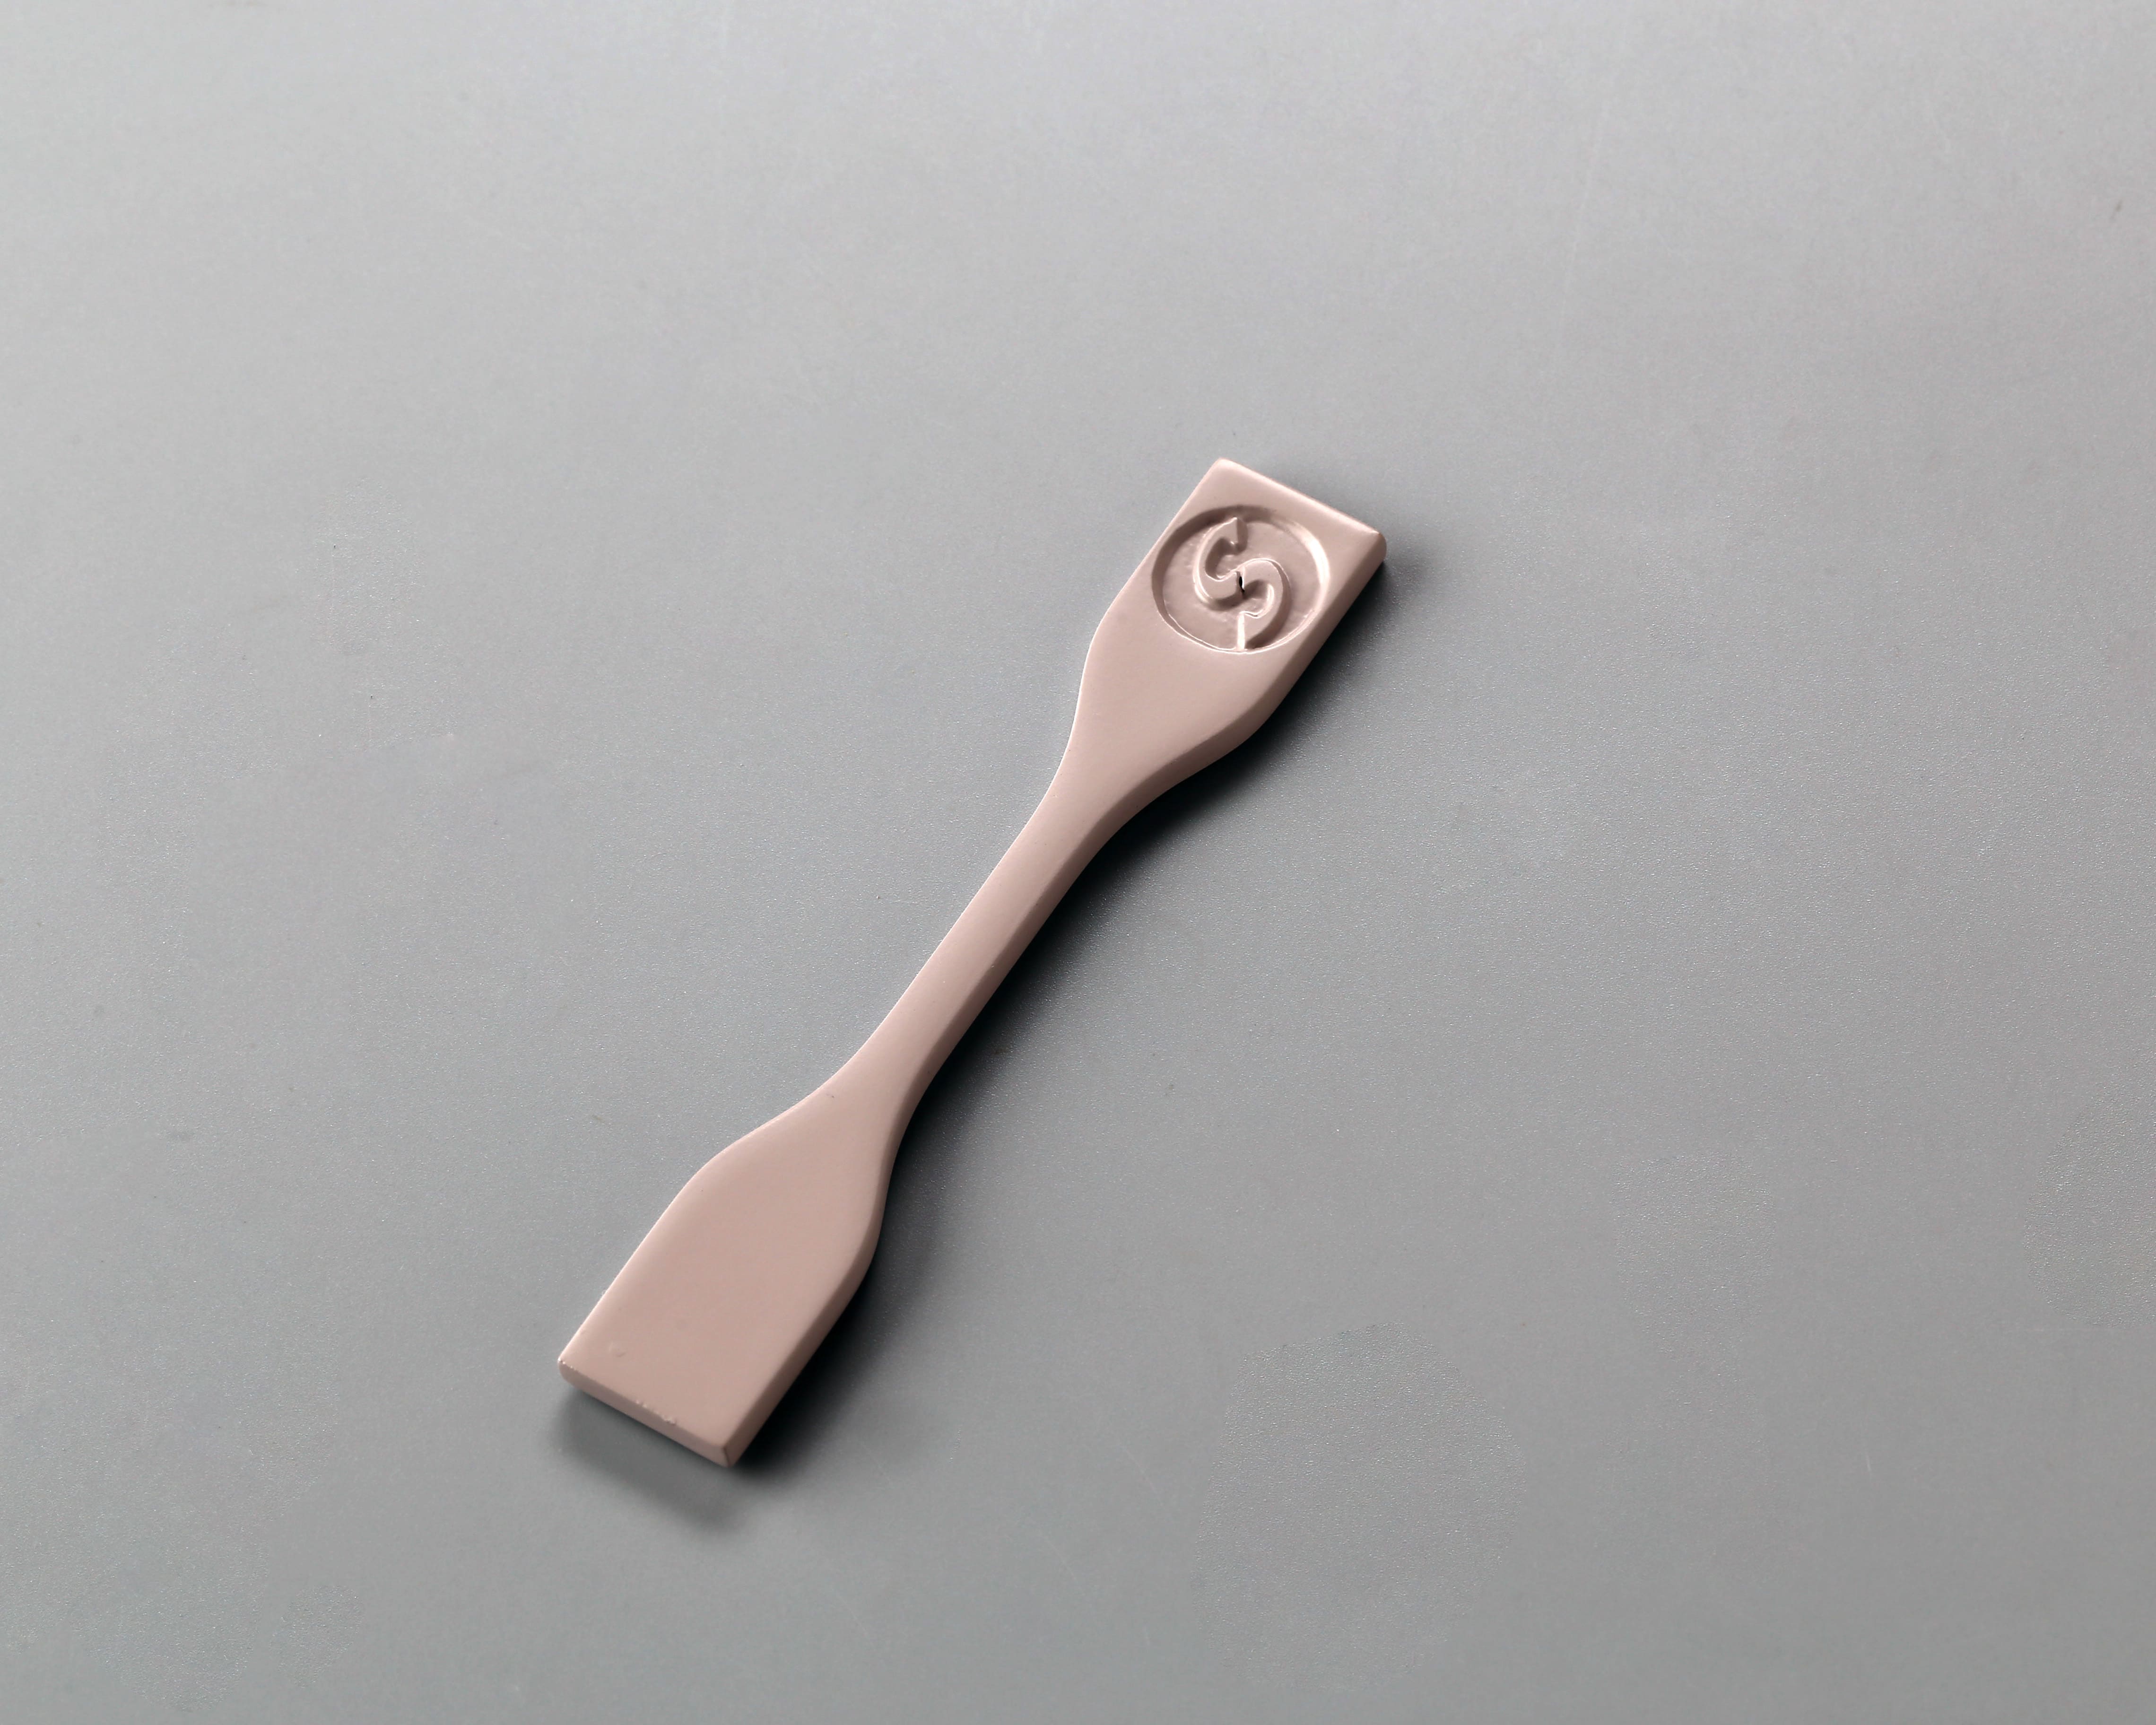
SLS Printed Sample with Rubber Spray-painted Finish
7. UV Clear Coat Finish
UV clear coat gives your 3D printed objects a clear, transparent appearance with a high-gloss and durable surface. UV clear coat finish is ideal for preserving and enhancing the printed parts' original color and texture and making them resistant to scratches, stains, and UV rays. However, UV clear coat finish can also make your objects look plain and boring, and it can be expensive and time-consuming to apply.
8. Gloss UV Varnish
Gloss UV varnish gives your 3D printed objects a glossy and varnished appearance with a smooth and hard surface. Gloss UV varnish is ideal for creating a polished and professional look and making your objects waterproof and easy to clean. However, it can also make your objects look stiff and unnatural, and it can crack and yellow over time.
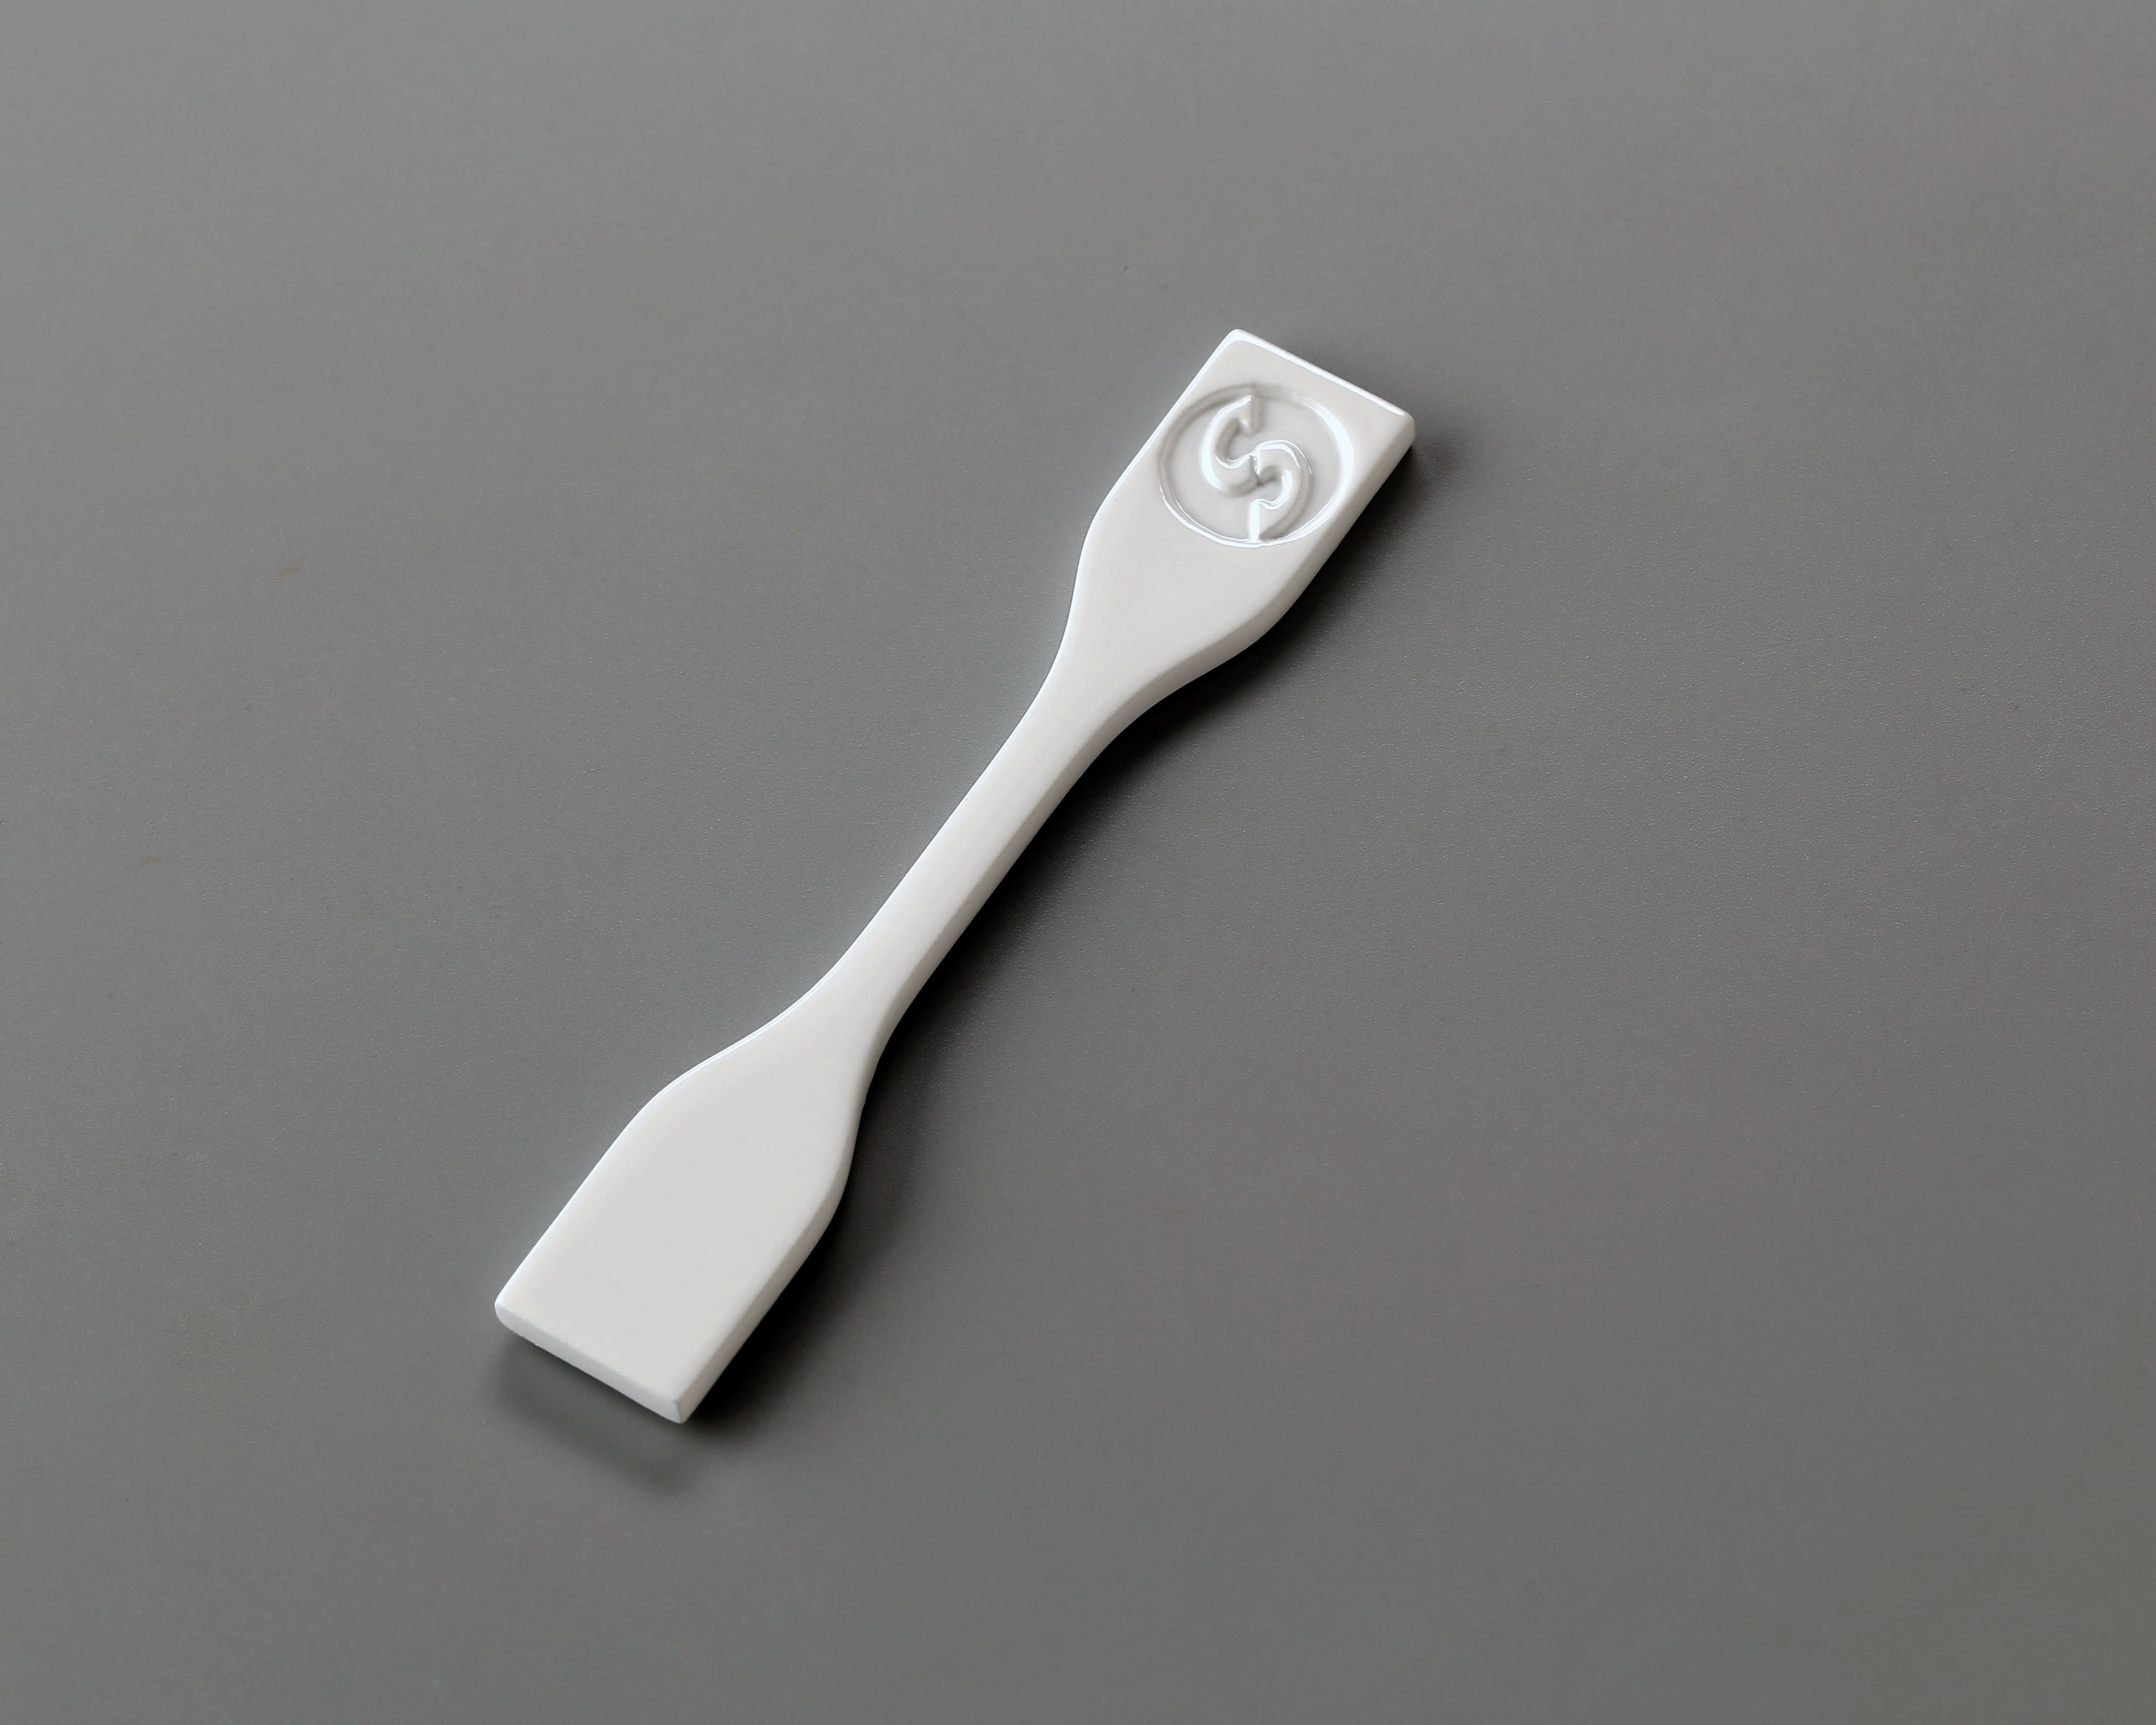
SLS Printed Sample with Gloss UV Varnish Spray-painted Finish
9. Crackle Paint Finish
Crackle paitn gives your 3D printed objects a cracked and distressed appearance with much texture and contrast. Crackle paint finish is ideal for creating a vintage and antique look and adding charm and history to your objects. However, it can also make your objects look damaged and broken, and it can be messy and unpredictable to apply.
10. UV Varnish
UV varnish gives your 3D printed objects a varnished and protective appearance with a matte or satin surface. UV varnish is ideal for creating a subtle and refined look and making your objects resistant to fading, smudging, and abrasion. However, it can also make your objects look dull and flat, which can be costly and complicated.
The Process of Spray Painting
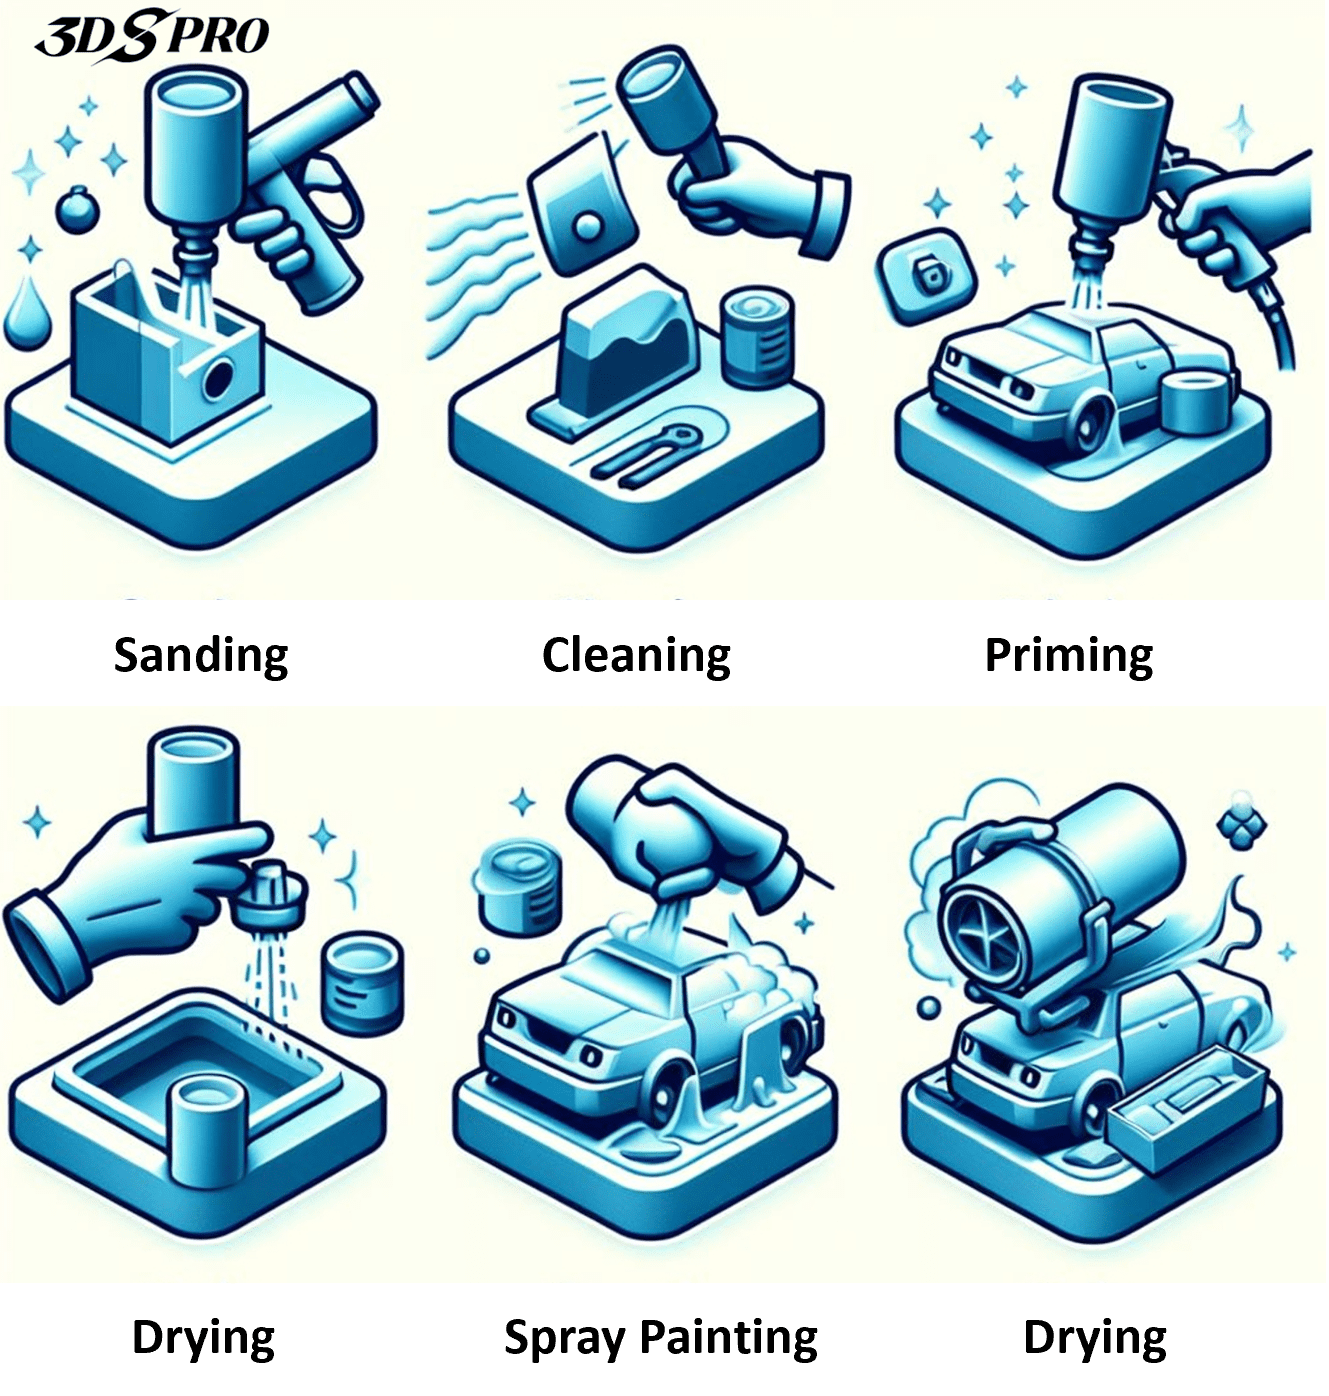
As mentioned above, spray painting requires preparation and post-processing steps to ensure a good result. Here are the main steps of the spray painting process:
Step One: Sanding
Sanding is the process of smoothing and leveling the surface of the 3D-printed object. Sanding removes any bumps, ridges, or layer lines that may affect the quality of the spray paint. Sanding also creates a rough texture that helps the primer and spray paint bond better. It is common to use sandpaper in this step.
Step Two: Clean 3D Prints
Cleaning removes any dust, dirt, grease, or residue from the surface of the 3D-printed object. Cleaning ensures the spray paint will adhere well and evenly to the surface. Using a soft cloth, a brush, a vacuum, or compressed air is common to clean the 3D prints. Or use mild soap and water, alcohol, or acetone to wipe the surface, depending on the type of 3D printing material.
Step Three: Prime 3D Prints
Priming is applying a thin layer of primer to the surface of the 3D-printed object. Primer is a special type of paint that helps the spray paint adhere better and cover imperfections. Priming protects the 3D-printed object from moisture, corrosion, and UV rays. To prime your 3D prints, a primer compatible with the 3D printing material and spray paint will be chosen.
Step Four: Spray Painting
Spray painting is applying a thin layer of spray paint to the surface of the 3D-printed object. Spray paint is a type of paint that comes in a pressurized can and can be sprayed through a nozzle. Spray paint can give your 3D prints a variety of colors, effects, and finishes.
Step Five: Dry Spray Painted Object
Drying is the process of letting the spray paint harden and cure on the surface of the 3D-printed object. Drying ensures the spray paint will not peel, crack, or fade over time. Avoid touching, moving, or exposing the object to direct sunlight, heat, or moisture until completely dry.
Benefits of Spray Painting 3D Prints
Spray painting 3D prints can offer many benefits in terms of aesthetics and functionality. Here are some of the main advantages of spray painting 3D prints:
Improved Surface Finishes
Spray painting creates a smooth, even finish on your 3D print, hiding any layer lines, gaps or imperfections. Spray painting also comes in a variety of colors, effects and textures, such as matte, gloss, metallic, leather, rubber and more. Spray painting can enhance the visual appeal and realism of your 3D print, making it look more professional and attractive.
Enhanced Mechanical Properties
Spray painting can also improve the mechanical properties of 3D prints, such as strength, durability, and resistance. Spray painting can add a protective layer to 3D prints, shielding them from environmental factors like moisture, corrosion, UV rays, abrasion, and impact.
Besides, spray painting can increase the rigidity and stability of 3D prints, reducing warping, cracking, and deformation. Spray painting can extend the lifespan and performance of 3D prints, making them more reliable and robust.
However, spray painting also has some limitations and challenges, such as the need for masking, the risk of overspray, the environmental impact, and the health and safety hazards. Therefore, spray painting for 3D printing should be done carefully and with the appropriate equipment and materials.




I want to find a solution to spray on a 3D surface, such as a curved tube with a diameter of 1.0 m.