What is 3D printer G-code?
G-code is the language that drives 3D printers. It consists of a series of commands that instruct the printer on how to move, extrude, and perform other functions to create a 3D object. Each line of G-code represents a specific instruction for the printer, such as moving the print head to a particular location, setting the extrusion rate, or adjusting the bed temperature.
Essentially, G-code acts as the intermediary between the digital 3D model and the physical 3D printed object. It translates the design into a format that the printer can understand and execute with precision. The G-code file is generated by slicing software, which takes a 3D model (usually in STL or OBJ format) and slices it into layers. Each layer is then converted into G-code instructions that the printer follows sequentially.
Understanding G-code is crucial for troubleshooting and fine-tuning 3D printer settings. By examining and, if necessary, editing the G-code, engineers and technicians can optimize the printing process, ensuring better quality and efficiency. G-code provides a granular level of control over the printing process, enabling adjustments that can improve the accuracy, strength, and overall quality.
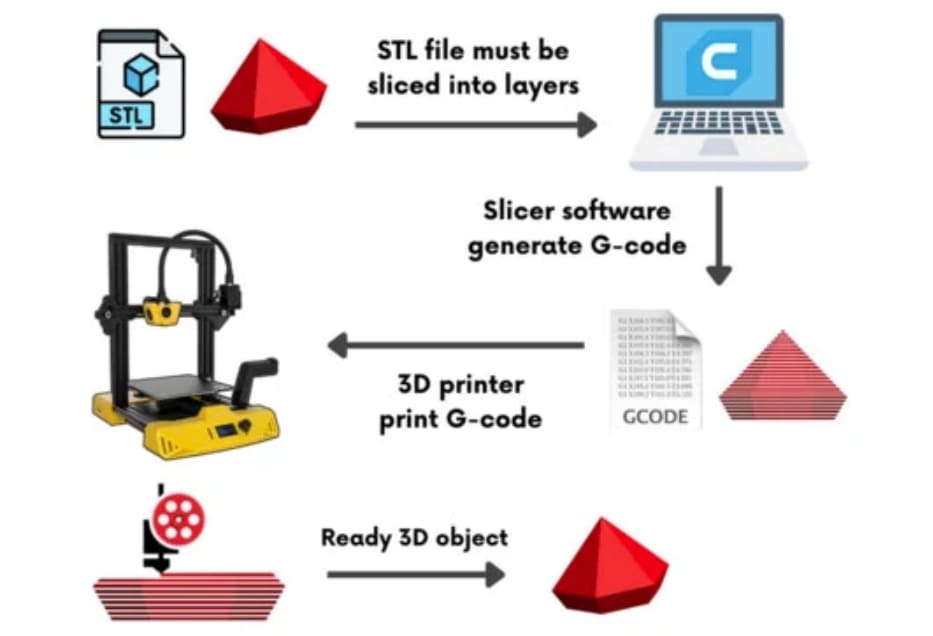
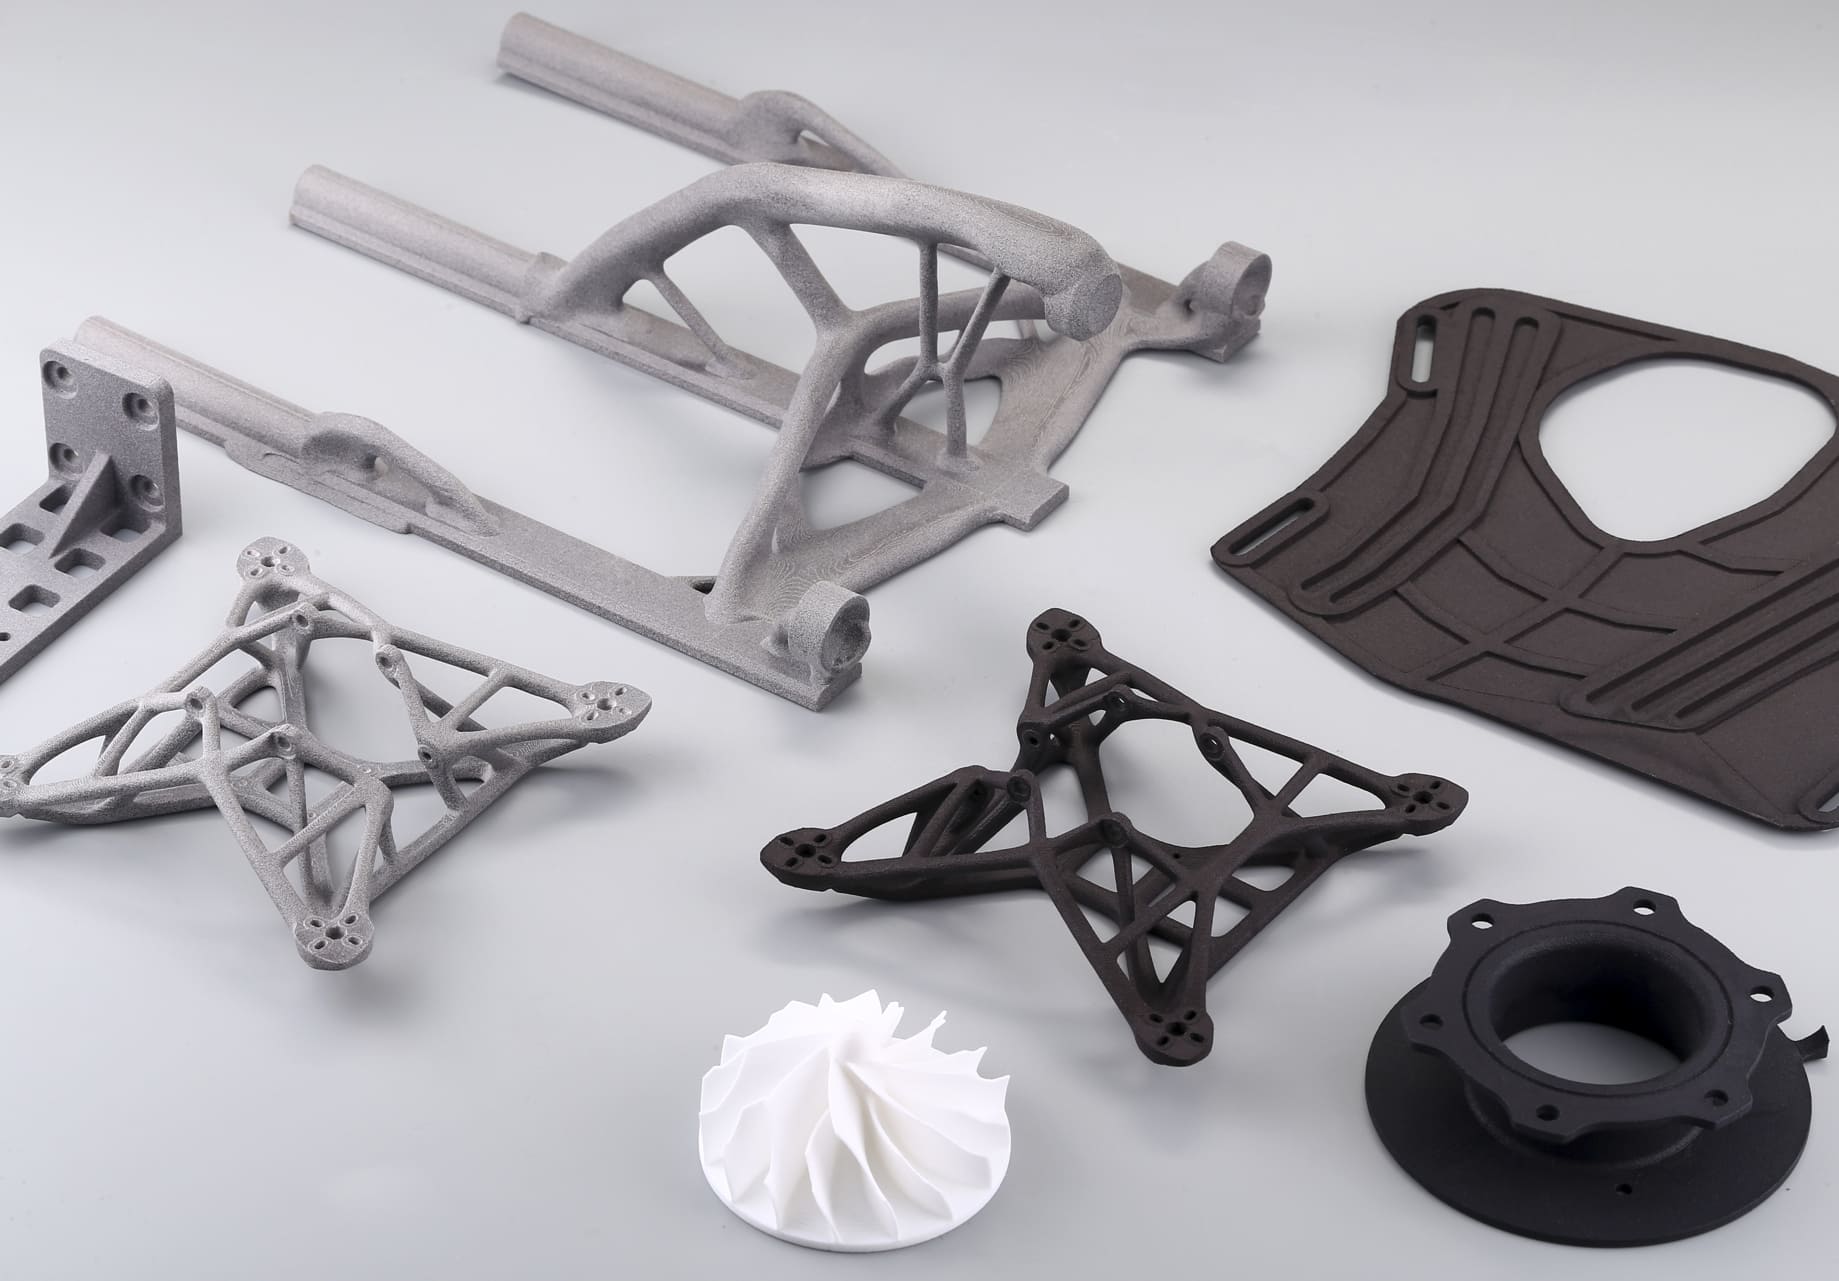
Image Source: Cytron Technologies
What is the difference between G-code and STL?
STL (Stereolithography) and G-code serve distinct functions within the 3D printing workflow, each playing a crucial role in transforming a digital design into a physical object.
STL Files
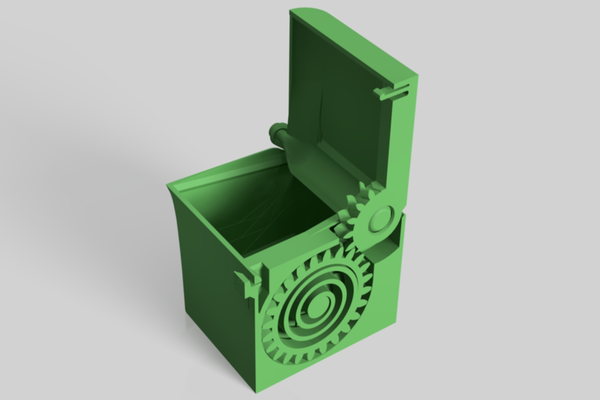
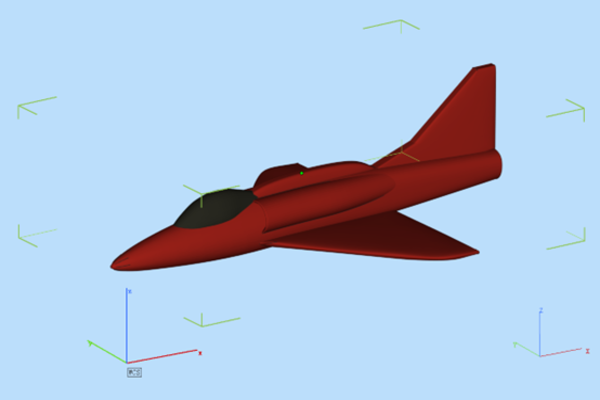
STL files are digital representations of 3D models. They contain information about the surface geometry of a 3D object without any color, texture, or other attributes. Specifically, STL files describe the shape of the object using a mesh of interconnected triangles. The more triangles, the higher the resolution and detail of the model. STL is the most common file format used for 3D printing because of its simplicity and wide compatibility with slicing software.
G-code
G-code, on the other hand, is a set of instructions that directs the 3D printer on how to construct the object described by the STL file. Generated by slicing software, G-code commands control various aspects of the printing process, such as the movement of the print head, the extrusion of filament, and the temperature of the print bed and nozzle. Each line of G-code corresponds to a specific action, enabling precise control over the 3D printing process.
Key Differences
● Function: STL files define the 3D model's geometry, while G-code provides step-by-step instructions for printing that model.
● Content: STL files contain geometric data composed of triangles, whereas G-code consists of commands and parameters for printer operations.
● Usage: STL files are used for designing and sharing 3D models, while G-code is used by the printer to execute the physical printing process.
How to change STL to G-code?
To convert an STL file to G-code, a slicing software is used. Slicing software translates the 3D model's geometry into a set of G-code instructions that the 3D printer can follow.
Choose a Slicing Software
Select a slicing software that is compatible with your 3D printer. Popular options include Cura, PrusaSlicer, and Simplify3D. These programs are designed to read STL files and convert them into G-code.
Import the STL File
Open the slicing software and import the STL file, which is typically done by clicking "Open" or "Import" and selecting the STL file from your computer.
Set Print Parameters
Configure the print settings according to your specific requirements, including layer height, print speed, infill density, and temperature settings. Each parameter affects the quality and characteristics of the final print.
Position the Model
Adjust the orientation and placement of the model on the print bed within the software. Proper positioning helps optimize the printing process and reduces the need for support structures.
Slice the Model
Once the settings are configured, use the slicing function to generate the G-code. The software slices the 3D model into thin layers and creates a series of commands for the printer to follow.
Preview the G-code
Most slicing software allows you to preview the G-code before saving it, which lets you inspect each layer and identify any potential issues, such as gaps or excessive support structures.
Save the G-code
After reviewing the preview, save the G-code file. The 3D printer will use this file to build the model layer by layer.
Transfer the G-code to the Printer
Transfer the saved G-code file to your 3D printer, which is usually done via a USB drive, SD card, or direct connection through a computer.
Start the Printing Process
Load the G-code file on the printer and start the printing process. The printer will follow the instructions in the G-code to create the 3D object.
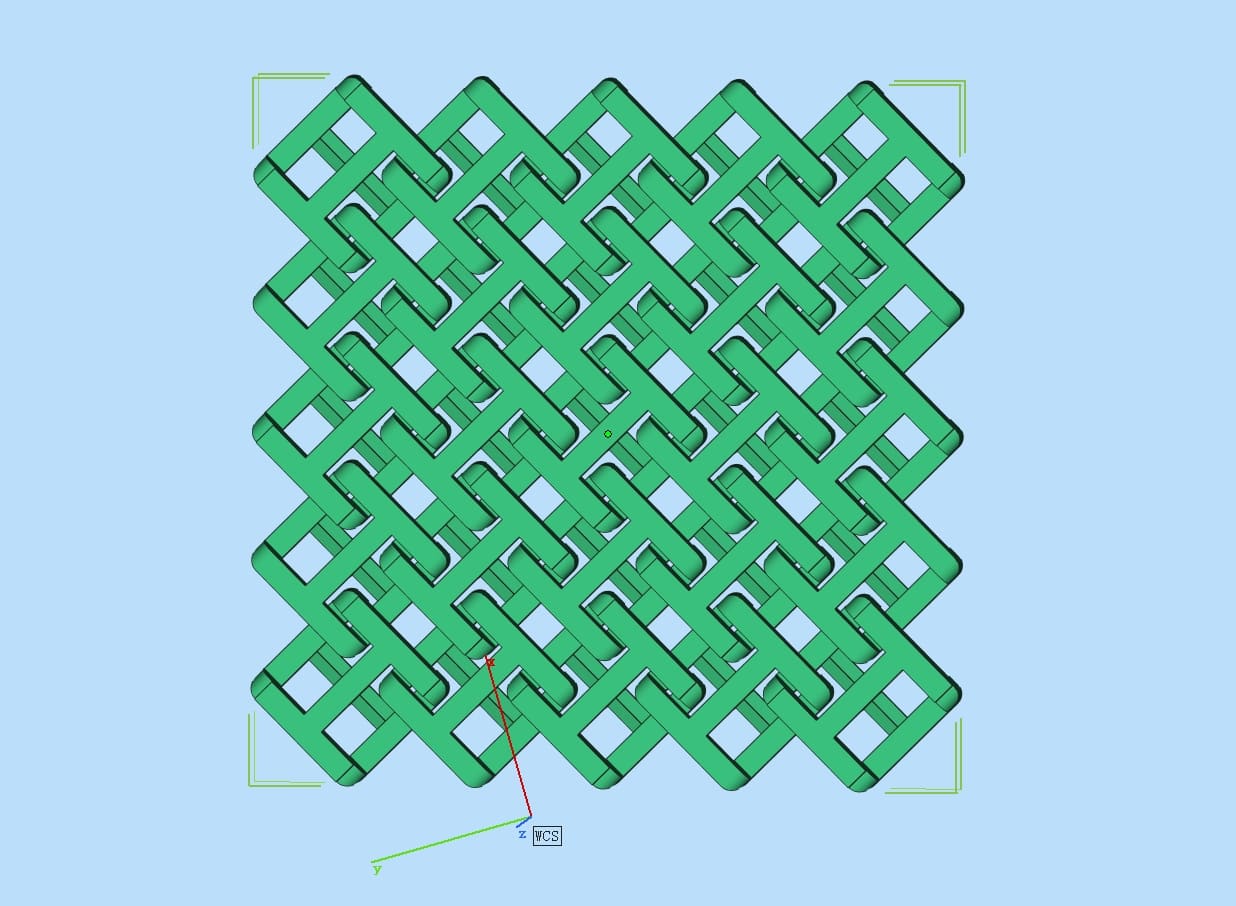
STL File Thumbnail:
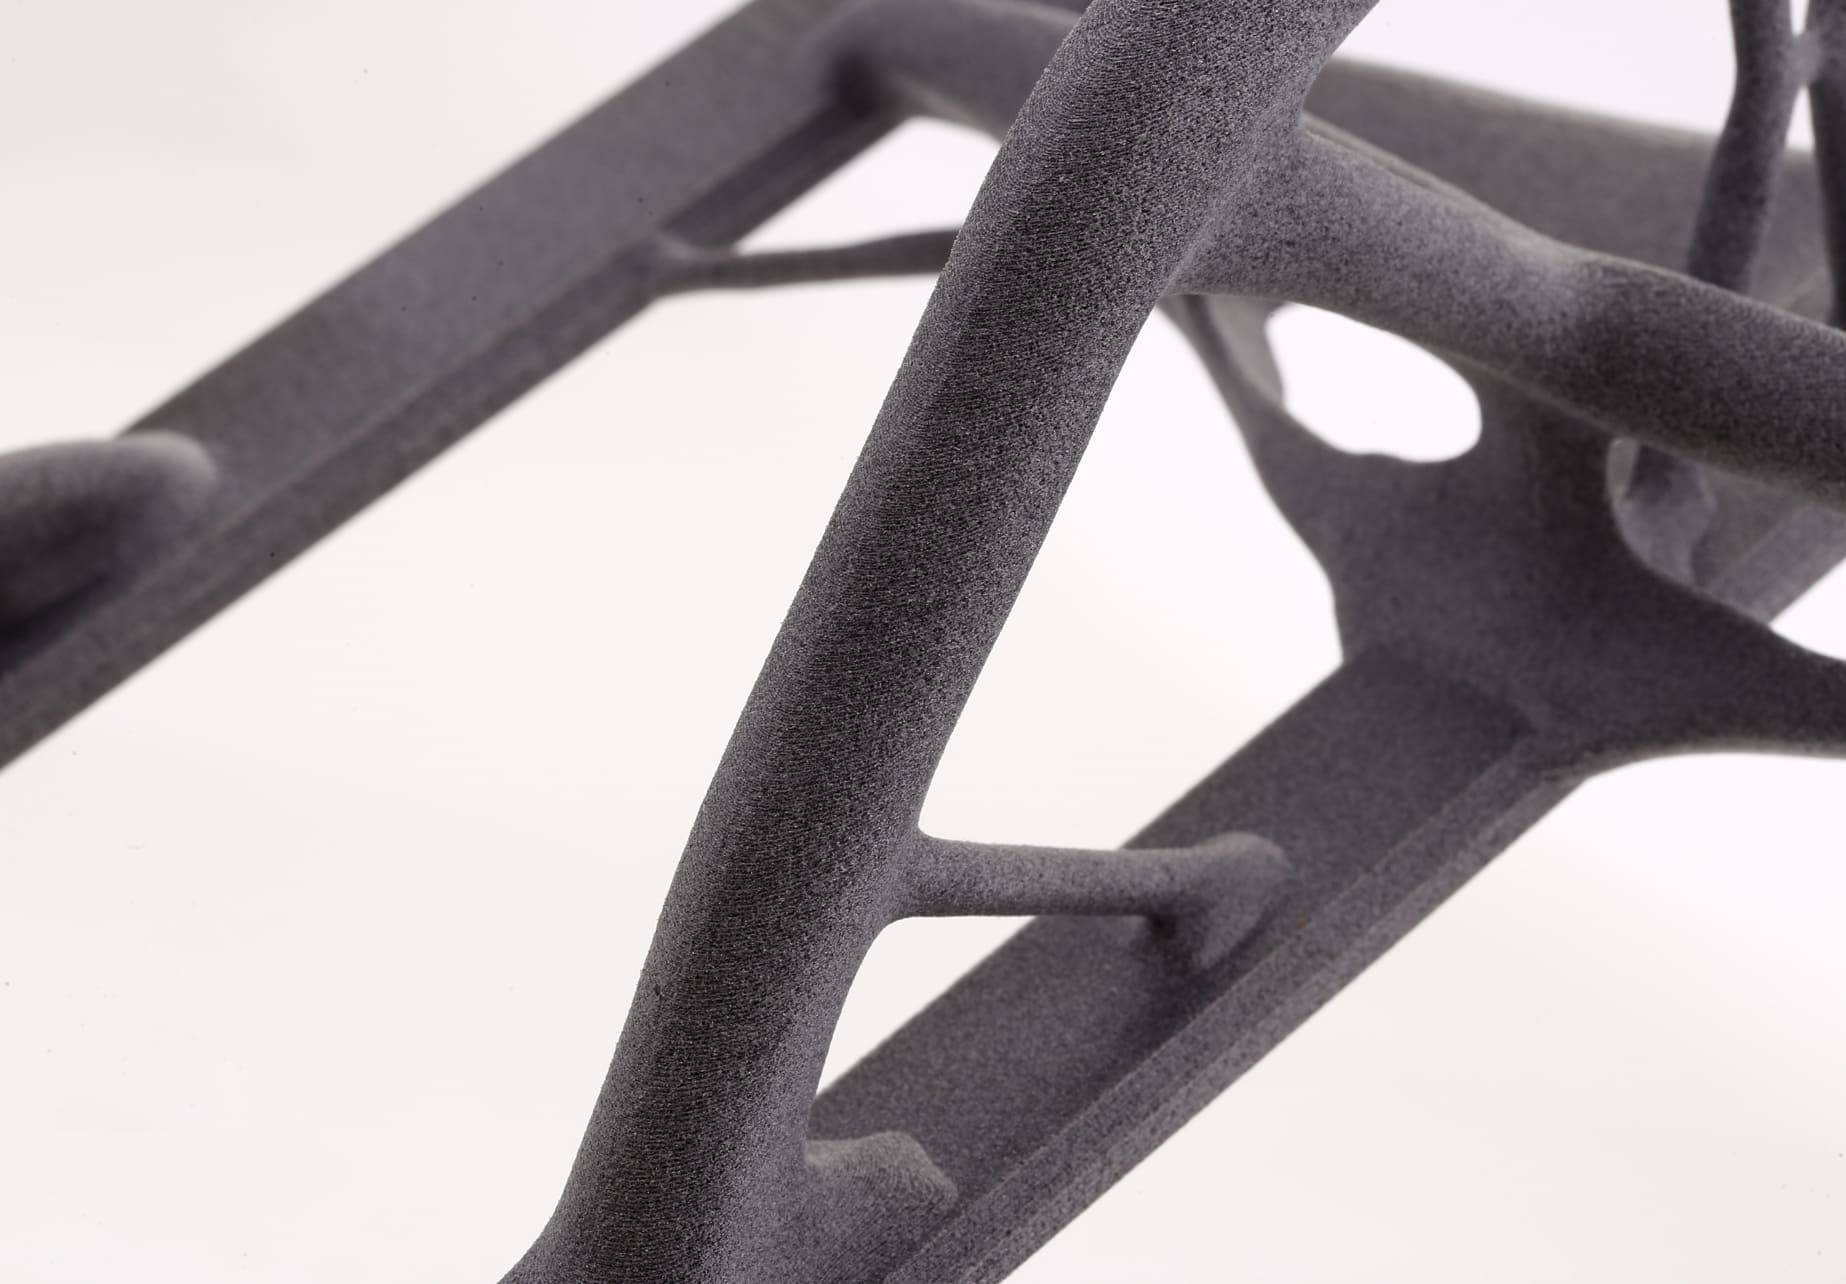
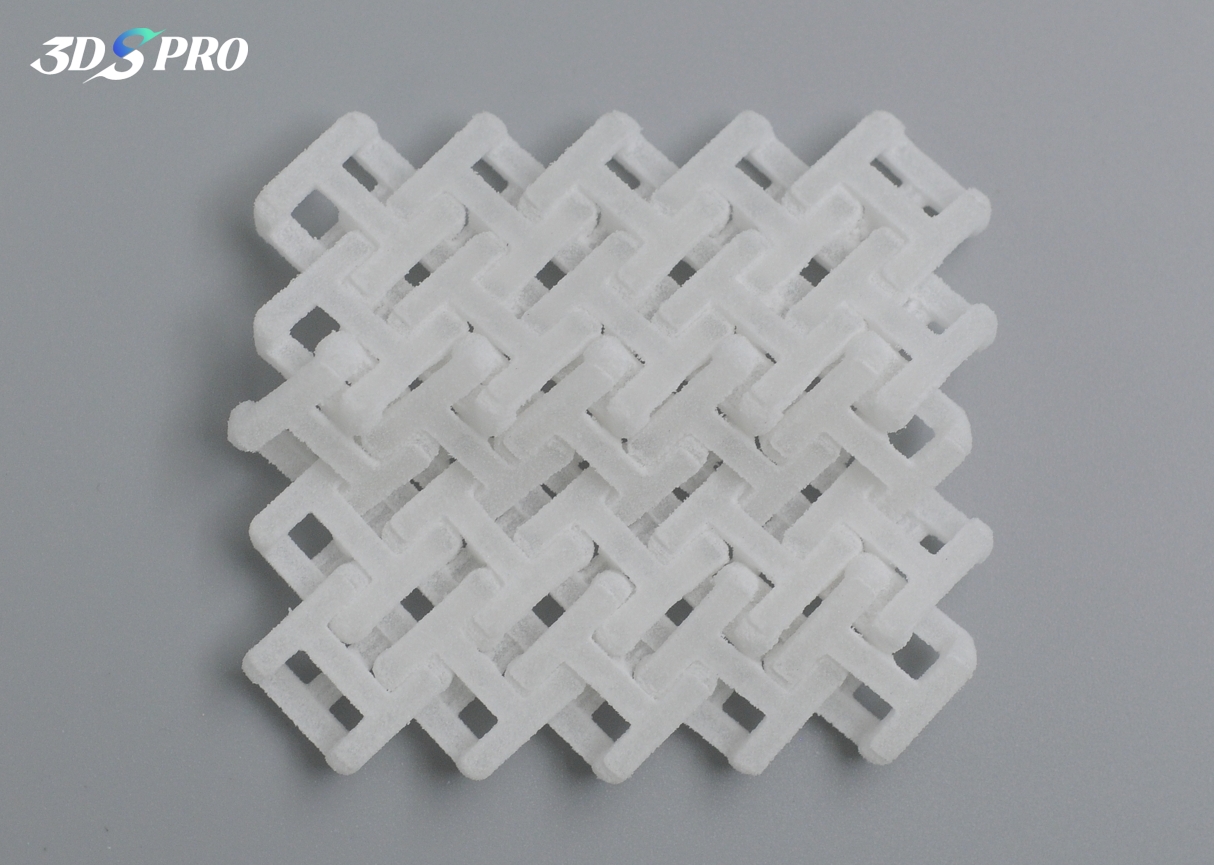
3D Printed Part (TPU):
COMMENTS
- Be the first to share your thoughts!


