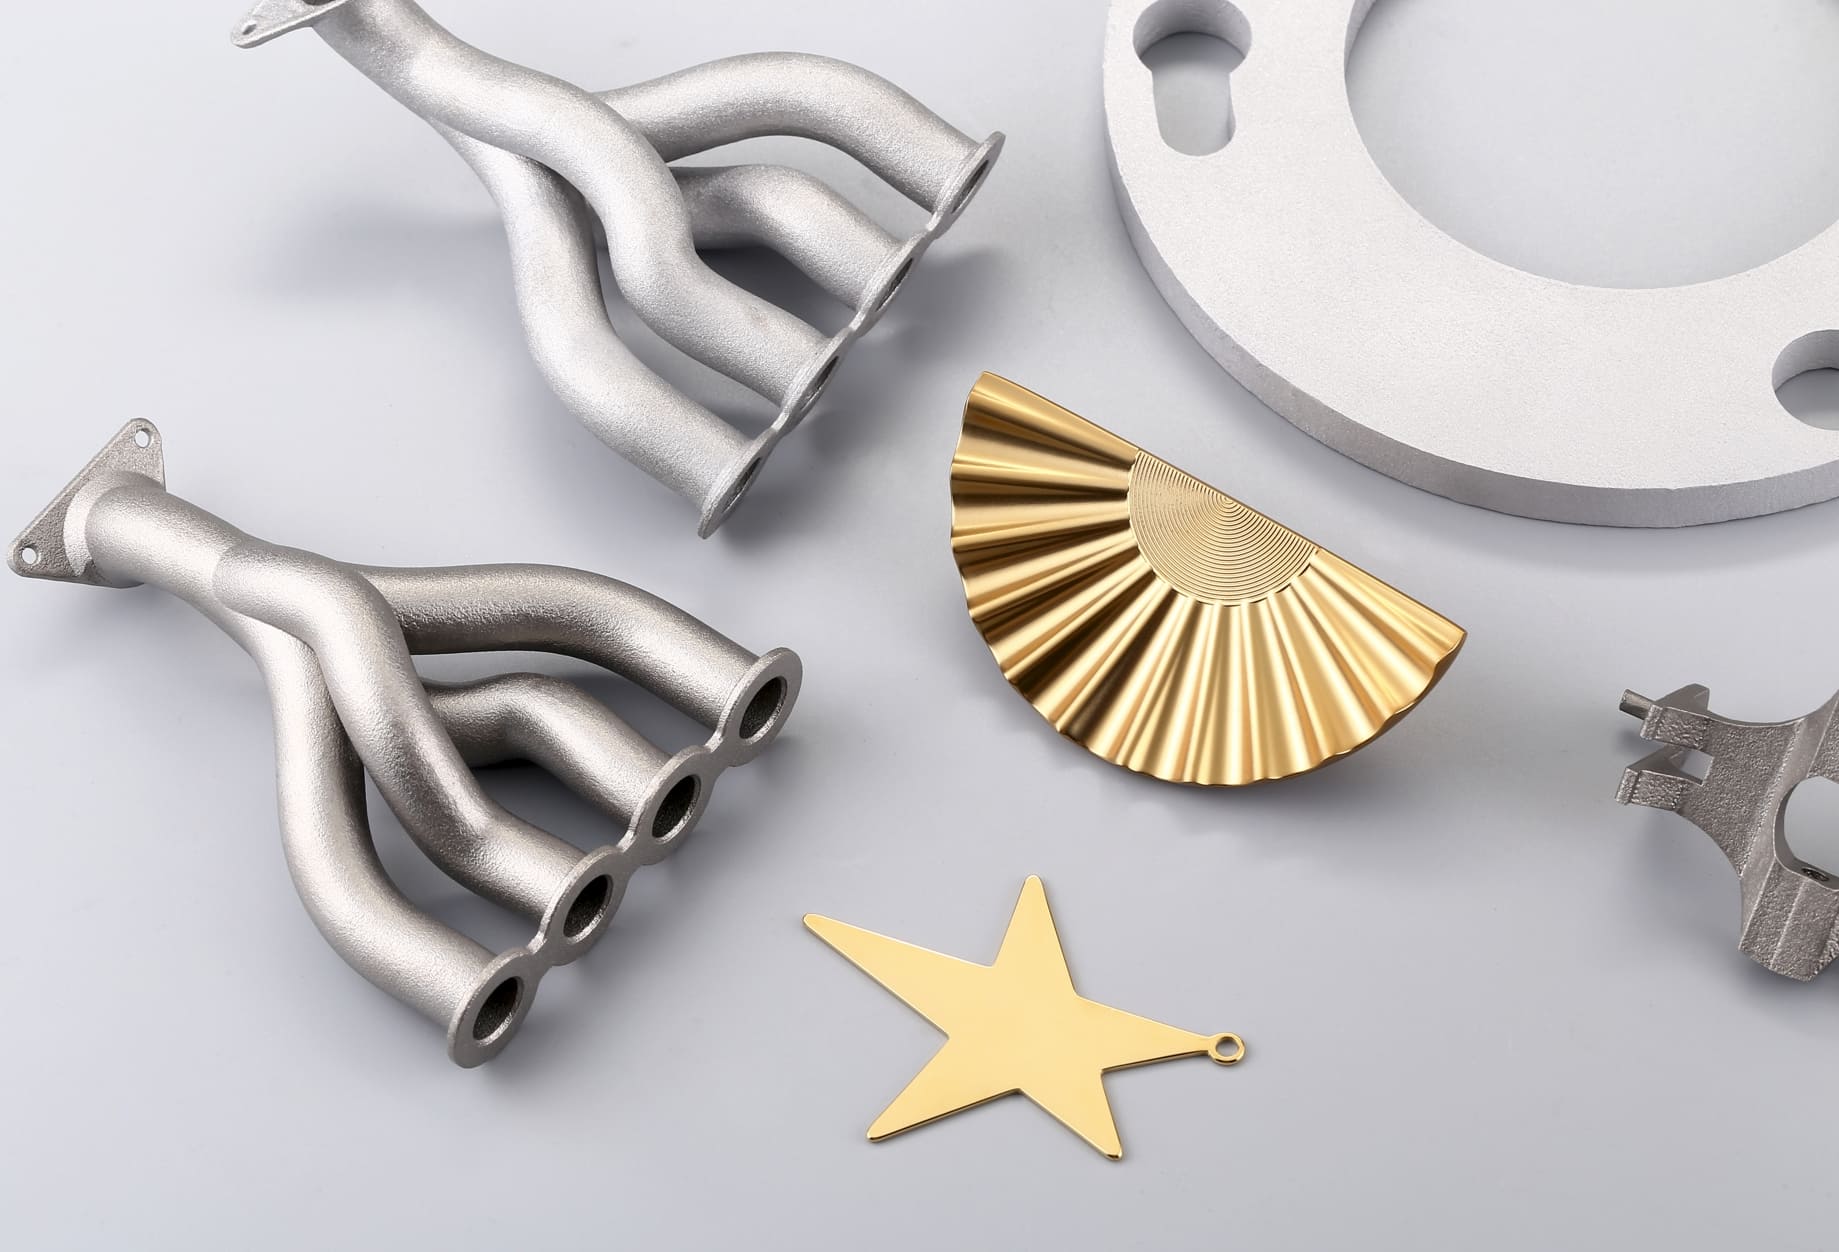
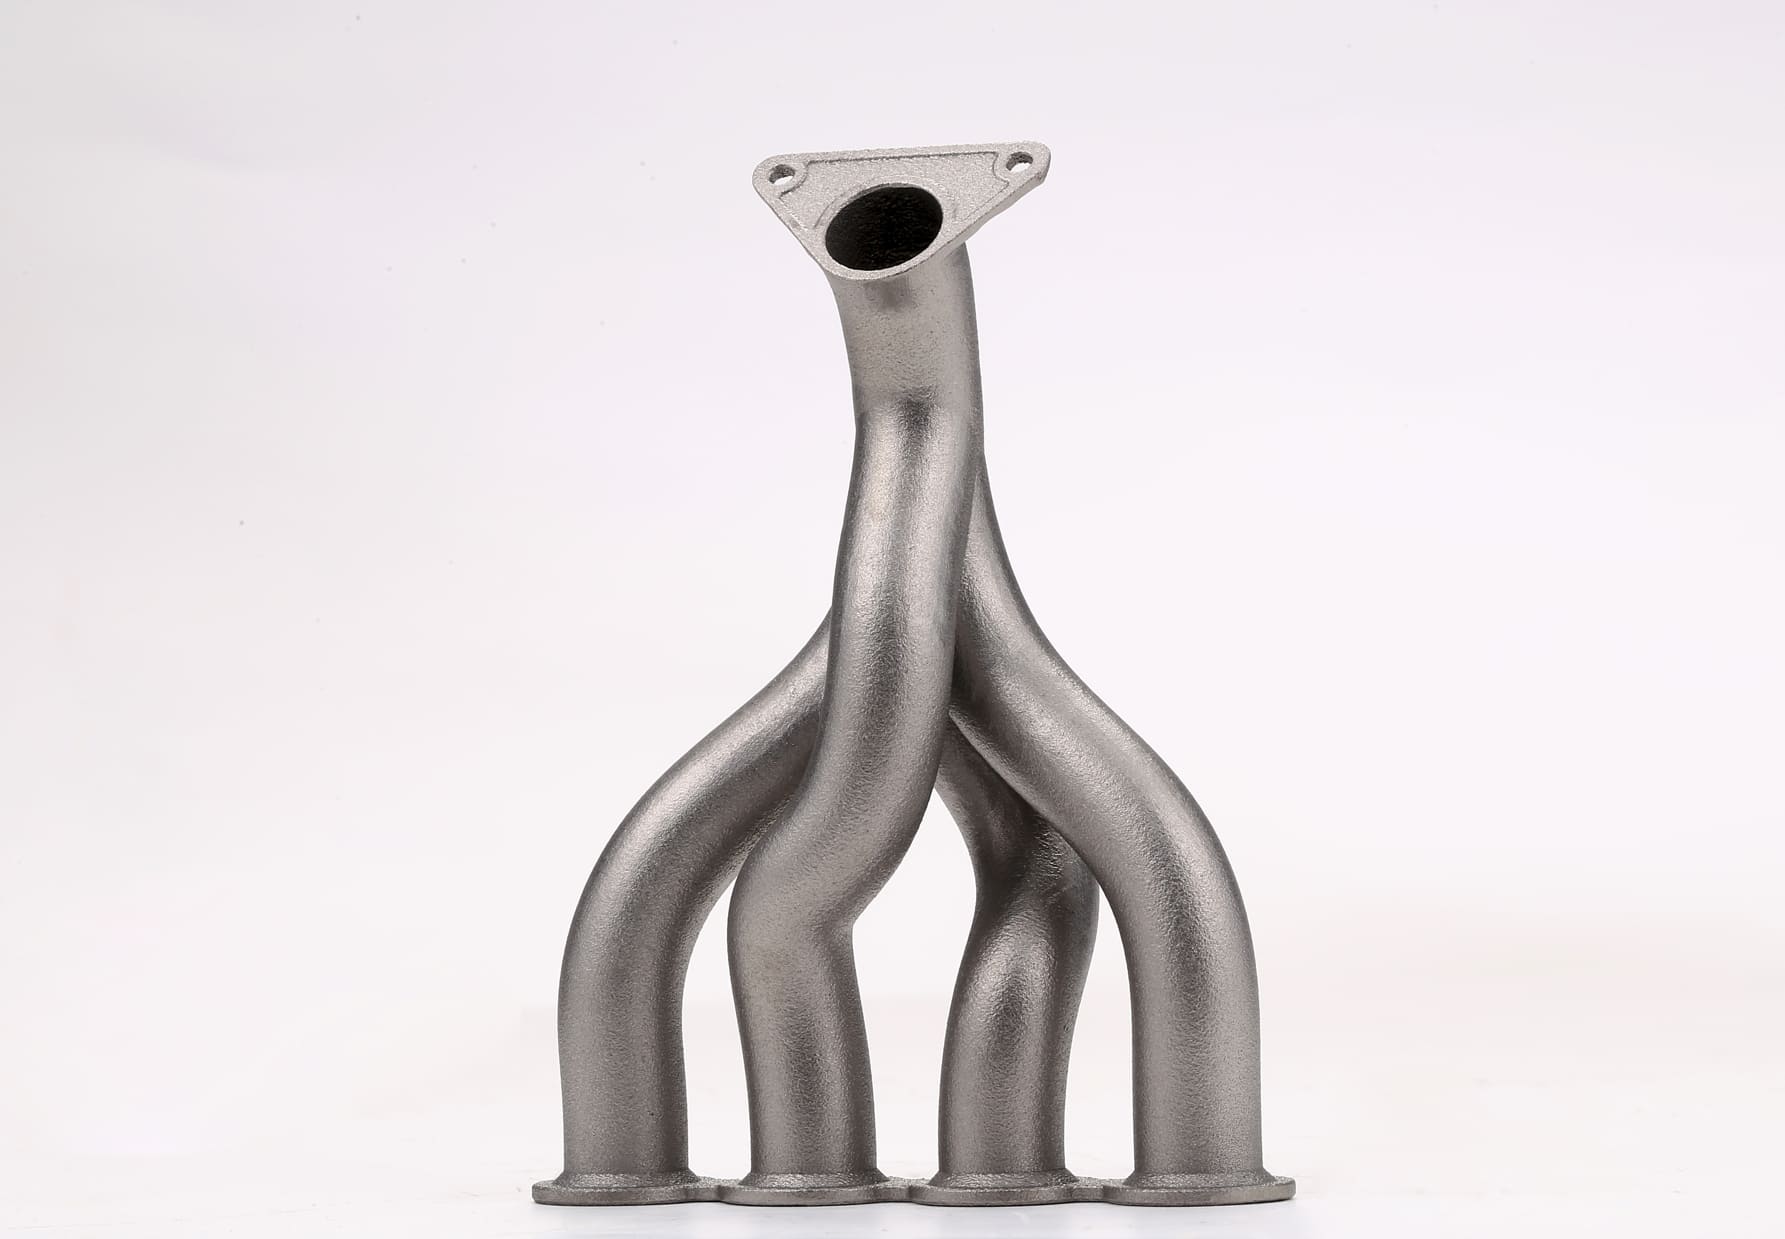
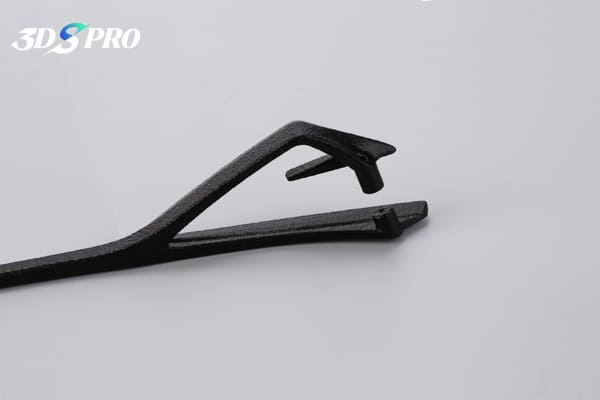
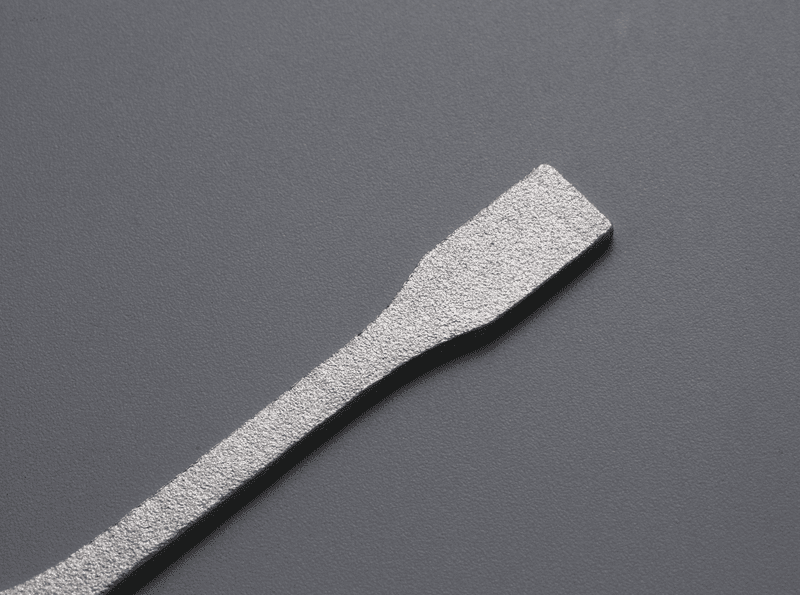
3D Printed Metal without Post-processing (left) vs. Sandblasted 3D Printed Metal (right):
What is sandblasting
Sandblasting, also known as abrasive blasting, is a subtractive post-processing technique to enhance the surface finish of 3D printed objects.
Sandblasting involves propelling a stream of abrasive material against the surface of a 3D printed part under high pressure. The primary goal of sandblasting is to smooth out surface irregularities, remove support material remnants, and provide a uniform, refined finish to the part.
The process begins by placing the object inside a sandblasting cabinet or chamber. Once secured, a high-pressure air gun, loaded with an abrasive material such as sand, glass beads, or other media, is used to blast the part’s surface. The abrasive particles effectively strip away minute layers of the material, smoothing out ridges, reducing the visibility of layer lines, and eradicating any blemishes or imperfections.

Image Source: Grainger
Sandblasting Process
Here’s a detailed breakdown of the sandblasting process tailored for 3D printing applications:
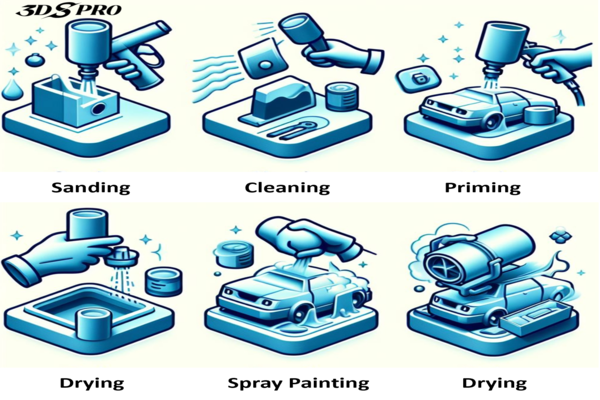
Step 1: Preparation
Before beginning the sandblasting process, it’s crucial to prepare the 3D printed part and the sandblasting equipment. It involves:
● Cleaning the Part: Remove any loose material or debris.
● Selecting the Right Abrasive Media: Choose an abrasive material that is appropriate for the material. For instance, softer materials like PLA may not be suitable for aggressive abrasives.
● Setting Up the Equipment: Ensure the sandblasting cabinet, air gun, and compressor are in good working order.
Step 2: Masking
Areas that require protection or should not be sandblasted must be masked off. It can be done using tape or other resistant materials that can withstand the abrasive force.
Step 3: Sandblasting
With the part and equipment ready, the actual sandblasting process can begin:
● Loading the Abrasive Media: Fill the sandblasting gun with the chosen abrasive media.
● Adjusting Pressure Settings: Set the air compressor to the correct pressure, which will vary based on the material and desired finish.
● Blasting the Part: Hold the gun at a consistent distance from the part and move it in smooth, even strokes to ensure uniform coverage.
Step 4: Inspection and Touch-ups
After the initial sandblasting, inspect the part for any missed spots or uneven areas. Touch-ups may be necessary to achieve a consistent finish across the entire surface.
Step 5: Cleaning
Once the sandblasting is complete, the part should be thoroughly cleaned to remove any residual abrasive material. It can be done using compressed air or a soft brush.
Step 6: Final Inspection
Perform a final inspection to ensure the part meets the desired quality standards. If further post-processing is required, such as painting or coating, the part should now be ready for those steps.

Sandblasting 3D Prints Pros and Cons
Pros
1. Smooth Finish: Sandblasting can significantly reduce the visibility of layer lines and surface imperfections, resulting in a smooth and professional-looking finish.
2. Efficiency: It is a quick process that can finish a part in a fraction of the time it would take to hand sand.
3. Uniformity: Provides a consistent finish over the entire surface of the part, which can be difficult to achieve with manual sanding.
4. Versatility: Different media can be used to achieve various finishes, from matte to glossy, depending on the desired outcome.
5. Prepares Surface for Further Processing: Sandblasting creates an ideal surface for secondary operations like painting or coating, ensuring better adhesion and a more attractive final product.
Cons
1. Material Limitations: Not all 3D printing materials are suitable for sandblasting. For example, PLA can be too soft and may show indentations or lose too much material during the process.
2. Equipment Cost: While DIY solutions exist, professional sandblasting setups can be expensive.
3. Risk of Damage: There’s a risk of blasting through thin walls or intricate details if not done carefully.
4. Safety Concerns: The process generates fine dust that can be harmful if inhaled, requiring proper safety equipment and ventilation.
5. Environmental Impact: Some blasting media can be harmful to the environment, and disposal of used media must be managed responsibly.
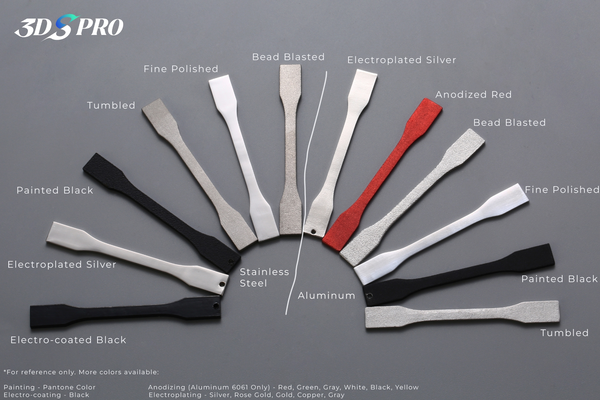
Types of Sandblasting Media
The choice of media can greatly influence the quality and finish of the final product:
Glass Beads
Glass beads are a popular choice for achieving a smooth, matte finish on 3D printed parts. They are gentle enough to clean without causing significant material removal, making them ideal for delicate or intricate prints.
Soda
Soda blasting involves using sodium bicarbonate (baking soda) as the blasting media. It’s a soft, non-destructive medium that is excellent for removing paint or rust without damaging the underlying material.
Silica Sand
Silica sand is a commonly used abrasive due to its availability and cost-effectiveness. It’s suitable for more robust materials that can withstand its aggressive nature.
Silicon Carbide
Silicon carbide is one of the hardest blasting materials available. It’s used for very aggressive sandblasting and is effective at quickly removing material from the surface of the print.
Steel Grit
Steel grit is used for its ability to etch metal and hard plastics. It’s an aggressive media that can smooth out tougher surfaces on 3D-printed parts.
Plastic Media
Plastic media blasting is a softer approach that can be used on 3D prints made of more delicate materials. It cleans and smooths without the risk of pitting or warping the part.
Walnut Shells
Walnut shells are a biodegradable option that provides a less aggressive, eco-friendly alternative to traditional abrasives. They are suitable for smoothing surfaces without removing too much material.
Corn Cob
Corn cob is another biodegradable media that’s excellent for delicate parts. It’s often used for cleaning and polishing without altering the part’s dimensions.

Image Source: Media Blast
Types of Sandblasting Machines
Suction-Based Sandblasters
These machines use a suction mechanism to draw abrasive media from a container into the blasting gun. They are typically less expensive and are suitable for small-scale operations or hobbyists.
Pressure Pot Sandblasters
Pressure pot sandblasters use a pressurized tank where the abrasive media is stored under pressure before being released. This type allows for more control over the blasting process and is ideal for larger or more frequent jobs.
Cabinet Sandblasters
Cabinet sandblasters are enclosed systems that contain the blasting process within a cabinet. They are designed to recycle the abrasive media and are excellent for consistent, repeatable results. Cabinet sandblasters can range from small benchtop models to large industrial-sized units.
Portable Sandblasters
Portable sandblasters are designed for flexibility and mobility. They are often used for on-site work or in situations where the parts cannot be easily moved to a dedicated blasting area.
Automated Sandblasting Systems
Automated systems are used in industrial settings where high volumes of parts need to be processed. These machines can be programmed to handle repetitive tasks with precision and consistency.
Wet Sandblasting Machines
Wet sandblasting machines mix water with the abrasive media, reducing dust and minimizing the risk of inhaling fine particles. This type is particularly useful for materials that are sensitive to heat or prone to warping.
Specialized Sandblasters for Additive Manufacturing
Some sandblasters are specifically designed for the additive manufacturing industry. These machines, like the Norblast 3D7, are tailored to meet the unique requirements of 3D printed parts, offering features that accommodate the characteristics of various printing materials.

Image Source: Norblast
Sandblasting Considerations for 3D Printed Parts
Material Selection
The type of material used for 3D printing plays a crucial role in determining the suitability of sandblasting as a post-processing method. Some materials are too soft and may not withstand the abrasive nature of sandblasting without showing indentations or losing too much material.
Part Geometry
The design of the part can affect how it responds to sandblasting. Thin walls, intricate details, and sharp corners are particularly vulnerable to damage from the abrasive media. It’s important to adjust the blasting pressure and media type to accommodate these features.
Abrasive Media Type
Choosing the right abrasive media is vital for achieving the desired finish without damaging the part. Softer media like walnut shells or corn cob can be used for delicate parts, while harder materials like silicon carbide are reserved for more robust prints.
Blasting Pressure
The pressure at which the abrasive media is propelled against the part must be carefully controlled. Too much pressure can erode the surface excessively, while too little may not achieve the desired level of smoothness.
Safety Precautions
Sandblasting generates fine dust that can be hazardous if inhaled. Proper safety equipment, including masks, gloves, and eye protection, should be used. Additionally, ensure that the sandblasting area is well-ventilated.
Environmental Considerations
The environmental impact of the abrasive media used in sandblasting should not be overlooked. Biodegradable options are preferable, and proper disposal methods should be in place for used media.
Equipment Maintenance
Regular maintenance of the sandblasting equipment is necessary to prevent malfunctions and ensure consistent results, including checking for wear and tear on hoses, nozzles, and the blasting cabinet.
Post-Blasting Cleaning
After sandblasting, the part should be thoroughly cleaned to remove any residual media. This step is crucial to prepare the part for any further post-processing, such as painting or assembly.
3D Plus™ Solutions at 3DSPRO
Our 3D Plus™ Solutions ensure every aspect of the production process is handled with precision and care.
At 3DSPRO, sandblasting is a process that elevates the quality of 3D printed parts to meet professional standards. By using sandblasting, we can:
● Remove Imperfections: By carefully selecting the appropriate abrasive media, we can eliminate surface flaws and prepare parts for further finishing or direct use.
● Enhance Aesthetics: The sandblasting process at 3DSPRO is fine-tuned to improve the visual appeal of parts, giving them a uniform and attractive surface.
● Prepare for Coloring: For parts that require coloring, our sandblasting service creates an ideal surface for industry-leading coloring techniques, ensuring vibrant and lasting hues.
With 3DSPRO, accessing our 3D printing and 3D Plus™ sandblasting services is as easy as a few clicks. Simply upload your 3D models, select the 3D printing services, materials, and post-processing services you need, and let us take care of the rest. It's that simple!
 0
0


COMMENTS
- Be the first to share your thoughts!