Post-processing Methods to Improve Surface Finishes for 3D Printed Parts
The journey from a 3D-printed object to a finished masterpiece is paved with meticulous post-processing. In this article, we unveil the post-processing techniques essential for achieving a superior smooth surface finish.
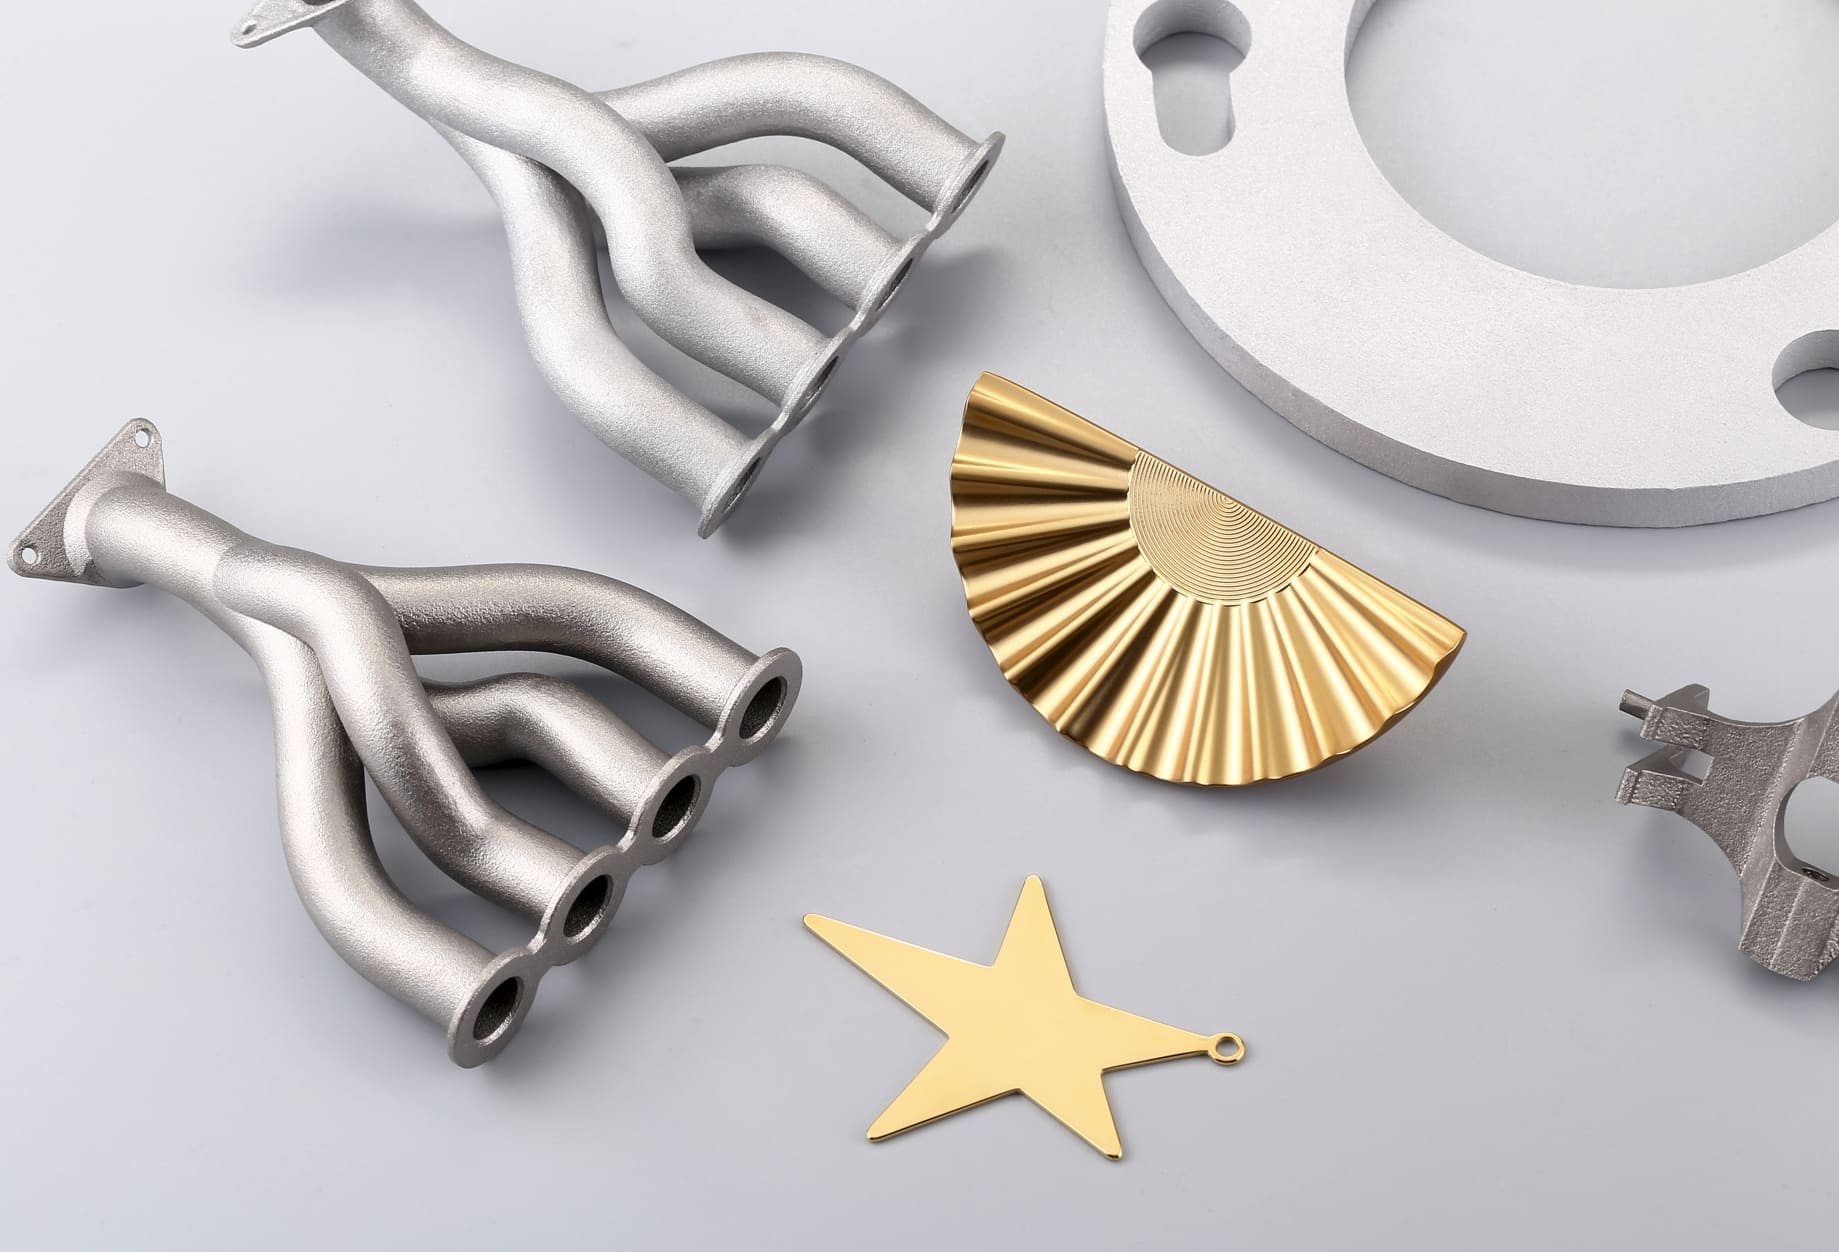
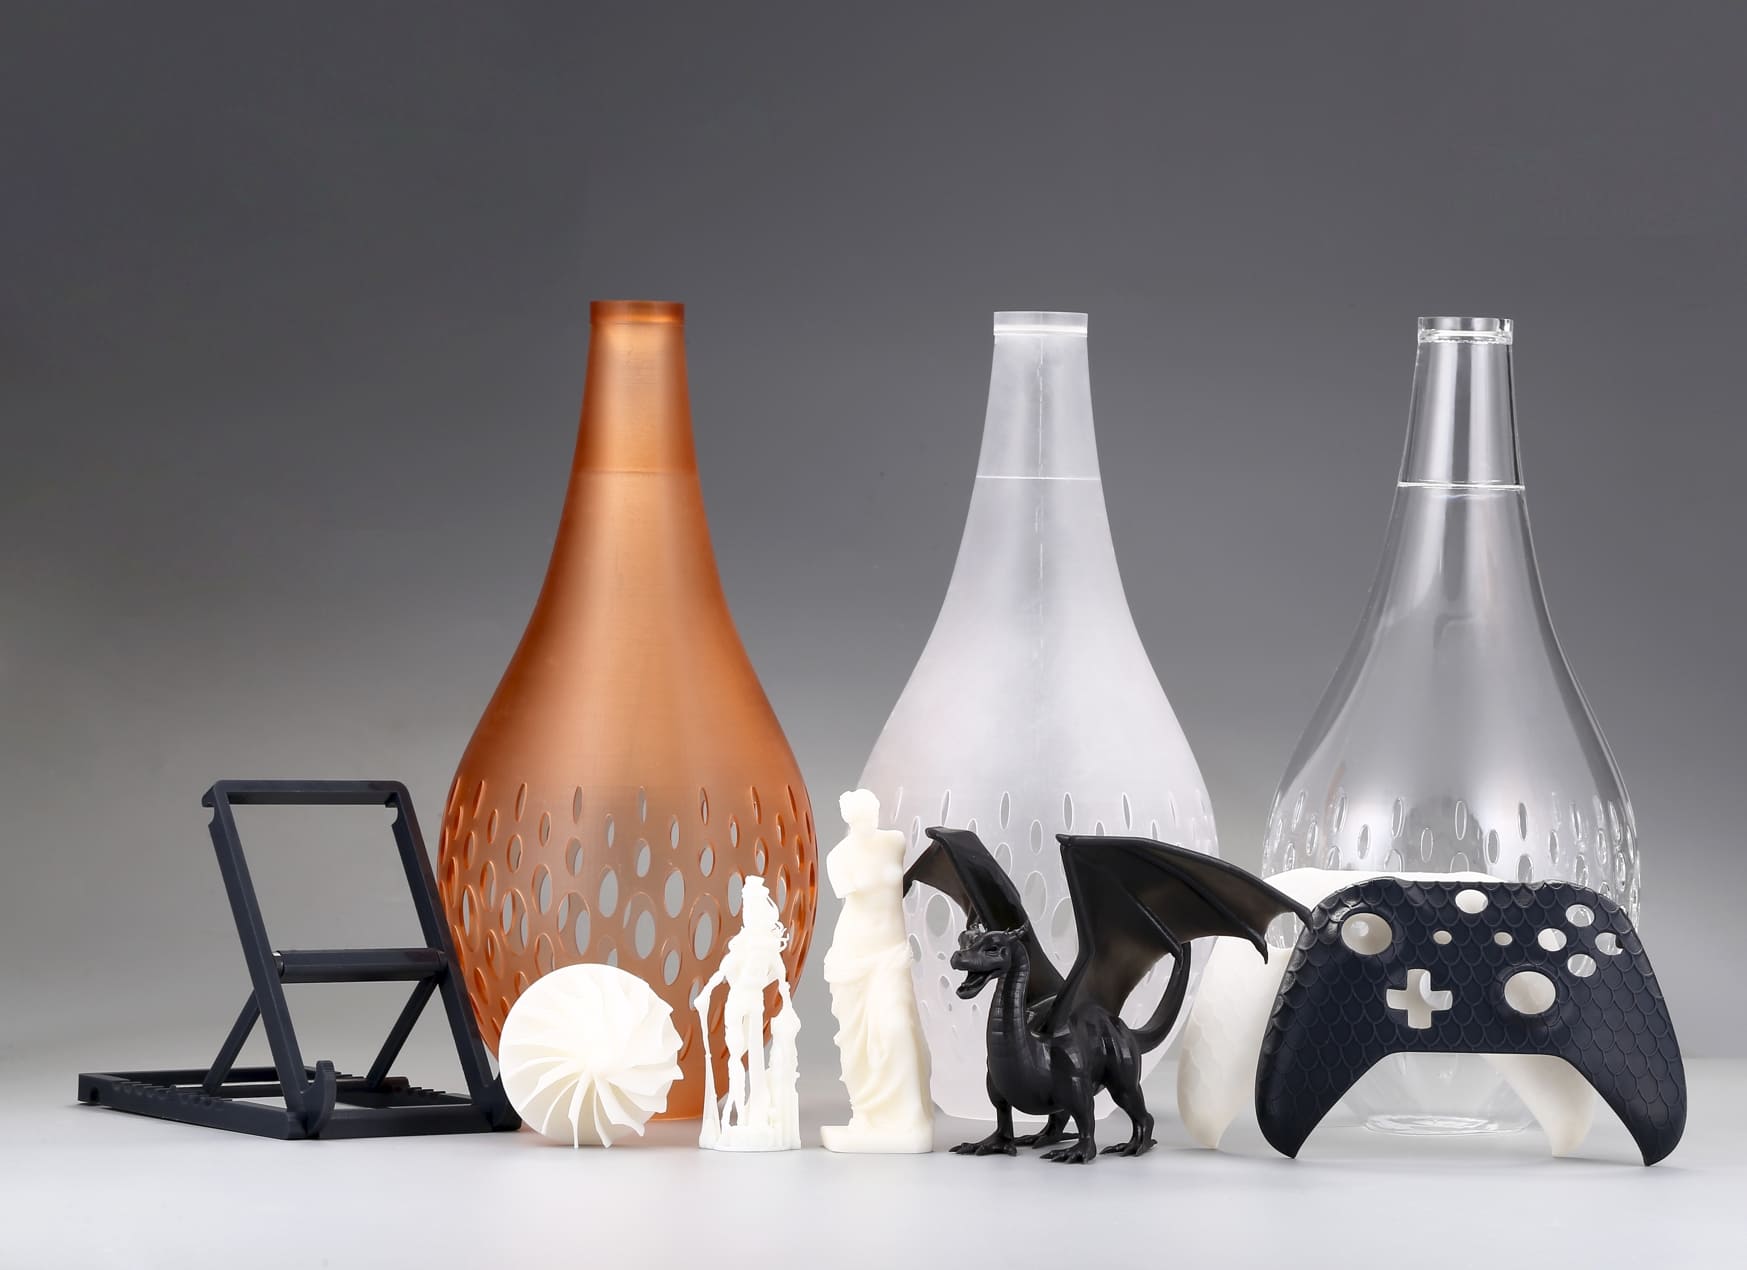
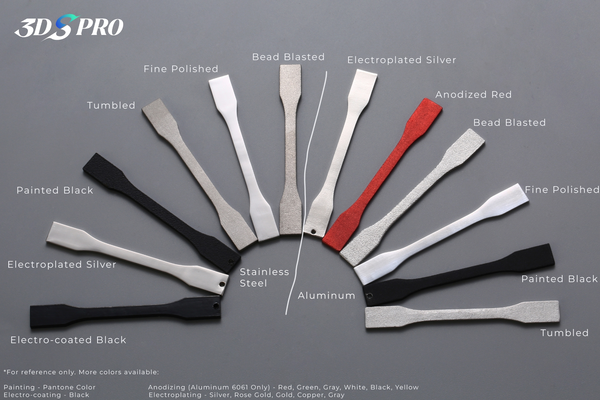
Post-processing includes a variety of techniques for smoothing the surface of 3D prints. Sanding, for instance, methodically eradicates layer lines, smoothing the part to perfection. Sandblasting and bead blasting use high-speed particles to texture surfaces evenly while tumbling in an abrasive environment to polish parts to a subtle sheen. Besides, polishing gives 3D prints a sparkling shine.
As we explore surface smoothing techniques, we will consider factors such as material properties, part complexity, and the intended application.
Sanding
Sanding can refine 3D-printed parts. It’s the cornerstone of surface finishing, capable of transforming a rough, layered texture into a smooth, ready-to-paint surface. This section will guide you through the sanding process, highlighting the tools and techniques for different materials.
Sanding Tools
● Sanding Block: Essential for even pressure distribution, it helps achieve a uniform finish.
● Sanding Sponges: Flexible and adaptable to curves, perfect for complex geometries.
● Sanding Box: Contains the dust and debris, making the process cleaner and more controlled.
● Sandpaper Rolls: Offer continuous abrasion, ideal for larger or multiple parts.
● Sanding Belts: Used with belt sanders, they provide rapid material removal and are great for initial rough sanding.
Grit Progression May Contain:
1. Start with a 180-grit sandpaper to remove the most prominent imperfections.
2. Move to 400-grit to begin smoothing the surface.
3. Progress to 600-grit for further refinement.
4. Use 800-grit to prepare for higher finishes.
5. 1000-grit sandpaper will start to introduce a polished look.
6. Finish with 2000-grit for an ultra-smooth surface ready for painting or further processing.
Notes: Sanding may affect the tolerances of your part. Before selecting sandpaper, consider tolerances, part complexity, and assembly details. If your part has tight tolerances, use a lower grit because higher grit sands away more material.
Material-Specific Techniques
● Plastic Parts: Begin with coarser grits and work your way up, being careful not to over-sand and damage the part.
● Metal Parts (Commly Aluminum Parts and Stainless Steel Parts): Use lubrication, such as soapy water, to prevent sandpaper clogging and achieve a smoother finish. It requires patience and a gentle touch with higher grits to avoid scratching the surface.
Sanding Tips
1. Always sand in a circular motion to avoid creating grooves.
2. Frequently clean the part to check progress and prevent grit buildup.
3. Wear protective gear to safeguard against inhaling fine particles.

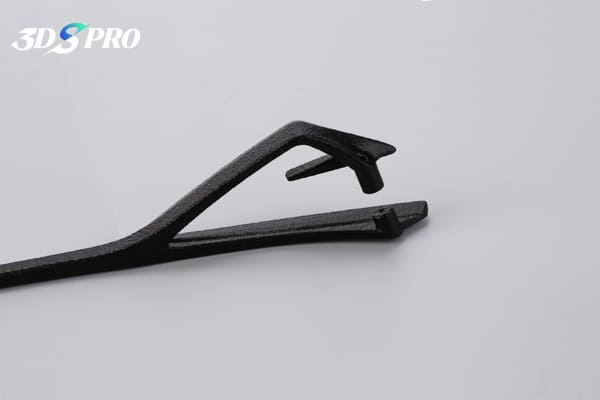
Image Source: Ardec
Sandblasting
Sandblasting, also known as abrasive blasting, is a powerful post-processing technique used to smooth and clean the surface of 3D-printed parts. This method employs high-pressure air mixed with abrasive materials to strip away unwanted material, level out surface irregularities, and provide a uniform finish.
Sandblasting Process
1. Preparation: Ensure the part is clean and free of any loose material. Mask off any areas that should not be blasted.
2. Equipment Setup: Choose the appropriate abrasive medium based on the material and desired finish. Set the pressure according to the part’s tolerance.
3. Blasting: Hold the nozzle at a consistent distance and angle from the part. Move in smooth, even strokes to cover the entire surface.
4. Inspection: Check the part for uniformity and completeness. Repeat the process if necessary.
Safety Considerations
1. Always wear protective gear, including gloves, eye protection, and a respirator.
2. Ensure proper ventilation in the blasting area to avoid inhaling fine particles.
More Knowledge of Sandblasting
Mobile Sandblasting
Mobile sandblasting refers to portable sandblasting equipment that can be brought directly to the workpiece. It’s particularly useful for large or fixed parts that cannot be easily moved to a dedicated blasting area. Mobile sandblasting units allow for flexibility in post-processing, enabling operators to work on-site with minimal setup.
Sand Blasting Cabinets
These enclosed units are designed to contain the blasting process, providing a controlled environment for smaller parts. Sandblasting cabinets not only help to recycle the abrasive material but also protect the operator from dust and debris. They are an essential tool for consistent and safe sandblasting operations.

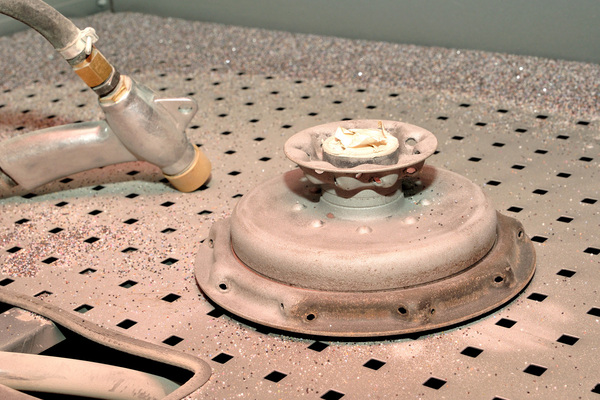
Image Source: BigRep
Bead Blasting
Bead blasting is a finishing technique used to clean and smooth the surface of 3D-printed parts. Unlike sandblasting, which can be more aggressive, bead blasting uses fine glass beads to gently rub the surface, resulting in a uniform, satin, or matte finish that is aesthetically pleasing and often desirable for its soft glow.
What is Bead Blasting?
Bead blasting is a process that propels small glass beads at high speed onto the surface of a part. It is ideal for delicate parts or when a more refined finish is required. The bead-blasting finish is characterized by a clean, smooth, and consistent surface that can enhance the appearance of both metal and plastic parts. It effectively removes surface defects and prepares parts for subsequent processes like spray painting or anodizing.
Bead Blasting vs. Sandblasting
While both processes improve surface finish, bead blasting is often preferred because it provides a more controlled and less damaging finish. Sandblasting can sometimes be too harsh for certain materials or applications, whereas bead blasting offers a gentler alternative.
Glass Bead Grit Size Chart
The size of the glass beads used in bead blasting is measured in grit, with a range of sizes available to achieve different finishes. A grit size chart helps in selecting the appropriate bead size for the desired outcome. Smaller beads will provide a finer finish, while larger beads are used for more substantial material removal or to impart a specific texture.

Image Source: Vaniman Manufacturing Co.
Bead Blasting Process
1. Preparation: Clean the part and ensure it’s free from oils and other contaminants. Mask any areas not to be blasted.
2. Bead Selection: Choose the correct bead size from the grit size chart based on the desired finish.
3. Blasting: Adjust the equipment to the correct pressure setting and blast the part evenly, maintaining a consistent distance and angle.
4. Inspection: After blasting, inspect the part for uniformity and ensure all areas have been adequately treated.
Safety Measures
1. Wear protective clothing, gloves, and eye protection.
2. Use a well-ventilated area or a blasting cabinet with proper dust extraction.

Image Source: TBK Metal
Tumbling
Tumbling is a post-processing method that stands out for its ability to finish a batch of parts uniformly with minimal manual intervention. This process, also known as barrel finishing, involves placing 3D-printed parts in a tumbling machine filled with abrasive media. The machine’s rotation causes the media to rub against the parts, effectively smoothing and polishing their surfaces.
Tumbling Finishing
The finishing achieved through tumbling is characterized by a consistent, all-over smoothness that is often difficult to attain through other methods. The choice of media—ranging from ceramic pellets to steel pins—can influence the level of abrasiveness and the final appearance of the parts.
Tumbling Metal Parts
Metal parts, in particular, can benefit significantly from tumbling. The process not only smooths out rough edges but also helps remove machining marks and prepare surfaces for further treatment or coating. Tumbling is especially beneficial for parts with intricate designs or hard-to-reach areas where manual finishing would be challenging.
Tumbling Process
1. Selection of Media: Depending on the desired finish, select the appropriate tumbling media. Consider factors like size, shape, and material of the media.
2. Loading the Tumbler: Place the parts and media into the tumbling machine. Ensure that the machine is adequately supplied to allow for adequate movement.
3. Tumbling Cycle: Set the machine to the correct speed and duration. A typical cycle lasts from a few hours to several days.
4. Post-Tumble Cleaning: Once the cycle is complete, separate the parts from the media and clean them to remove any residual dust or debris.
Advantages of Tumbling
● Efficiency: Tumbling can process many parts simultaneously, saving time and labor.
● Uniformity: Provides an even finish across all surfaces of the part.
● Accessibility: Reaches into crevices and other difficult areas that manual methods might miss.
Considerations
1. Material Compatibility: Ensure the media is suitable for the part material to prevent damage.
2. Part Integrity: Delicate parts may require cushioning or a gentler tumbling action.

Image Source: Inovatec Machinery
Polishing

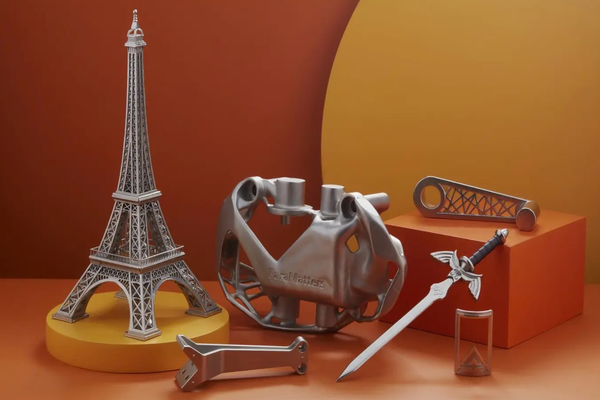
Image Source: Desktop Metal
Polishing is to achieve a mirror-like finish that not only looks impressive but also meets functional smoothness requirements. This stage is particularly crucial when the surface roughness—or the irregularities on the surface—needs to be minimized to precise specifications. Here, we'll discuss the importance of polishing and how it relates to surface roughness parameters such as Ra, Rz, Rt, and Rq.
Understanding Surface Roughness
Surface roughness is a measure of the texture of a surface, quantified by the deviations in the direction of the normal vector of a real surface from its ideal form. If these deviations are large, the surface is rough; if they are small, the surface is smooth.
Roughness Parameters
● Ra (Roughness Average) is the arithmetic average of the absolute values of the surface height deviations measured from the mean plane.
● Rz (Average Maximum Height) is the average of the individual heights of the highest peak to the lowest valley over several sampling lengths.
● Rt (Total Roughness) is the total vertical distance from the highest peak to the lowest valley within a single sampling length.
● Rq (Root Mean Square Roughness) is the square root of the average of the squared values of the surface height deviations.
Polishing Process
1. Preparation: Begin with a part that has been previously sanded or bead-blasted to ensure a uniform starting surface.
2. Selection of Polishing Tools: Use fine-grit polishing papers, cloths, or specialized buffing wheels depending on the material and required finish.
3. Application of Polishing Compounds: Apply suitable compounds that can range from diamond paste for hard metals to wax-based products for plastics.
4. Polishing Technique: Employ a gentle, circular motion to avoid introducing new scratches. The pressure should be consistent but light to medium, depending on the material.
5. Measurement of Surface Roughness: Utilize a surface roughness tester to measure the Ra value post-polishing, ensuring it meets the required specifications.
Tips for Effective Polishing
1. Gradual Progression: Move from coarser to finer polishing compounds to gradually refine the surface.
2. Cleanliness: Keep the part clean between stages to prevent contamination with coarser particles.
3. Patience: Polishing is a time-consuming process that should not be rushed to achieve the best results.
Ra Surface Roughness Chart
A Ra surface roughness chart is a visual tool for comparing a part's surface finish against standardized roughness grades. It helps determine whether the polishing process has achieved the desired level of smoothness.

Image Source: Rapid Direct
Choose the Right Technique Based on the Final Application
Different applications demand varying levels of surface finish. Parts intended for aerospace applications may require a high degree of precision and smoothness, while those for artistic installations may prioritize visual appeal.
A medical implant will have stringent smoothness requirements to prevent bacterial growth, whereas a prototype may only need a basic finish to convey an idea.
If the part is assembled with others, the fit and tolerance are fundamental. A smoother finish can ensure a tighter fit, while a rougher finish might be suitable for parts that need adhesives or are meant to be press-fit.
Choosing the Technique
● Sanding is ideal for parts that require a smooth finish with minimal equipment investment.
● Sandblasting is best for parts needing a uniform surface without the precision of polishing.
● Bead Blasting is suitable for parts that benefit from a matte finish, such as those that remove stains, hide fingerprints, or reflect light.
● Tumbling is effective for bulk processing of metal parts where uniformity is key.
● Polishing is reserved for parts that demand a high-gloss finish or need to meet strict smoothness specifications.
Considerations for Selection
● Material Type: The part's material will affect its compatibility with certain post-processing methods.
● Geometric Complexity: Intricate designs may require more delicate finishing techniques.
● Time and Cost: Some methods are more time-consuming or costly than others, impacting the feasibility of large-scale production.
 0
0


COMMENTS
- Be the first to share your thoughts!