What Multi-Color Means
Multi-color is a set of different strategies that achieve colored results at varying cost, fidelity and durability:
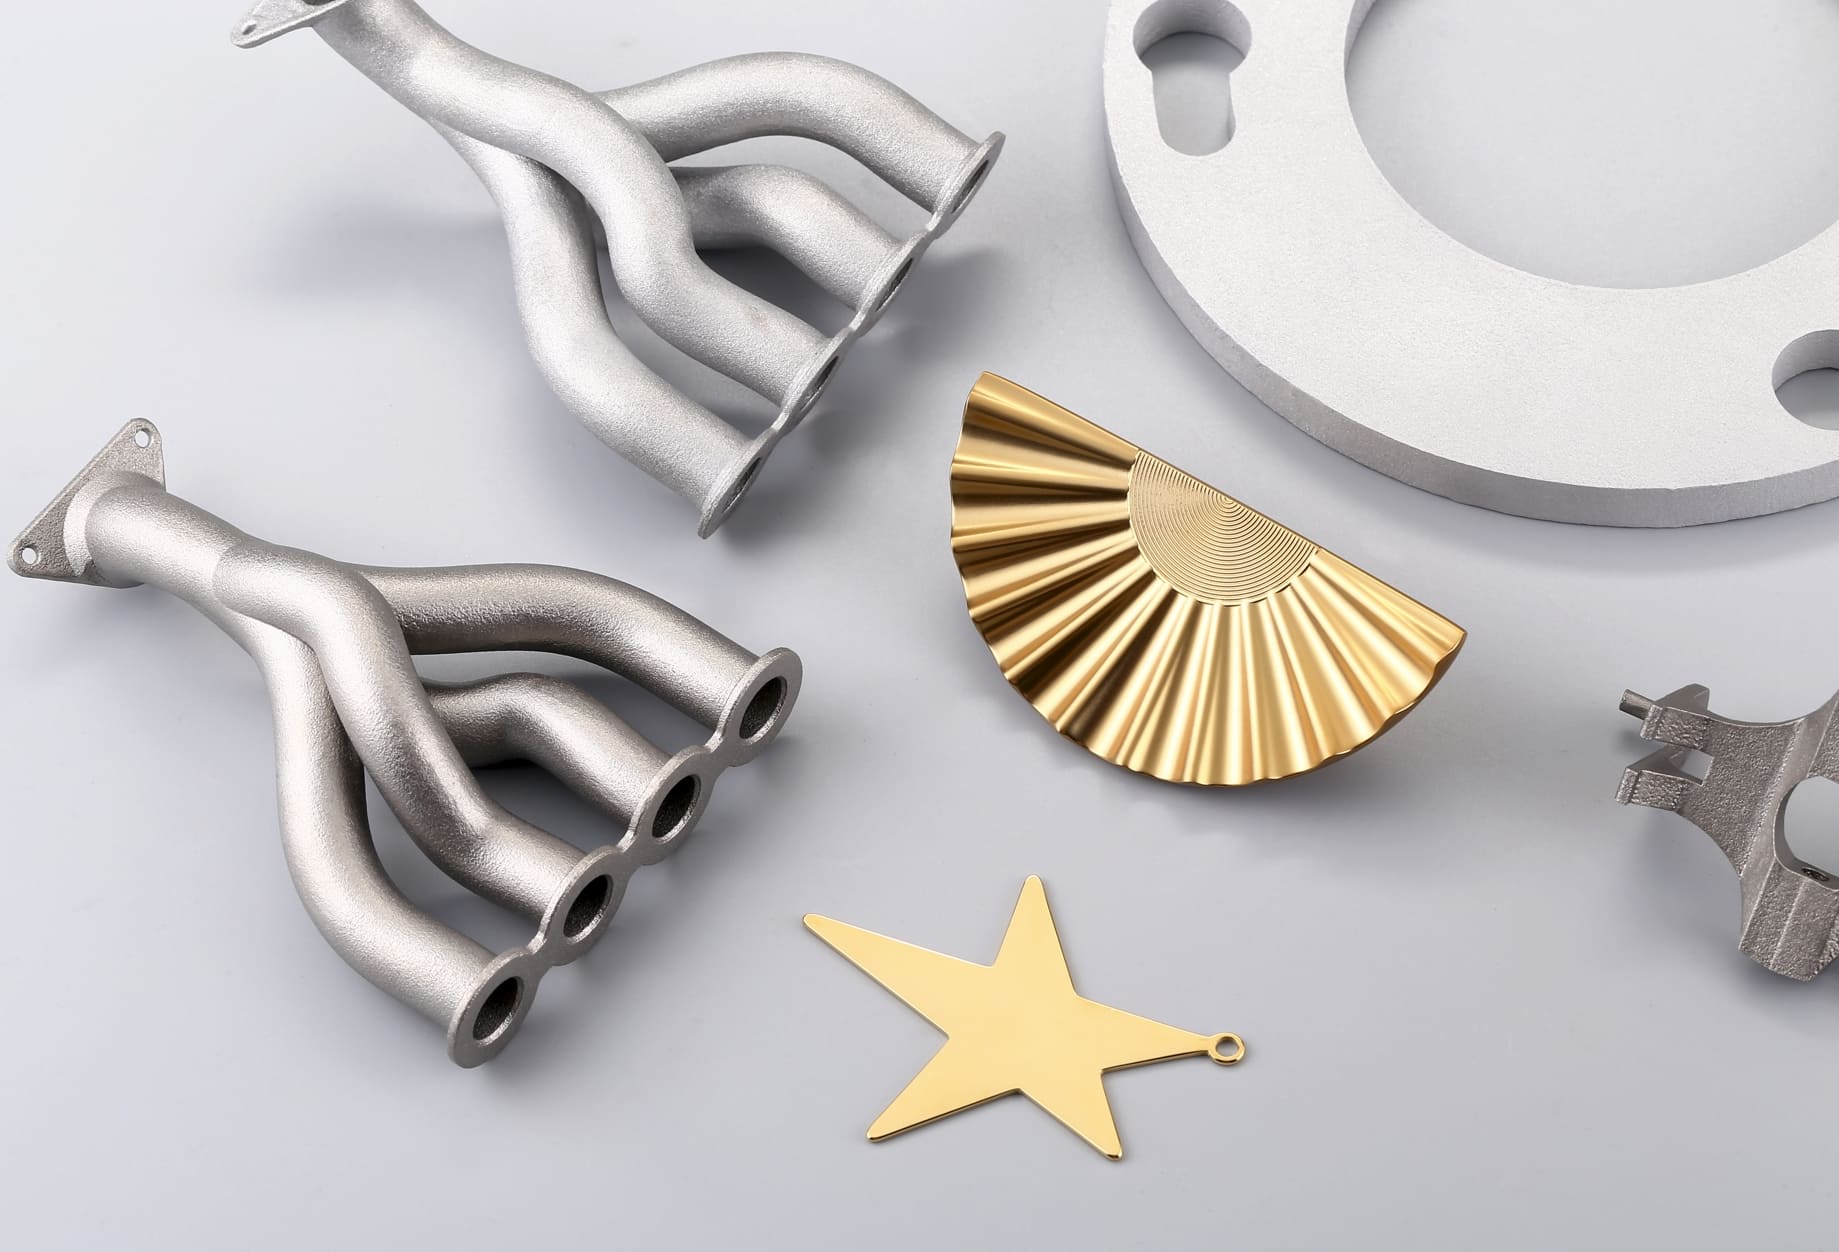
• Native in-print color: the printer deposits different colored materials during the build (e.g., material-jetting / PolyJet, binder-jet full-color). These methods usually give the best color fidelity and fine detail in a single run.
• Multi-material single run: printers with multiple extruders/nozzles or multi-feed systems switch materials during printing (common in FDM/FFF).
• Sequential color by segmentation: print different colored parts separately and assemble them (useful when tight tolerances are required).
• On-printer color changes: pause and swap filament mid-print on a single-nozzle printer.
• Post-process color: painting, dyeing, inkjet coating, or decals added after printing.
Native color methods cost more but give high fidelity; filament swaps and assembly are cheap but labor-intensive; post-processing adds control but means extra steps.
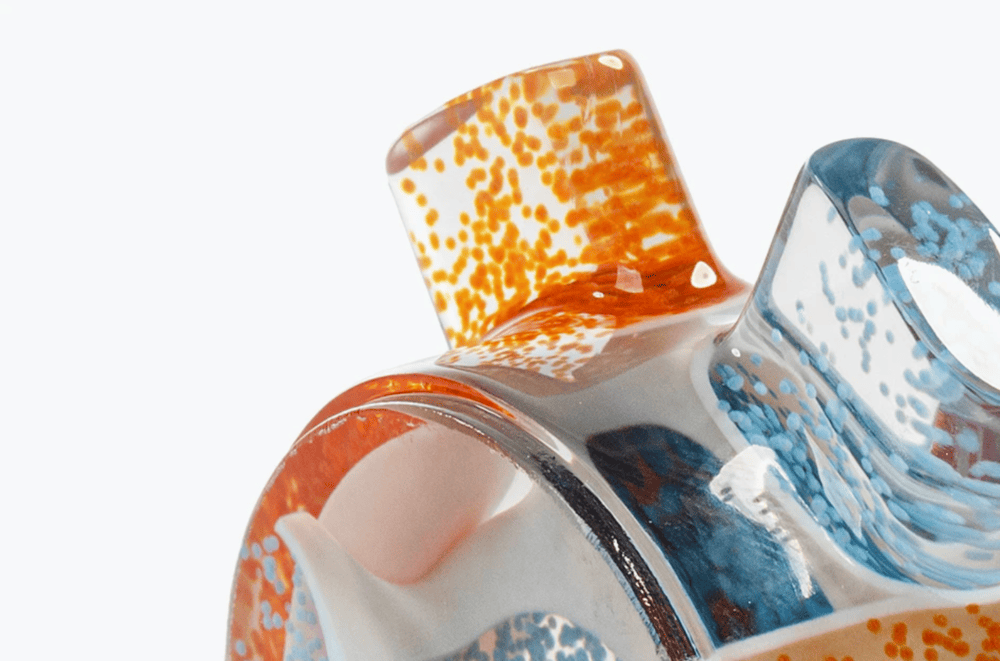
Image Source: Materialise
Quick Comparison
|
Technology |
Best for |
Quick note |
|
FDM / FFF |
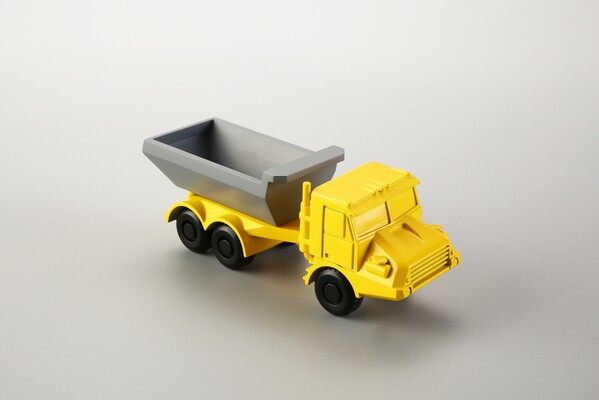
Cheap multi-color prototypes, toys |
Filament swaps or dual extruders; easy and low-cost but lower color fidelity. |
|
Resin (SLA/DLP/LCD) |
High-detail models for painting (miniatures, jewelry) |
Usually printed single-color then painted/dyed; excellent detail, limited native color. |
|
Material-Jetting (PolyJet) |
Photorealistic, full-color prototypes |
Native full-color output (CMYK-like); very high fidelity but expensive. |
|
Binder-Jet / Color Powder |
Full-color figurines, architectural models |
Prints full color in one run but needs infiltration/sealing; parts can be fragile pre-finish. |
Easy Starter Method
If you want to start today and have a standard FDM printer, the filament swap (pause-and-change) method is the fastest way to get multi-color parts.
Why start here: no extra hardware, minimal learning curve, and cheap.
What You Need
• Slicer that supports “pause at layer” / filament change (PrusaSlicer, Cura, Simplify3D, etc.)
• A model prepared with color boundaries (either separate meshes or a planned layer number)
• Multiple filament spools (clean colors) and a scrap filament piece for purging
Quick Tips
• Use a brim/raft if you worry about wobbles during manual swaps.
• To hide the start/stop on the layer, pick a flat horizontal band where seams are less visible.
• If under-extrusion happens after the swap, prime more filament before resuming.
Prosumer Method
When you want cleaner transitions or multiple colors without constant intervention, prosumer options are the next step.
Options
• Dual (or multiple) extruders: Two nozzles feed simultaneously. You assign parts or mesh colors to each extruder in the slicer. Expect to calibrate nozzle offsets and manage ooze between nozzles.
• MMU / Multi-feed units: Single nozzle but automatic filament switching (several filament spools fed into one hotend). Good for 4–5 colors depending on the model.
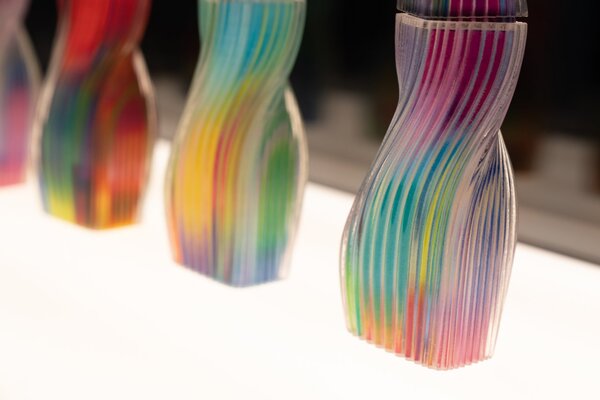
• Color-blending hotends: Mix filaments inside the melt zone to produce gradients and blends.
When to Use
Multi-colored logos, stripes, or complex parts you want to print in a single run with relatively crisp boundaries.
Industrial Methods
If you need the best color fidelity or production runs, look at industrial technologies or service bureaus.
Material-Jetting
• What it does: jets droplets of colored photopolymer, curing them layer by layer — effectively prints full-color parts with smooth gradients and fine detail.
• Use cases: photorealistic prototypes, anatomical models.
• File prep: textures and color maps (use formats that support textures or 3D paints) and set material assignments in the print software.
Binder-Jet Full-Color Powder
• What it does: an inkjet binder with color inks binds powder selectively; parts are then cured, infiltrated and sealed.
• Use cases: figurines, full-color architectural or product models.
• Finishing: infiltration (strengthening) and sealing are usually necessary.
Resin Workflows
• Resin swapping: can be used for segmented color if you can print discrete sections and glue them. Swapping vats mid-build is usually impractical.
• Post-print finishing: painting and dyeing cured resin often produces the best visual results for miniatures and jewelry prototypes.
Practical Tip
For high-fidelity color jobs, using a specialist service saves time as they handle color management, textures, and finishing.
Post-Processing & Finishing
Most multi-color prints benefit from a little finishing. These techniques are where a good color result becomes great.
Painting and Masking
Use a primer suited to your material, then mask crisp edges with low-tack tape before airbrushing or brush painting. Thin coats build color without obscuring detail.
Dyeing and Staining
Certain powders and some resins accept dyes well; dye baths or controlled staining can color porous parts efficiently.
Sealing and Infiltration
Binder-jet parts often need infiltration (epoxy or cyanoacrylate) to increase strength and then a clear coat to protect the color. Apply a matte or gloss clear coat depending on the desired finish.
Achieving Crisp Lines
Mask before painting, use fine-grit sanding between light coats, and finish with a sealed clear coat. For FDM, consider printing thin separations between color zones to hide layer seams or use mechanical joins (snap fits) that mask edges.
 0
0


COMMENTS
- Be the first to share your thoughts!