Threaded features are common in functional parts, but they are also one of the most difficult details to get right in 3D printing. A thread may look fine in CAD, yet once it is printed, the fit can be too tight, too rough, or too weak to assemble properly. In many cases, the real challenge is not designing a thread at all, but making it actually usable after printing.
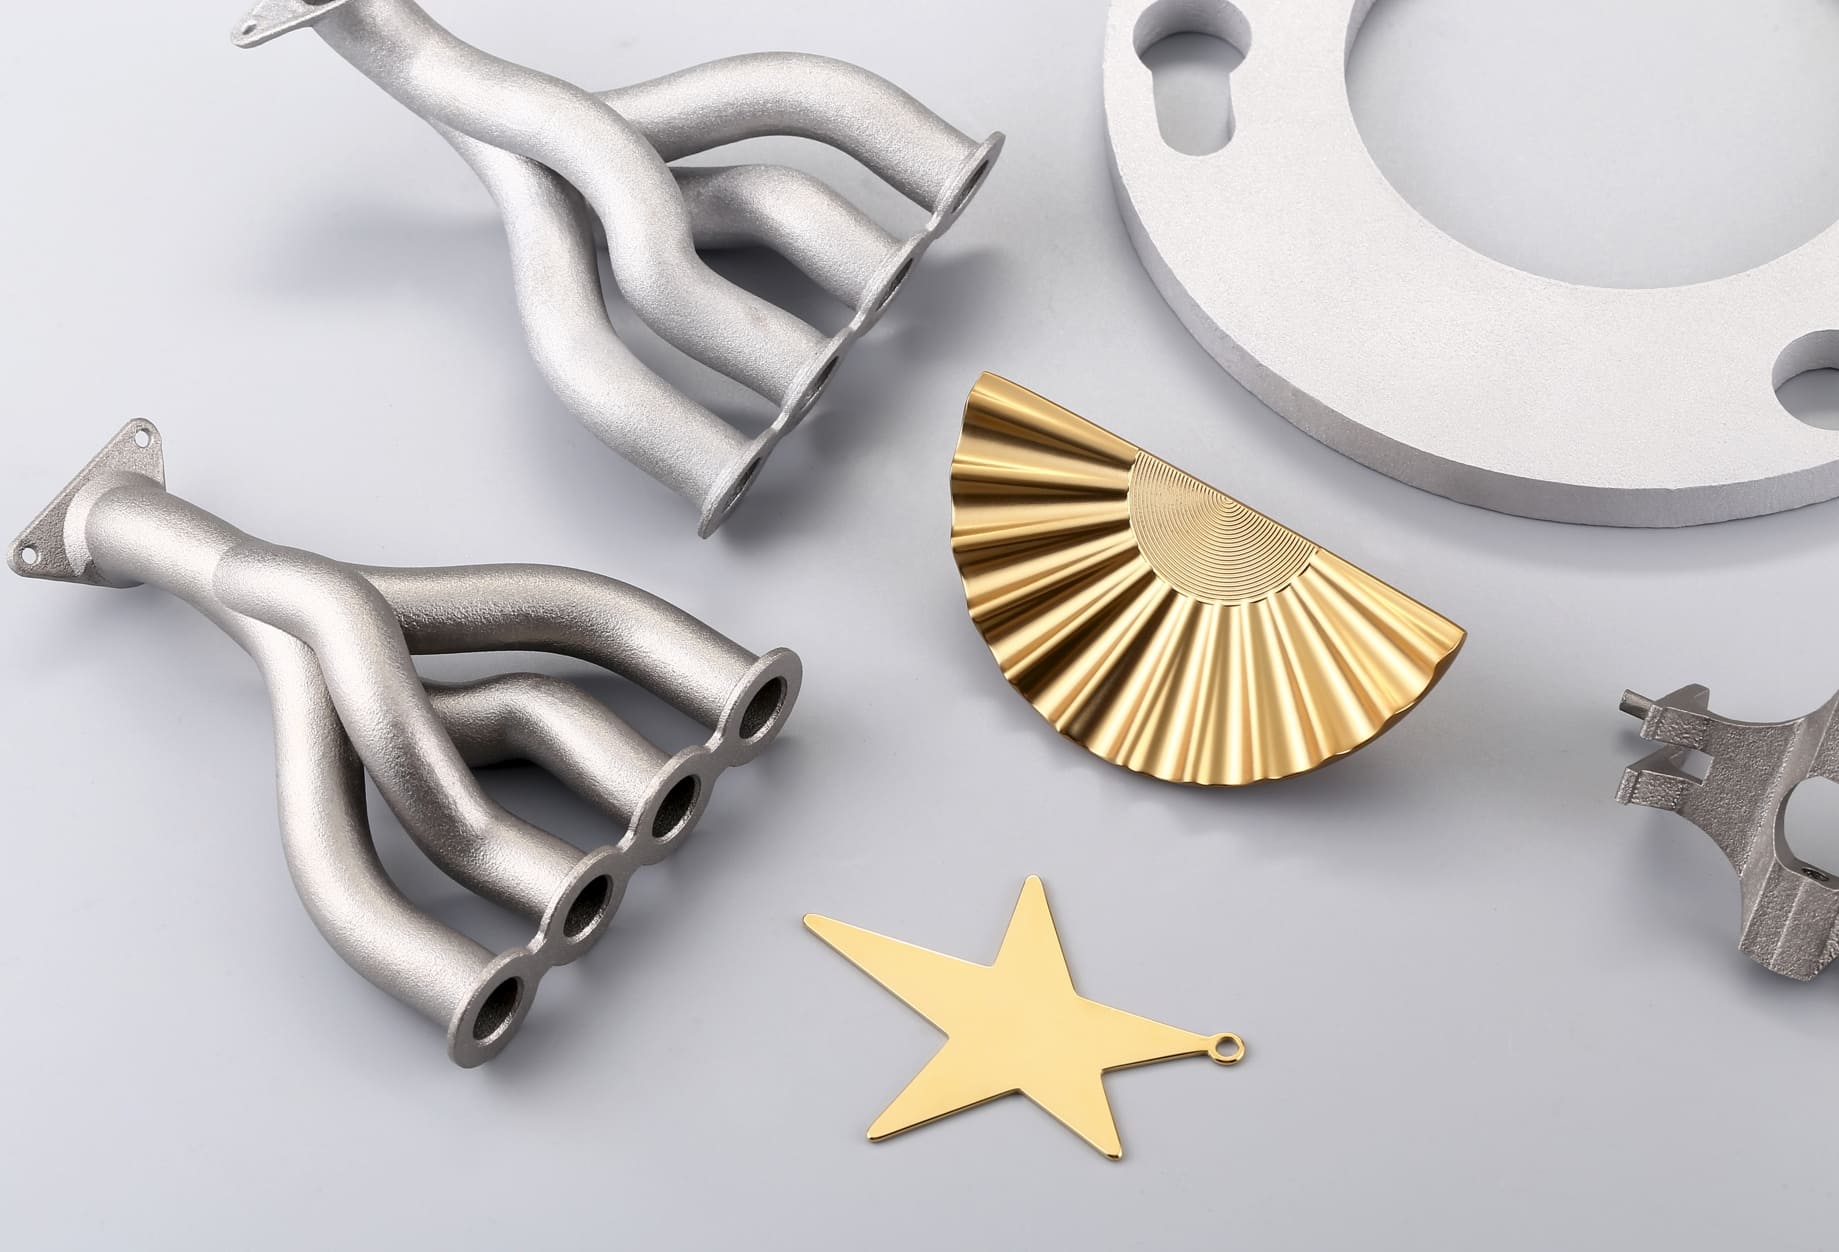
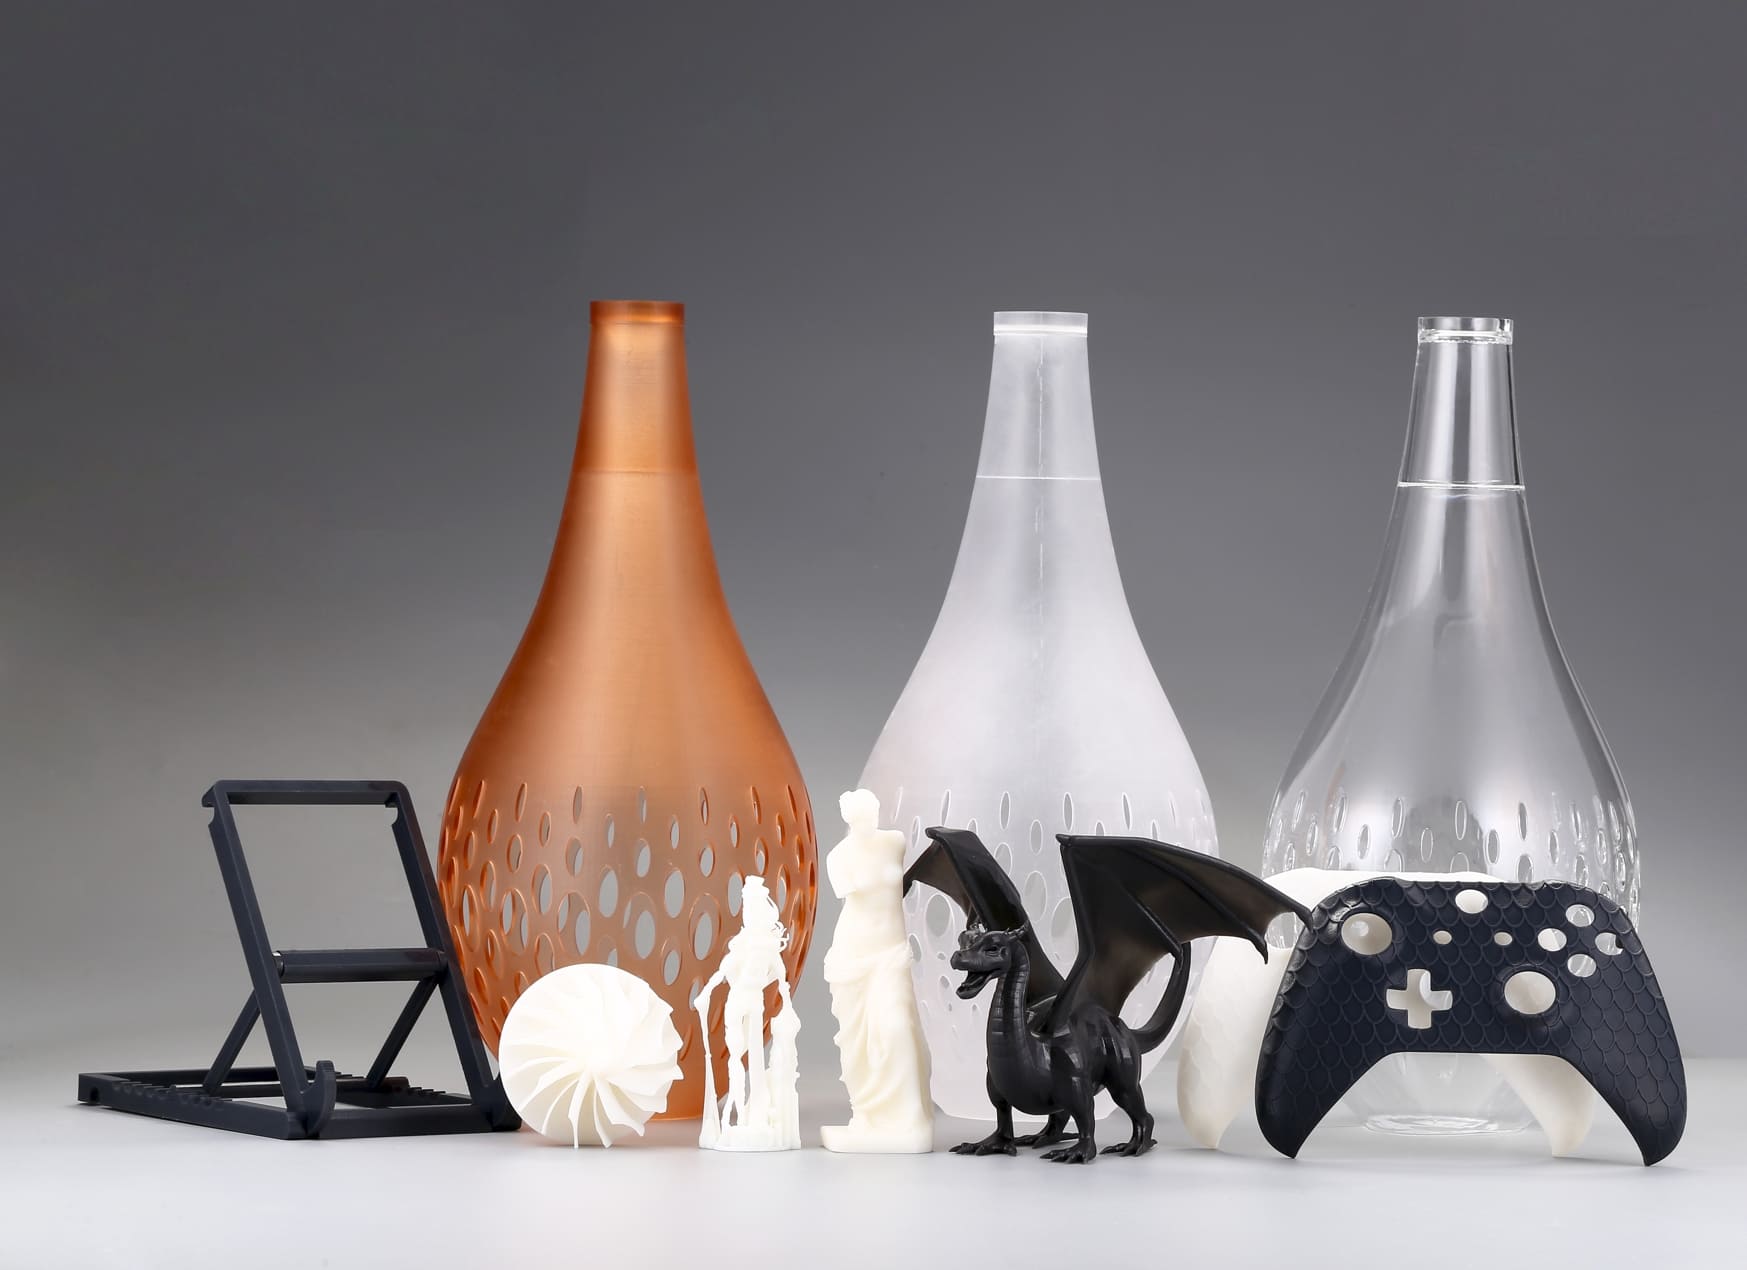
AI Generate Image
Why Threads Are Difficult in 3D Printed Parts
Threads are hard to print because they are small, precise, and highly sensitive to surface quality. Most 3D printing processes build parts layer by layer, which creates visible layer lines and small dimensional variations. Those tiny differences may not matter on a flat surface, but they can make a big difference on a screw thread.
One problem is surface roughness. A thread needs smooth contact between the male and female sides to start and tighten properly. When the printed surface is stepped or slightly uneven, the thread may bind, feel gritty, or jam before it reaches full engagement.
Another issue is dimensional accuracy. 3D printing is accurate enough for many features, but threads often need tighter tolerances than general-purpose shapes. A hole that is only slightly undersized may make tapping difficult. An external thread that is slightly oversized may damage the mating part. Even a small error can turn a functional thread into a frustrating one.
Material behavior also matters. Some plastics shrink as they cool, while some resins can be brittle after curing. A thread made in a brittle material may crack or strip under load. A thread in a flexible material may assemble easily but wear out quickly. In other words, the printing method and material both influence whether a thread can be used reliably.
Orientation adds another layer of complexity. A thread built in one direction may have better layer bonding than one built in another direction. The same part printed on a different machine or rotated in the build chamber may behave differently. This is why direct 3D printed threads often need testing before they can be trusted in production.
When Directly Printed Threads Are Not Enough
Directly printed threads can work for some low-load or one-time-use applications, but they are not always the right choice. If the part needs to be assembled repeatedly, carry real mechanical force, or maintain a precise fit over time, direct printing may fall short.
Fine threads are a common problem. Smaller thread profiles are harder for printers to reproduce accurately, especially on FDM parts. The details may blur together, leaving a rough or incomplete thread. Coarse threads are usually more forgiving, but even they may need adjustment depending on the printer and material.
Printed threads also struggle when the fit needs to be exact. If a threaded part must seal, clamp, or hold alignment, a loose or rough thread can cause failure. This is especially important in functional housings, fixtures, machine parts, and custom components where the thread is part of the part’s performance, not just its appearance.
Repeated use is another concern. Screws that are installed and removed often will gradually wear down printed threads, especially in softer plastics or brittle resins. In those cases, the thread may work once or twice but become unreliable after that. That is why many designers choose a stronger post-processing solution instead of relying on the printed profile alone.
Best Ways to Make Threads Usable
There are several ways to make threaded features usable in 3D printed parts, and the best option depends on what the part needs to do.
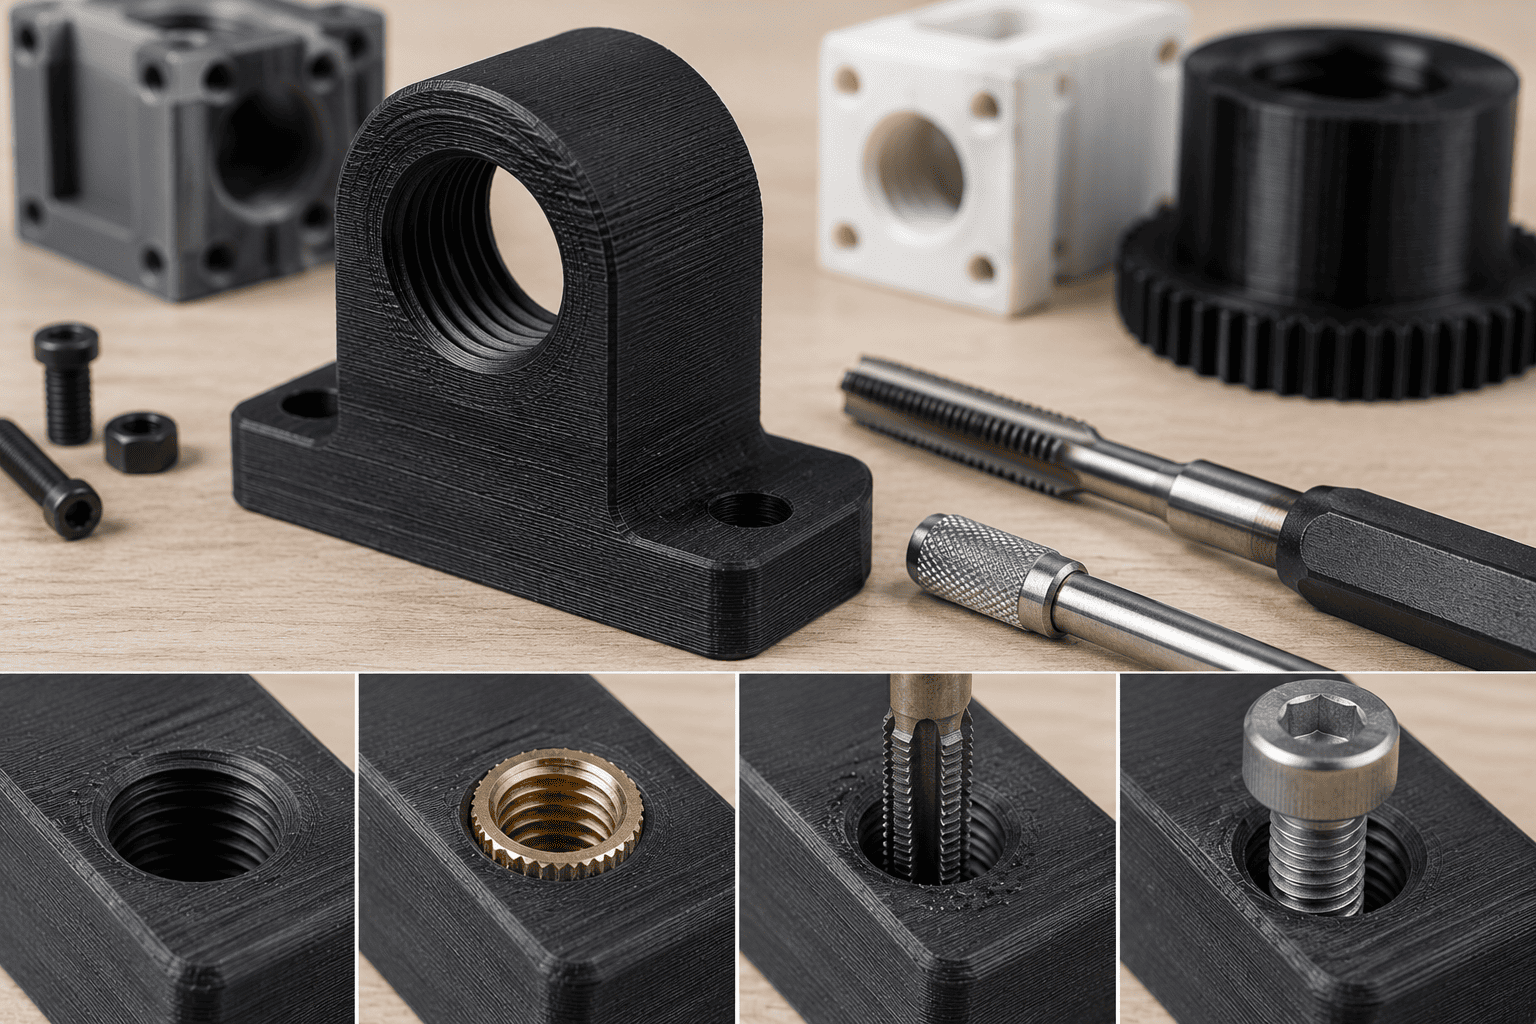
Tapping
After printing, a hole can be drilled or cleaned up and then tapped to create a more accurate internal thread. This is a practical choice when the printed hole is close to the right size and the part material can hold the tapped profile. Tapping usually improves fit and makes the thread easier to assemble than a fully printed thread.
Threaded Inserts
These metal inserts are added to the printed part to provide a durable fastening point. Heat-set inserts work well in many thermoplastics, while press-fit inserts can be used in other designs. Inserts are especially useful when a screw will be installed and removed many times, or when the connection must resist wear over time.
Machining after Printing
In this method, the printed part is treated as a near-net-shape component and then finished with drilling, tapping, or threading tools. This is ideal for parts that need better accuracy, stronger threads, or a cleaner final fit. Machining is especially helpful when the thread has to meet a specific mechanical requirement that printing alone cannot reliably achieve.
In some cases, a combination of methods is best. For example, a designer may print the part with extra material around the hole, then drill and tap it later. Or a part may use a printed hole as a guide for an insert. The goal is not to force every thread to come directly from the printer, but to choose the method that makes the connection actually usable.
Design Tips to Support Post-Processed Threads
Good design makes post-processing much easier. If a threaded feature will be tapped, inserted, or machined later, the CAD model should support that from the start.
First, leave enough material around the hole. Threads place stress on surrounding walls, so thin walls can crack or deform during tapping or insert installation. A stronger wall gives the thread more support and improves long-term durability.
Second, size the hole for the chosen process. If the part will be tapped later, the printed hole should usually be slightly undersized so it can be cleaned up to the final dimension. If the part will use a heat-set insert, the hole should match the insert geometry closely enough to hold it securely. Planning this in advance reduces rework and improves consistency.
Third, add chamfers or lead-ins where possible. A small chamfer helps the screw start more easily and makes tapping cleaner. It also reduces the risk of cross-threading, which is a common issue when the edge is too sharp or irregular.
Fourth, think about tool access. If a hole is buried deep inside a part or too close to another surface, post-processing tools may not fit properly. A design that looks compact in CAD can be difficult to finish in real life. Leaving room for taps, drills, and installation tools makes the process much smoother.
Finally, test before full production. Thread performance can change depending on material, printer, and finish. A quick prototype can reveal whether the hole size, wall thickness, and post-processing method are all working together. Small adjustments early on can prevent larger failures later.
3DSPRO’s Post-processing Services for 3D Printed Parts
For many functional parts, post-processing is what turns a printed model into a usable component. That is especially true for threaded features, where accuracy and fit matter just as much as print quality. 3DSPRO’s post-processing services can help improve the usability of 3D printed parts by supporting finishing steps such as tapping, drilling, machining, and other part preparation work.
When threaded features need to work consistently, post-processing can make a major difference. It helps improve fit, increase durability, and reduce the chance of assembly problems. For designers and buyers who need functional 3D printed parts, that extra step can be the difference between a part that looks correct and a part that truly performs.
 0
0


COMMENTS
- Be the first to share your thoughts!