Threading is one of the most practical and widely used post-processing techniques in 3D printing. Whether you’re building functional prototypes, mechanical assemblies, or consumer products, threads allow parts to be joined securely, disassembled when needed, and reused multiple times. Yet threading in 3D printing is not as straightforward as in traditional machining. Printed threads often lack the precision and strength required for repeated use, which is why post-processing methods are essential.
3D Printed Threads vs Post-processed Threads
Printed Threads
Some CAD software and slicers allow you to design threads directly into your 3D model. These threads are then printed layer by layer.
Advantages:
• No additional tools required.
• Threads are integrated into the design.
• Useful for decorative or low-load applications.
Limitations:
• Resolution constraints: FDM printers often struggle with fine pitches.
• Weakness: Layer adhesion is weaker than machined threads.
• Wear: Threads degrade quickly under repeated use.
Printed threads are best suited for prototypes, visual models, or parts where the thread is rarely engaged.
Post-processed Threads
Post-processing involves creating threads after printing, using tools like taps, dies, or inserts.
Advantages:
• Greater precision and strength.
• Compatibility with standard hardware.
• Longer lifespan under repeated fastening.
Limitations:
• Requires extra tools and steps.
• Adds time to the workflow.
• May require design adjustments (oversized holes, reinforced walls).
In practice, most functional 3D printed parts rely on post-processed threads for reliability.
Internal Threads
Internal threads are grooves cut inside a hole, allowing bolts or screws to fasten securely.
Methods of Creating Internal Threads
1. Tapping
• Use a tap tool to cut threads into a pre-drilled hole.
• Works well with plastics like ABS, PETG, and Nylon.
• Requires careful alignment to avoid stripping.
2. Heat-set Inserts
• Brass inserts are heated with a soldering iron and pressed into the hole.
• The plastic melts slightly, bonding around the insert.
• Provides metal-strength threads inside a plastic part.
3. Threaded Inserts and Helicoils
• Threaded inserts can be press-fit or glued.
• Helicoils are coiled wires inserted into tapped holes, offering durability similar to metal.
Best Practices
• Hole Preparation: Drill or design holes slightly undersized, then ream to the correct diameter.
• Lubrication: Use cutting fluid when tapping to reduce friction.
• Wall Thickness: Ensure at least 2–3 times the thread diameter in wall thickness to prevent cracking.
Internal threads are especially useful in enclosures, mounts, and assemblies where screws need to be tightened repeatedly.

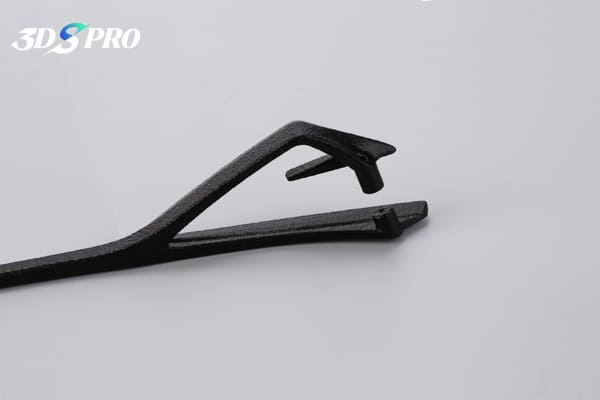
External Threads
External threads are grooves cut around a cylindrical shaft, allowing the part to screw into a nut or internally threaded hole.
Methods of Creating External Threads
1. Dies
• A die tool cuts threads around a printed rod.
• Works best with tougher materials.
• Requires precise diameter control of the rod.
2. Machining
• CNC lathes or manual machining can refine external threads.
• Provides industrial-grade precision.
• More suitable for hybrid projects combining 3D printing with machining.
Best Practices
• Diameter Control: Print shafts slightly oversized, then sand or machine down to the correct size before threading.
• Material Choice: Flexible materials like Nylon resist stripping better than brittle ones like PLA.
• Thread Pitch: Coarser threads are more forgiving in plastic.
External threads are common in connectors, caps, and mechanical assemblies where parts need to screw together.
The Process of Adding Threads
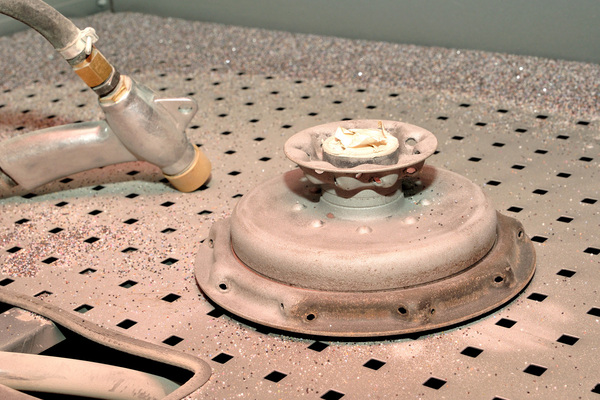
Step 1. Preparing the Printed Part
• Design Oversizing: Holes should be designed slightly smaller than the final thread diameter.
• Surface Cleaning: Remove stringing or rough edges with sandpaper.
• Reinforcement: Add extra perimeters or infill around threaded areas.
Step 2. Drilling or Reaming
• Use a drill bit or reamer to achieve the correct hole size.
• Ensure the hole is straight and smooth.
• Avoid excessive force to prevent cracking.
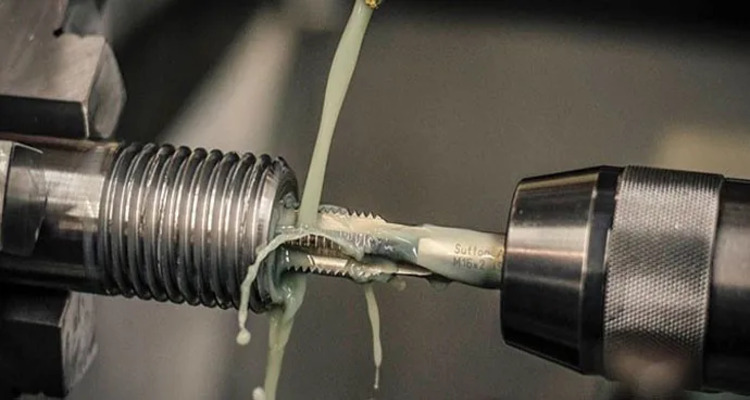
Step 3. Cutting Threads
Internal Threads:
• Select the correct tap size.
• Apply cutting fluid.
• Turn the tap slowly, backing out periodically to clear debris.
External Threads:
• Use a die tool matched to the rod diameter.
• Clamp the part securely.
• Rotate the die evenly to avoid cross-threading.
Step 4. Installing Inserts
• Heat-set inserts: Heat with a soldering iron, press gently, and allow cooling.
• Threaded inserts: Press-fit or glue into place.
• Helicoils: Insert into tapped holes for added strength.
Step 5. Testing and Finishing
• Test with standard screws or bolts.
• Sand or polish edges if needed.
• Apply threadlocker (optional) for permanent assemblies.
Design Considerations of Post-processed Threads
Hole and Shaft Dimensions
• Undersizing Holes: Design holes slightly smaller than the tap drill size.
• Oversizing Shafts: Print rods slightly larger, then sand down before threading.
Wall Thickness
• Ensure walls around internal threads are thick enough to resist cracking.
• For inserts, design bosses or reinforced areas.
Thread Pitch and Size
• Coarse threads (e.g., M6, M8) are more reliable in plastic.
• Fine threads (e.g., M2, M3) risk stripping unless reinforced with inserts.
Load and Application
• For high-load applications, always use inserts.
• For prototypes, printed threads may suffice.
• Consider environmental factors: heat, moisture, and wear.
Reinforcement Features
• Add chamfers or countersinks to guide screws.
• Use fillets to reduce stress concentrations.
• Increase perimeters and infill density around threaded regions.
 0
0


COMMENTS
- Be the first to share your thoughts!