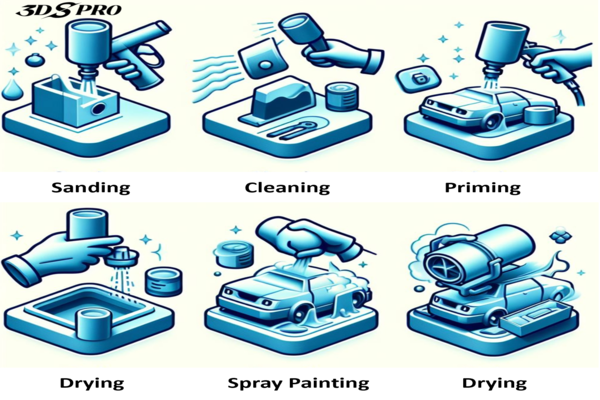
What is dyeing in 3D printing?
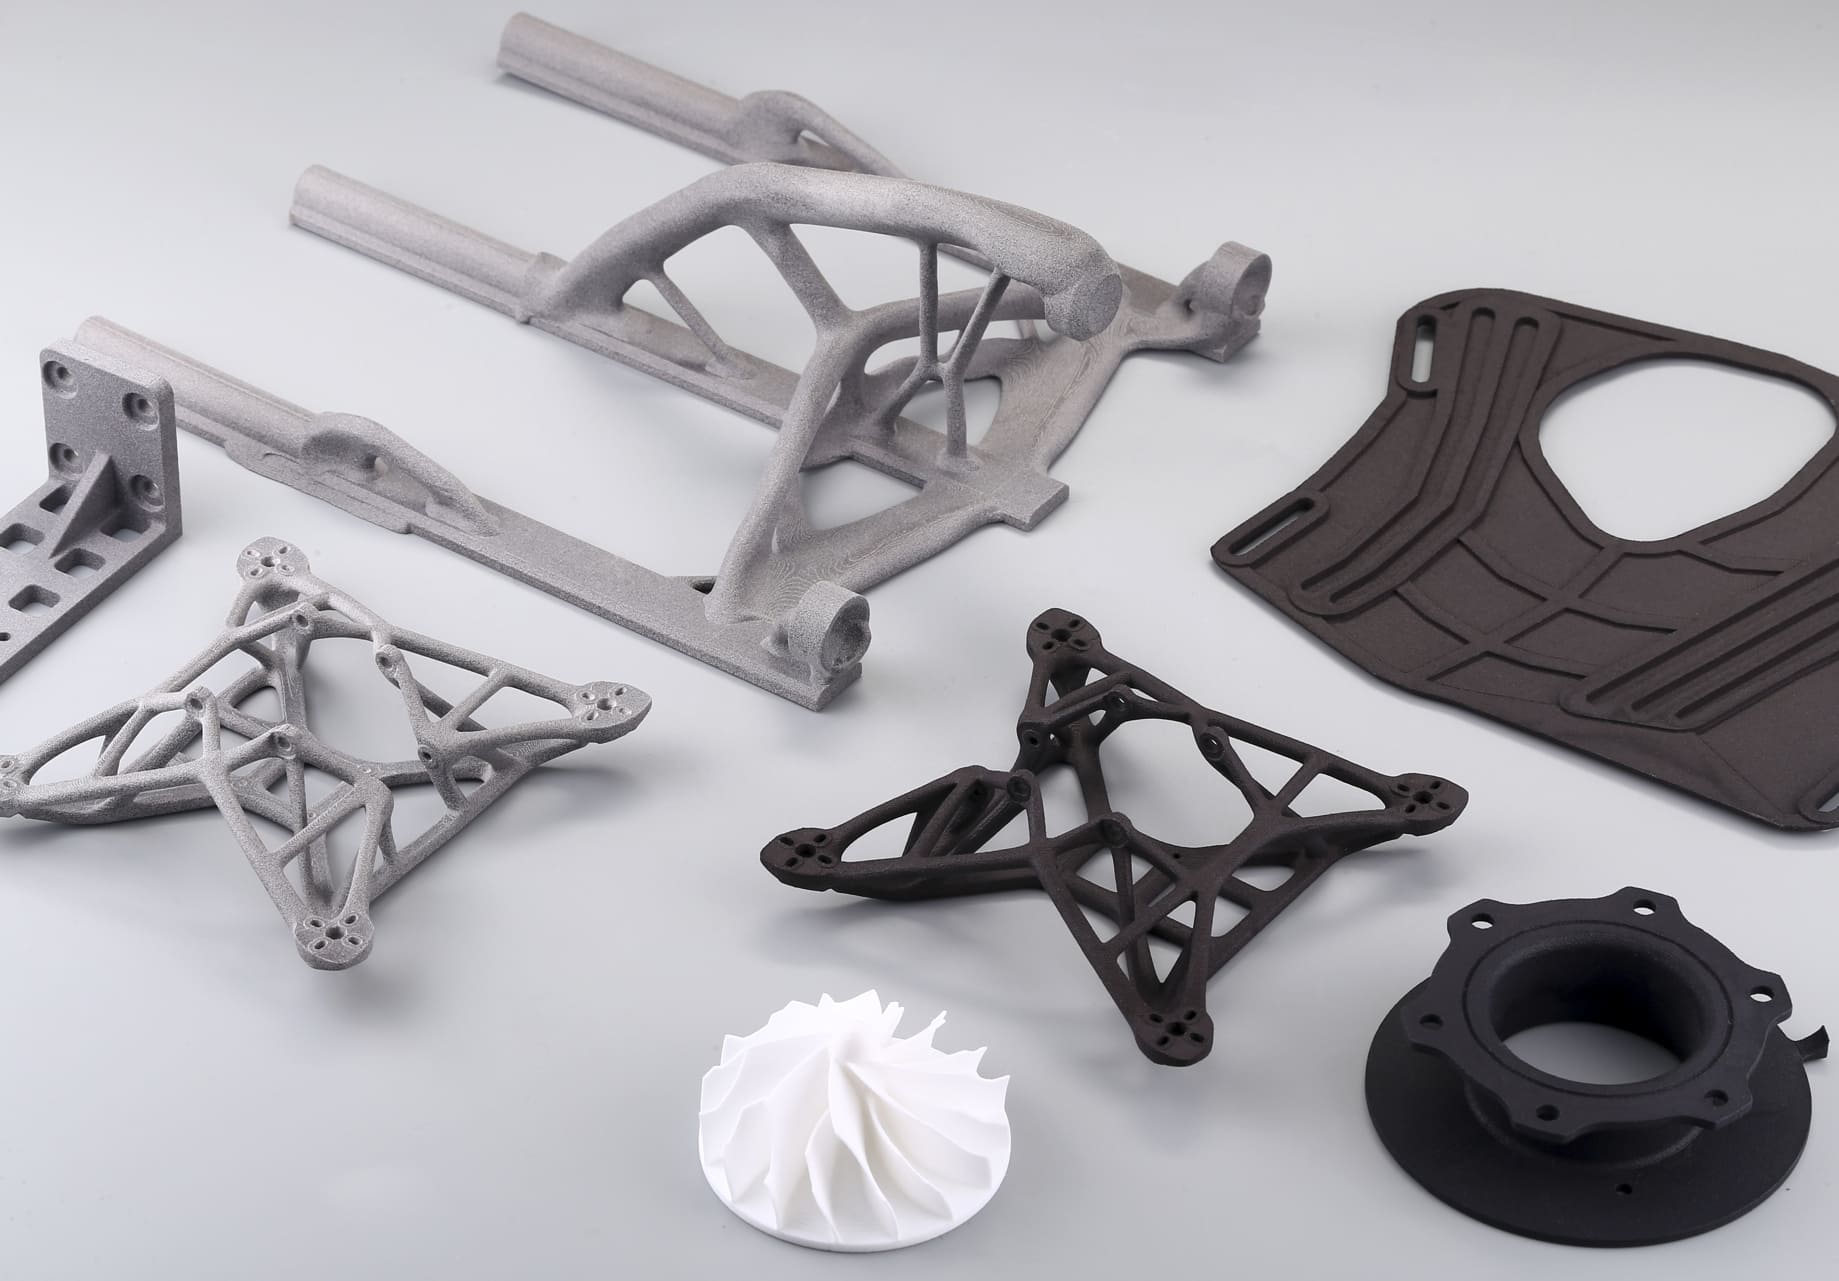
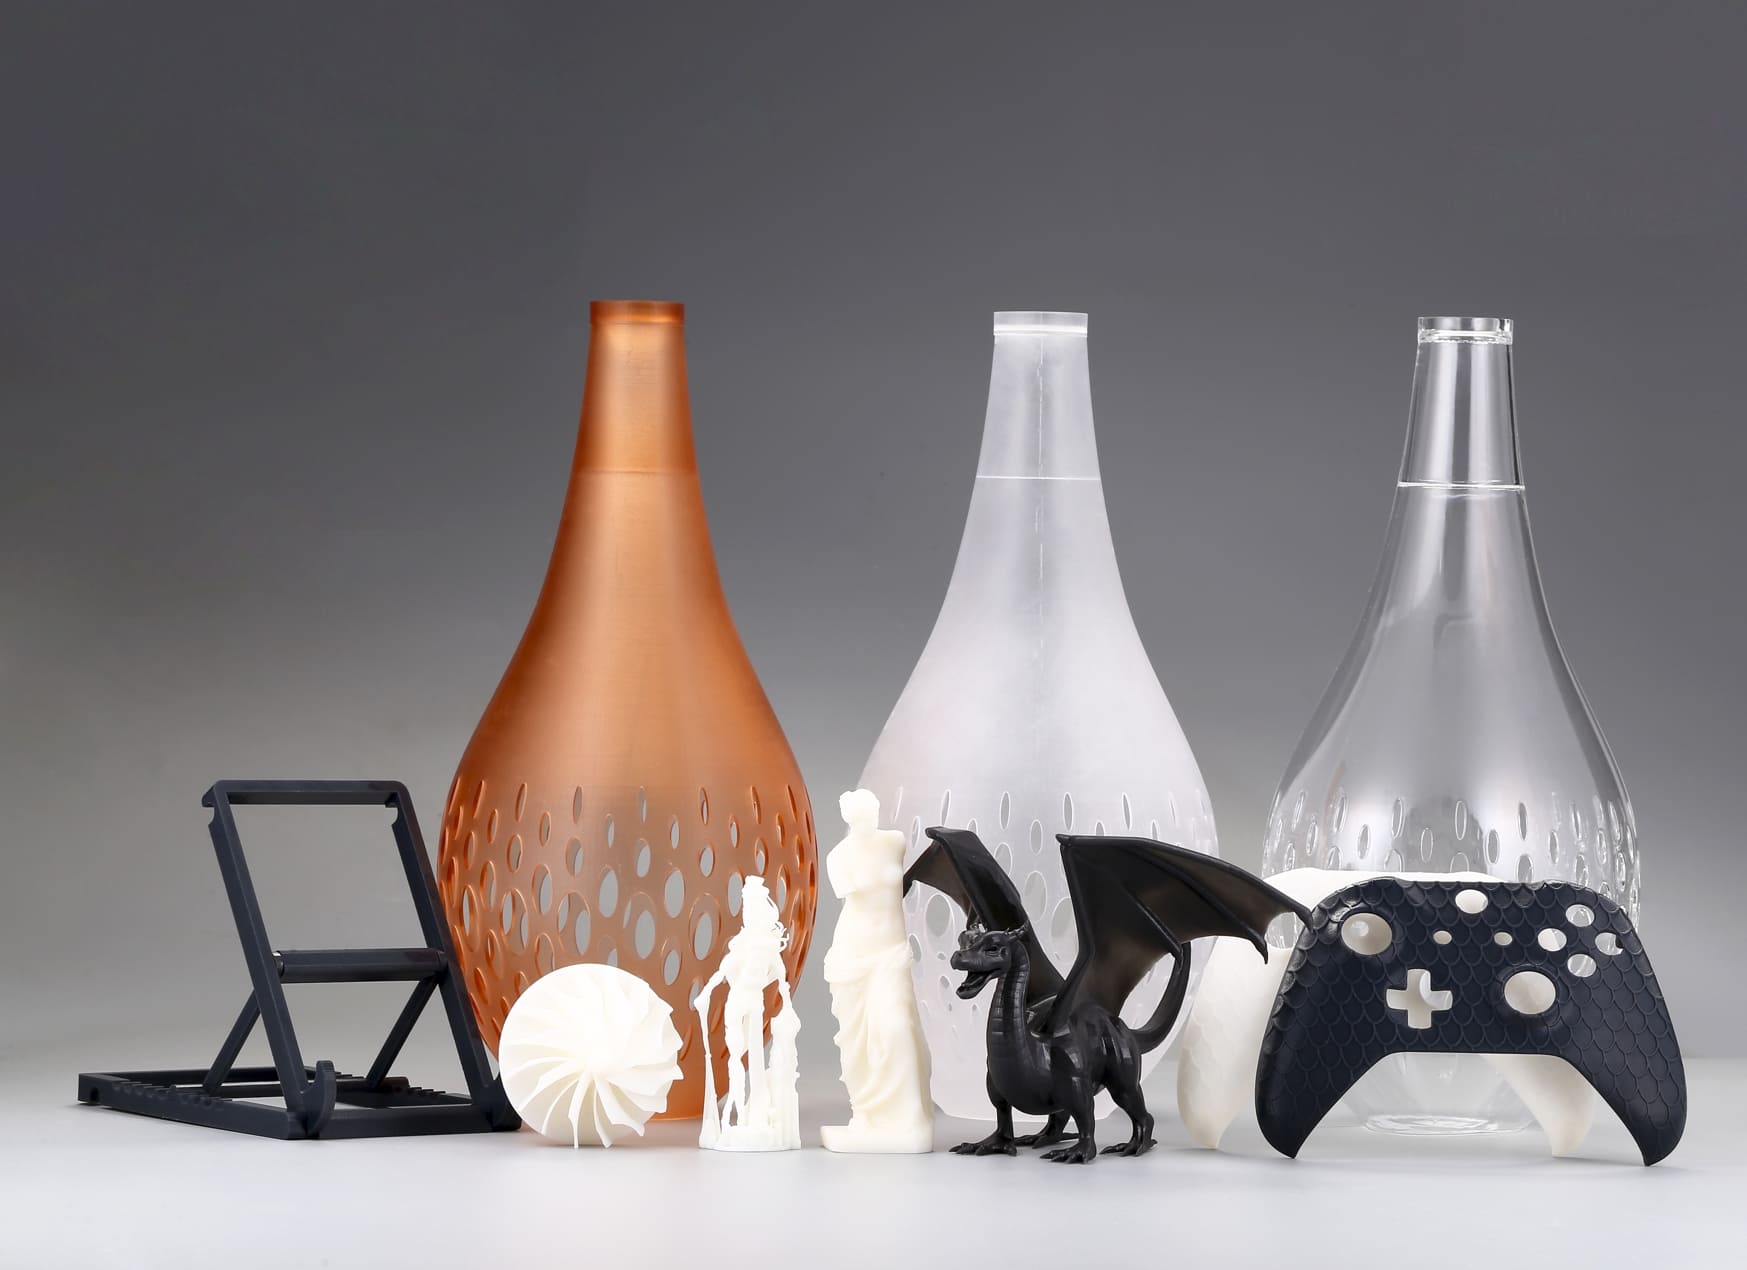
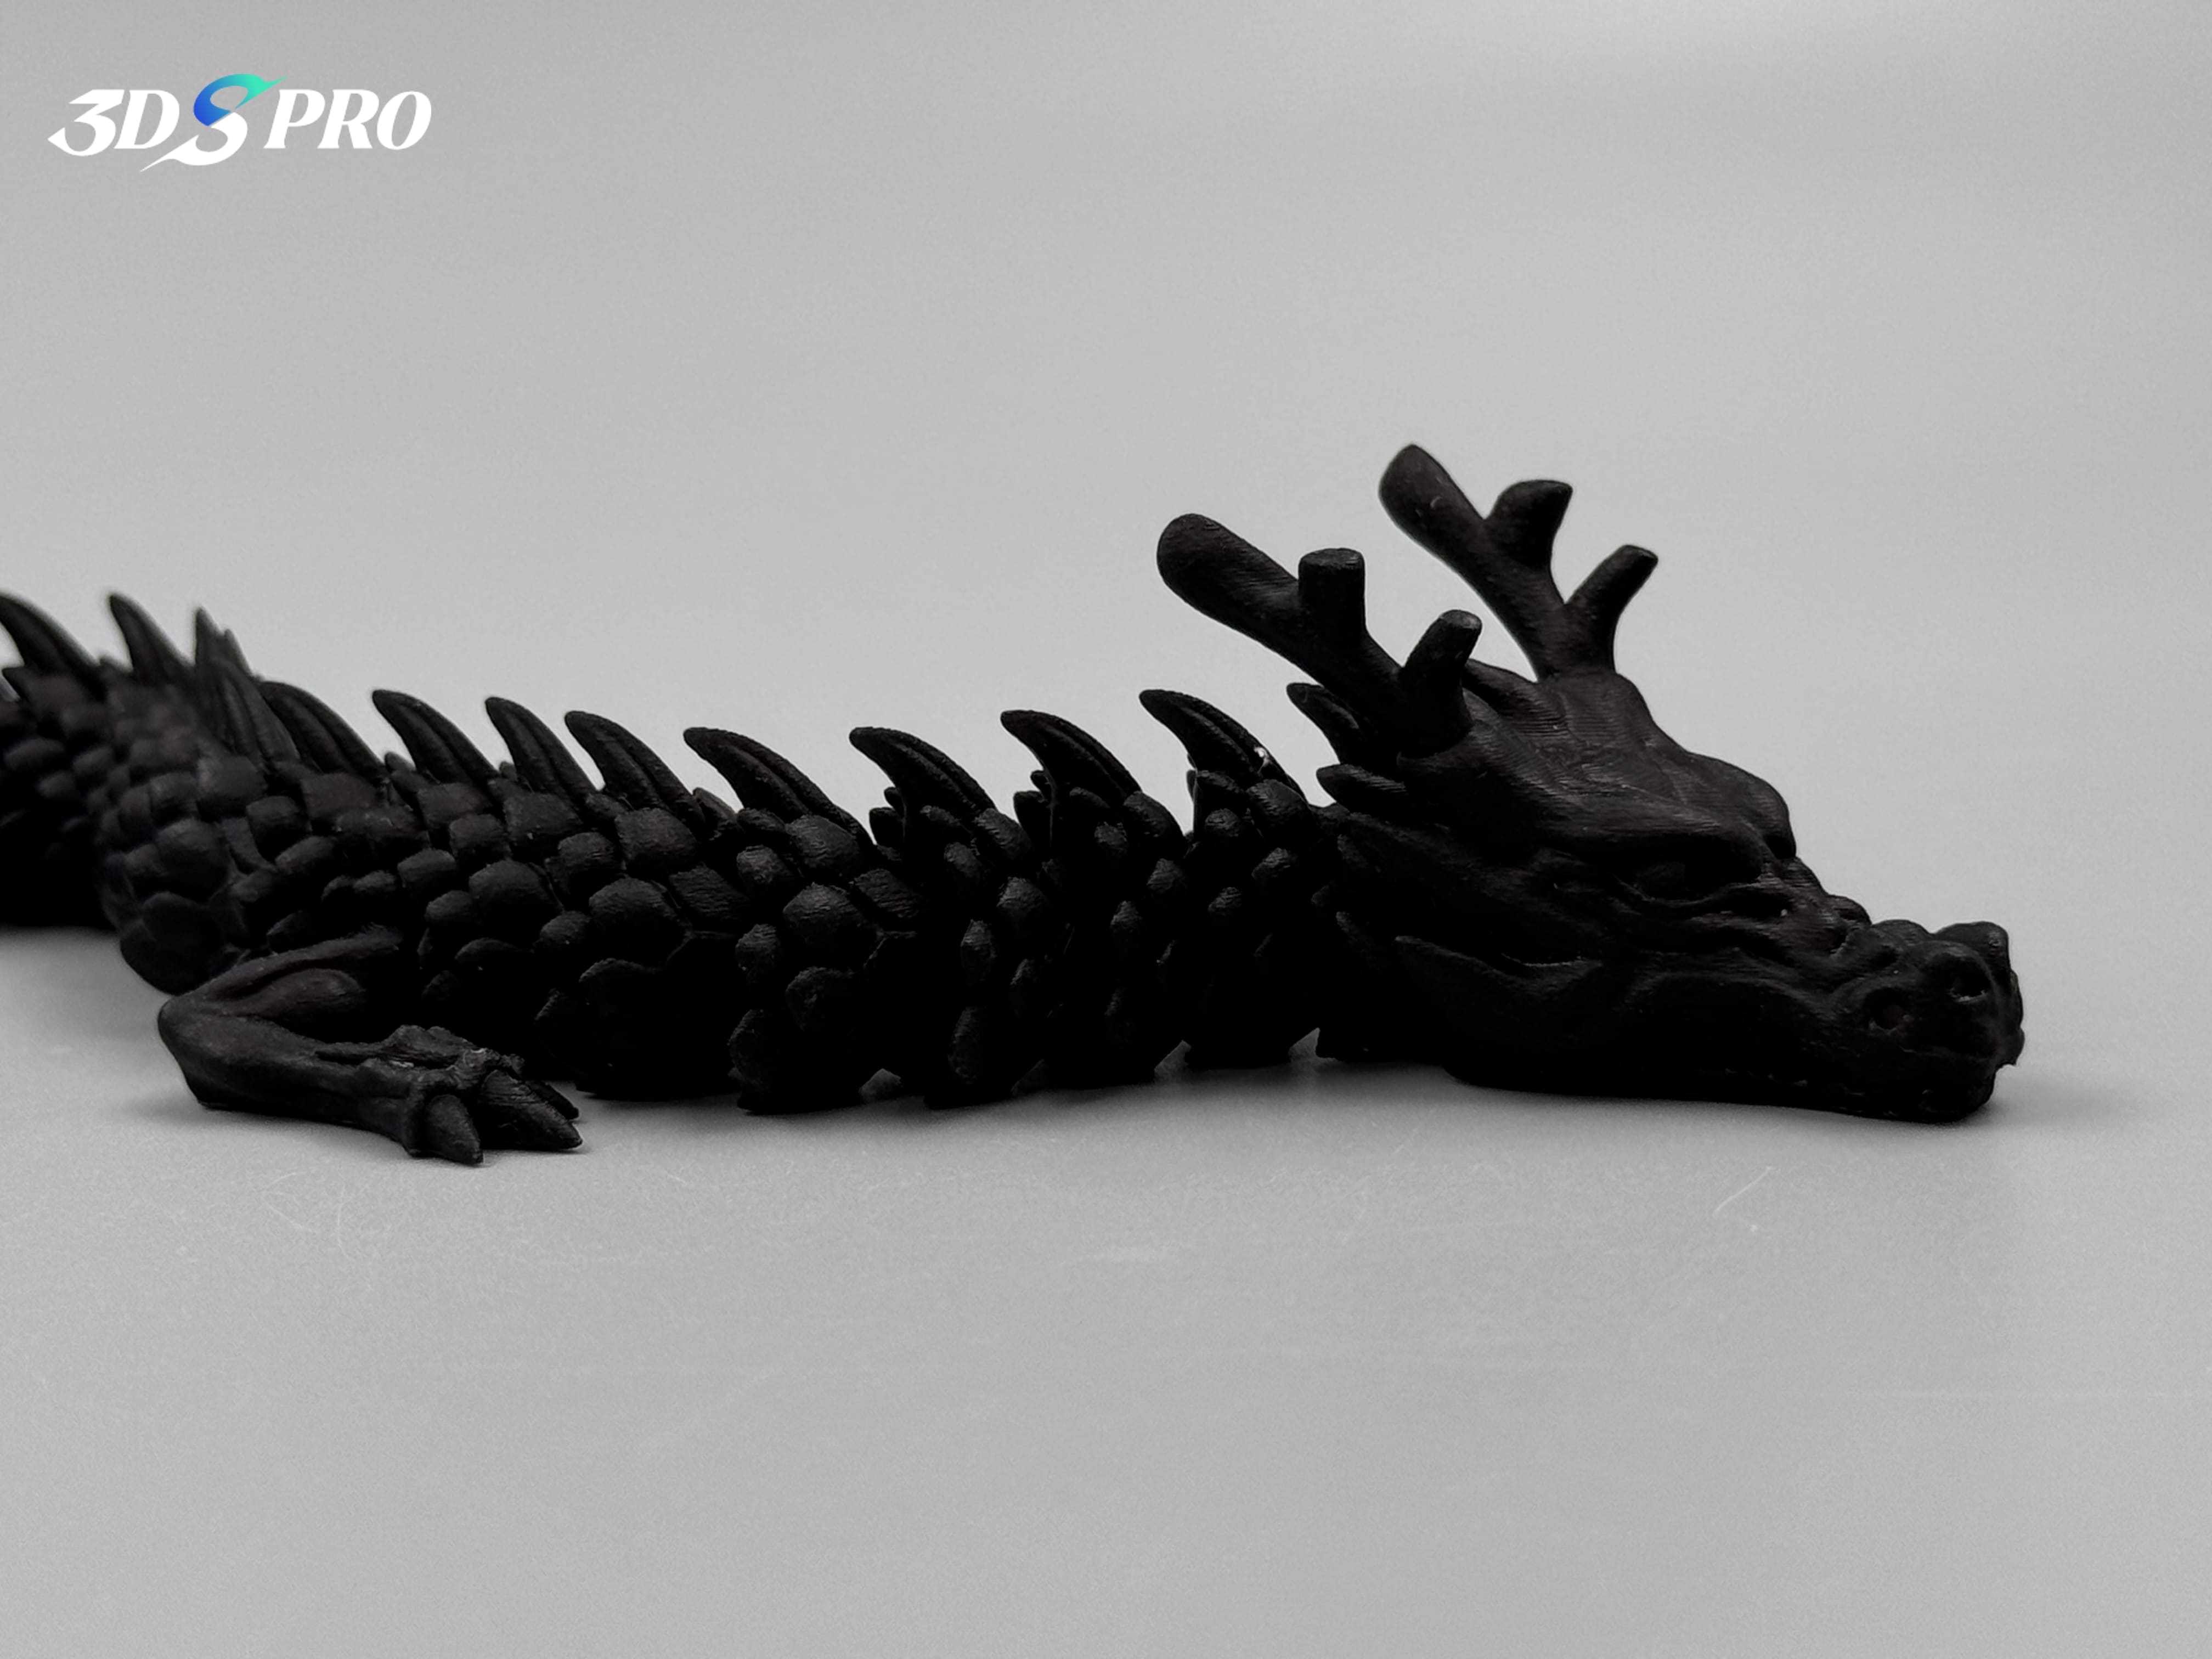
Dyeing in 3D printing is a post-processing technique used to add color to 3D printed parts. Unlike printing with pre-colored materials, dyeing allows for greater flexibility and customization after the object has been printed. Dyeing is particularly useful for materials that are typically printed in a limited range of colors, such as nylon or resin.
The dyeing process involves immersing the 3D printed part in a dye solution, which penetrates the material and imparts color. It is especially effective for porous materials like nylon, which absorb the dye well, resulting in vibrant and uniform coloration. For resin prints, dyeing can be done either before or after printing, depending on the desired effect and the type of resin used.
Dyeing offers several advantages over other coloring methods, such as painting or using colored filaments. It provides a more uniform color distribution, can reach intricate details and internal structures, and often results in a more durable finish. Additionally, dyeing can be a cost-effective way to achieve a wide range of colors without the need to stock multiple colored filaments or resins.
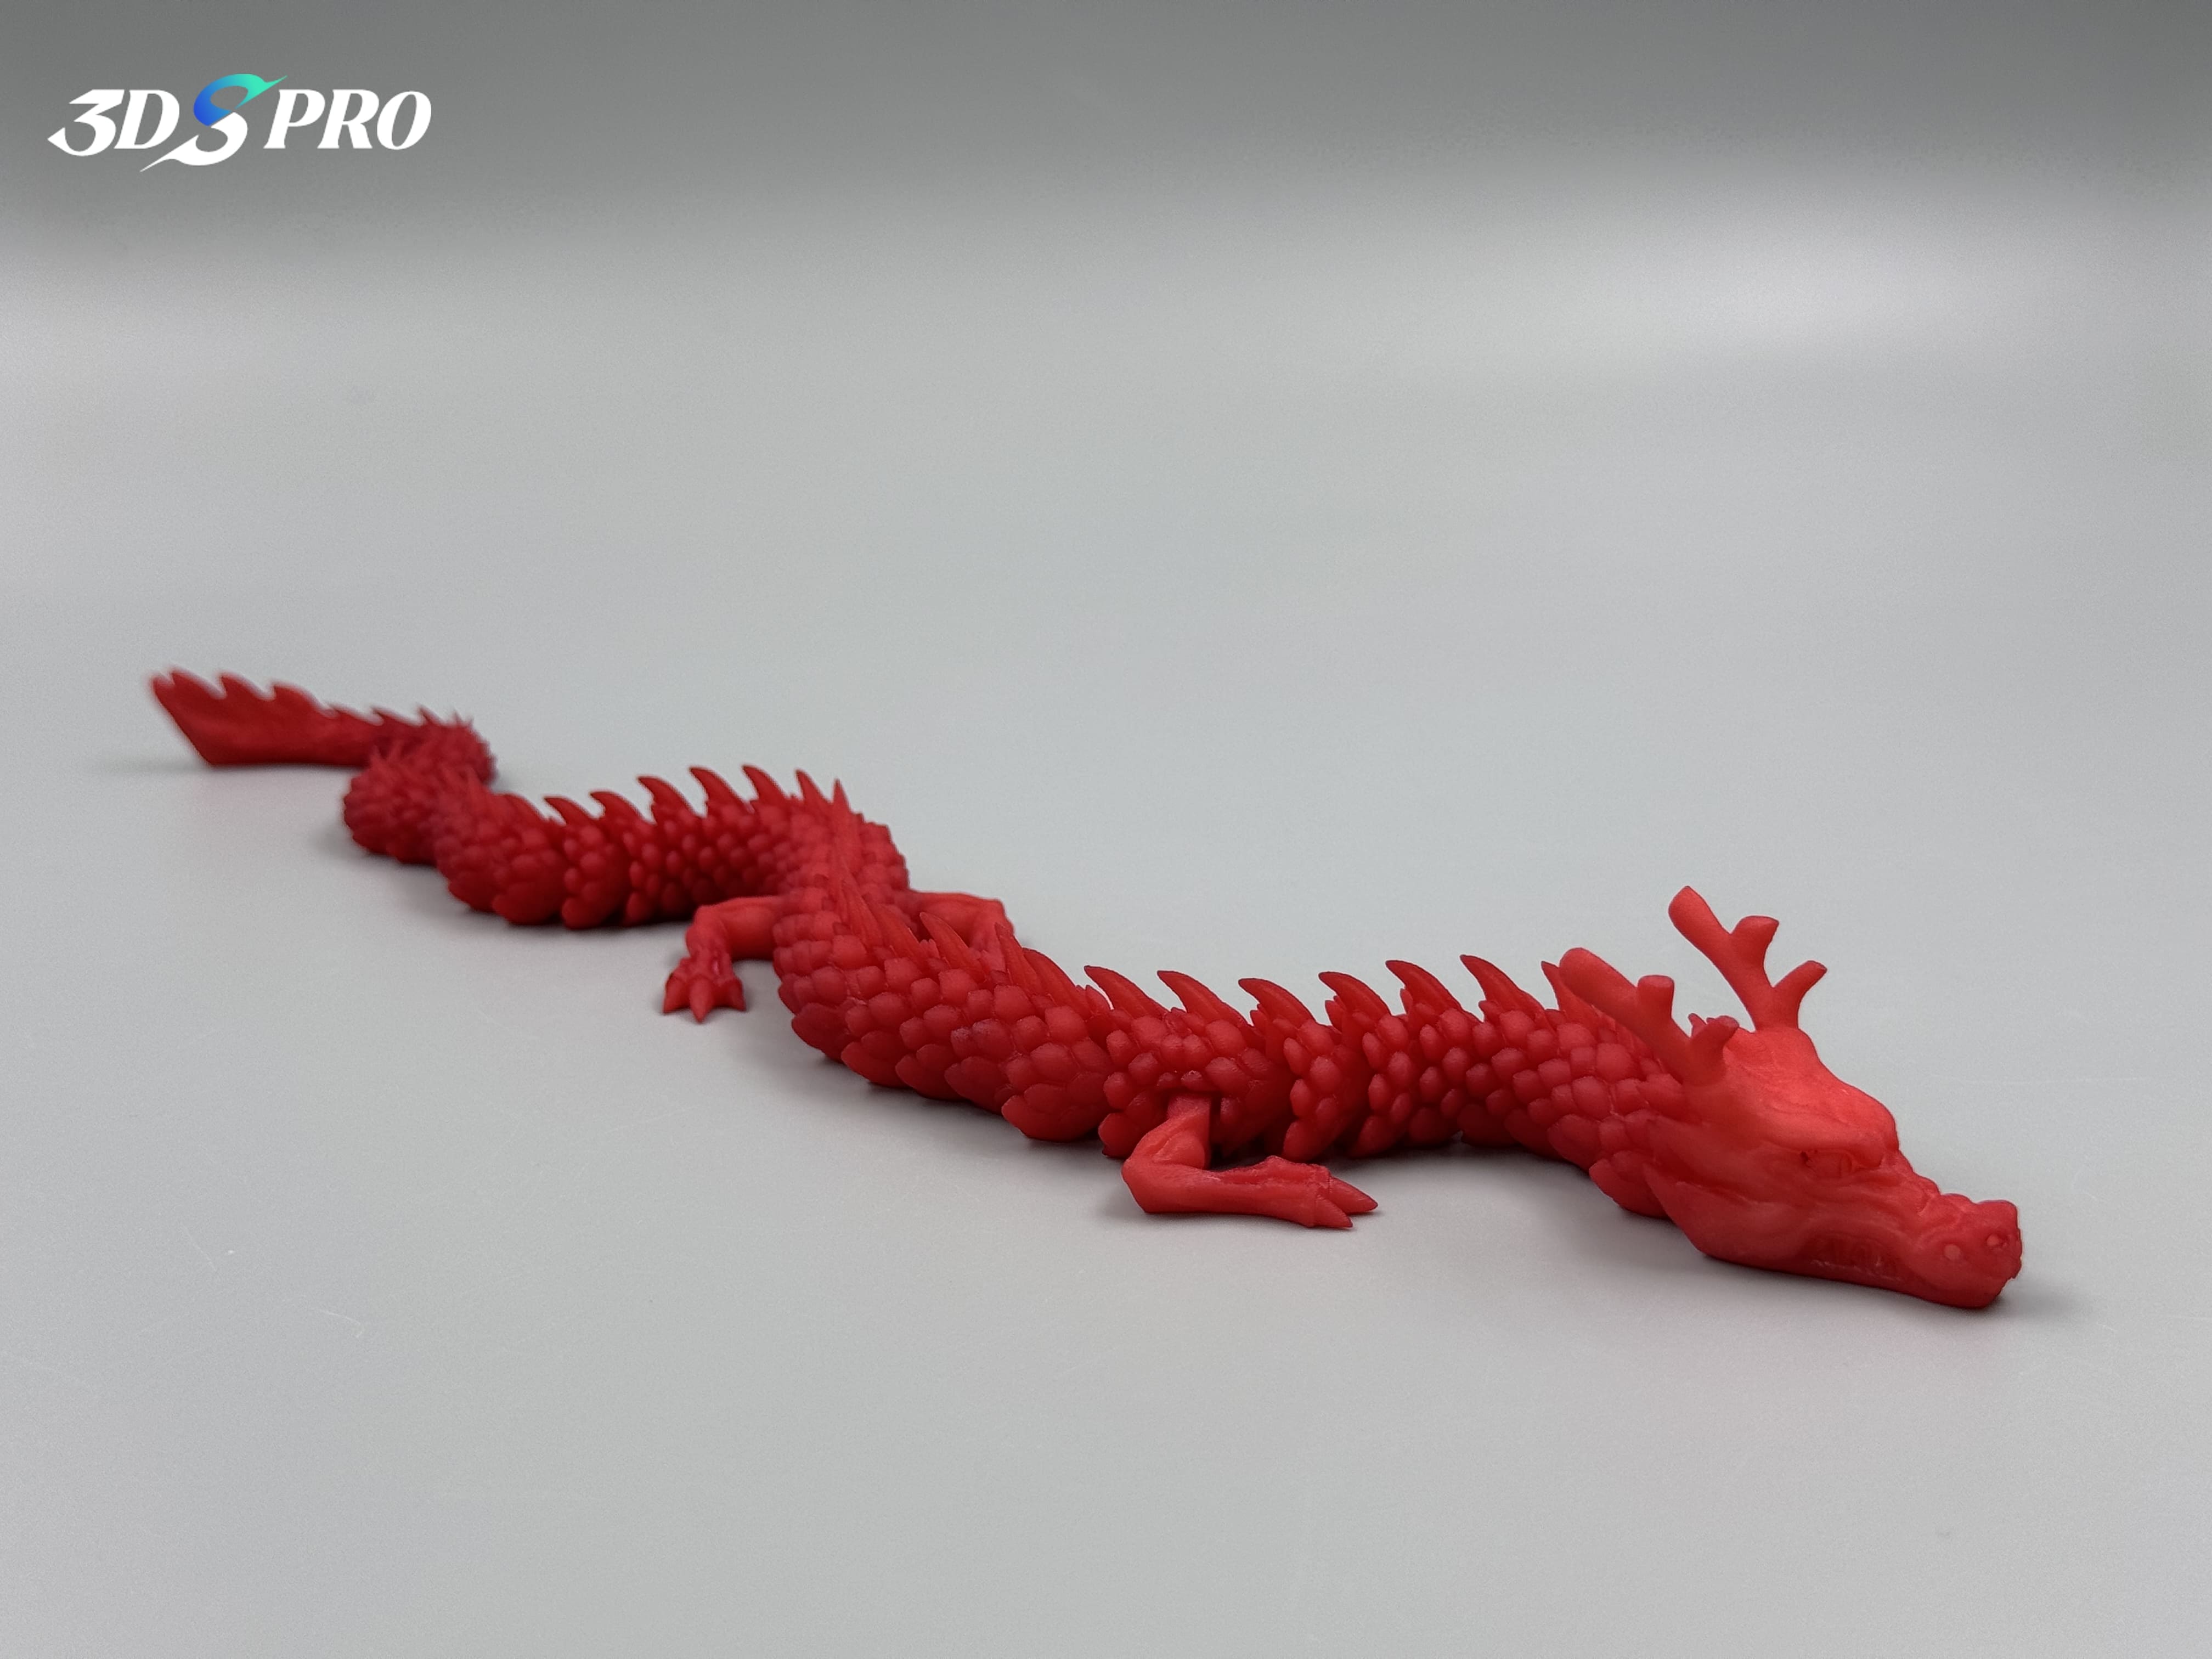
How dyeing differs from other coloring methods?
Penetration and Uniformity
● Dyeing: Involves immersing the 3D printed part in a dye solution, allowing the color to penetrate the material. This results in a more uniform and consistent color throughout the part, including intricate details and internal structures.
● Painting/Coating: Applies color only to the surface, which can lead to uneven color distribution, especially on complex geometries. Multiple layers (primer, base coat, clear coat) are often required.
Material Compatibility
● Dyeing: Particularly effective for porous materials such as nylon and certain resins, which absorb the dye well. Less effective for non-porous materials like metals or certain plastics.
● Painting/Coating: Suitable for a wide range of materials but primarily affects the exterior.
Durability
● Dyeing: The color penetrates the material, making it more resistant to wear and tear. Less likely to chip or peel off.
● Painting/Coating: Surface color can chip or peel, especially under stress or frequent handling.
Complex Geometries
● Dyeing: Ideal for parts with complex geometries, hollow sections, or internal channels that are difficult to reach with paint or surface coatings.
● Painting/Coating: Challenging to achieve uniform coverage on intricate designs. Spray painting can help, but you may still miss some areas.
Cost and Efficiency
● Dyeing: Cost-effective for large batches. Eliminates the need for multiple colored filaments or resins and reduces the labor and time required for painting or coating each part individually.
● Painting/Coating: Can be labor-intensive and time-consuming, especially for detailed parts. Requires multiple steps and materials.
Aesthetic Flexibility
● Dyeing: Offers vibrant and deep colors that enhance the aesthetic appeal of the final product. Provides a more natural and integrated look.
● Painting/Coating: Allows for a wide range of colors and finishes, including metallic and glossy effects. However, achieving a smooth finish can be challenging.
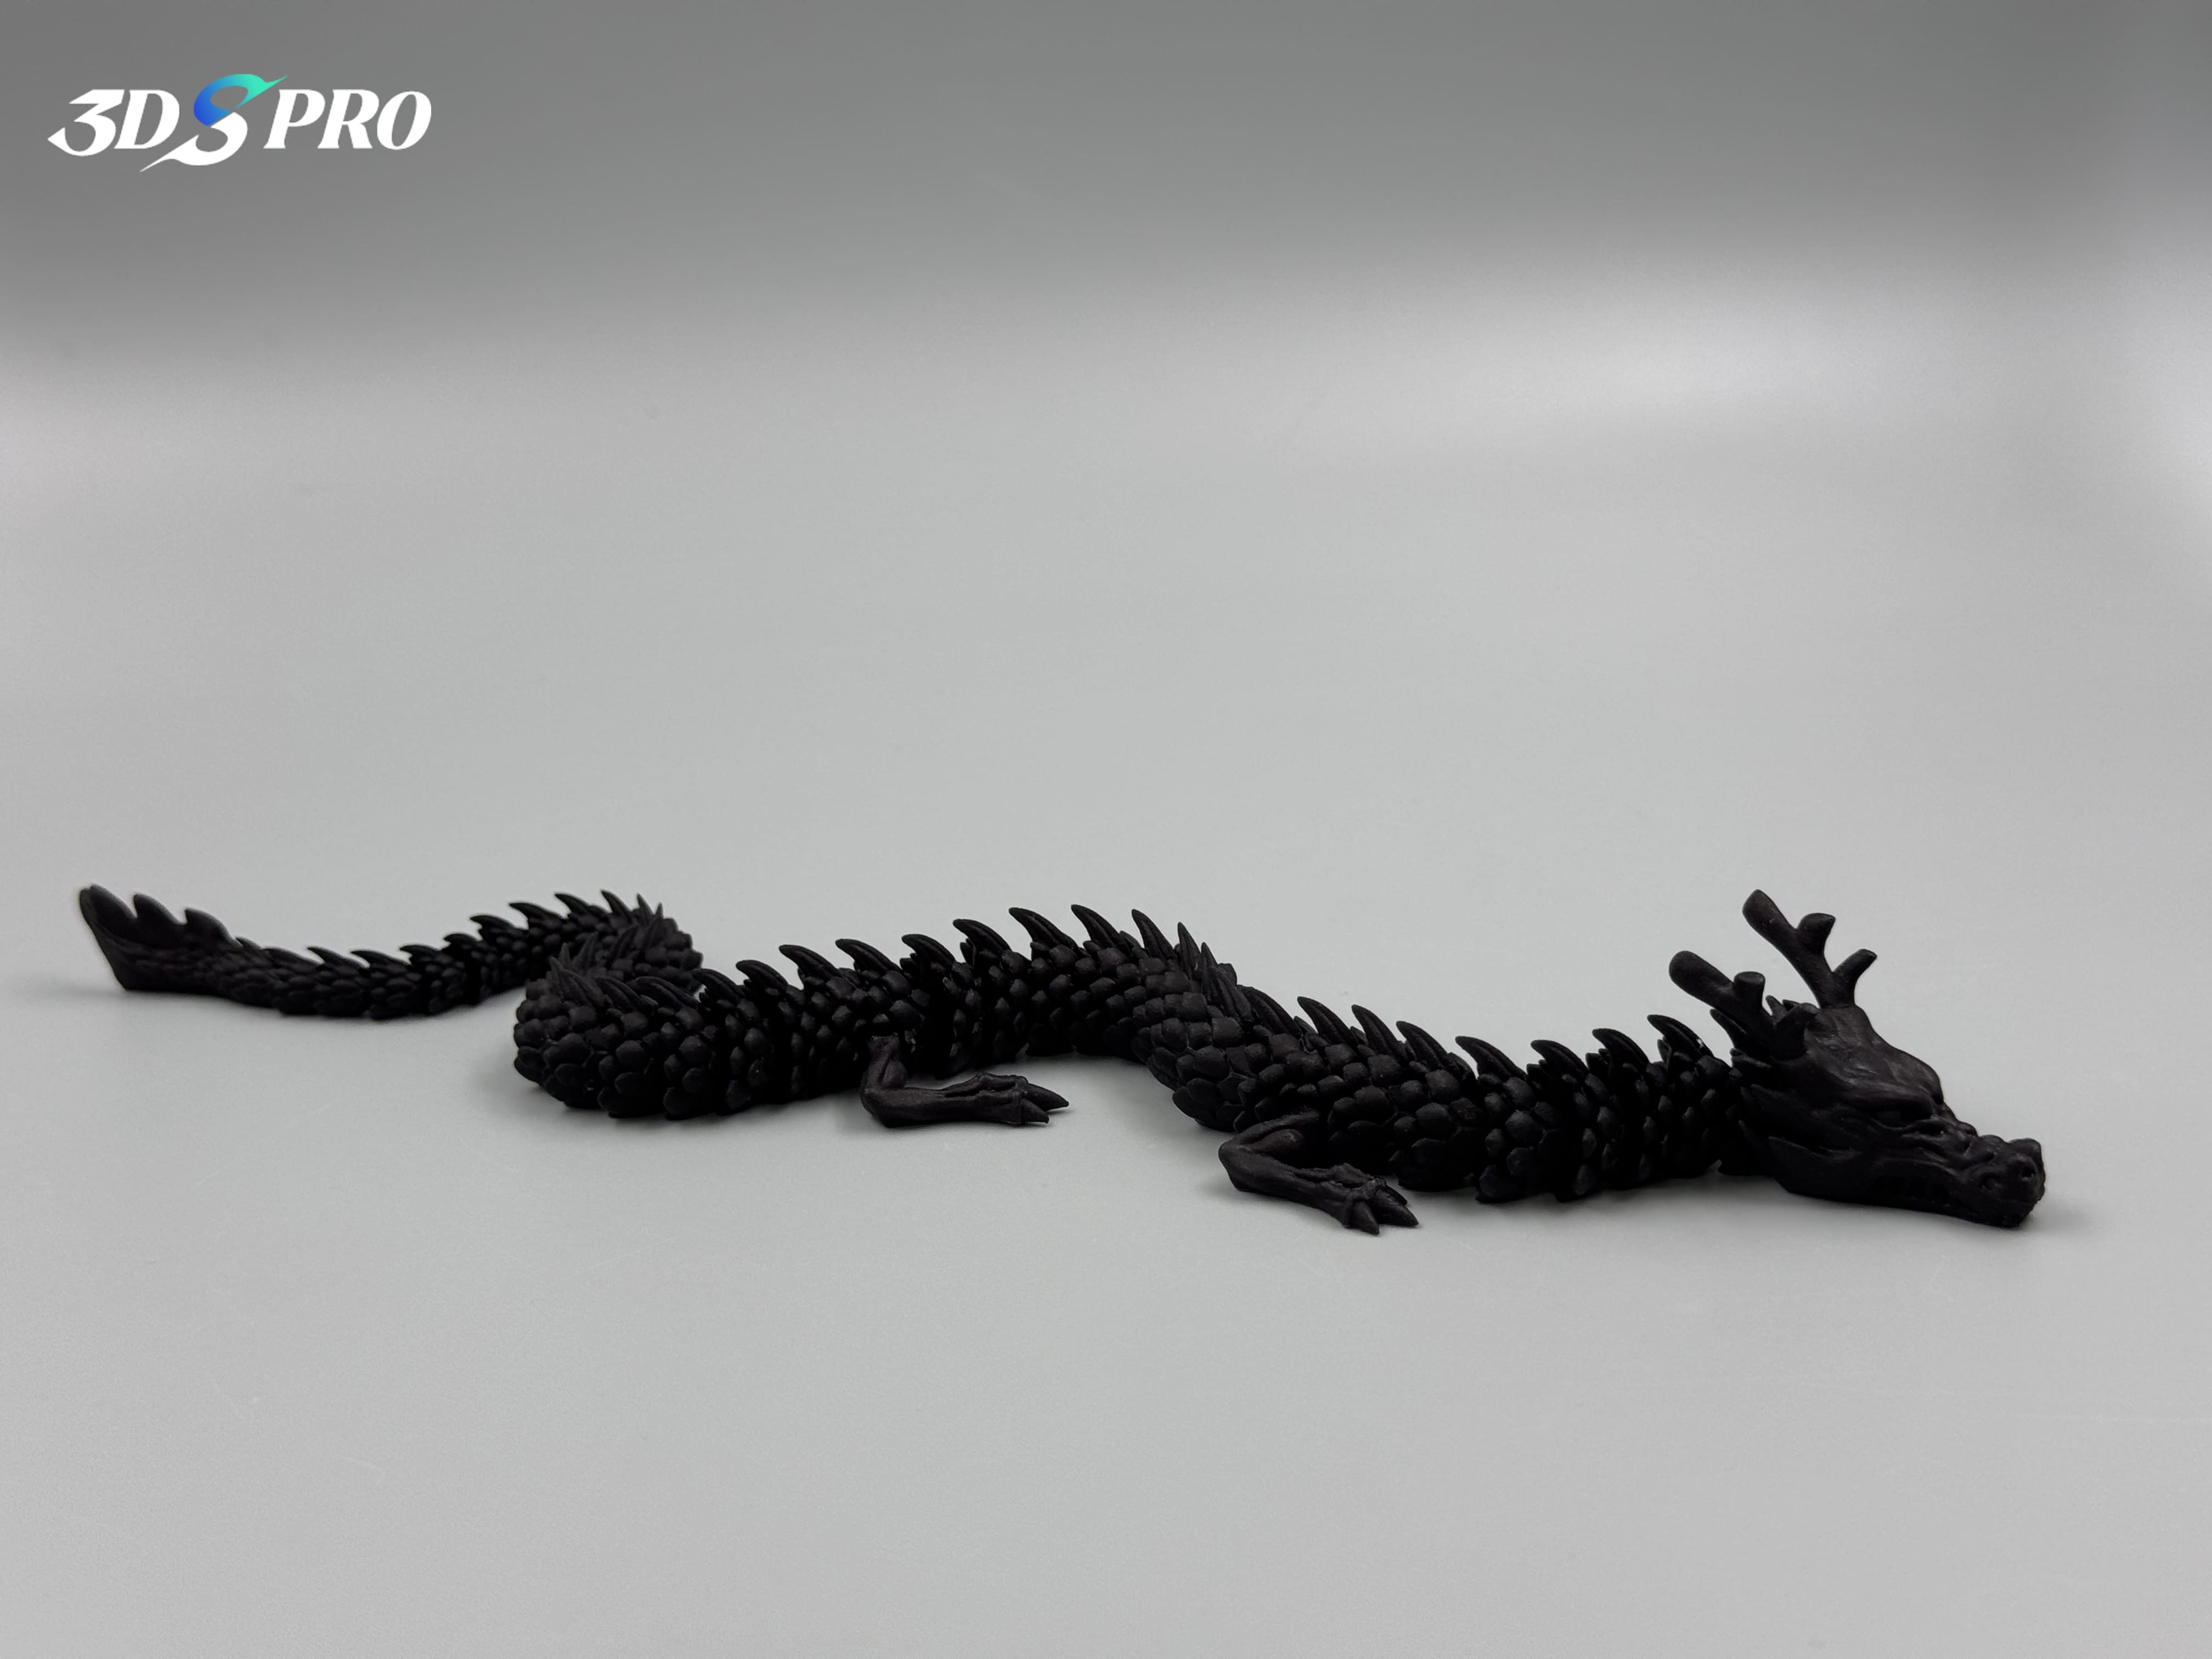
Materials Suitable for Dyeing
1. Nylon (Polyamide)
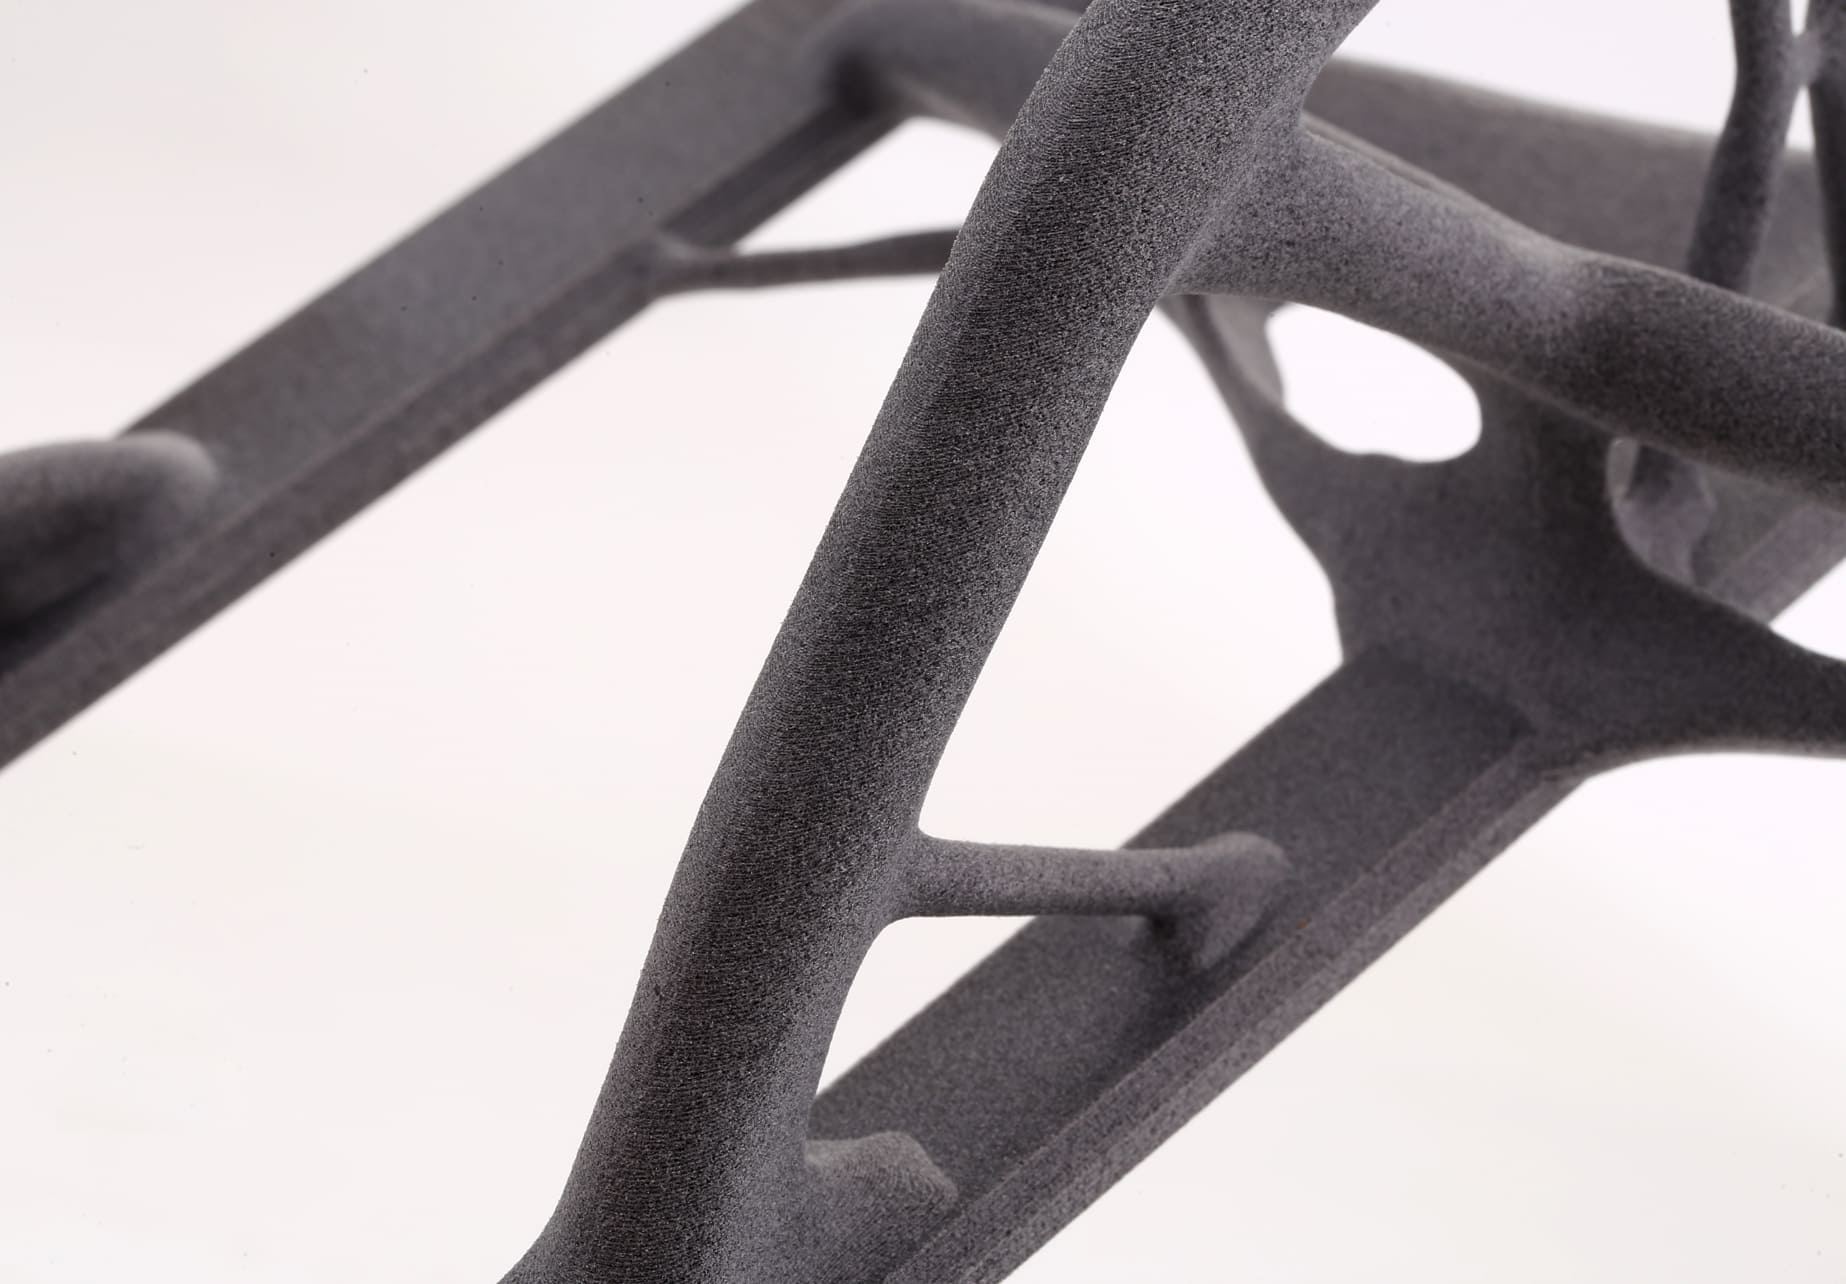
Nylon is one of the best materials for dyeing due to its porous nature. It absorbs dye well, resulting in vibrant and uniform colors. Nylon is commonly used in applications requiring strong, durable parts, such as functional prototypes and end-use components.
2. Resin
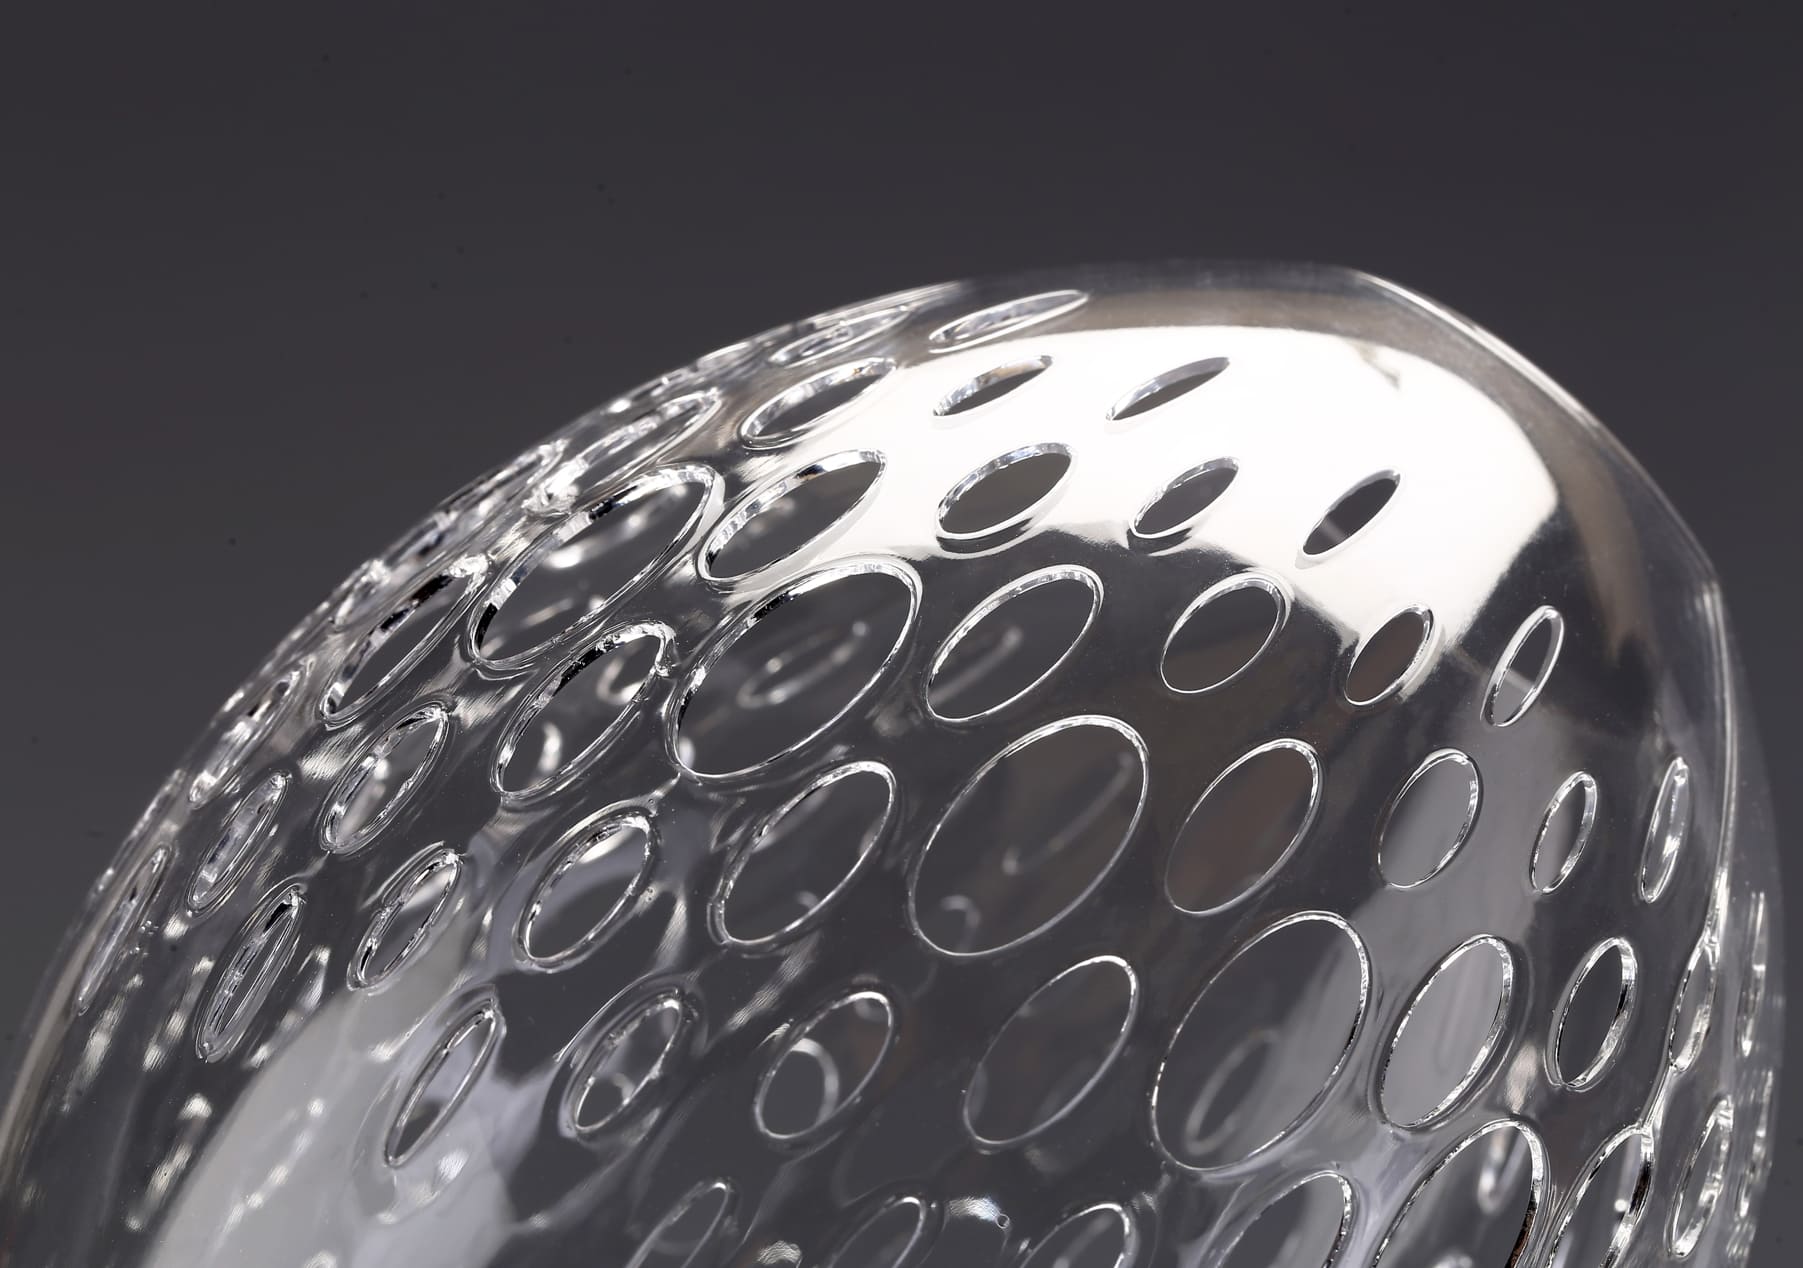
Resin, especially when used in SLA (Stereolithography) and DLP (Digital Light Processing) 3D printing, can be dyed effectively. Both clear and white resins are ideal for dyeing, allowing for a wide range of colors. Dyeing can be done either before or after printing, depending on the desired effect.
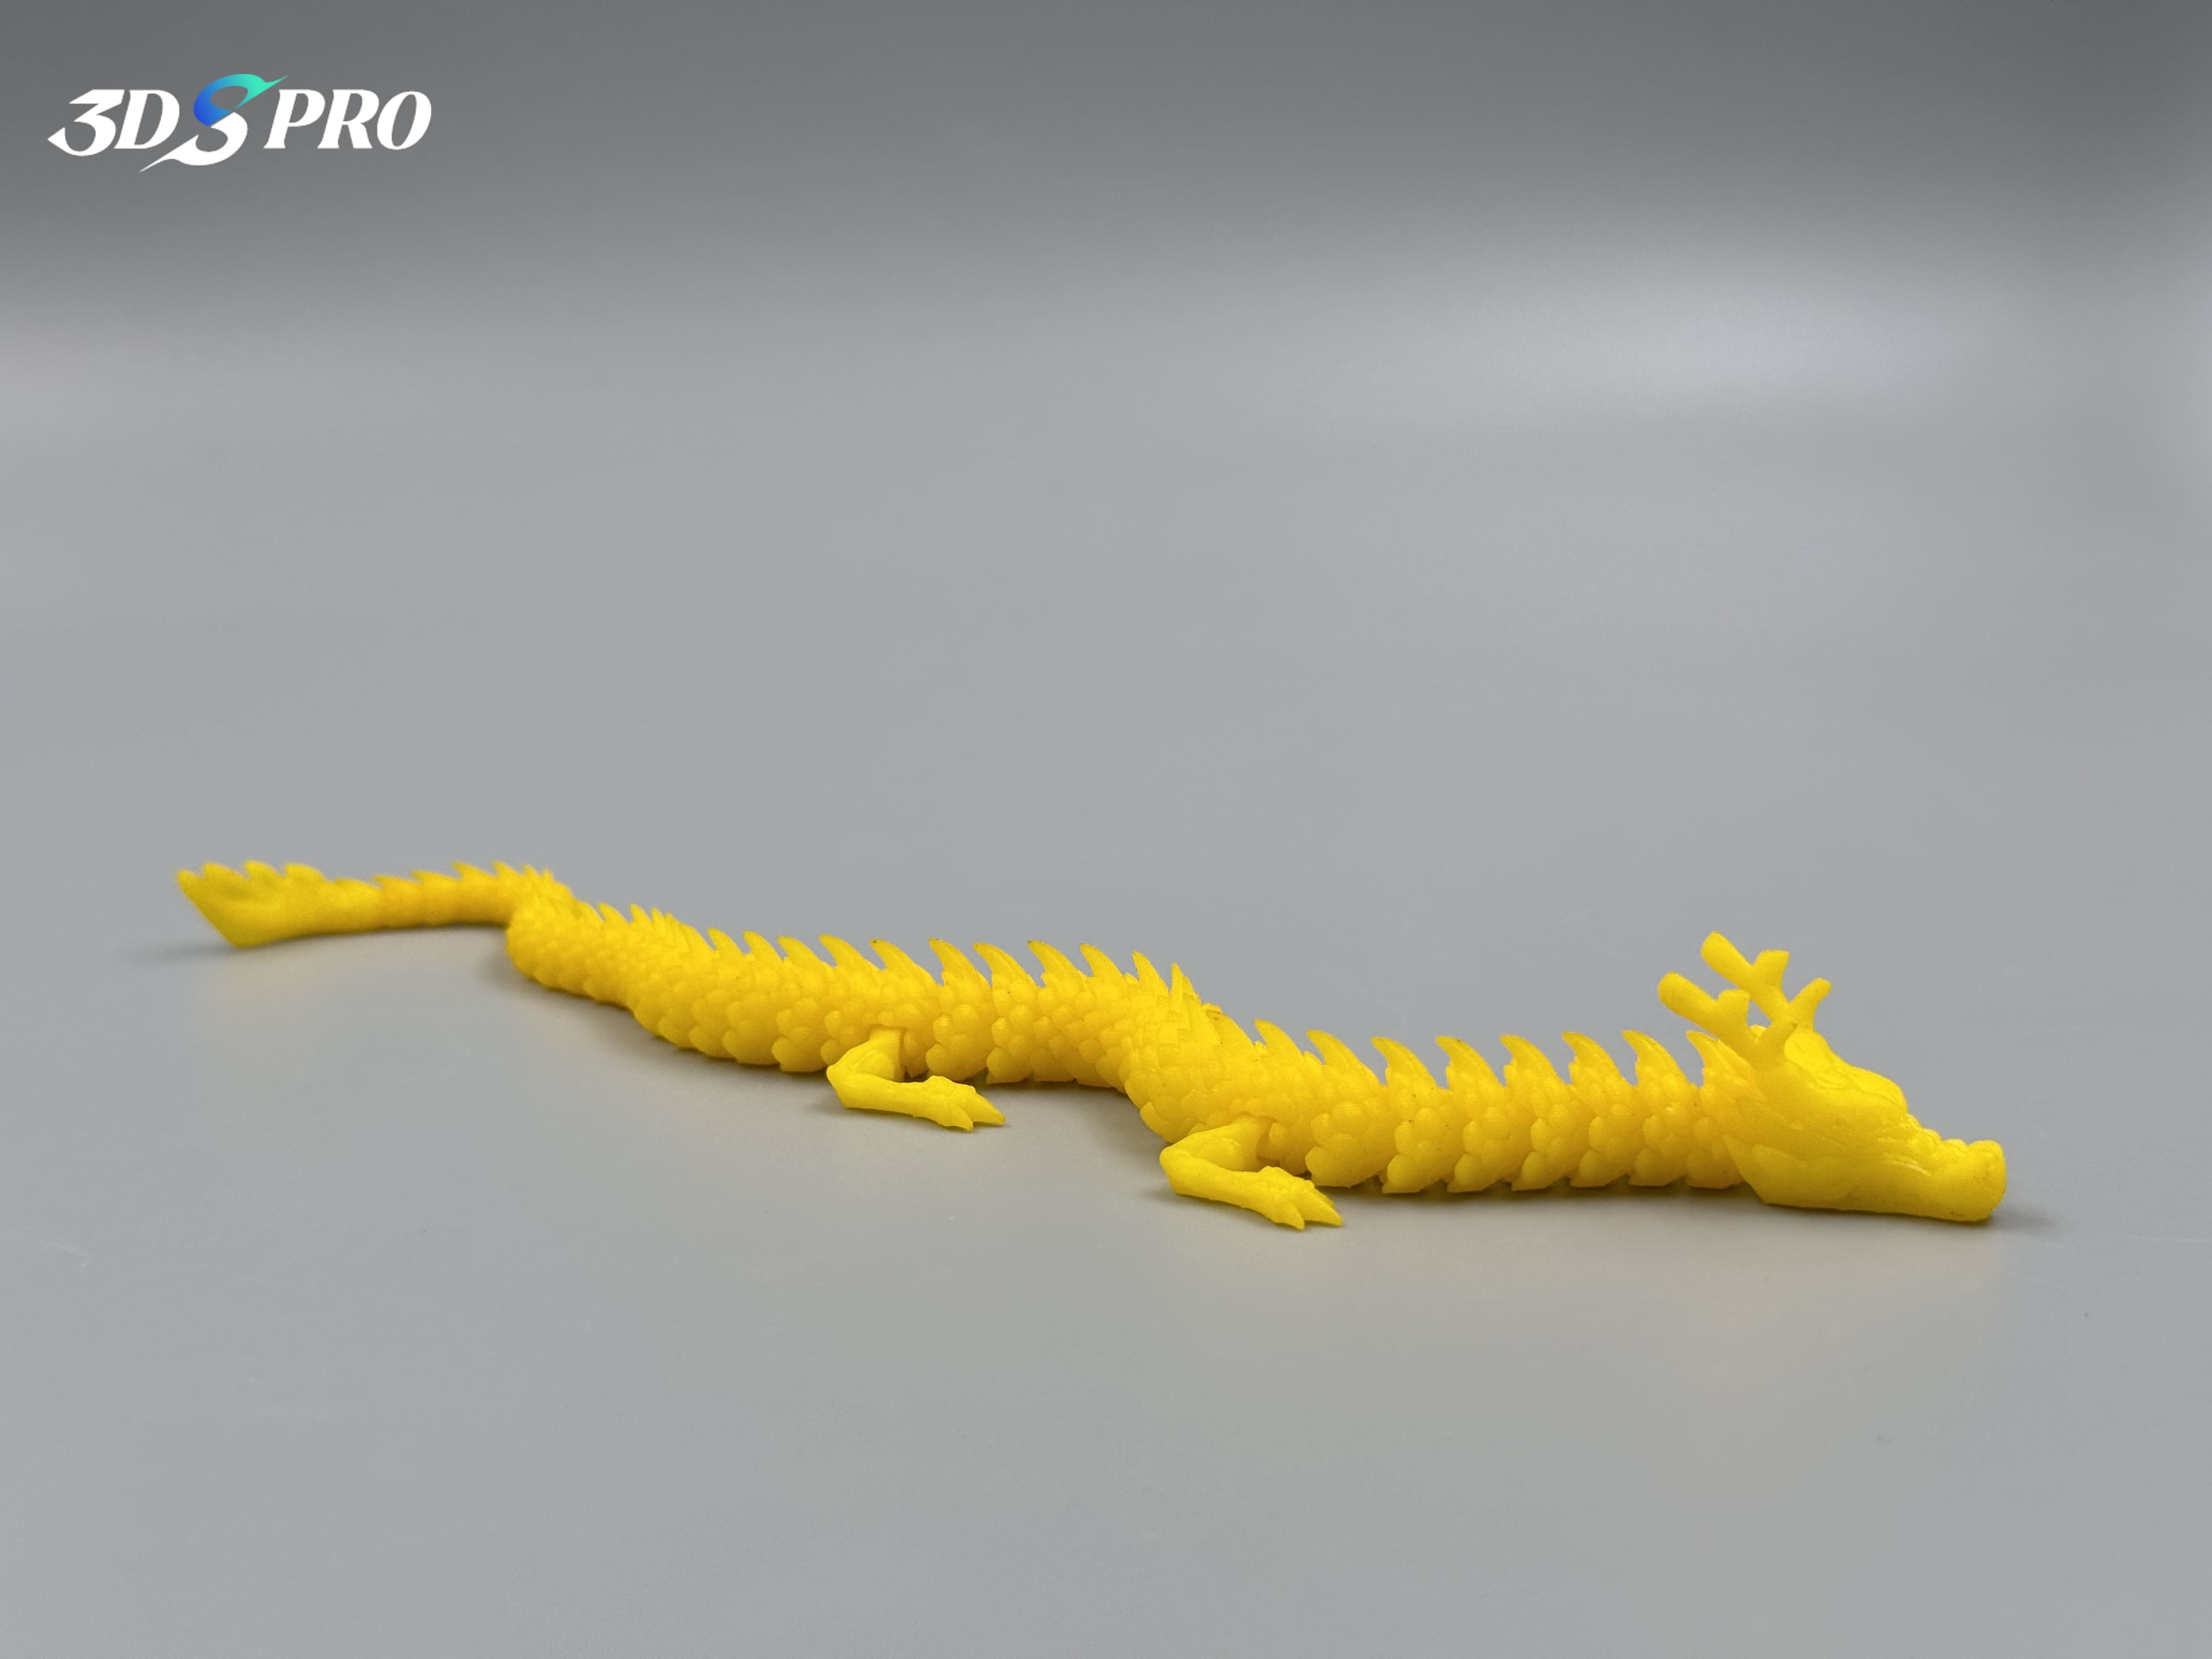
3. PLA (Polylactic Acid)
While not as porous as nylon, PLA can still be dyed, particularly when using alcohol-based dyes. PLA is popular for its ease of use and biodegradability, making it a good choice for environmentally friendly projects.
4. TPU (Thermoplastic Polyurethane)
TPU is a flexible material that can be dyed to achieve various colors. Its flexibility and durability make it suitable for applications like wearable devices, flexible prototypes, and custom-fit products.
5. PETG (Polyethylene Terephthalate Glycol)
PETG combines the ease of printing of PLA with the strength and durability of ABS. It can be dyed, although the results may not be as vibrant as with nylon or resin. PETG is often used for mechanical parts and functional prototypes.
6. ABS (Acrylonitrile Butadiene Styrene)
ABS can be dyed, but the process is more challenging compared to other materials due to its lower porosity. However, with the right dye and technique, it is possible to achieve good results. ABS is known for its strength and impact resistance, making it suitable for a wide range of applications.
The Process of Dyeing
1. Preparation
Gather Materials
You will need your 3D printed parts, a suitable dye (fabric dyes like Rit or acid dyes), a container for the dye bath, measuring spoons, and boiling water. For best results, use a dye that is compatible with the material of your 3D printed part.
Clean the Parts
Ensure that the 3D printed parts are clean and free from any dust or debris. This can be done by rinsing them in water and allowing them to dry completely.
2. Mixing the Dye Solution
Prepare the Dye Bath
Fill a container with boiling water and add the dye according to the manufacturer’s instructions. The concentration of the dye will depend on the desired color intensity. Stir the solution thoroughly to ensure the dye is fully dissolved.
Adjusting the Solution
For certain dyes, you may need to adjust the pH of the solution by adding vinegar or another acid. This helps the dye to bond more effectively with the material.
3. Dyeing the Parts
Immersion
Submerge the 3D printed parts in the dye bath. Ensure that the parts are fully immersed and not touching each other to avoid uneven coloring.
Heating
Maintain the temperature of the dye bath by reheating it as necessary. Some dyes require the solution to be kept at a specific temperature to achieve the best results.
Soaking Time
Allow the parts to soak in the dye bath for some time, typically ranging from 10 to 30 minutes, depending on the material and the desired color intensity. Stir the parts occasionally to ensure even dyeing.
4. Rinsing and Drying
Rinsing
After the desired color is achieved, remove the parts from the dye bath and rinse them thoroughly under running water to remove any excess dye. This step is crucial to prevent the dye from bleeding or staining other objects.
Drying
Allow the parts to air dry completely. You can use a paper towel to blot excess water, but avoid rubbing the parts, as this can cause the dye to smudge.
5. Post-Dyeing Treatment
Sealing (Optional)
For added durability, you can apply a clear sealant to the dyed parts. This helps to protect the color and provides a glossy finish.
Inspection
Check the parts for any uneven coloring or spots that may need touch-ups. If necessary, repeat the dyeing process for those areas.
Our 3D Plus™ Dyeing Services for Resin and Nylon Parts
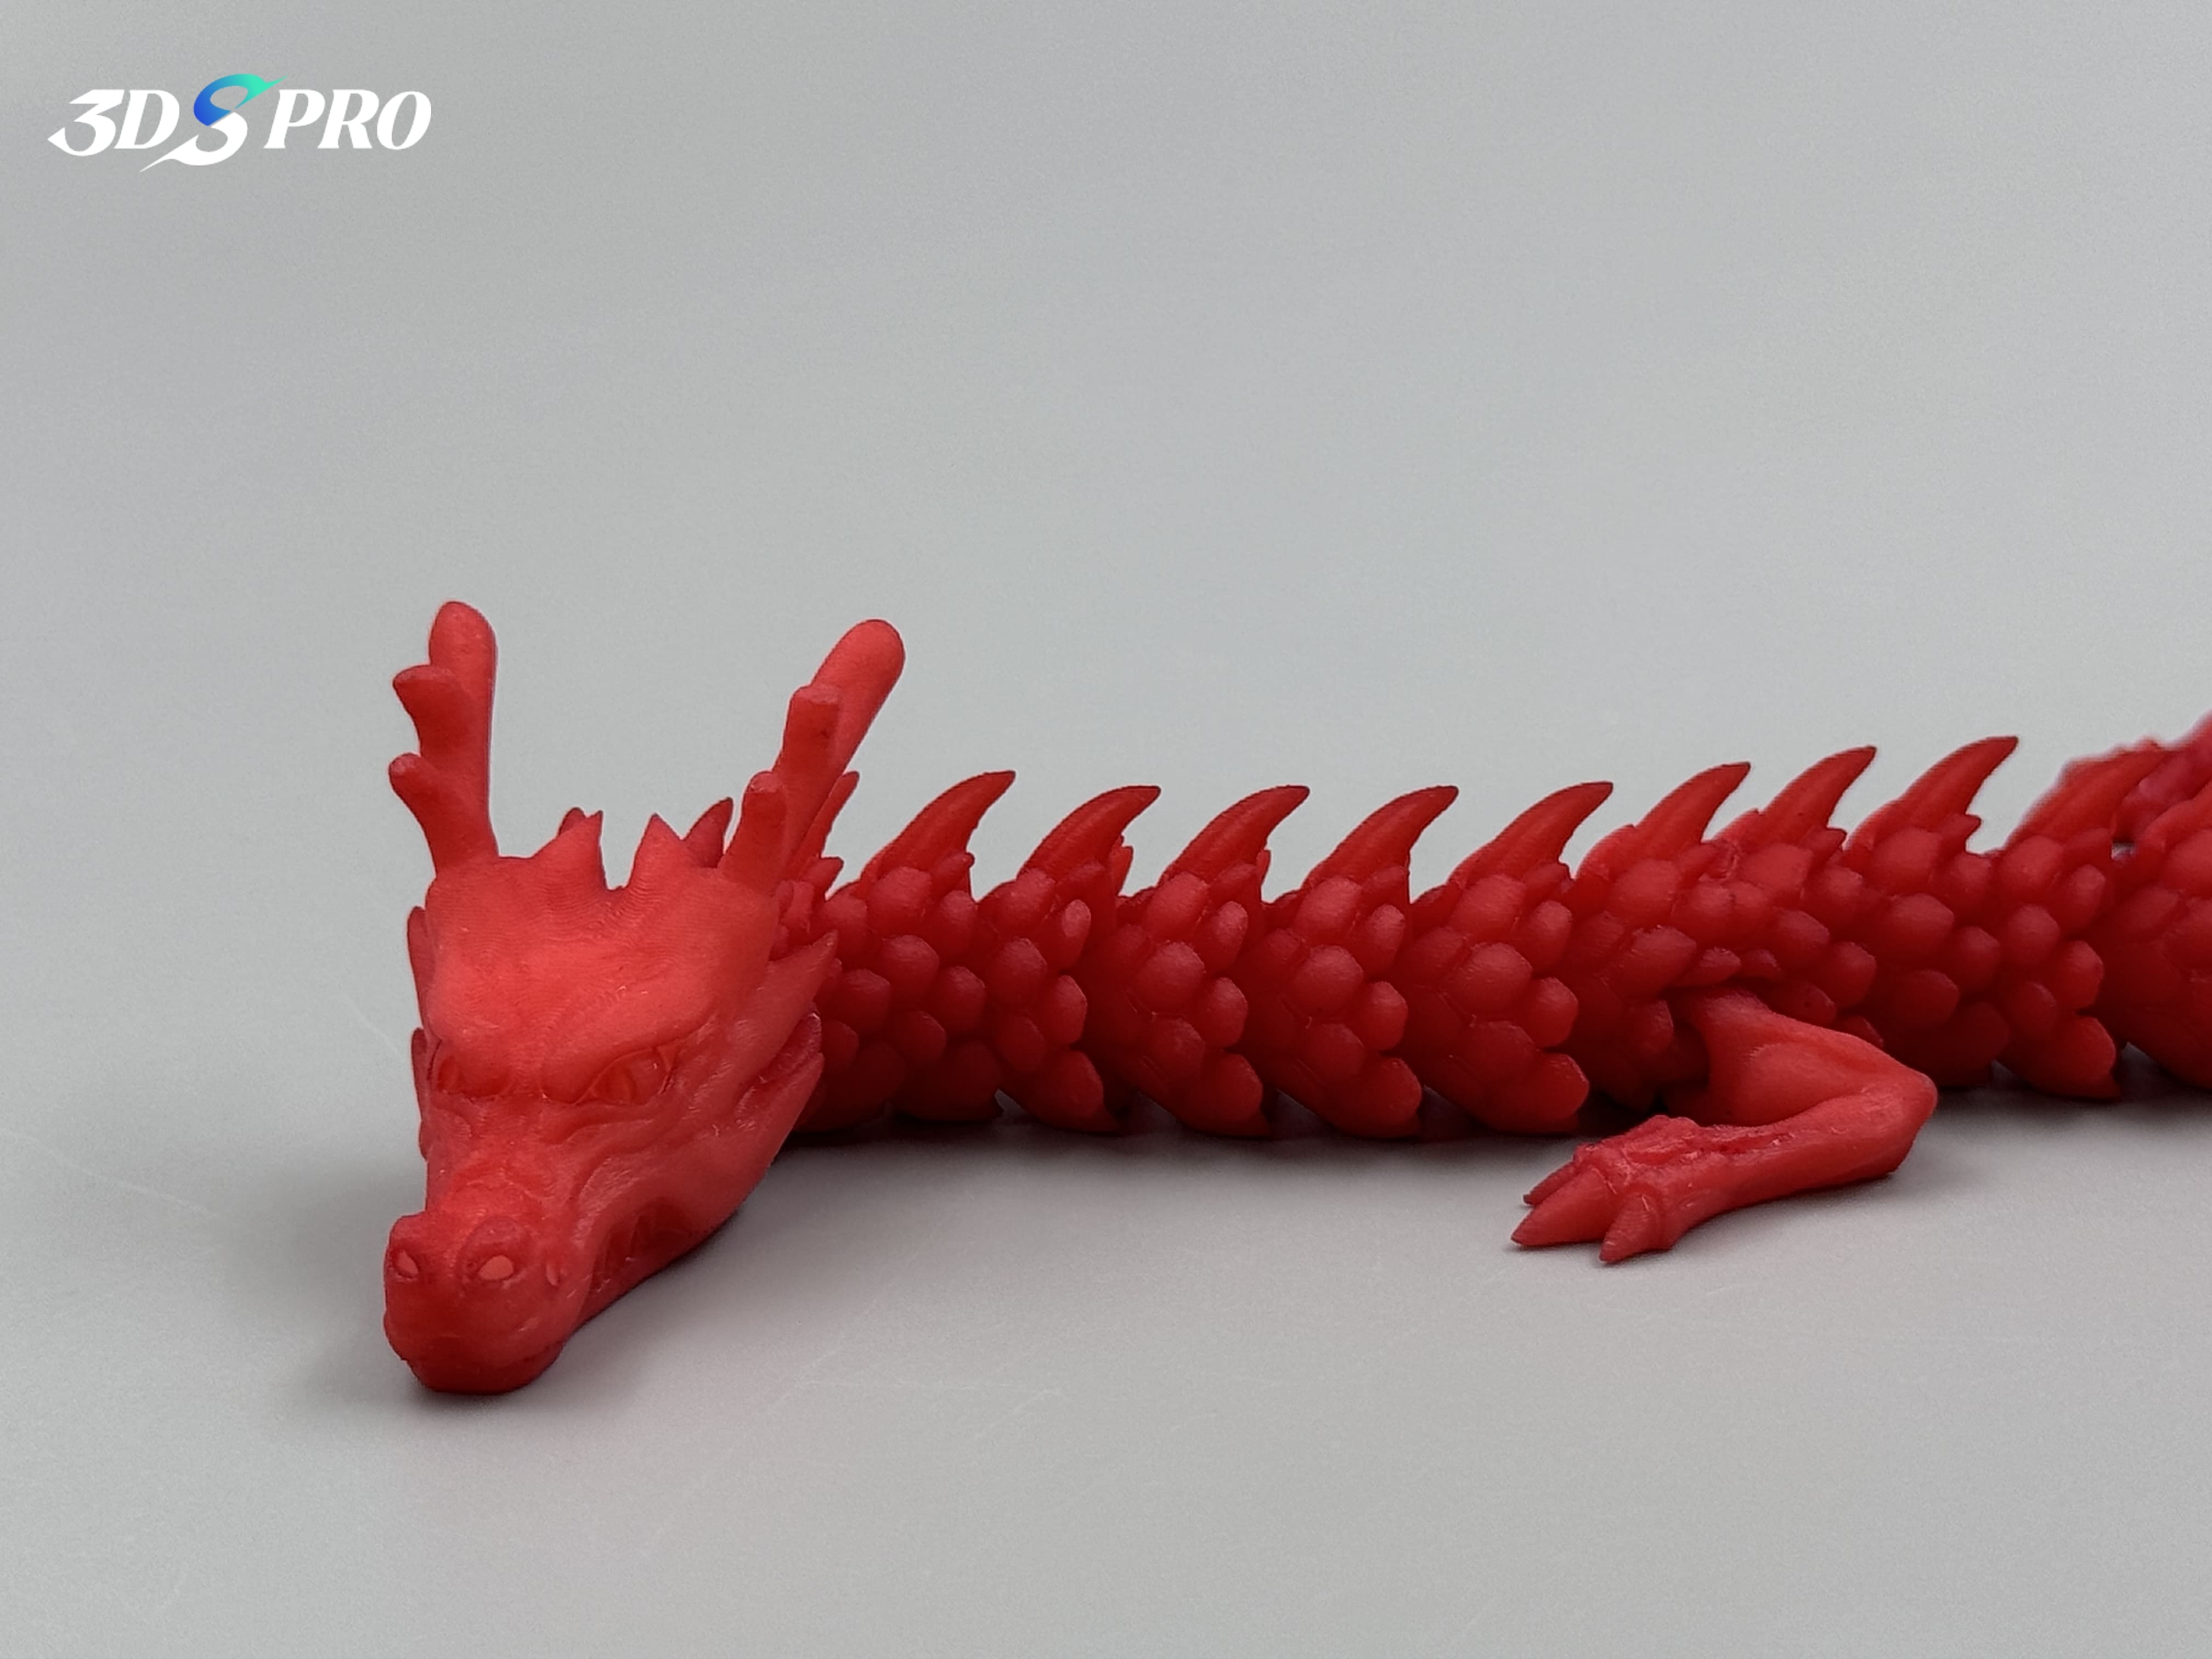
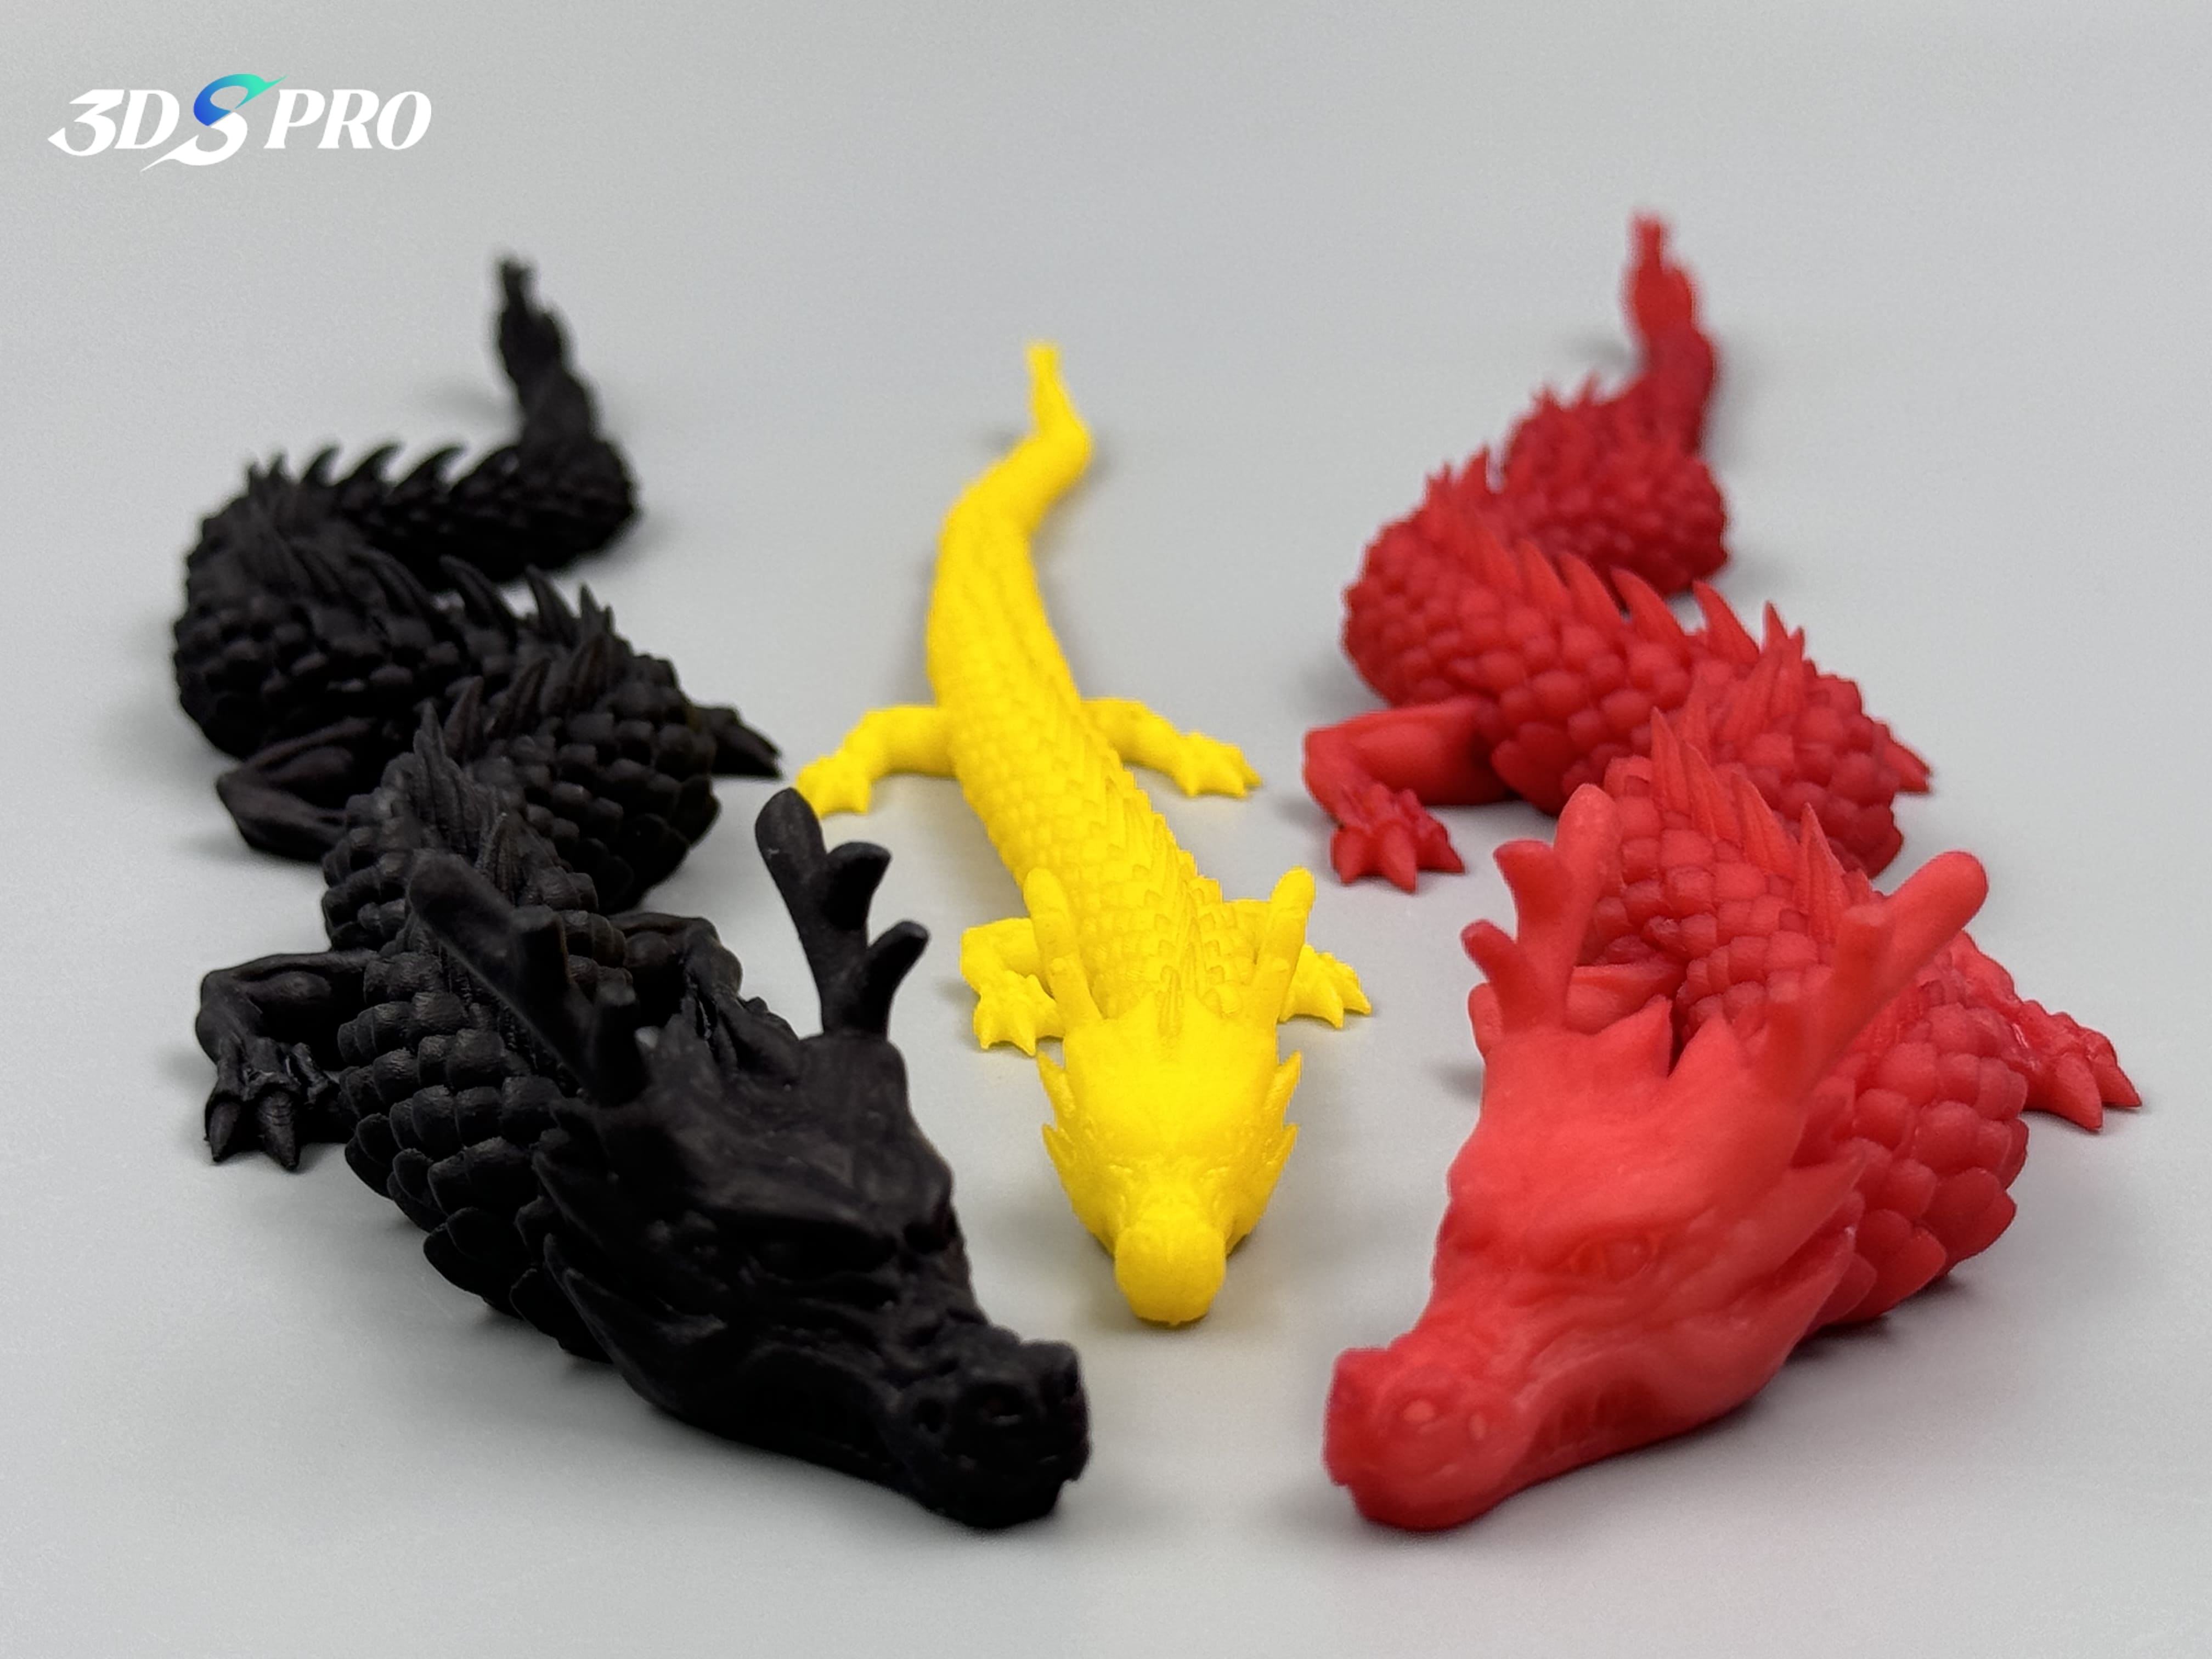
At 3DSPRO, our 3D Plus™ services offer professional dyeing post-processing for resin and nylon parts, ensuring vibrant, uniform colors that enhance both aesthetics and functionality.
We offer custom solutions to meet specific color requirements, making dyeing a cost-effective method for high-volume production.
Whether it’s a prototype, end-use part or art project, our 3D Plus™ dyeing service delivers high-quality, aesthetically pleasing 3D printed parts that maintain their mechanical properties and withstand wear and tear.
COMMENTS
- Be the first to share your thoughts!


