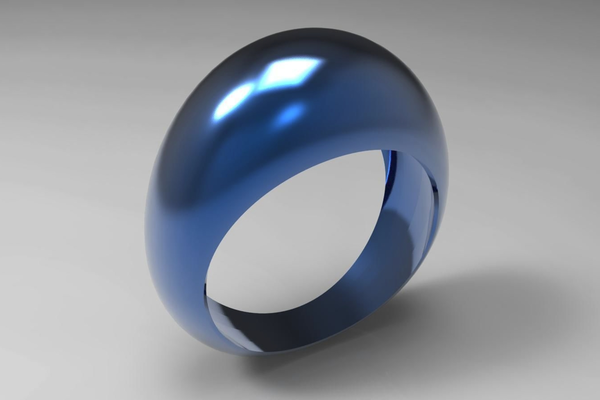
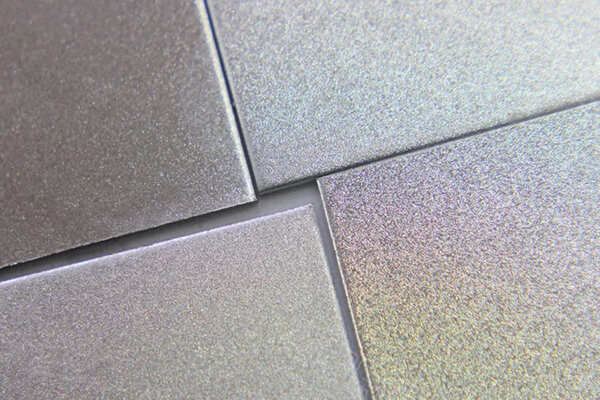
Passivation removes free iron and other contaminants from the surface of stainless steel and creates a passive oxide layer that protects the metal from rust and environmental damage, thus enhancing the corrosion resistance and longevity of stainless steel. Passivation of stainless steel restores the natural corrosion resistance and improves its surface finish and durability.
Passivated stainless steel components have a longer lifespan due to their increased resistance to environmental factors and wear. With improved corrosion resistance, passivated stainless steel requires less frequent maintenance and replacement, which saves costs in the long term. Besides, passivation improves the surface finish of stainless steel, delivering a smooth, uniform, and glossy surface finish.
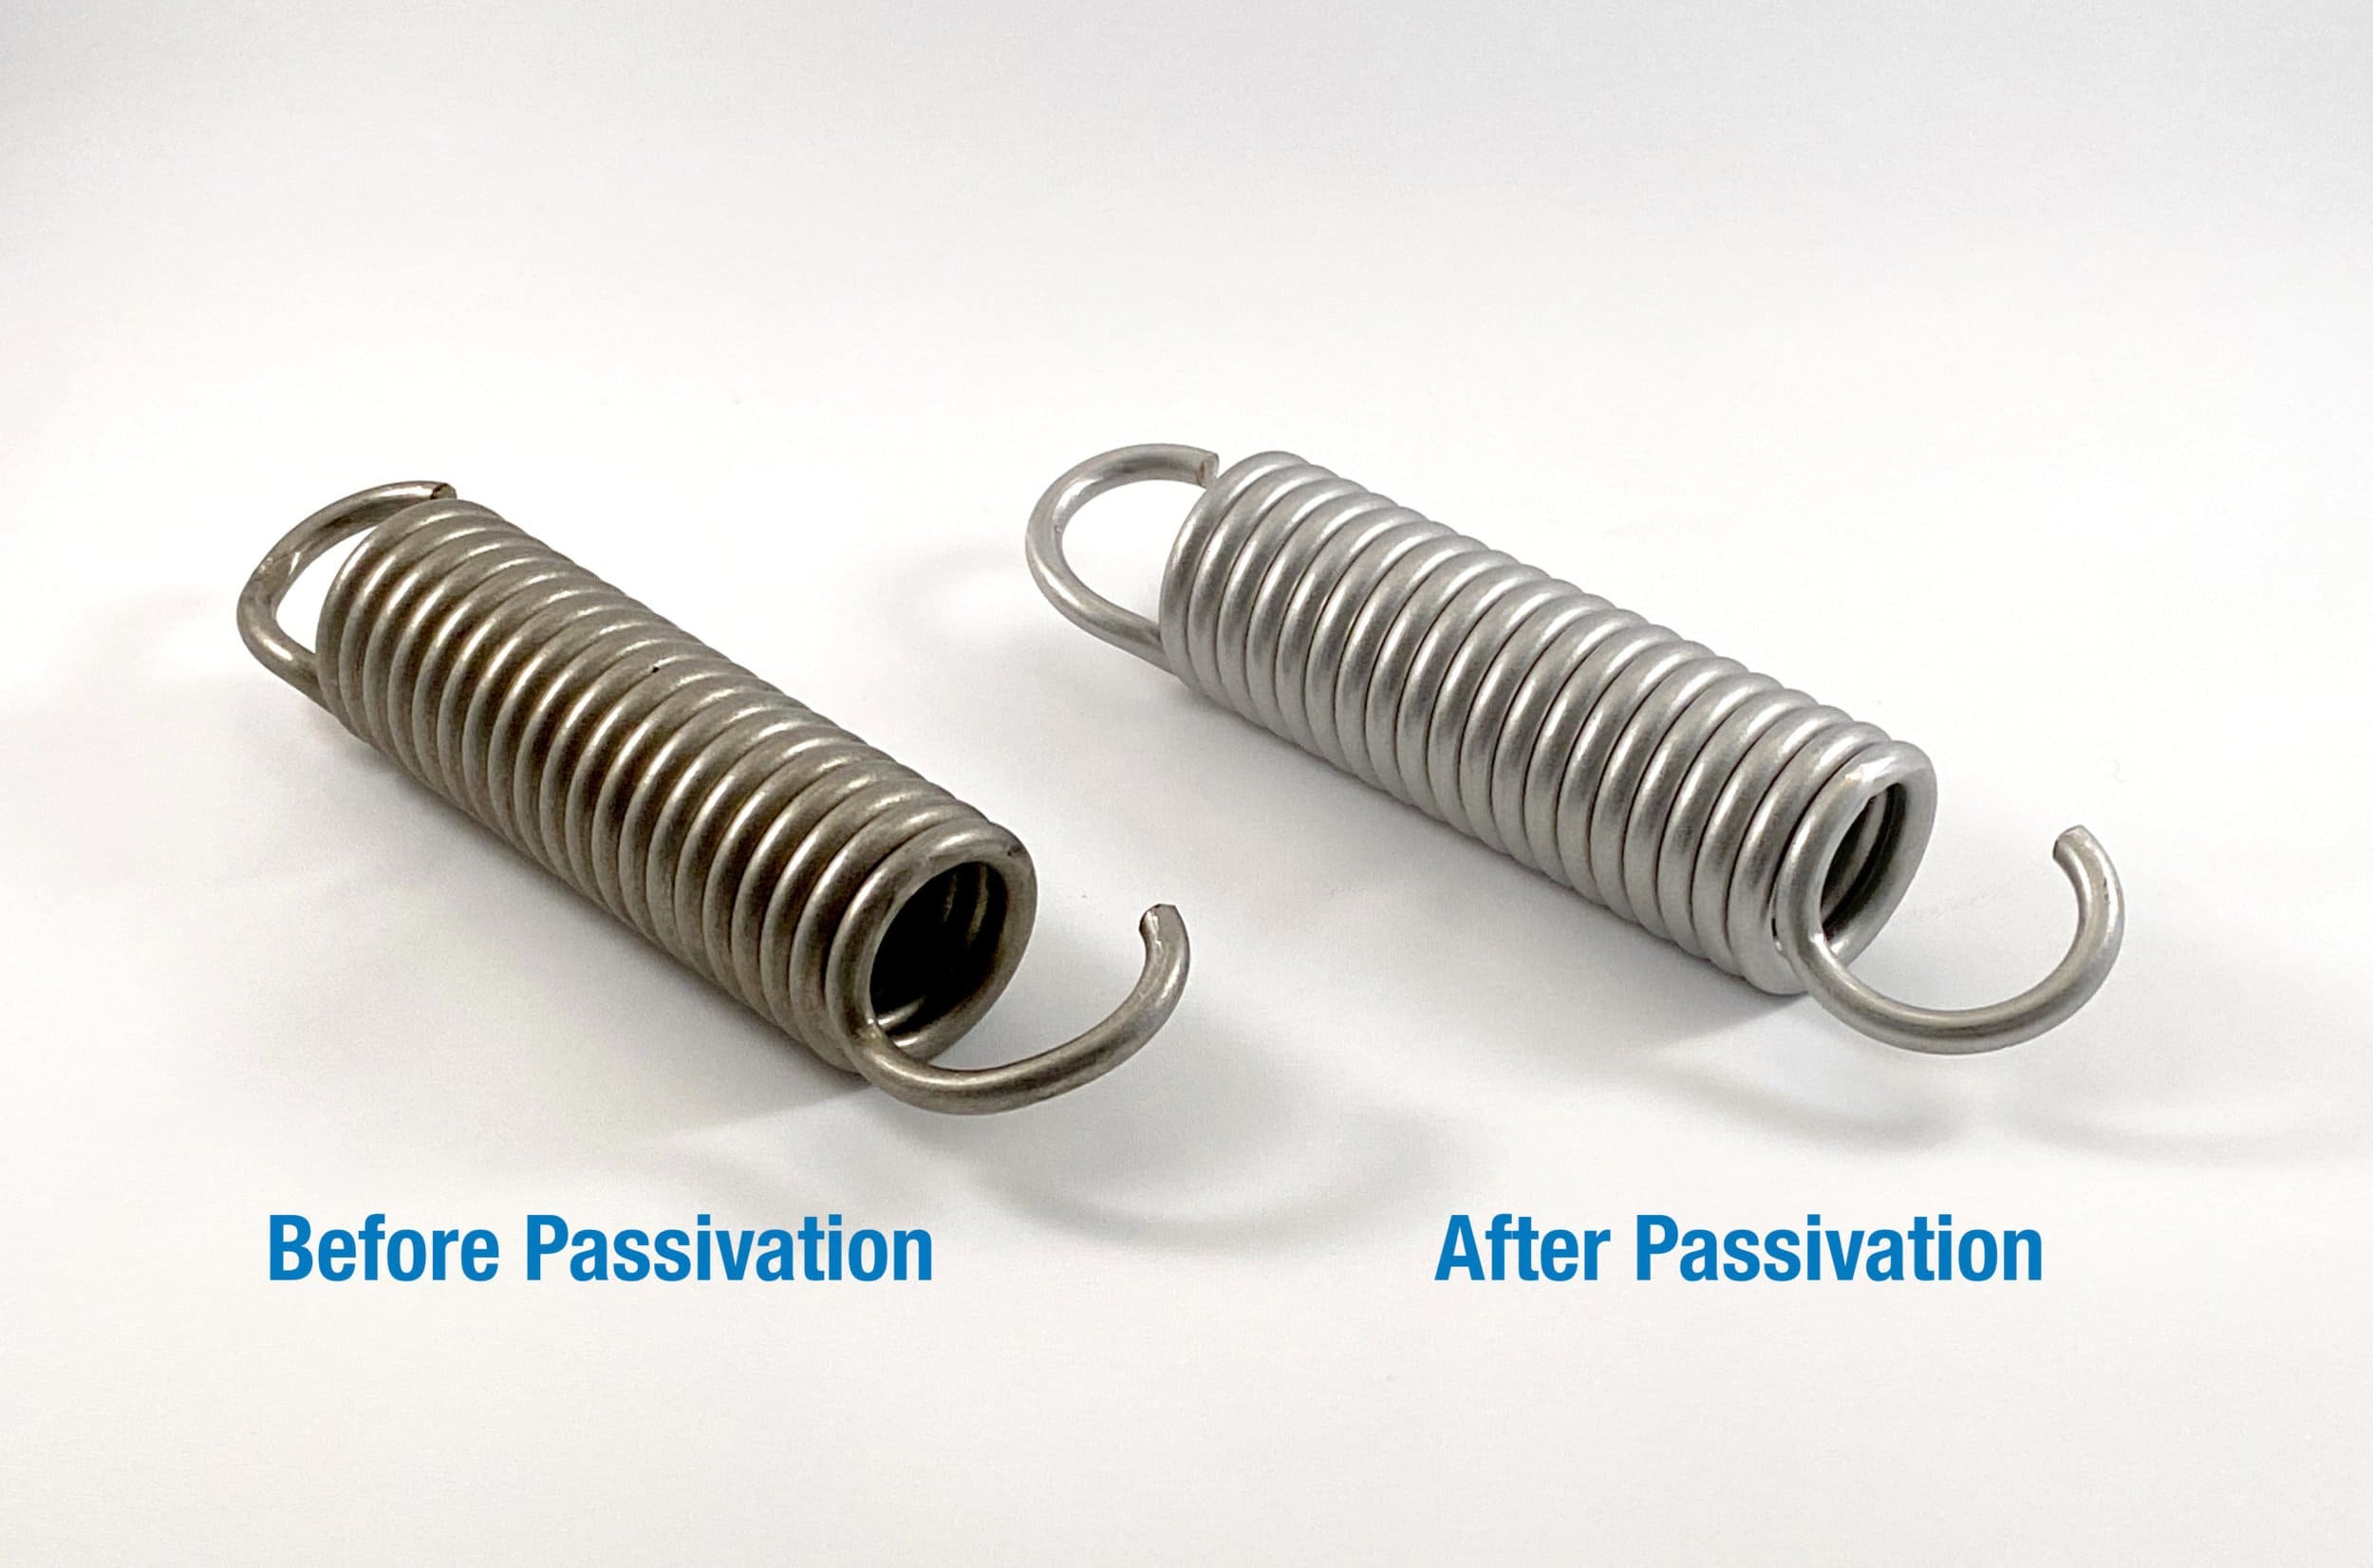
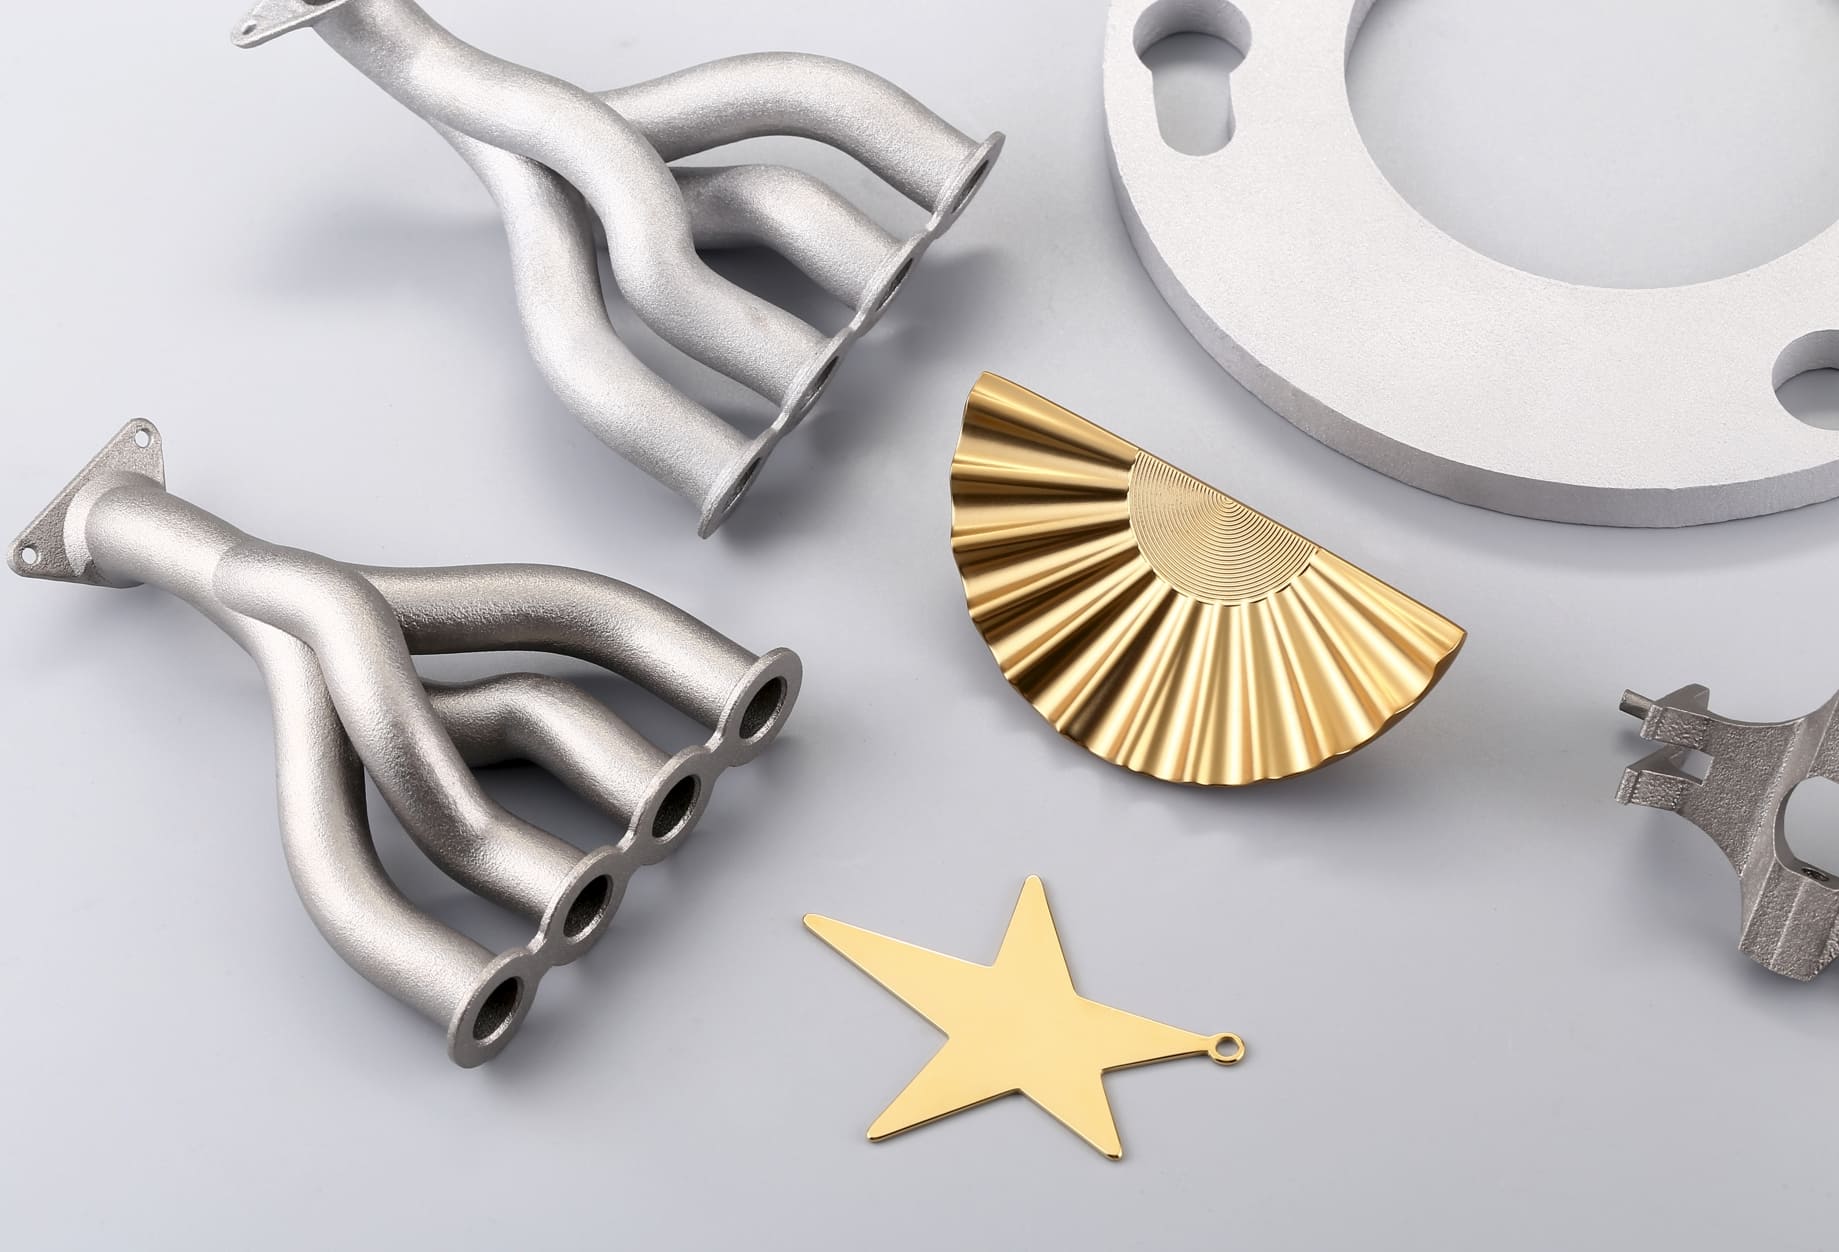
Image Source: Aero TMF
What is passivation?
Passivation is a post-processing process that renders a material passive or inert to chemical reactions that could change its composition and ultimately cause failure. In industrial applications, the passivation process is used to enhance the corrosion or oxidation resistance of metal surfaces by forming a protective film on the metal surface.
This protective film, known as a passivation layer or passivation film, covers the surface of the material without altering the base metal. The passive film acts as a barrier, reducing the chemical reactivity of the material and making it more resistant to corrosion and contamination. While passivation can be applied to a variety of ferrous metals, it is most commonly applied to stainless steel.
When to passivate?
By determining when to passivate stainless steel, manufacturers and maintenance teams can ensure metal components remain corrosion-resistant, durable, and reliable.
Post-processing
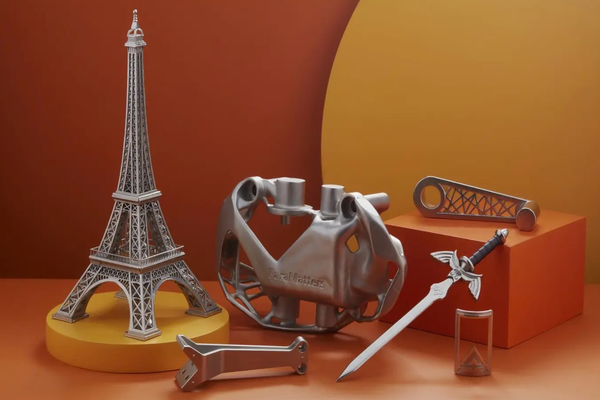
After manufacturing processes such as machining, welding, cutting, or 3D printing, the stainless steel surface may have exposed free iron and other contaminants. Passivation is being able to remove the residues and restore the protective chromium oxide layer.
After Mechanical Cleaning
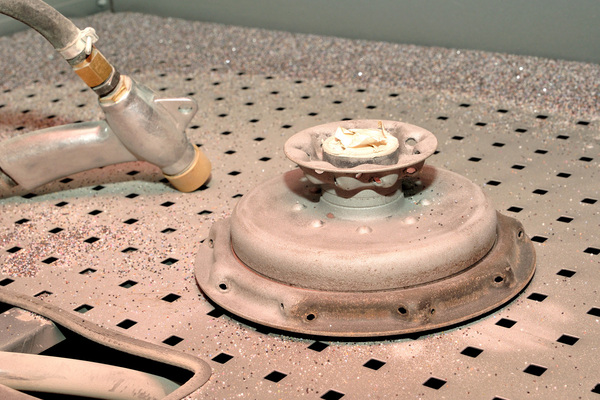
Mechanical cleaning methods, such as sandblasting, bead blasting, or polishing, can expose free iron and other impurities. Passivation re-establishes the passive layer to keep the material remains corrosion-resistant.
Expose to Harsh Environments
When stainless steel components are intended for use in harsh environments, such as marine, chemical processing, or medical settings, passivation helps the components withstand corrosive elements.
Routine Maintenance
Regular passivation can be part of a maintenance schedule to ensure that the stainless steel remains in good condition.
Before Final Assembly
Passivating components before final assembly ensures that all parts are free of contaminants and possess maximum corrosion resistance, contributing to the overall longevity and reliability of the final product.
Restoration of Aged Components
The passive layer on stainless steel can degrade or become contaminated over time. Passivation can restore the material’s protective properties, extending the life of the components.
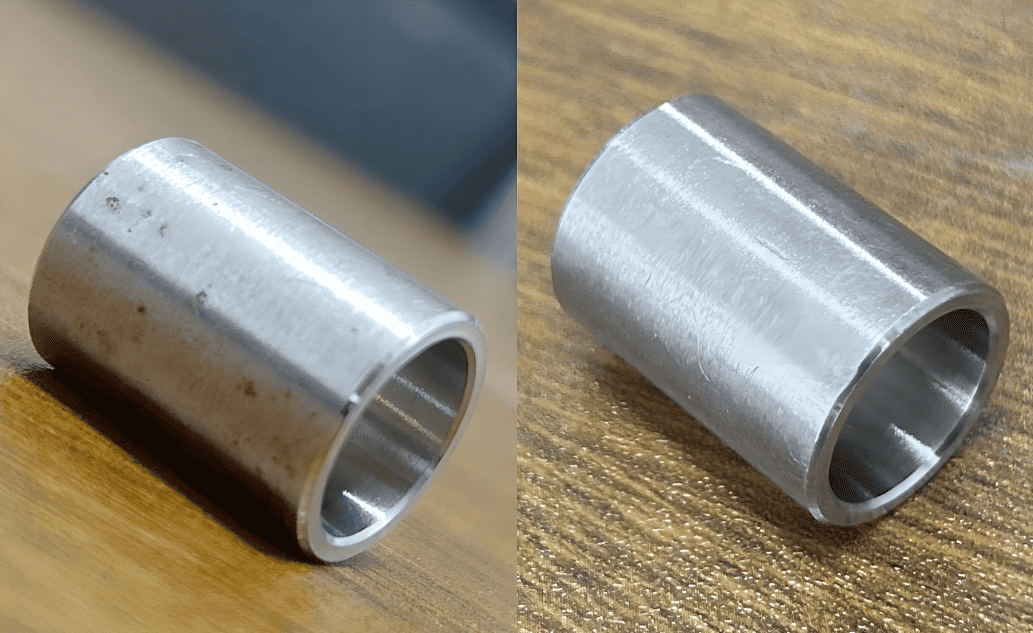
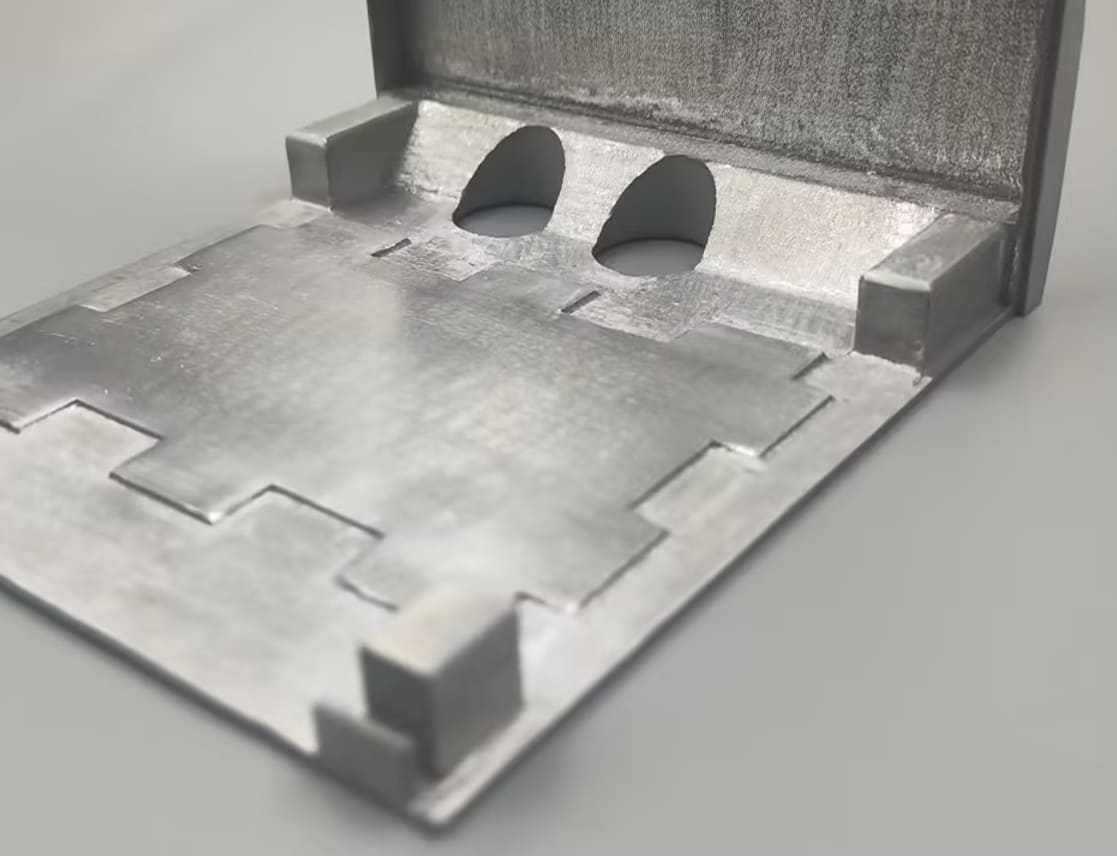
Image Source: Aria
Passivation Process
1. Cleaning and Rinsing
First, clean the stainless steel surface using a solvent, detergent, or alkaline cleaner to remove oil, dirt, and other contaminants. Then, rinse the clean surface with clean water to remove any residual detergent.
2. Pickling (Optional)
In some cases, pickling may be performed prior to passivation to remove heavy scale, oxides, or other tough surface contaminants. Pickling uses a stronger acid solution, such as a mixture of hydrofluoric acid (HF) and nitric acid (HNO3). After pickling, neutralize the acid solution and rinse the stainless steel thoroughly with water.
3. Passivation Bath
Prepare a passivation solution, commonly nitric acid (HNO3), at concentrations ranging from 20% to 50%, or citric acid as an alternative. Immerse the cleaned stainless steel parts in the passivation solution. Soaking time is typically 20 to 30 minutes, depending on the type of acid used and the passivation effect desired. The solution is maintained at a controlled temperature, typically between 20°C and 50°C (68°F and 122°F), to optimize the passivation reaction.
4. Rinsing
After passivation, rinse the parts thoroughly with clean, deionized water to remove any residual acid. A second rinse can be applied to ensure all residues are completely removed.
5. Drying
Leave the passivated parts to air dry in a clean, controlled environment to prevent any new contamination. Use compressed air or warm air blowers to accelerate the drying process, especially for parts with complex geometries.
Finally, inspect the passivated parts to check if they have a uniform and clean surface or test corrosion resistance via water immersion test or salt spray.
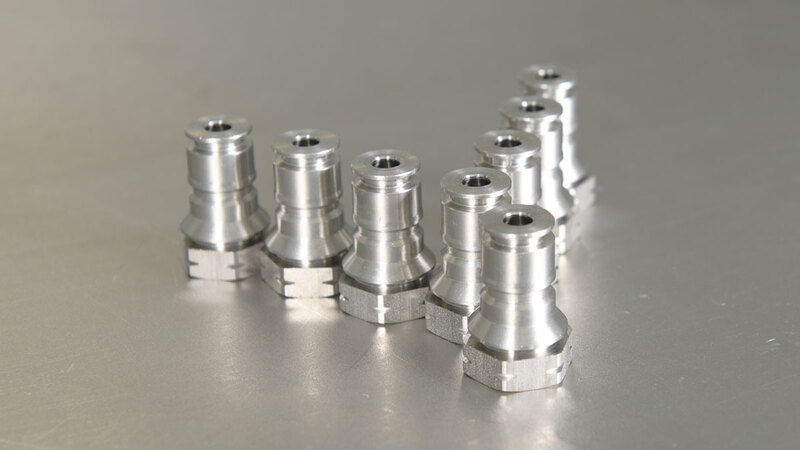
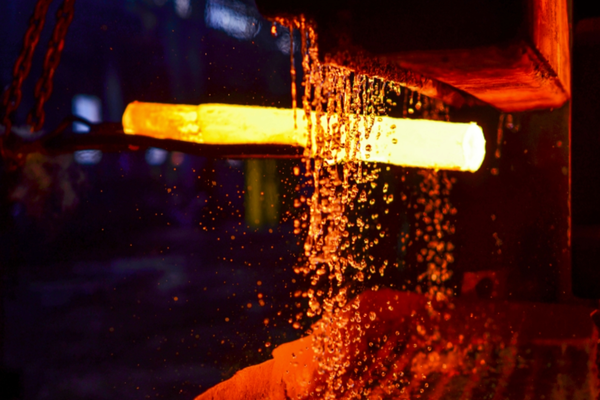
Image Source: AT-Machining
Is passivation the same as heat treat?
Passivation and heat treatment are different processes with different purposes and methods.
Passivation is a chemical treatment that enhances the corrosion resistance of metals by forming a passive oxide layer on the surface, primarily through the use of acidic solutions.
In contrast, heat treatment heats and cools metals to change their physical and mechanical properties, such as hardness, strength, and ductility. While heat treatment can improve the overall durability and performance of a material, it does not specifically address surface corrosion resistance like passivation does.
Passivation and heat treatment are important for metal parts that require longevity and reliability, but they have different functions and are applied under different conditions.


