Post‑processing converts printed artifacts into functional, reliable components by addressing surface defects, dimensional errors, and material limitations. Effective workflows reduce rework, improve mechanical performance, and enable consistent quality across batches.
Image Copyright © 3DSPRO Limited. All rights reserved.
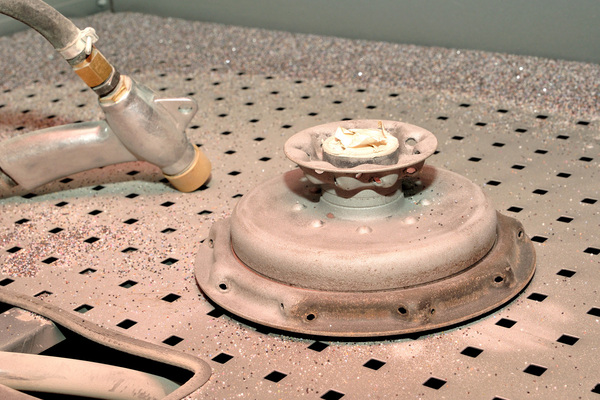
Support Removal and Defect Repair
Support Removal
• Bulk removal: Use pliers or cutters to remove large support structures. Make clean, deliberate cuts and avoid levering on thin features.
• Leave small nubs: Stop short of the final surface, leave small nubs that you will trim precisely.
• Refinement: Use flush cutters, needle files, and micro-rasps to bring the surface close to final geometry. Work progressively from coarse to fine tools.
• SLA/Resin parts: Prefer plastic scrapers and soft brushes rather than metal tools to avoid gouging cured resin.
Best Practices and Safety
• Reduce leverage on delicate features, always cut as close to the base as practical and then work the nub down in small steps.
• Document operator limits. Record maximum manual torque/force values and safe handling procedures to prevent accidental breakage.
• Keep a parts log of damage modes and recurring weak points so design-for-postprocess can be improved.
Defect Repair
• Adhesives
Cyanoacrylate (CA): fast, good for quick, non-structural fixes.
Two-part epoxy: use for load-bearing repairs because of superior gap filling and mechanical strength.
• Fillers: Use engineered fillers compatible with base polymer and thermal expansion characteristics to avoid future stress risers.
• Application techniques: Apply adhesives or fillers using capillary action, fine syringes, or micro-dispensers for control.
• Finish: Restore geometry by sanding, micro-machining, or light filing; avoid creating stress concentrators at repaired transitions.
Surface Smoothing
Surface smoothing reduces visible layer lines and reaches a target surface roughness (Ra) using abrasive and/or chemical processes.
Manual Abrasive Workflow
• Progress through grits: start coarse (120–220 grit) → medium (400–600 grit) → fine (1000–2000 grit).
• Use wet sanding to reduce heat buildup and clogging; keep consistent pressure and check dimensions frequently.
• Finish with micro-files or micro-cloths for small features and transitions.
High-Throughput Options
• Tumbling, vibratory finishing, or automated sanding stations are effective for batches, always validate settings on test coupons before full runs.
• Record cycle times, media type, and part fixturing for repeatability.
Chemical Smoothing
Vapor smoothing (e.g., acetone for ABS, specialty solvents for ASA): fast removal of layer lines but introduces dimensional change and surface softening.
Perform vapor smoothing in a controlled chamber with documented cycle parameters and subsequent dimensional checks against fixtures.
Validation
• Always test on representative coupons and measure Ra, dimensional drift, and any surface softening.
• Log abrasive sequences, dwell times, and tool wear so processes can be repeated reliably.
Thermal Treatments
Thermal Treatments relieve internal stresses, increase polymer crystallinity, and raise heat-deflection temperature (HDT).
How to Anneal Safely and Effectively
• Temperature selection: choose an anneal temperature below the polymer’s melting point (example: many nylons are annealed in the ~70–90 °C range depending on grade).
• Controlled ramps: use controlled temperature ramps and hold times, rapid changes increase the risk of warpage.
• Constrained fixturing: use fixtures to hold critical dimensions and prevent distortion during heating and cooling.
• Controlled cooling: slow, uniform cooling reduces residual stresses and unpredictable shrinkage.
Verification
• Perform pre/post dimensional scans and mechanical tests (tensile, flexural) to quantify effects.
• Expect predictable shrinkage, measure and compensate either in the part design or by adjusting fixture geometry.
Chemical Finishing
Chemical finishing includes solvents, resin washes, sealants, and post-cure processes that improve gloss, seal porosity, and prepare parts for coatings.
Resin Parts
• Rinse thoroughly with isopropyl alcohol to remove uncured resin.
• Perform controlled UV post-cure to stabilize material properties before polishing or secondary finishing.
Thermoplastic Solvent Smoothing and Sealants
• Strictly control ventilation, solvent monitoring, and PPE to protect operators and avoid material embrittlement.
• Run compatibility tests for each polymer/solvent combination to detect crazing, discoloration, or strength loss.
Environmental, Health and Disposal
Document solvent handling procedures, monitoring limits, and safe disposal methods.
Incorporate fume capture and solvent recycling where possible.
Coatings and Functional Finishes
Coating provides corrosion resistance, wear protection, electrical properties, or consistent brand color/appearance.
Specification Essentials
• Define adhesion promoter, primer, film thickness, and cure cycles up front.
• For low-energy plastics, always use a compatible primer or surface treatment to ensure adhesion.
Validation
• Perform cross-cut adhesion tests and environmental exposure testing for painted parts.
• For electronics, apply conformal coatings with target dielectric thickness and verify with electrical testing.
• Where EMI shielding is required, select conductive paints or metallization and validate shielding effectiveness and any impact on interfaces or tolerances.
Process Controls
• Monitor film thickness, cure temperature/time, and environmental conditions during application.
• Beware of coatings that alter mating dimensions or tighten tolerances, validate fit/function after coating
Effective post-processing is a system. Planned sequences, proper tooling, material-matched consumables, and rigorous validation. When each step is controlled and documented, 3D prints move from prototypes to reliable, production-ready parts. Try our 3D printing and post-processing services to get the best outcome of your project >>
 0
0


COMMENTS
- Be the first to share your thoughts!