If you want to have a high-quality 3D print, the flawless top layer is a must, whether you are making functional parts, designer pieces, or models for painting. Achieving a smooth finish can sometimes feel elusive. Very often, ugly textures, infill patterns, and seams can ruin an otherwise perfect print, with even the most experienced makers left frustrated. These are usually the result of different causes, such as improper slicer settings, poorly chosen toolpaths, etc. No worries! With some tweaks to the way you print and a few nifty post-processing tricks, you can take a rough layer and make it perfectly smooth. Within this guide, we will detail some top-layer perfection science for you!
Slicer Settings for a Flawless Top Layer
The basis for a smooth top layer is in setting the slicer parameters. No printer can help if these parameters are not set correctly.
1. Layer Height: Precision Matters
A thinner layer means a smoother surface with less of a stair-step effect.
Solutions:
1. Use 0.1–0.15 mm layer heights for the top layer.
2. For efficiency, enable variable layer height (thicker layers for infill, thinner layers near the top).
2. Top Layer Count: Bury Imperfections
More layers hide infill patterns and prevent gaps.
Solutions:
1. 4–6 top layers for standard prints.
2. Increase to 6–8 layers for low infill (e.g., 10%) or translucent filaments.
3. Infill Density & Overlap: Support from Below
Infill acts as a scaffold for the top layer.
Solutions:
1. 20–30% infill density (gyroid or rectilinear patterns work best).
2. Reduce infill overlap with walls to 5–10% to avoid over-extrusion at edges.
4. Ironing: Melt Away Roughness
The nozzle re-melts the top layer without extruding plastic.
Solutions:
1. Enable ironing in your slicer (e.g., Cura’s “Ironing” checkbox).
2. Speed: 10–20 mm/s.
3. Flow: ≤5% to prevent overfilling.
4. Pattern: Pair with linear toolpaths.
5. Speed & Temperature: Slow and Steady Wins
Reduce top layer speed to 10–30 mm/s for even extrusion. Increase by 5–10°C to improve flow and bonding.
6. Cooling: Solidify Perfection
Rapid cooling prevents sagging and stringing.
Solutions:
1. Set the cooling fan to 100% during top layers.
2. Avoid cooling reductions unless printing high-temp materials like ABS.
Print a 20 mm x 20 mm test square first before committing to anything larger to see how the top layer settings turn out. Easy changes to ironing, speed, and layer height should be performed to get the surface where you need it.
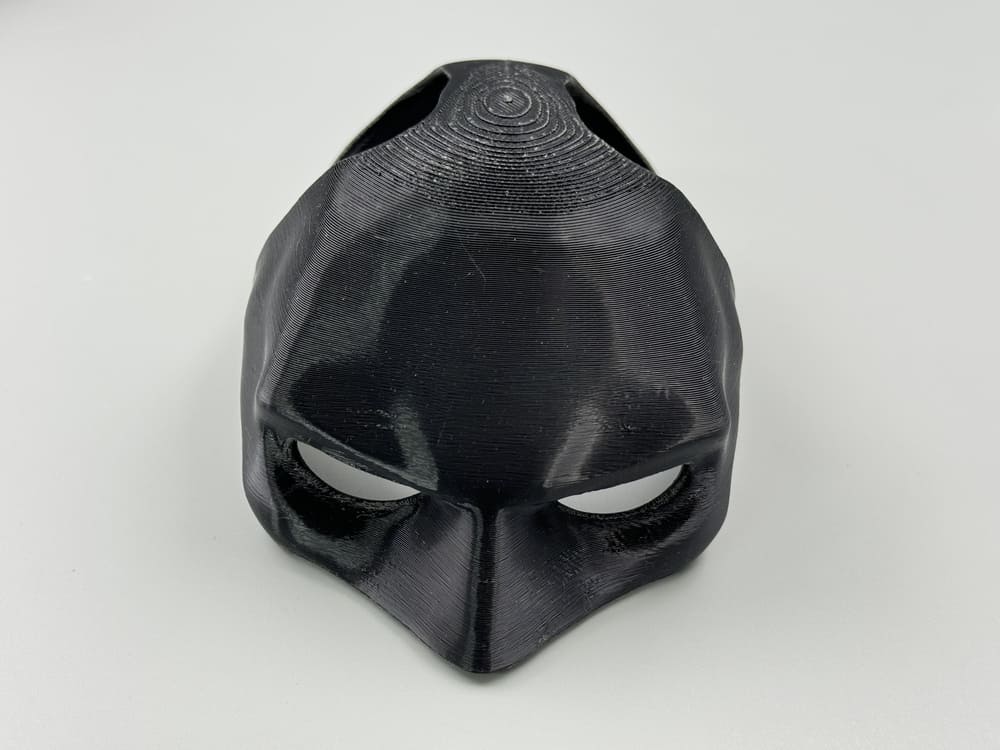
The Top Layer of 3D Printed Cat Batman Mask
Toolpath Optimization
In a nutshell, the toolpath is the route taken by the nozzle to fill the top layer and is instrumental to the resulting surface smoothness. While slicers have many options for patterns, not all have similar effects.
1. The Problem with Concentric (Circular) Patterns
The print grows outward in rings, leaving visible start/stop seams at the end of each loop. Direction changes cause over-extrusion at corners, leaving ridges or blobs. Uneven cooling as the nozzle moves in a radial position can cause warping or texture inconsistencies.
Solution: Linear or monotonic toolpaths produce uniform, predictable extrusion paths.
2. Best Toolpaths for Smooth Top Layers
|
Toolpaths |
How does it work? |
Pros |
Cons |
|
Rectilinear (Lines) |
Prints parallel lines in alternating directions. |
Fast, reliable, and minimizes directional artifacts. |
Slight seam visibility at direction changes. |
|
Monotonic (Aligned) |
Prints all lines in a single direction (like mowing a lawn). |
Eliminates seams and direction-change blobs. |
Slightly slower due to travel moves. |
|
Gyroid (Advanced) |
The wavy, non-linear pattern that distributes stress evenly. |
Hides layer lines and reduces warping. |
Not ideal for purely aesthetic top layers. |
3. How to Change Toolpath Settings
Cura
1. Navigate to the Top/Bottom settings.
2. Set the Top/Bottom Pattern to Lines or Monotonic.
3. Enable Monotonic Top/Bottom Order for seam-free surfaces.
PrusaSlicer
1. Under Print Settings > Layers and Perimeters, select Top Fill Pattern.
2. Choose Rectilinear or Monotonic.
4. Advanced: Adaptive Layer Toolpaths
Some slicers (e.g., PrusaSlicer) allow adaptive layer heights; you can use thicker layers for infill and thinner layers near the top, which reduces print time while maintaining a smooth surface.
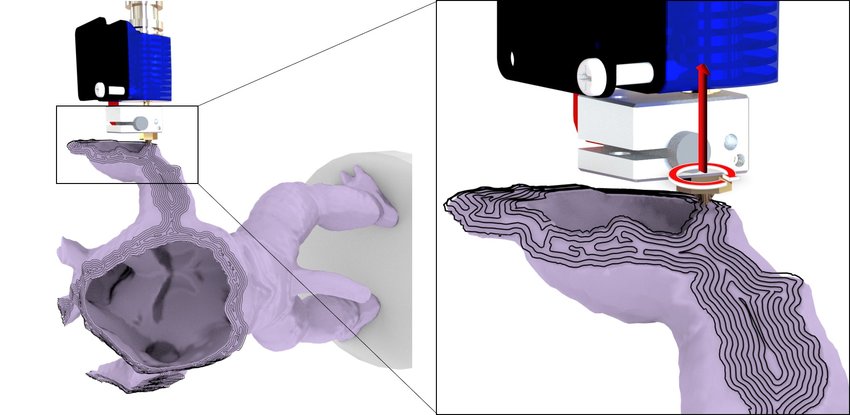
Image Source: ResearchGate
Hardware & Calibration
Even the best slicer settings and toolpaths won’t compensate for poorly calibrated hardware. A misaligned nozzle, under-extrusion, or wobbly belts can sabotage your top layer.
1. Extruder Calibration
E-Steps Calibration:
1. Heat the nozzle and mark 120mm of filament from the extruder entrance.
2. Command extrusion of 100mm via your printer’s control panel.
3. Measure the remaining filament. If 20mm is left, E-steps are correct. If not:
4. New E-steps = (Current E-steps × 100) ÷ (120 − Measured remaining).
Flow Rate Adjustment:
1. Print a hollow 20mm cube with 2 walls and no top layers.
2. Measure wall thickness with calipers.
3. New flow rate = (Expected wall thickness ÷ Measured thickness) × 100%.
2. Z-Offset & Bed Leveling
Z-Offset Tuning:
1. Use a 0.1mm feeler gauge or paper to set nozzle height during bed leveling.
2. Adjust live during printing: Top layer too rough? Lower Z-offset by 0.02mm.
Bed Leveling:
1. Use manual mesh leveling (Marlin) or automatic bed leveling (BLTouch).
2. Recheck leveling every 5–10 prints or after hardware changes.
3. Cooling Fan
1. Ensure the fan duct directs airflow evenly across the nozzle.
2. Clean dust from fan blades regularly.
3. For PLA: 100% fan speed on all layers.
4. For ABS: 0% fan speed (except bridging).
4. Nozzle Health
Cold pulls to clear clogs (use nylon or cleaning filament). Replace brass nozzles every 200–300 print hours; hardened steel lasts longer.
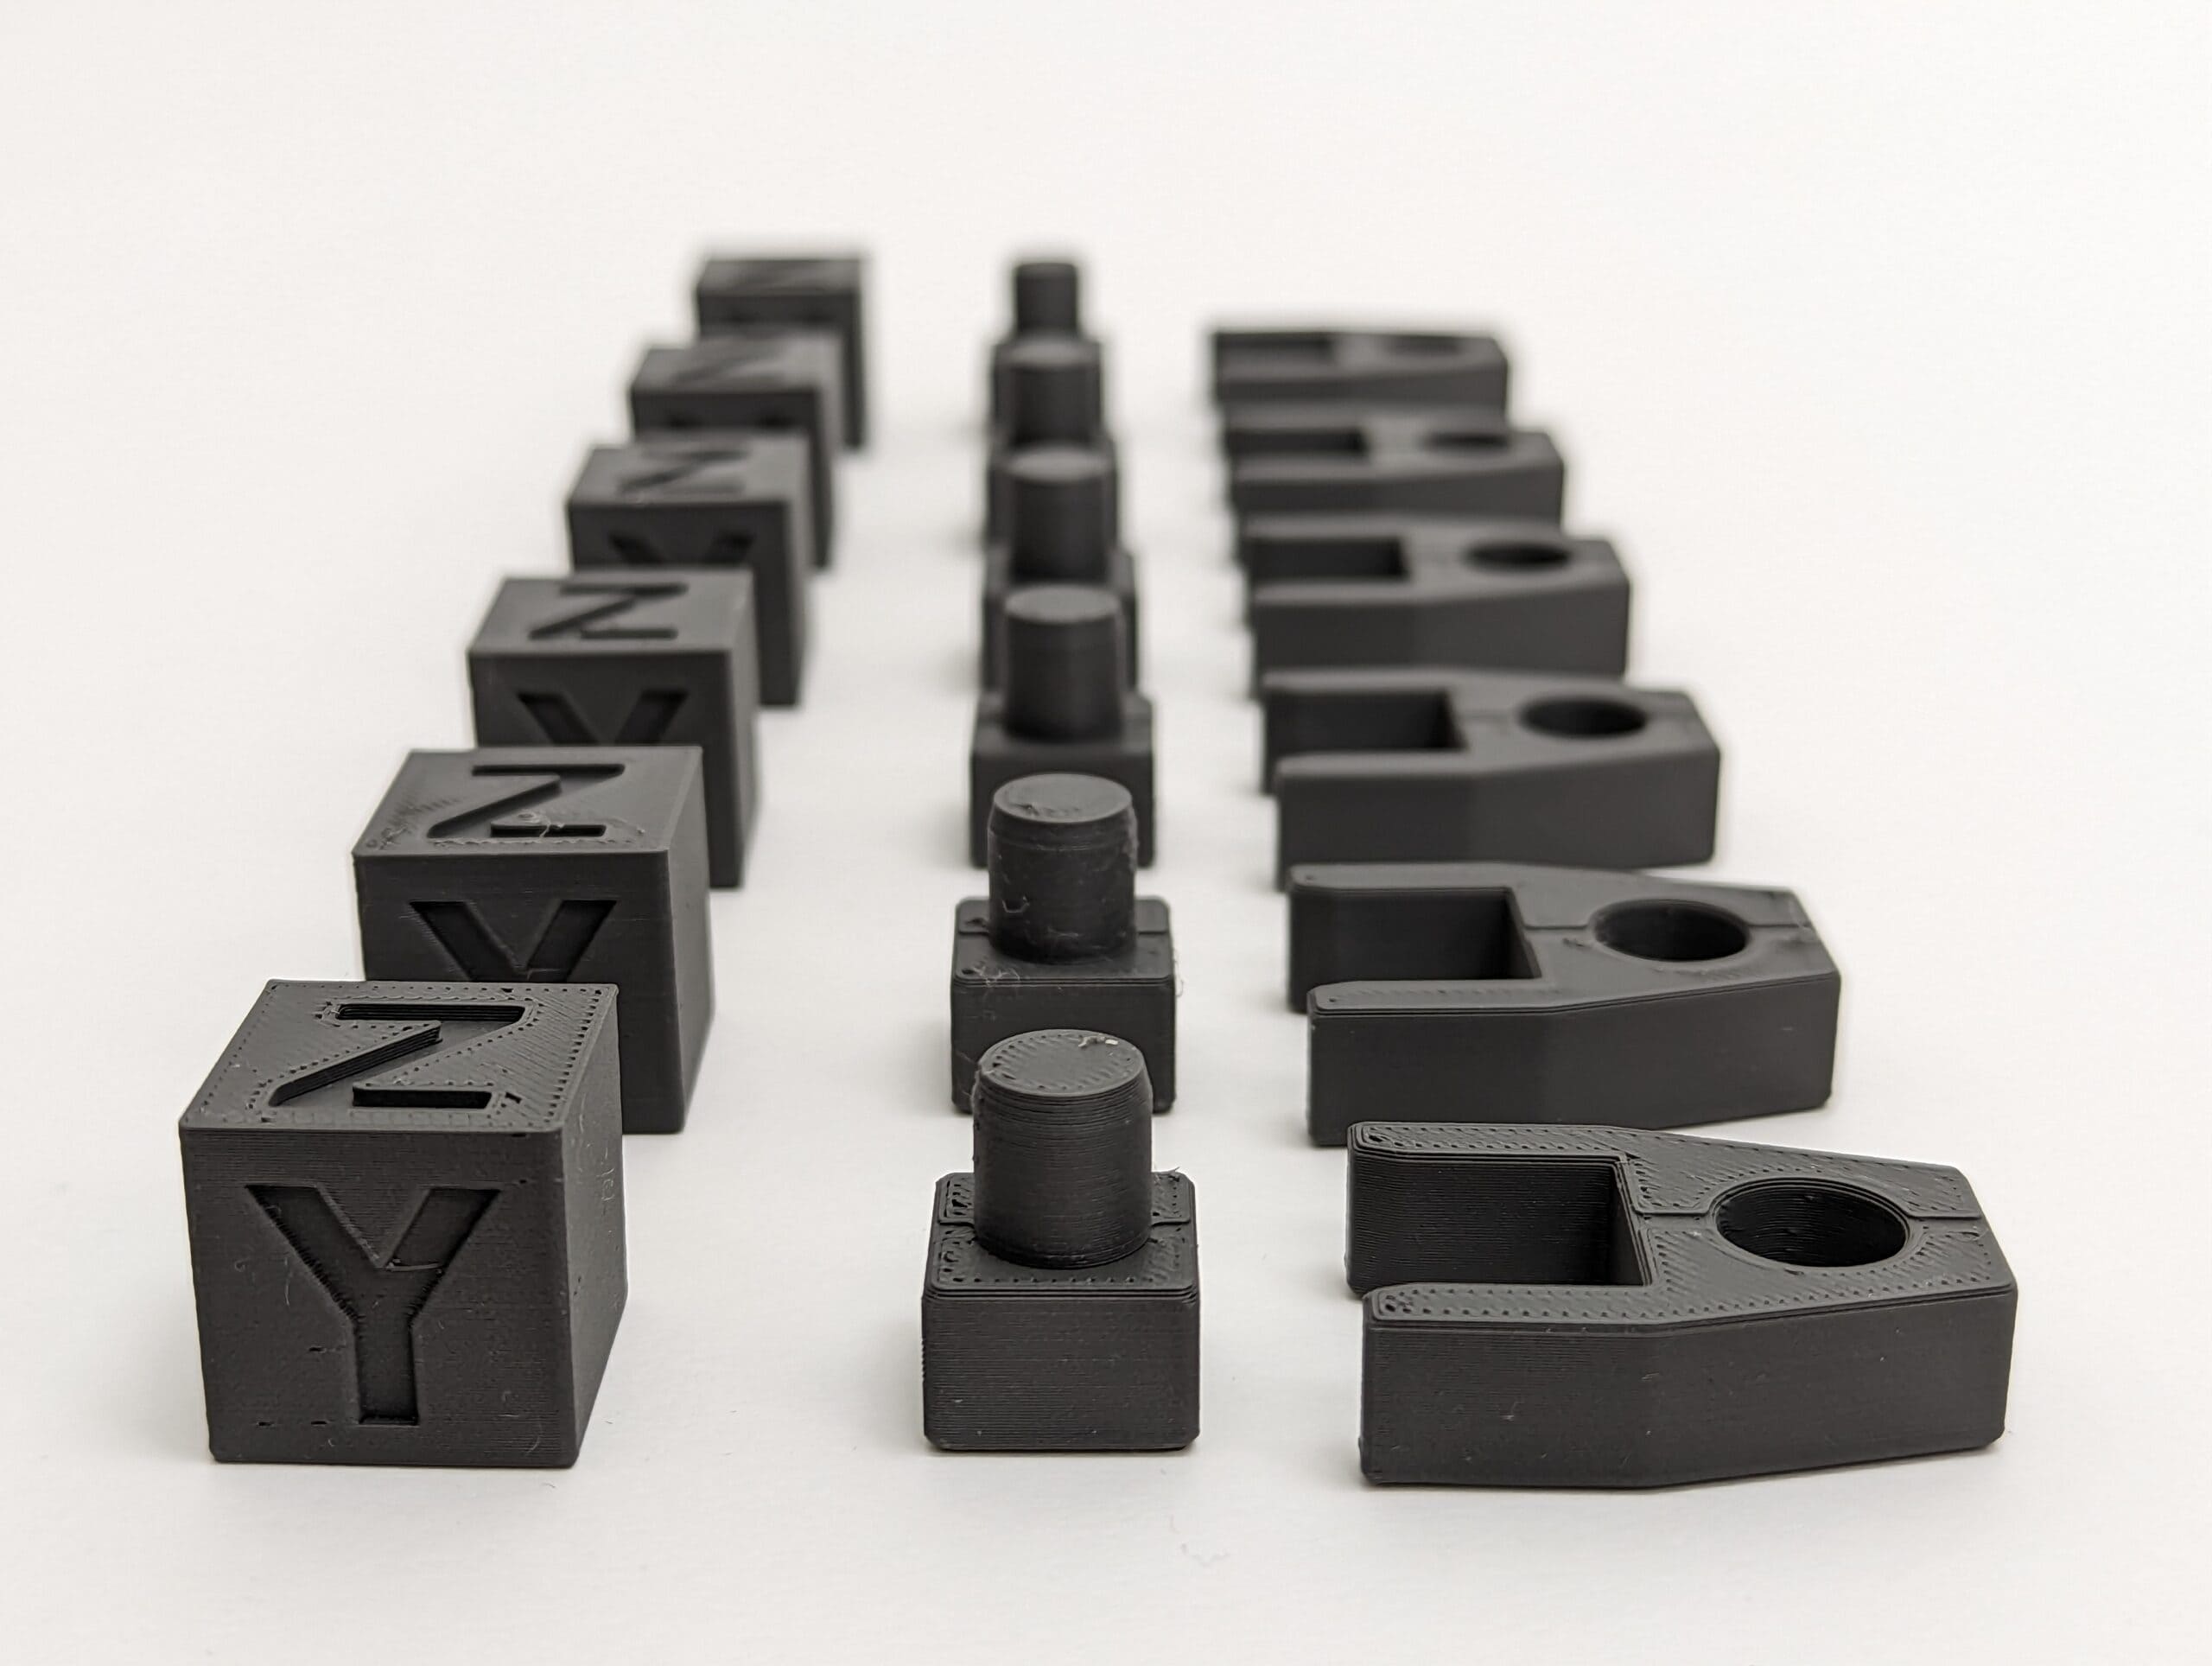
Image Source: 3D Print Files
Material-Specific Tips
|
Material |
Nozzle Temp (°C) |
Cooling Fan |
Top Layers |
Post-Processing |
|
195–220 |
100% |
4–6 |
Sanding |
|
|
230–250 |
30–50% |
5–6 |
Deburring |
|
|
240–260 |
0% |
6–8 |
Acetone |
|
|
220–240 |
20% |
5–6 |
Trimming |
|
|
250–270 |
0% |
6–8 |
Epoxy |
|
|
ASA |
240–260 |
0% |
6–8 |
Acetone |
Post-Processing Techniques
|
Post-processing |
Best for |
Steps |
|
PLA, PETG, ABS, and non-flexible materials. |
1. Start with 200–400 grit sandpaper to remove layer lines and blobs. 2. Refine with 600–1000+ grit for a satin finish. 3. Wet-sand with water (for PLA/PETG) to reduce dust and friction. |
|
|
Priming & Painting |
Paint-ready surfaces or hiding minor flaws. |
1. Spray filler primer in thin, even coats (2–3 layers). 2. Sand lightly with 800–1200 grit between coats. 3. Finish with acrylic or enamel paint. |
|
Epoxy Resin Coating |
Waterproofing or adding a glossy finish. |
1. Mix two-part epoxy (e.g., XTC-3D) and apply with a brush. 2. Rotate the print to avoid drips and cure for 12–24 hours. 3. Sand lightly with 1500 grit for a glass-like finish. |
|
ABS, ASA |
1. Acetone Vapor Bath: Heat acetone in a sealed container (60°C) and suspend the print for 5–15 minutes. Warning: Use in a well-ventilated area and avoid open flames. 2. Acetone Brushing: Apply with a soft brush for localized smoothing. |
|
|
Heat Treatment |
Quick fixes on small imperfections. |
1. Choose heat gun, soldering iron, or hair dryer. 2. Use a low-heat setting and keep the tool moving to avoid melting. 3. Glide the heat source 2–3 inches above the surface to melt micro-bumps. |
|
Polishing Compounds |
Transparent filaments (PETG, resin). |
1. Sand to 1000+ grit. 2. Apply polywatch or car polish with a microfiber cloth. 3. Buff in circular motions until glossy. |
Troubleshooting Common Issues
|
Issue |
Immediate Fix |
Long-Term Solution |
|
Gaps in top layer |
Add 2 more top layers |
Calibrate E-steps + increase infill |
|
Rough texture |
Enable ironing |
Switch to monotonic toolpath |
|
Nozzle drag |
Enable Z-hop |
Clean nozzle + tighten belts |
|
Pillowing |
Increase cooling fan to 100% |
Add top layers + reduce temp |
|
Stringing |
Adjust retraction distance |
Dry filament + lower nozzle temp |
|
Warping |
Re-level bed |
Use enclosure + adhesive |
COMMENTS
- Be the first to share your thoughts!


