What Is Metal Binder Jetting?
Metal binder jetting is a 3D printing process that builds a part by spreading a thin layer of metal powder and selectively depositing a liquid binding agent onto the powder bed. The binder acts like glue, holding the powder particles together in the shape of the part. Layer by layer, the object is formed in a “green” state, meaning it is not yet fully dense or fully strong.
After printing, the part goes through post-processing steps such as curing, debinding, and sintering. Debinding removes most of the binder, and sintering heats the metal particles until they fuse into a solid metal part. Because the final strength comes after sintering, the printed shape must be designed with shrinkage in mind. The process is not just about printing; it is about anticipating how the part will transform in the furnace.
One of the biggest advantages of binder jetting is that it does not require supports in the same way many laser-based metal printing technologies do. Since the powder bed already supports the part during printing, the design freedom is greater in many cases. That makes the process particularly appealing for geometries that would be difficult or risky to support and clean later.
AI Generated Image
Why Binder Jetting Works Well for Small Metal Parts
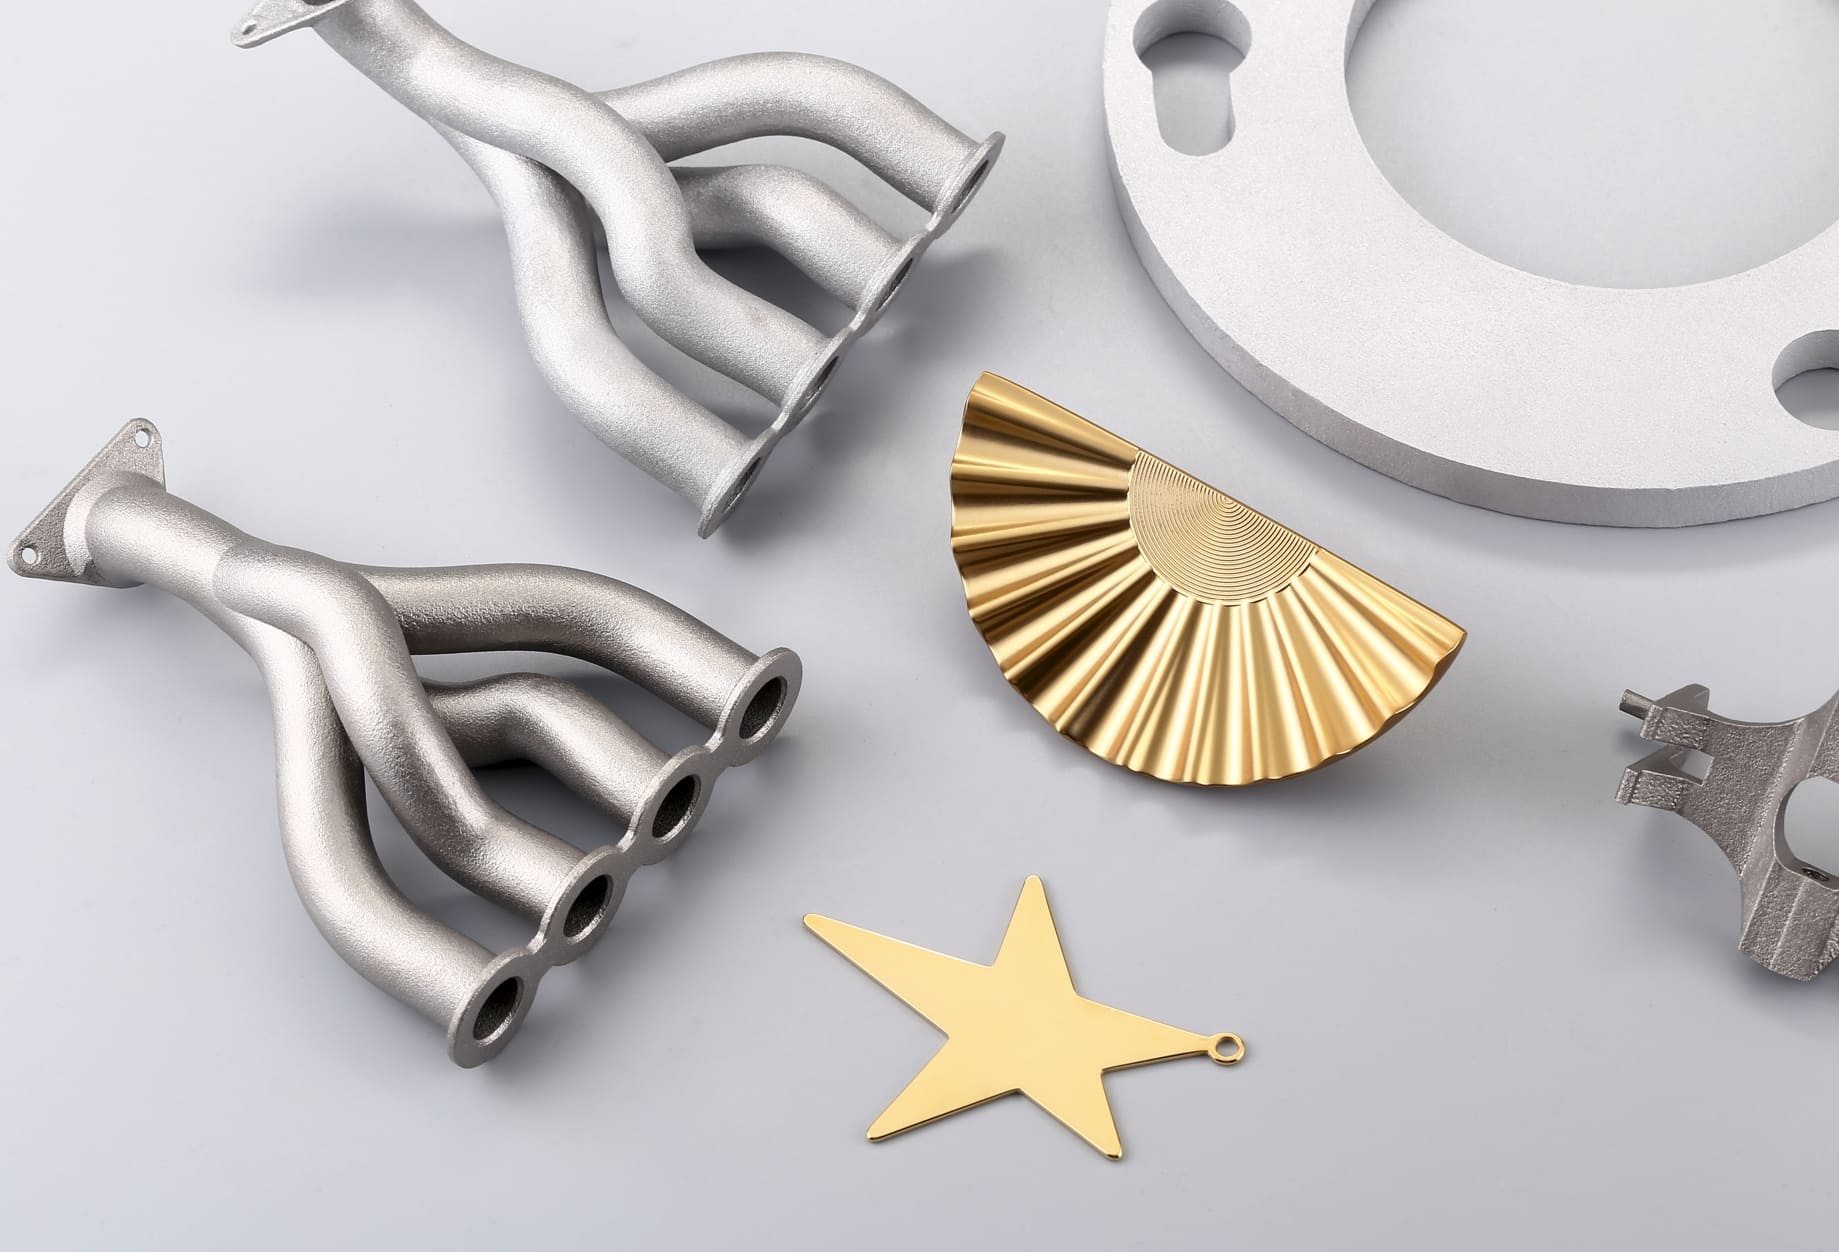
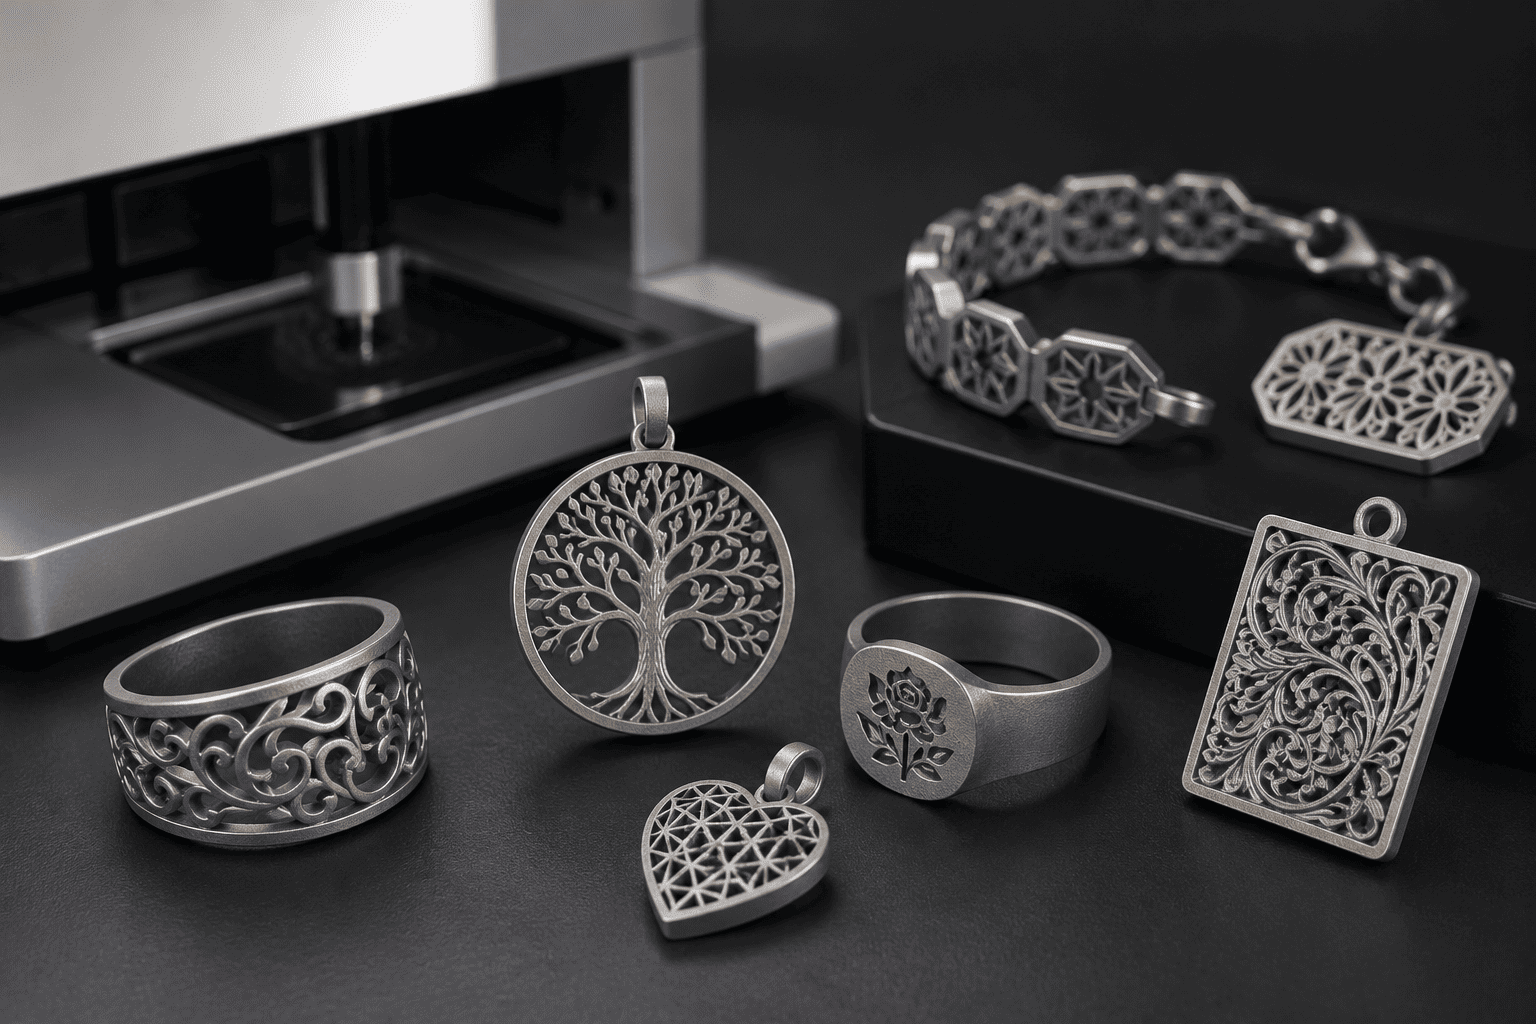
Binder jetting is especially useful for small metal parts because small components often have more detail per unit of surface area. A tiny pendant, for example, may include lettering, logos, curves, or textured surfaces all on one part. A support mark in the wrong place can ruin the appearance, especially if the part is decorative or worn visibly.
With binder jetting, the absence of support structures helps preserve those critical surfaces. There is no need to place supports under overhangs in the same way as laser powder bed fusion. That means there is less risk of tool marks, grinding scars, or awkward cleanup on the visible sides of the part. For jewelry and similar products, this is a major benefit.
Small parts also tend to be more suitable for binder jetting because the process is often used for high-detail, relatively compact shapes rather than large structural components. When the part size stays within the process’s practical limits, binder jetting can deliver good efficiency and consistent reproduction across multiple pieces. This makes it a strong option for custom small-batch production, especially when visual quality is more important than maximum mechanical performance.
Another reason it works well is that binder jetting is a strong match for engraved surfaces. If a ring, plaque, or charm needs crisp text or a shallow logo, the process can reproduce fine features without the visual interruption of support remnants. That is one reason it is often considered for rings, pendants, nameplates, and other detailed items where appearance matters as much as form.
Design Limits You Should Know Before Choosing Binder Jetting
Even though binder jetting offers real advantages, it has important limits. The first is material choice. In many metal binder jetting workflows, the material range is narrower than in other metal printing systems. For example, 316L stainless steel is a common choice. If your project requires a different alloy with special strength, conductivity, heat resistance, or magnetic properties, binder jetting may not be the best fit.
Size is another consideration. Binder jetting is often best for small to medium parts, and every service provider will have its own build envelope and part-size limitations. A design that looks excellent on screen may still be too large for the process or may require a production strategy that is not economical. For this reason, it is important to confirm the available build size before committing to the process.
Shrinkage during sintering is also a major design factor. The printed part will not come out of the furnace at exactly the same dimensions as the green part. It will shrink, sometimes significantly, and that shrinkage must be predicted and compensated for. If the part has tight tolerances, delicate proportions, or exact mating surfaces, the design must account for this from the start.
Surface finish is another area where expectations need to be realistic. Binder jetting can avoid support scars, but it does not automatically produce a perfect polished surface. Sintered metal may still have a matte or slightly textured appearance, and post-processing may be needed if the final part has to look refined. If the design includes important decorative areas, think ahead about whether polishing, tumbling, or other finishing methods will be used later.
When Binder Jetting Is Better Than Other Metal Printing Methods
Binder jetting becomes especially attractive when compared with other metal printing methods that rely on supports. In laser-based processes such as SLM or DMLS, supports are often necessary for overhangs, thermal control, and part stability. Those supports must then be removed, and the removal process can damage nearby surfaces. On a small metal part with engravings or polished faces, that damage may be unacceptable. Binder jetting avoids that problem at the printing stage.
Compared with CNC machining, binder jetting is better when the part has complex internal or organic geometry, or when the design includes many fine surface details that would be expensive to machine. CNC can deliver excellent accuracy, but it is not always efficient for small custom pieces with intricate shapes. Binder jetting allows those forms to be produced more directly, especially in small batches.
Compared with casting, binder jetting can be more flexible for rapid customization and design changes. Casting still has a place in jewelry and decorative metal production, but binder jetting can reduce the need for molds and can be useful when the design is still evolving. It is often a good option for prototypes, personalized items, and small production runs where turnaround matters.
In short, binder jetting is often the better choice when the part is small, detailed, and visually important, especially when support removal would create too much risk. It is not always the strongest or densest option, but it can be one of the cleanest and most efficient choices for the right kind of part.
Best Design Tips for Small Metal Parts in Binder Jetting
The best binder jetting designs are simple in one sense and precise in another. The geometry should stay compact and balanced so that the part prints and sinters predictably. Very long, thin, or uneven shapes can be more difficult to control during post-processing, especially if the part is delicate.
For engraved designs, make sure the text and details are deep and clear enough to survive printing and sintering. Tiny decorative lines that look fine in CAD may become less visible after shrinkage or finishing. If the part depends on lettering, logos, or surface patterning, those features should be tested early.
Thin walls and fragile projections deserve special attention. Although binder jetting is support-free, the printed part still needs enough structural strength after sintering. Extremely thin elements may warp, crack, or become too weak for handling. A more robust shape is usually safer, especially if the part will be worn, mounted, or shipped.
Tolerances should also be planned carefully. If a hole, slot, or joining surface must fit with another component, do not assume the printed dimension will be exact without adjustment. Binder jetting shrinks during sintering, so critical dimensions should be checked and, if needed, validated through test pieces before final production.
Finally, think about post-processing from the beginning. If the final look requires polishing, smoothing, or surface enhancement, the design should leave room for that. A good binder jetting part is not just printable; it is designed with the full production flow in mind, from powder bed to final finish.
 0
0


COMMENTS
- Be the first to share your thoughts!