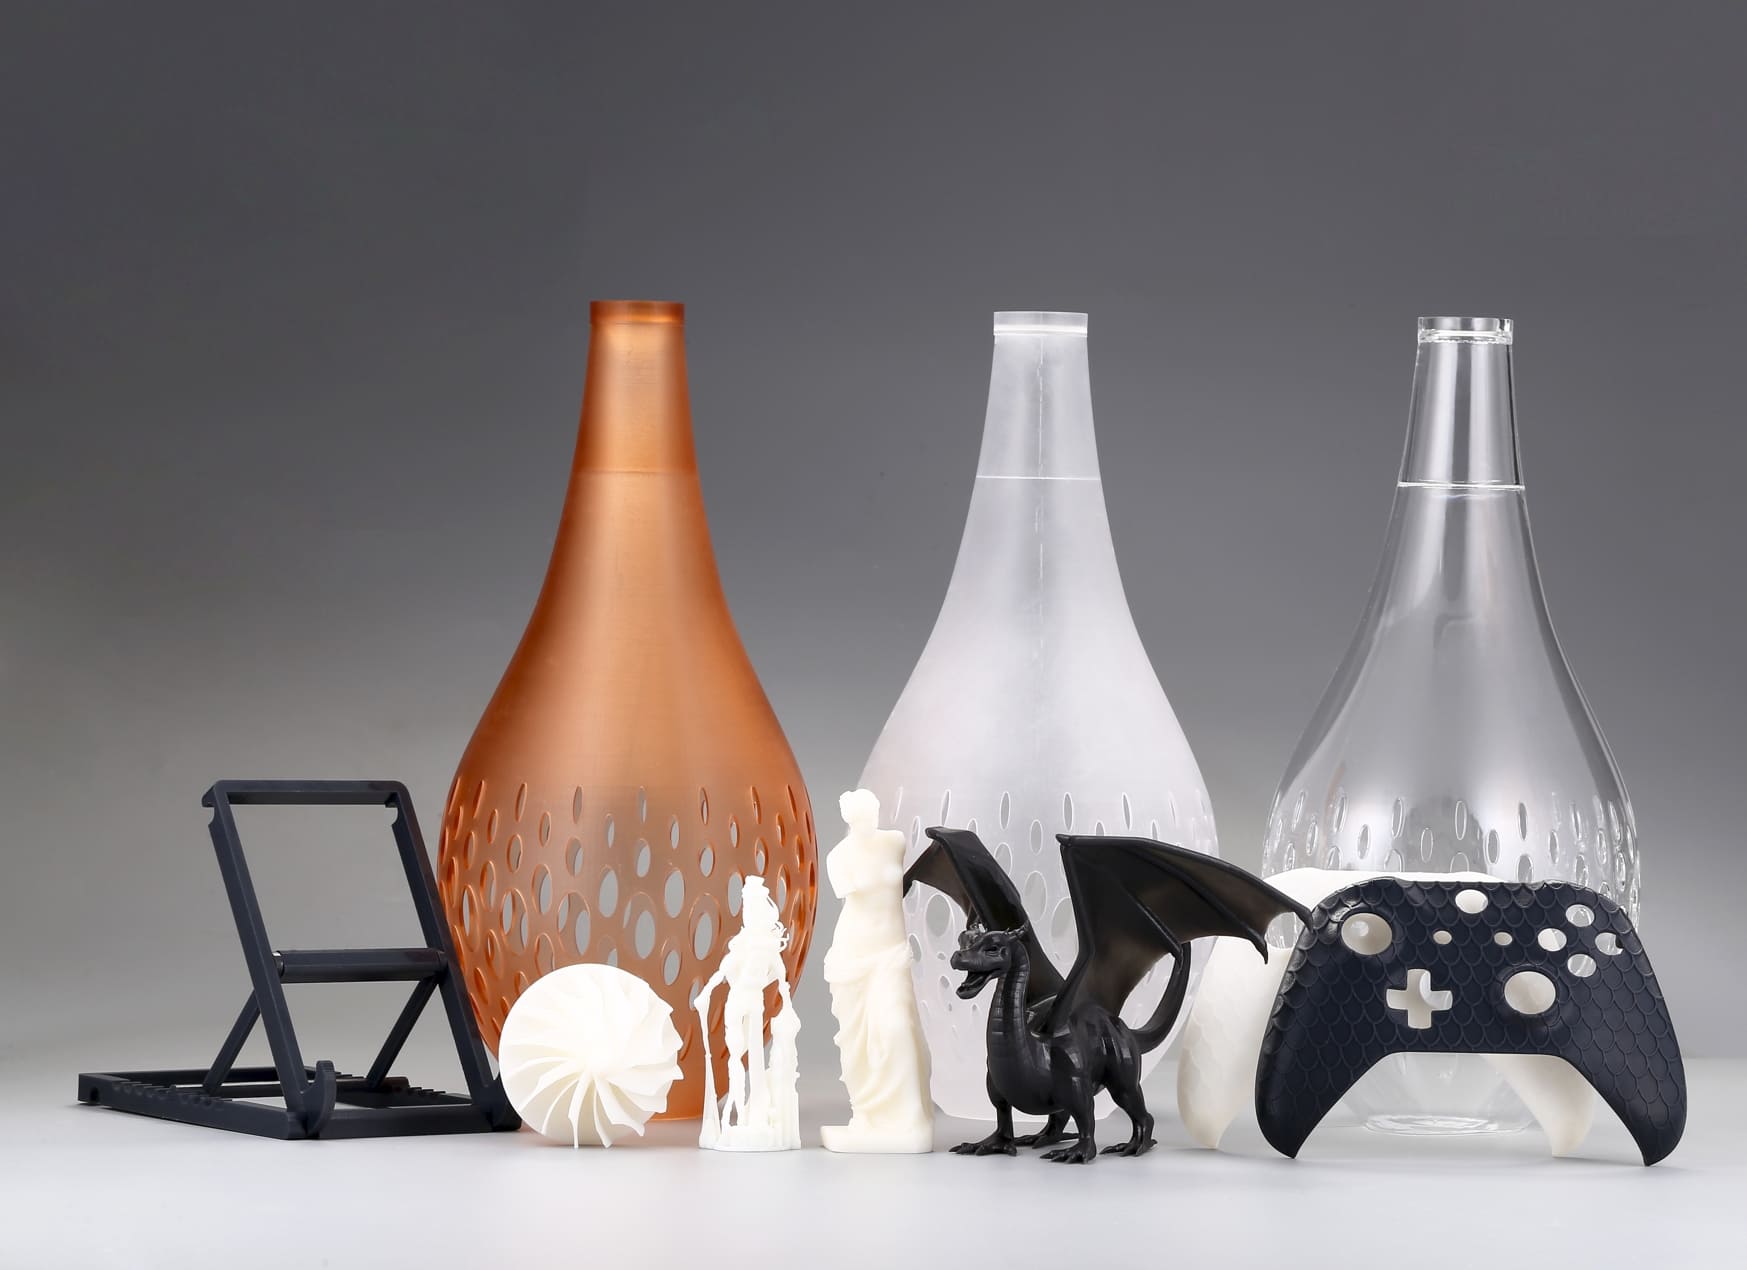
Printing very large parts in resin requires balancing cost-efficiency, print quality, and lead time. This guide covers strategies from model design to production workflow for large-format resin prints.
Design Strategies for Large Resin Parts
Splitting and Alignment
Segment Your Model
Break very large models into printable sections that fit your build volume. Plan splits along non-critical surfaces or natural seams to hide joints.
Alignment Features
Incorporate dowel pins, dovetail tabs, or keyed slots to guarantee precise assembly. These interlocking features speed up post-print fitting and reduce the need for sanding or shimming.
Hollowing and Drain Holes
Reduce Resin Usage & Weight
Hollow out bulky areas while maintaining a shell thickness of at least 2–3 mm for structural integrity.
Drainage Channels
Add small vents (2–3 mm diameter) to each hollow cavity. These let uncured resin escape during printing and cleaning, preventing trapped-resin pockets that can cause over-cure or distortion.
Wall Thickness & Infill Patterns
Optimal Wall Thickness
Use the minimum recommended wall thickness for your resin (often 1–2 mm) to save material and cut layer counts.
Lattice & Sparse Infill
In regions not subjected to high stress, replace solid shells with parametric lattices or grid infills. These patterns significantly reduce print time and resin consumption without sacrificing too much strength.
Smart Orientation
Angled Surfaces
Rotate parts ~30°–45° relative to the build plate, which reduces suction forces and peel stresses on large, flat cross-sections, decreasing print failures.
Critical Face Up
Orient the most important surface—where detail matters most—facing upward to minimize support scarring and simplify post-processing.
Model Optimization and Slicing
Layer Height Selection
If ultimate detail isn’t necessary, bump layer height from 50 µm to 100–150 µm. It halves print time while maintaining a smooth enough finish for many applications.
Support Strategy
Tree & Custom Supports
Use software-driven tree supports that touch the model at minimal points, reducing cleanup time. For large overhangs, manually add gusset-style supports to critical areas.
Support Density
Dial back support contact density on non-critical surfaces. Fewer touchpoints speed removal and lower post-processing effort.
Slicing Software Tips
Batch Nesting
Slice multiple identical segments together when the build volume allows. Grouping parts in one job maximizes printer uptime and throughput.
Exposure Overrides
For very large cross-sections, add extra exposure time on bottom layers (e.g., +20–30 %) to ensure a rock-solid first few layers.
Printer and Resin Choices
Printer Farm vs. Large Format SLA
Multiple MSLA Units: For moderate-size parts, a fleet of mid-range MSLA printers can collectively match the throughput of a single industrial SLA at a lower capital cost.
Industrial SLA Machines: When individual parts exceed ~300 mm in any dimension, or you need ultra-high precision, an industrial SLA system is a better option, but they come with higher upfront costs and maintenance needs.
Resin Selection
Standard vs. Specialty Resins:
Standard (e.g., general-purpose, tough): $40–$60/L. Good for prototypes and moderate strength needs.
Engineering (e.g., high-temp, impact-resistant): $80–$150/L. Use when parts must endure stress or heat.
High-Speed Formulations: Some resins cure faster per layer, reducing overall print time. They may require warmer ambient temperatures or stronger UV sources.
Post-Processing
Support Removal
1. Uncured Resin Stage: Remove supports before final UV cure whenever possible. The resin is more pliable and easier to detach without tools.
2. Mechanical Aids: Use flexible vat bottoms or warm IPA soaks to help pop away stubborn supports on large sections.
Cleaning & Drying
1. IPA Baths or Spray Rinses: For large parts, deploy oversized trays or spray-booth rigs to ensure all surfaces are rinsed thoroughly.
2. Drying Stations: Let parts air-dry fully before UV cure to prevent IPA pools in cavities that can inhibit thorough curing.
UV Curing
1. Even Exposure: Rotate or reposition large models under the curing lamp so all faces receive uniform light. Prolonged, consistent UV exposure prevents internal stresses and warping.
2. Multi-Angle Curing: For very tall prints, cure one side first, then flip and cure the opposite side to ensure full penetration.
Surface Finishing Techniques
1. Sanding & Polishing: Start with coarse grit (200–300) near support scars, then progress to 600–800 grit for a smooth finish.
2. Spray Painting: Apply a thin, even primer coat to seal micro-grooves and provide paint adhesion. Use light, multiple passes of aerosol paint—holding the can 20–30 cm from the surface—to avoid runs or pooling.
3. Electroplating: First, spray or brush on a conductive paint layer (e.g., graphite or silver-based) over the cured part. Submerge the part in a plating bath (nickel, copper, chrome, etc.) to build up a metal shell.
4. Dyeing: Use alcohol-based or resin-compatible dyes. Immerse or brush-on the dye prior to final cure for even coloration. Cure again after dye application to lock in color and improve scratch resistance.
5. Tapping & Threading: For holes designed to receive screws, drill slightly undersized pilot holes while the part is still uncured (or just post-cured) to minimize cracking. For repeated assembly/disassembly, install brass or stainless-steel heat-set inserts: heat the insert gently and press it into the hole so it melts a bit of surrounding resin, then let it cool.
6. Sealing & Coating: After sanding, apply a thin epoxy or filler-primer to fill any remaining layer lines. Sand lightly once cured, then proceed to painting or plating.
Professional Services vs In-House Production
When to Outsource to 3DSPRO
1. Oversized Builds: 3DSPRO’s industrial SLA machines accommodate volumes up to 1700 × 800 × 600 mm—well beyond typical desktop machines.
2. Quick Turnaround: With ~150 SLA printers running, 3DSPRO often delivers large parts within 48–72 hours, including post-processing.
3. Specialty Materials: Access engineering-grade and biocompatible resins without maintaining costly inventories.
When to Build Your Own Farm
1. High-Volume Demand: If you routinely print dozens or hundreds of identical parts, owning several MSLA or one mid-size SLA printer can drive per-unit costs below service rates.
2. Design Iteration Speed: Having printers on-site means you can iterate designs overnight without shipping delays.
3. Control & Confidentiality: In-house production keeps IP and sensitive designs under your roof.
Cost-Efficiency Comparison
1. In-House Costs: Capital outlay for printers + resin + maintenance + labor. Unit cost decreases as volume increases.
2. Service Costs: Per-cc pricing includes material, machine time, and labor—often more expensive per part but eliminates capital and labor overhead.
Image Copyright © 3DSPRO. All rights reserved.
 1
1


COMMENTS
- Be the first to share your thoughts!