English
 日本語
 Deutsch


A satin finish gives a 3D printed part a soft sheen without the strong reflections of a glossy surface or the flat appearance of a fully matte finish. It is often chosen for consumer product housings, display components, product prototypes, and other parts where a refined appearance matters but a mirror-like surface is unnecessary.
There is no universal satin finishing process for every 3D printed material. The right route depends on the printing technology, the part’s starting texture, its geometry, and whether the desired appearance should come from the material itself or from a coating. The following guide compares practical process combinations for common 3D printing technologies and explains how to specify the result.
Understanding Satin Finish in 3D Printing
What Is a Satin Finish?
A satin finish is a surface appearance characterized by a subtle, soft sheen that falls between matte and glossy finishes. Unlike a highly reflective glossy surface, it does not produce sharp reflections. Instead, it reflects light gently and diffusely, creating a smooth, refined appearance with a slight luster.
In 3D printing, a satin finish is not tied to a specific printing technology or post-processing method. It can be achieved through mechanical treatments, such as fine media blasting and vibratory tumbling, or through surface coatings, such as satin paint. The final appearance depends on the material, initial surface condition, finishing process, and coating formulation.
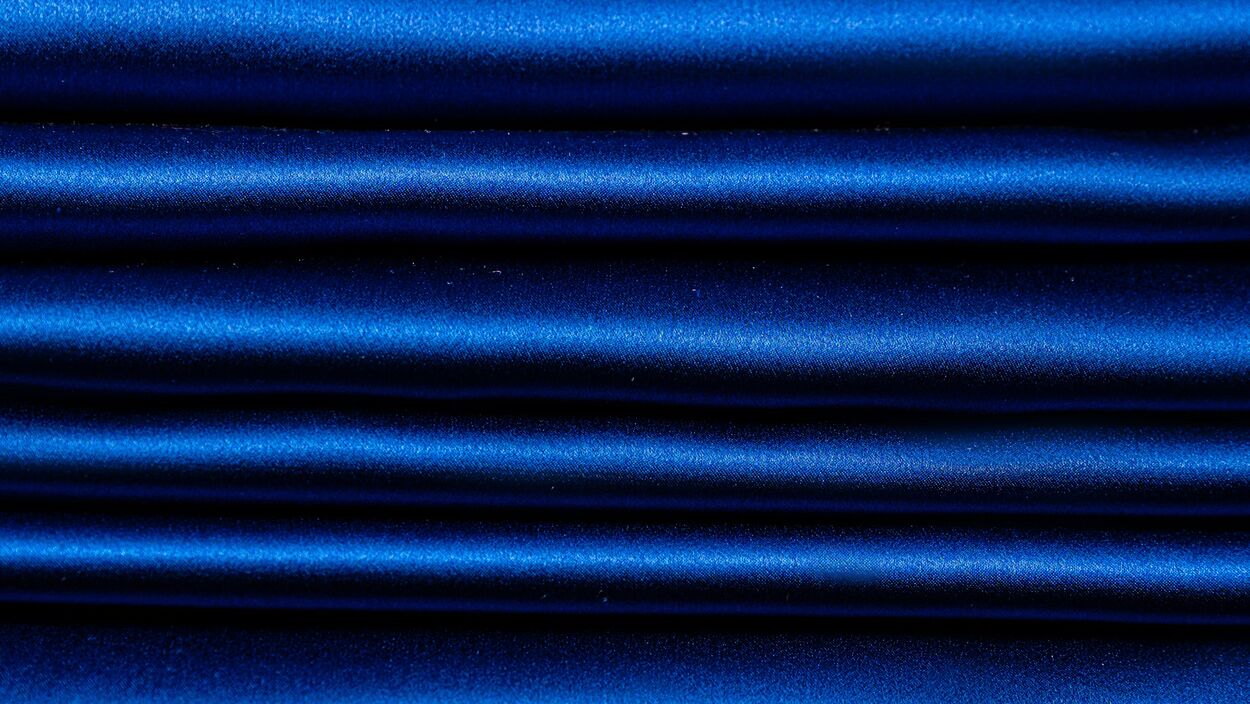
Image Source: Mikhail Nilov
Satin Finish vs. Matte Finish vs. Glossy Finish
A matte finish minimizes visible reflections, making it suitable for parts that need a subdued, non-glossy appearance. A glossy finish produces stronger reflections and can create a polished, high-end look, but it may also make scratches, fingerprints, and surface imperfections more noticeable.
A satin finish offers a middle ground. It provides more visual depth than a matte surface without the strong reflections of a glossy one. However, these categories describe appearance rather than fixed roughness or gloss-value specifications. Actual results vary with materials and finishing methods.
|
Surface Finish |
Appearance |
Light Reflection |
Typical Characteristics |
|
Matte |
Flat and non-reflective |
Very low, highly diffused |
Minimal sheen and a subdued appearance |
|
Satin |
Soft and slightly lustrous |
Moderate, gently diffused |
Balanced sheen with a smooth, refined look |
|
Glossy |
Bright and reflective |
High, with more distinct reflections |
Shiny appearance with prominent reflections |
Why Choose a Satin Finish for 3D Printed Parts?
A satin finish is a practical choice for 3D printed parts that need a balance between appearance and everyday usability.
A Refined Appearance Without Excessive Shine
The subtle sheen gives parts a more finished appearance than many untreated or matte surfaces. It works well for product housings, consumer electronics enclosures, decorative components, and presentation models where a clean, professional look is important.
Less Distracting Surface Reflections
Compared with glossy finishes, satin surfaces produce softer reflections. This can make them suitable for components displayed under indoor lighting or used in environments where strong glare is undesirable.
A More Forgiving Cosmetic Surface
Highly glossy surfaces can make small scratches, handling marks, and minor surface irregularities easier to notice because of their clear reflections. A satin appearance generally reduces this visual emphasis, although it does not eliminate physical defects or replace proper surface preparation.
Versatility Across Materials and Applications
Satin finishes can be achieved on different 3D printed materials through suitable finishing combinations. Nylon parts may benefit from fine blasting or vibratory tumbling, while resin and FDM parts can use sanding and satin coatings. Metal parts can achieve a similar visual effect through controlled glass-bead blasting.
Recommended Process Combinations for a Satin Finish
The most suitable finishing route depends on how the part is printed. Start by removing powder, resin, or support structures, then select the surface treatment that addresses the remaining texture.
SLS and MJF Nylon Parts
For SLS and MJF parts, a practical starting route is: Depowdering → Fine Media Blasting → Optional Vibratory Tumbling.
Depowdering removes loose powder from the part and its cavities. Fine media blasting then creates a more consistent surface by cleaning away residual powder and evening out the surface texture. Bead blasting is commonly used when a uniform, dull or satin-like appearance is required.
If a smoother feel is needed, vibratory tumbling can be considered after the initial cleaning and blasting steps. The parts are placed in a vibrating container with suitable media, such as ceramic or plastic pellets. The repeated contact gradually smooths surface asperities and edges. Depending on the media, cycle, material, and part geometry, the result can range from matte to semi-gloss.
Tumbling is not suitable for every design. It can round sharp edges, affect dimensions, and damage thin walls or delicate details. Media can also become trapped in narrow gaps. Confirm its suitability for the part before selecting this route.
SLA and DLP Resin Parts
For SLA and DLP parts, a coating-based route offers better control over color and sheen: Wash and Post-Cure (as required) → Support Removal → Fine Sanding → Primer → Satin Topcoat (painting).
First, remove residual resin through the material-recommended washing process. Follow the resin supplier’s post-curing requirements, then carefully remove supports and smooth visible support marks. Sanding should progress from a suitable coarser abrasive to finer grits; the exact sequence depends on the resin, geometry, and starting surface.
Apply a compatible primer in thin, even coats to prepare the surface for painting and help reveal imperfections. Correct any remaining marks before applying a satin topcoat. The sheen is controlled mainly by the coating formulation and application, so confirm the requested appearance with a sample where color and gloss consistency are important.
Metal 3D Printed Parts
For SLM or other laser powder bed fusion metal parts, fine glass-bead blasting is a common option for creating a uniform, satin-like metallic appearance: Support Removal → CNC Machining (where required) → Fine Glass-Bead Blasting.
Support structures and attached features must be removed first. CNC machining may be necessary for mating faces, holes, or other features that require tighter tolerances or a smoother finish than the as-printed surface can provide. Fine glass beads are then propelled against the surface to create a consistent texture and reduce visual differences such as discoloration or light marks.
Bead blasting can produce a uniform matte or satin-like appearance, but it does not remove deep surface defects or substantially correct a coarse as-printed texture. Thin walls and delicate features also require care because blasting can affect the surface or geometry. Where a very smooth or reflective finish is required, mechanical polishing or another process may be more appropriate, although it will produce a different appearance.
FDM Plastic Parts
FDM parts often show visible layer lines, so surface preparation is especially important before applying a satin coating: Support Removal → Sanding → Filler Primer → Sanding → Satin Paint.
Remove supports and trim or sand the contact marks. Sand the outer surfaces to reduce prominent layer ridges, then apply filler primer to help fill smaller surface irregularities. Once the primer has dried according to its instructions, sand it smooth and repeat the filling step if necessary. Finish with compatible satin paint applied in even coats.
This route can create a consistent color and sheen, but it adds a coating layer and labor. Account for coating thickness around holes, threads, snap fits, and mating surfaces. Mask functional areas where paint could interfere with assembly or fit.
How to Specify a Satin Finish for 3D Printed Parts
Satin finish alone may leave too much room for interpretation. To help a manufacturer reproduce the intended result, provide a reference photo or physical sample and clarify the following details.
✅ Define the appearance. State whether you want a low-sheen satin close to matte or a more noticeable soft sheen. A reference image is useful, but lighting and photography can change how gloss appears, so a physical sample is more reliable for close matching.
✅ Specify color and coating. Identify the required color, whether the finish should be opaque or clear, and whether a painted or coated surface is acceptable. For metal parts, clarify whether you want the natural metal color and texture preserved.
✅ Identify critical surfaces and dimensions. Mark cosmetic faces, sealing surfaces, holes, threads, and assembly interfaces on the drawing. Sanding, tumbling, blasting, and coatings can alter edges or dimensions so that critical areas may need masking, machining, or separate inspection.
✅ Consider geometry and use conditions. Narrow channels, internal cavities, thin walls, and fine details can limit access for abrasive media or manual finishing. Also state any functional requirements, such as exposure to sunlight, moisture, chemicals, or frequent handling, because appearance alone does not specify coating performance.
✅ Request a sample when consistency matters. A small sample or first-article part allows both sides to review texture, sheen, color, and uniformity before full production.
Achieving a satin finish is ultimately a matter of matching the post-processing route to the printing technology and the part’s requirements. Fine blasting or tumbling may be suitable for nylon and metal parts, while sanding and satin coating give greater control over the appearance of resin and FDM parts. By defining the desired sheen, identifying critical features, and approving a sample, you can give the manufacturer a clear target for a consistent finish.
 0


COMMENTS
- Be the first to share your thoughts!